Day 31 /Tag 31
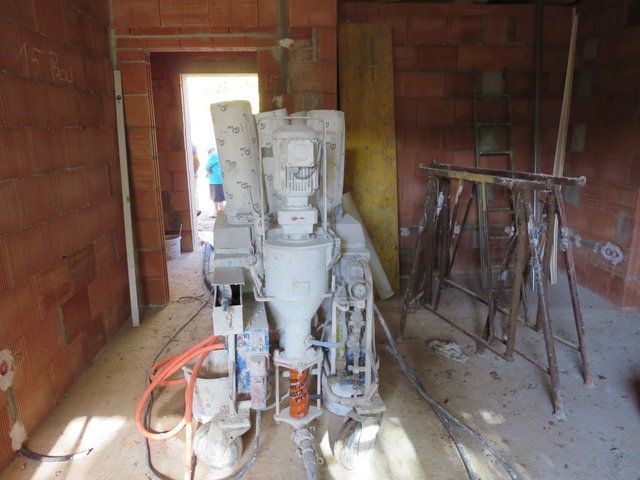
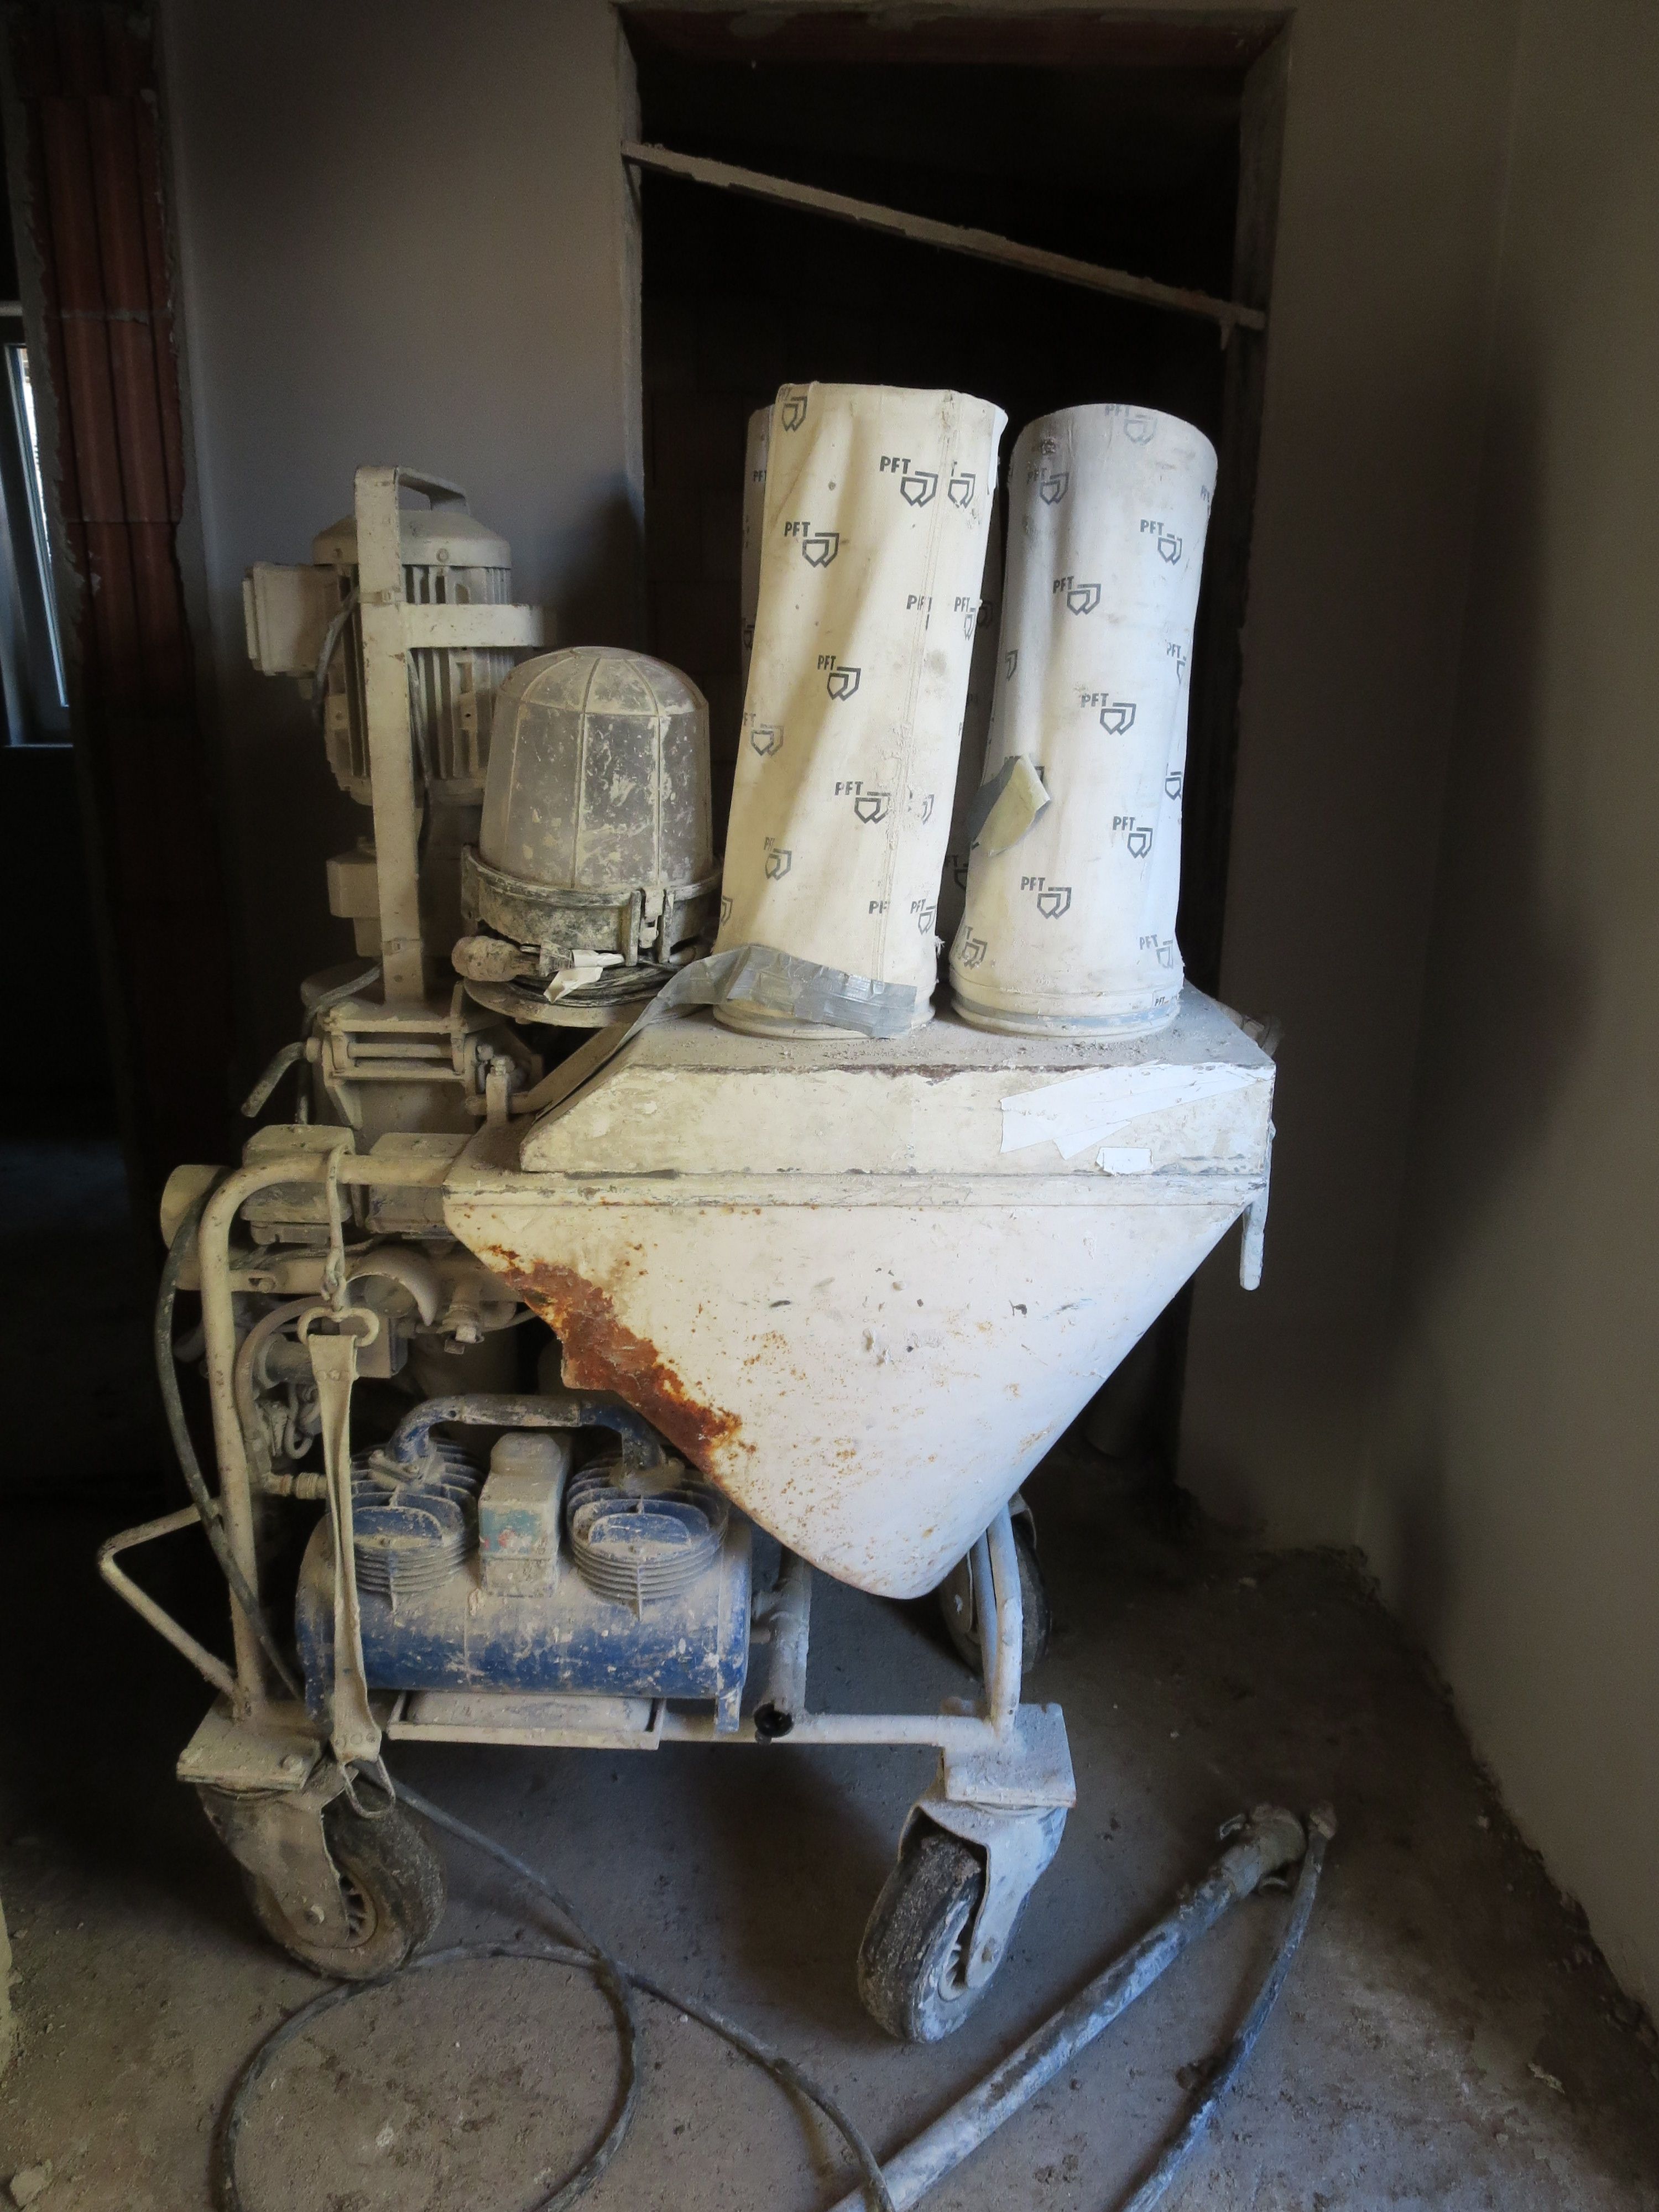
The excitement with the cable damage is forgotten, the next day starts with the installation of the silo for the plastering work.
Die Aufregung mit dem Kabelschaden ist vergessen, der nächste Tag beginnt mit dem Aufstellen des Silos für die Verputzarbeiten.
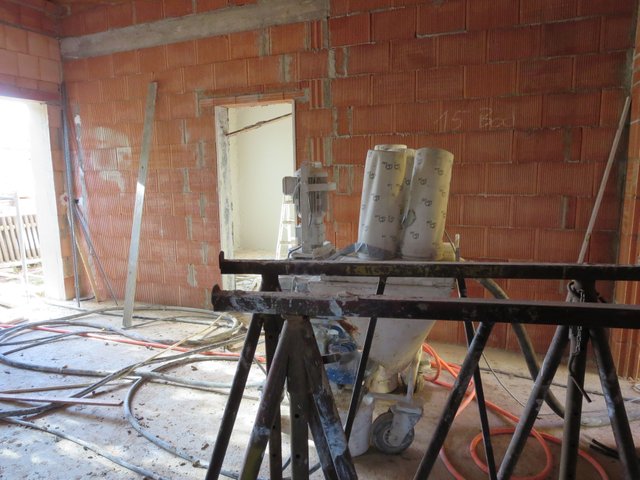
The silo is connected to this machine, with which the material is pumped into the house and crushed on the walls.
Das Silo ist mit dieser Maschine verbunden, mit ihr wird das Material ins Haus gepumpt und auf die Wände gestritzt.
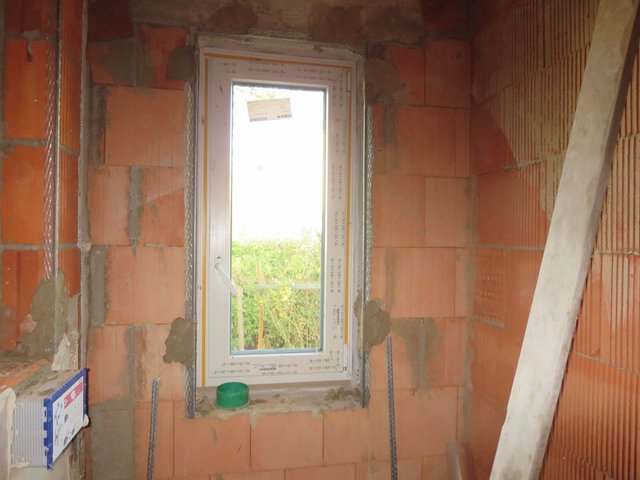
Panels are installed in the door frames in such a way that the thickness of the cement application can be checked.
In die Türrahmen werden Bretter so eingesetzt, dass die Dicke des Zementauftrages damit geprüft werden kann.
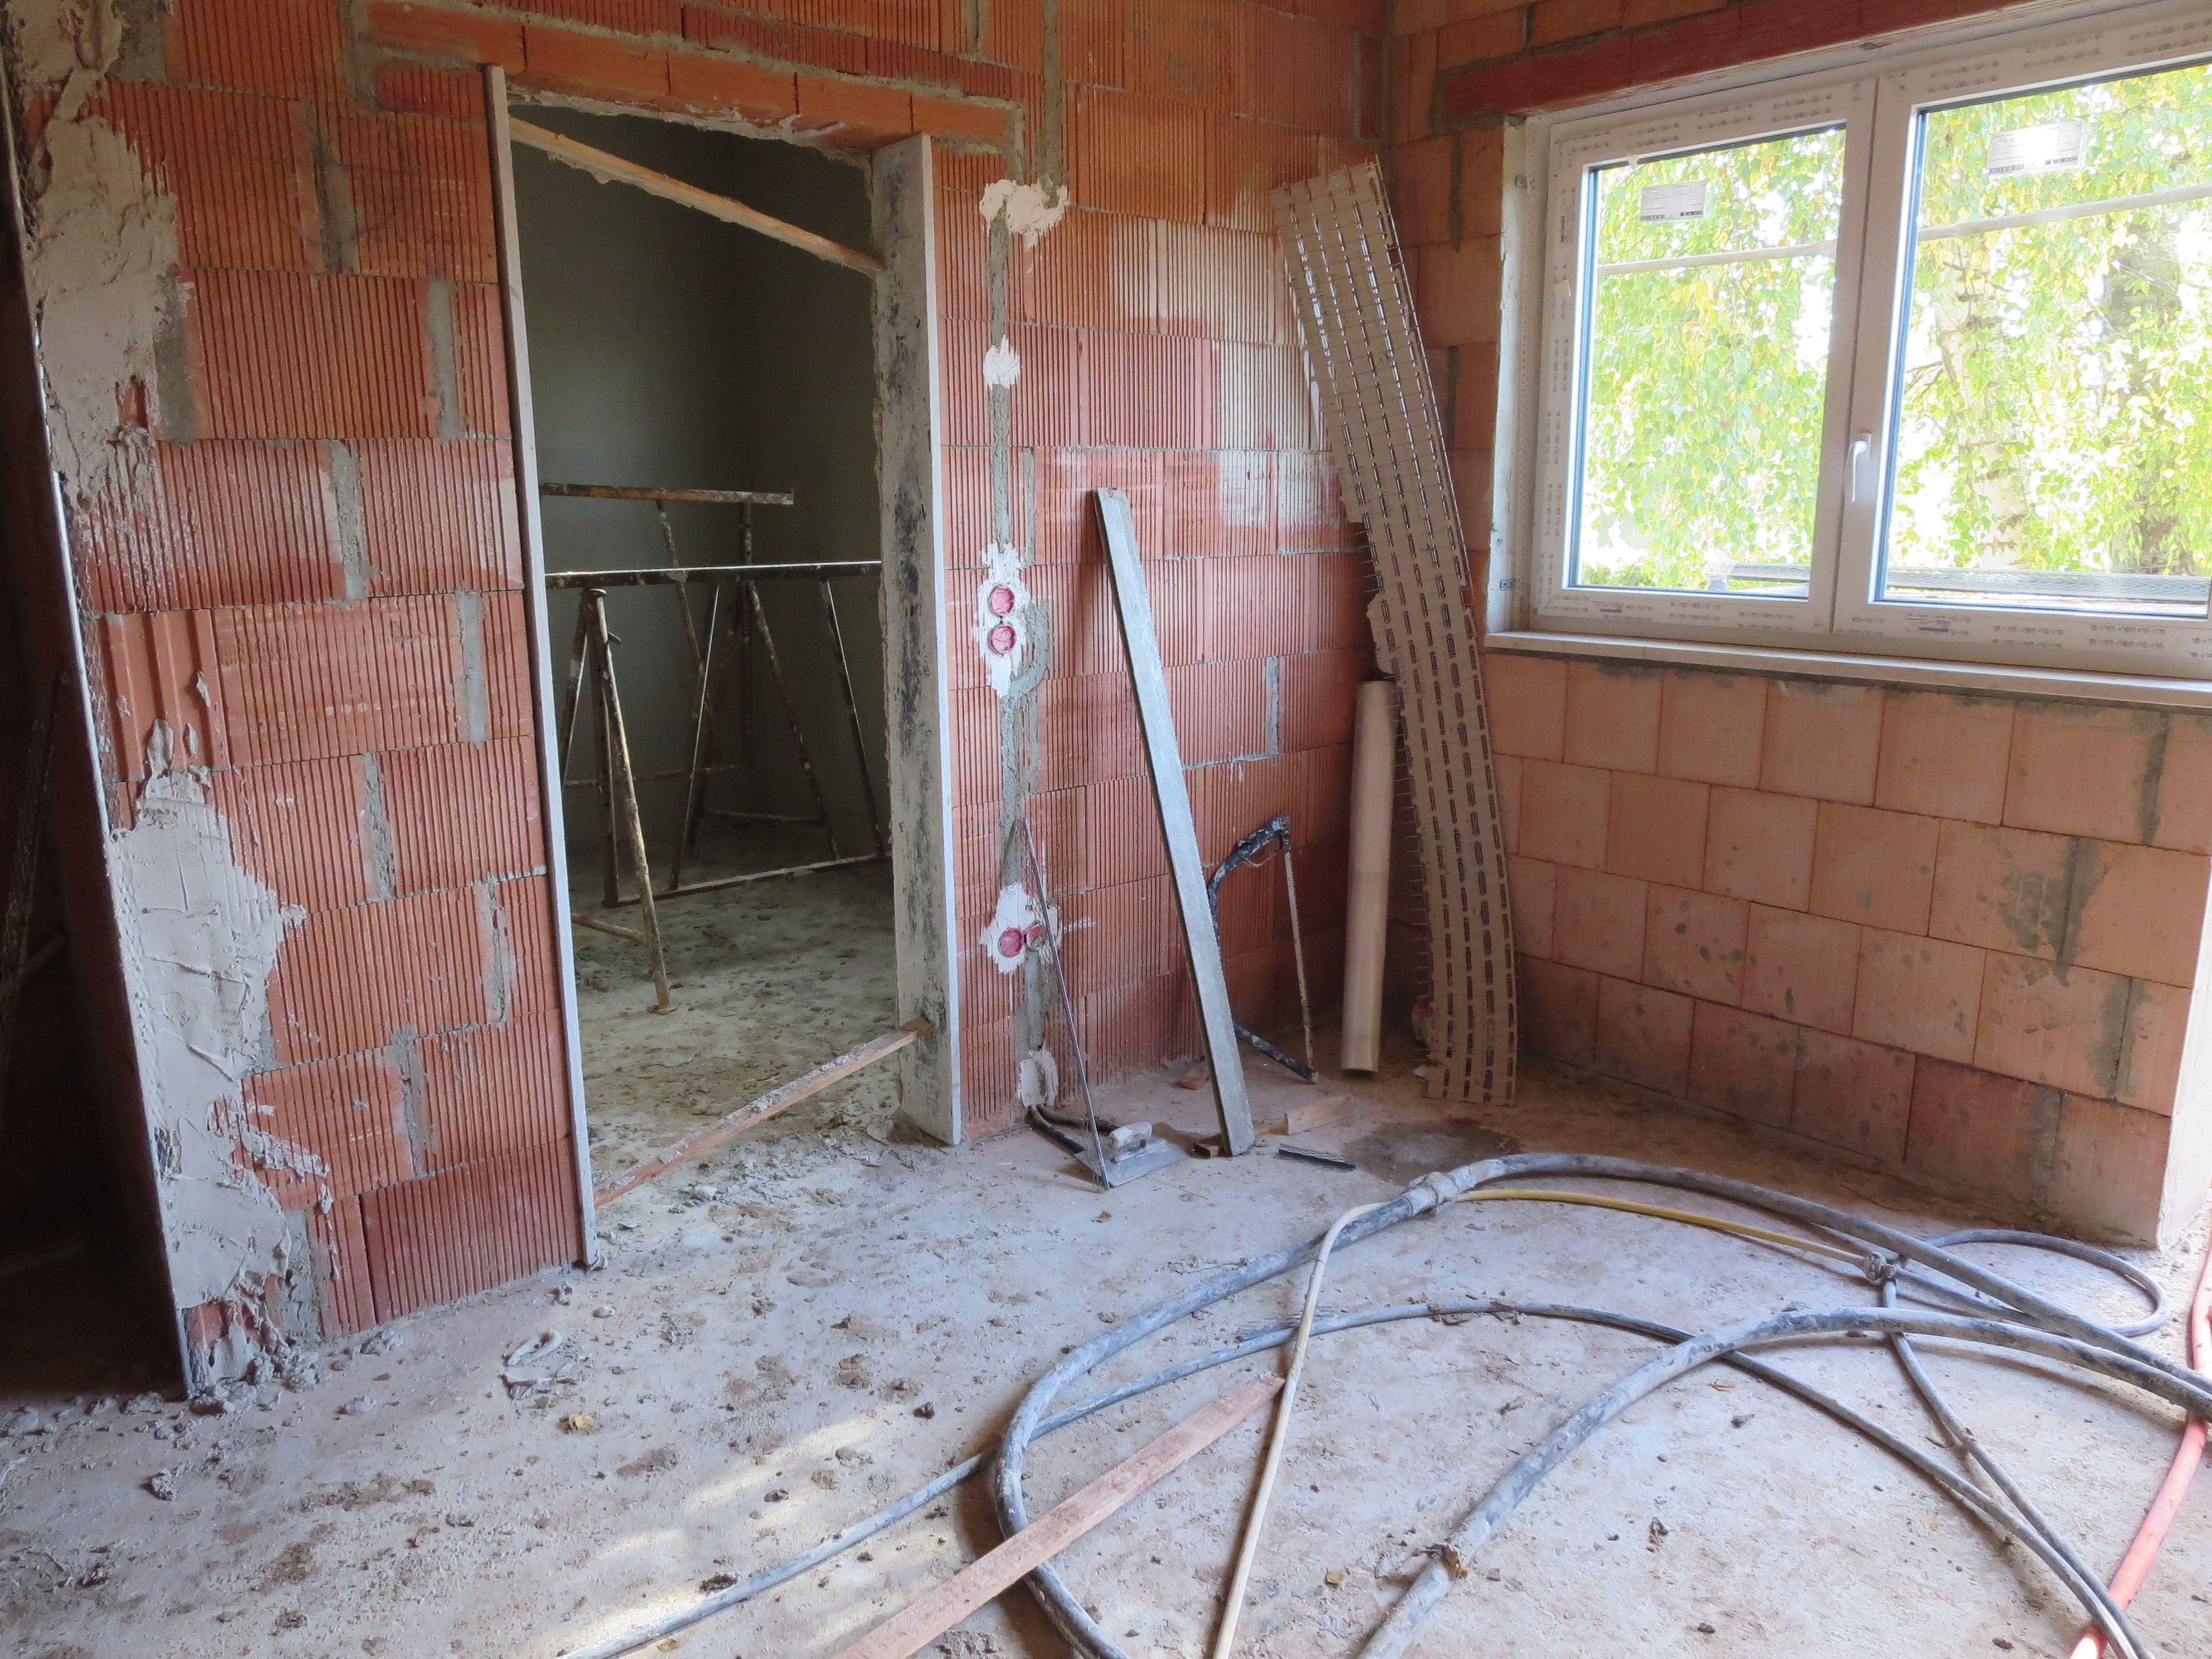
First a thin adhesive layer is applied and elapsed.
Zuerst wird dann eine dünne Klebeschicht aufgetragen und verstrichen.
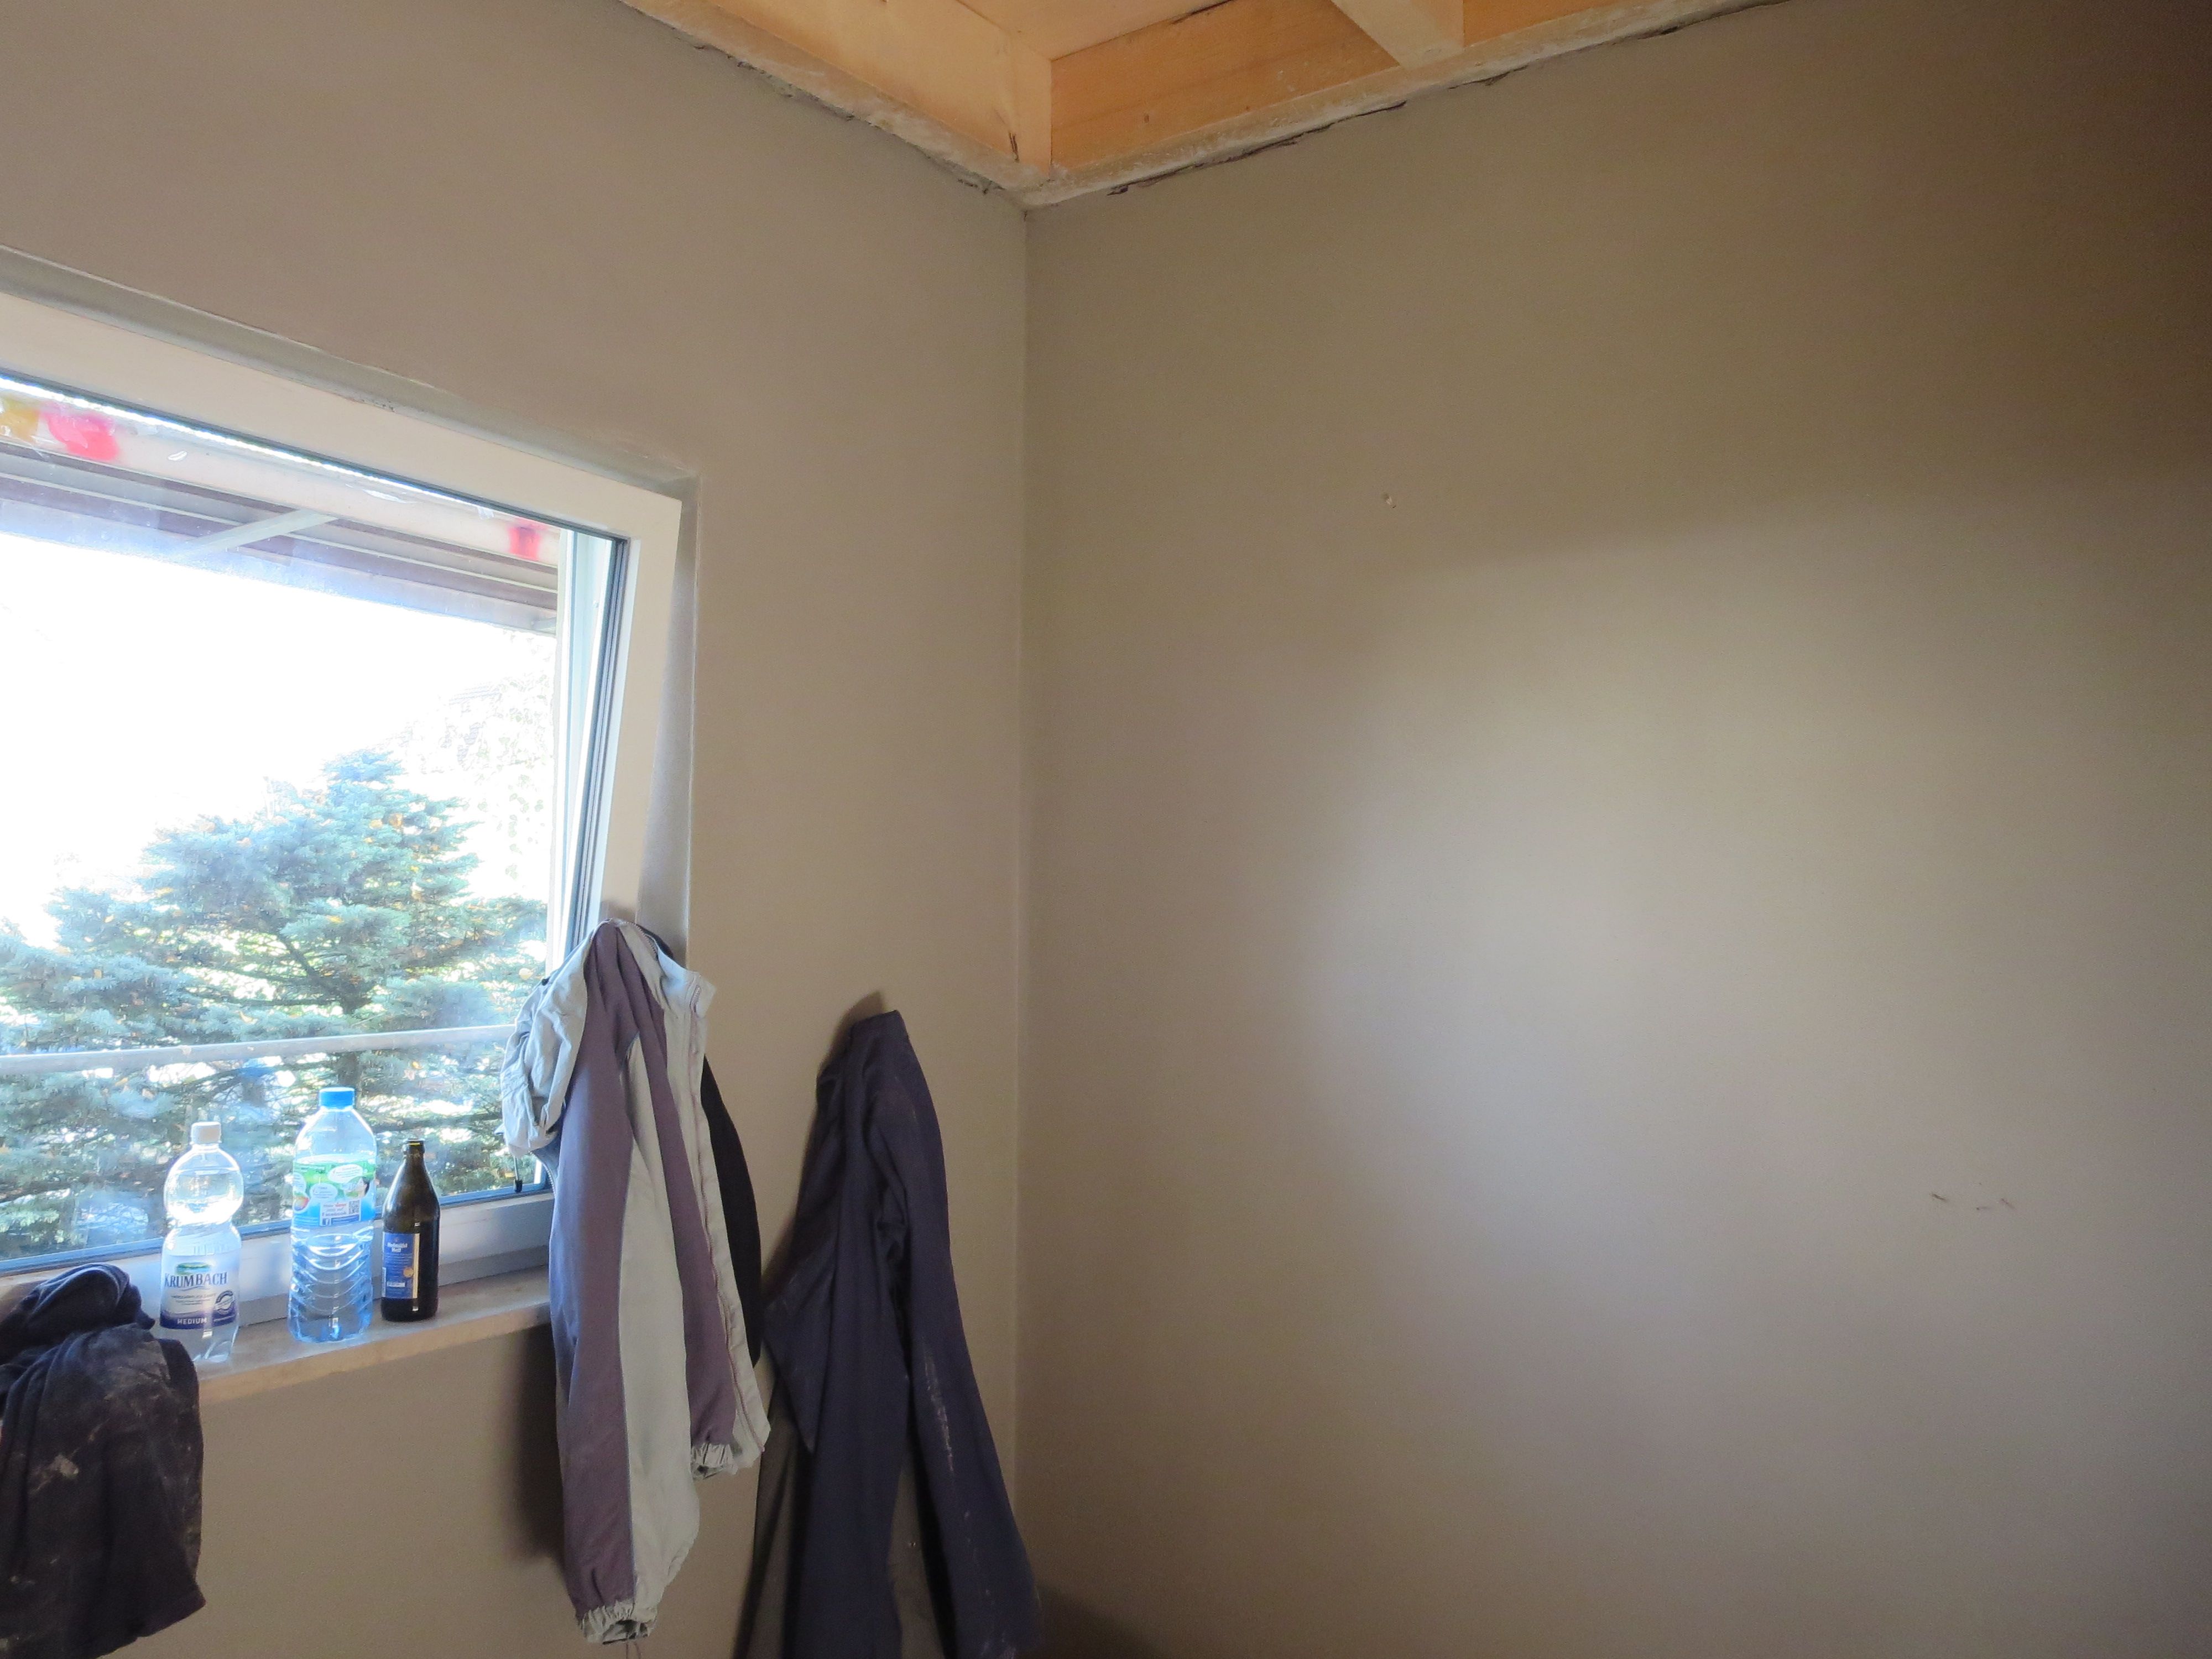
Then the plaster is sprayed and then smoothed out with boards.
Dann wird der Putz aufgespritzt und anschließend mit Brettern glattgezogen.
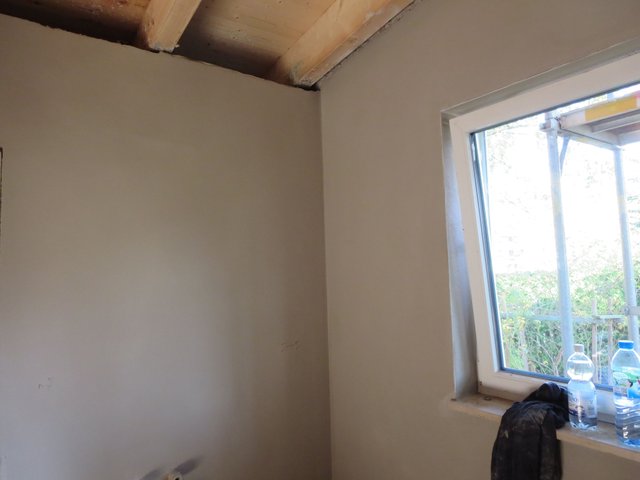
So the day passes like nothing and the first rooms are ready so far.
So vergeht der Tag wie im Flug und die ersten Räume sind soweit fertig.

Day 32 /Tag 32
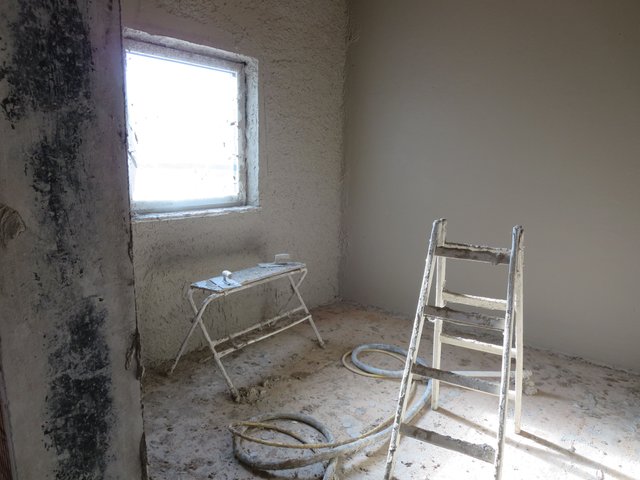
When I show up on the construction site, a lot has happened again. The workers have now plastered more rooms.
Als ich auf der Baustelle auftauche ist natürlich schon wieder einiges geschehen. Die Arbeiter haben inzwischen weitere Räume verputzt.

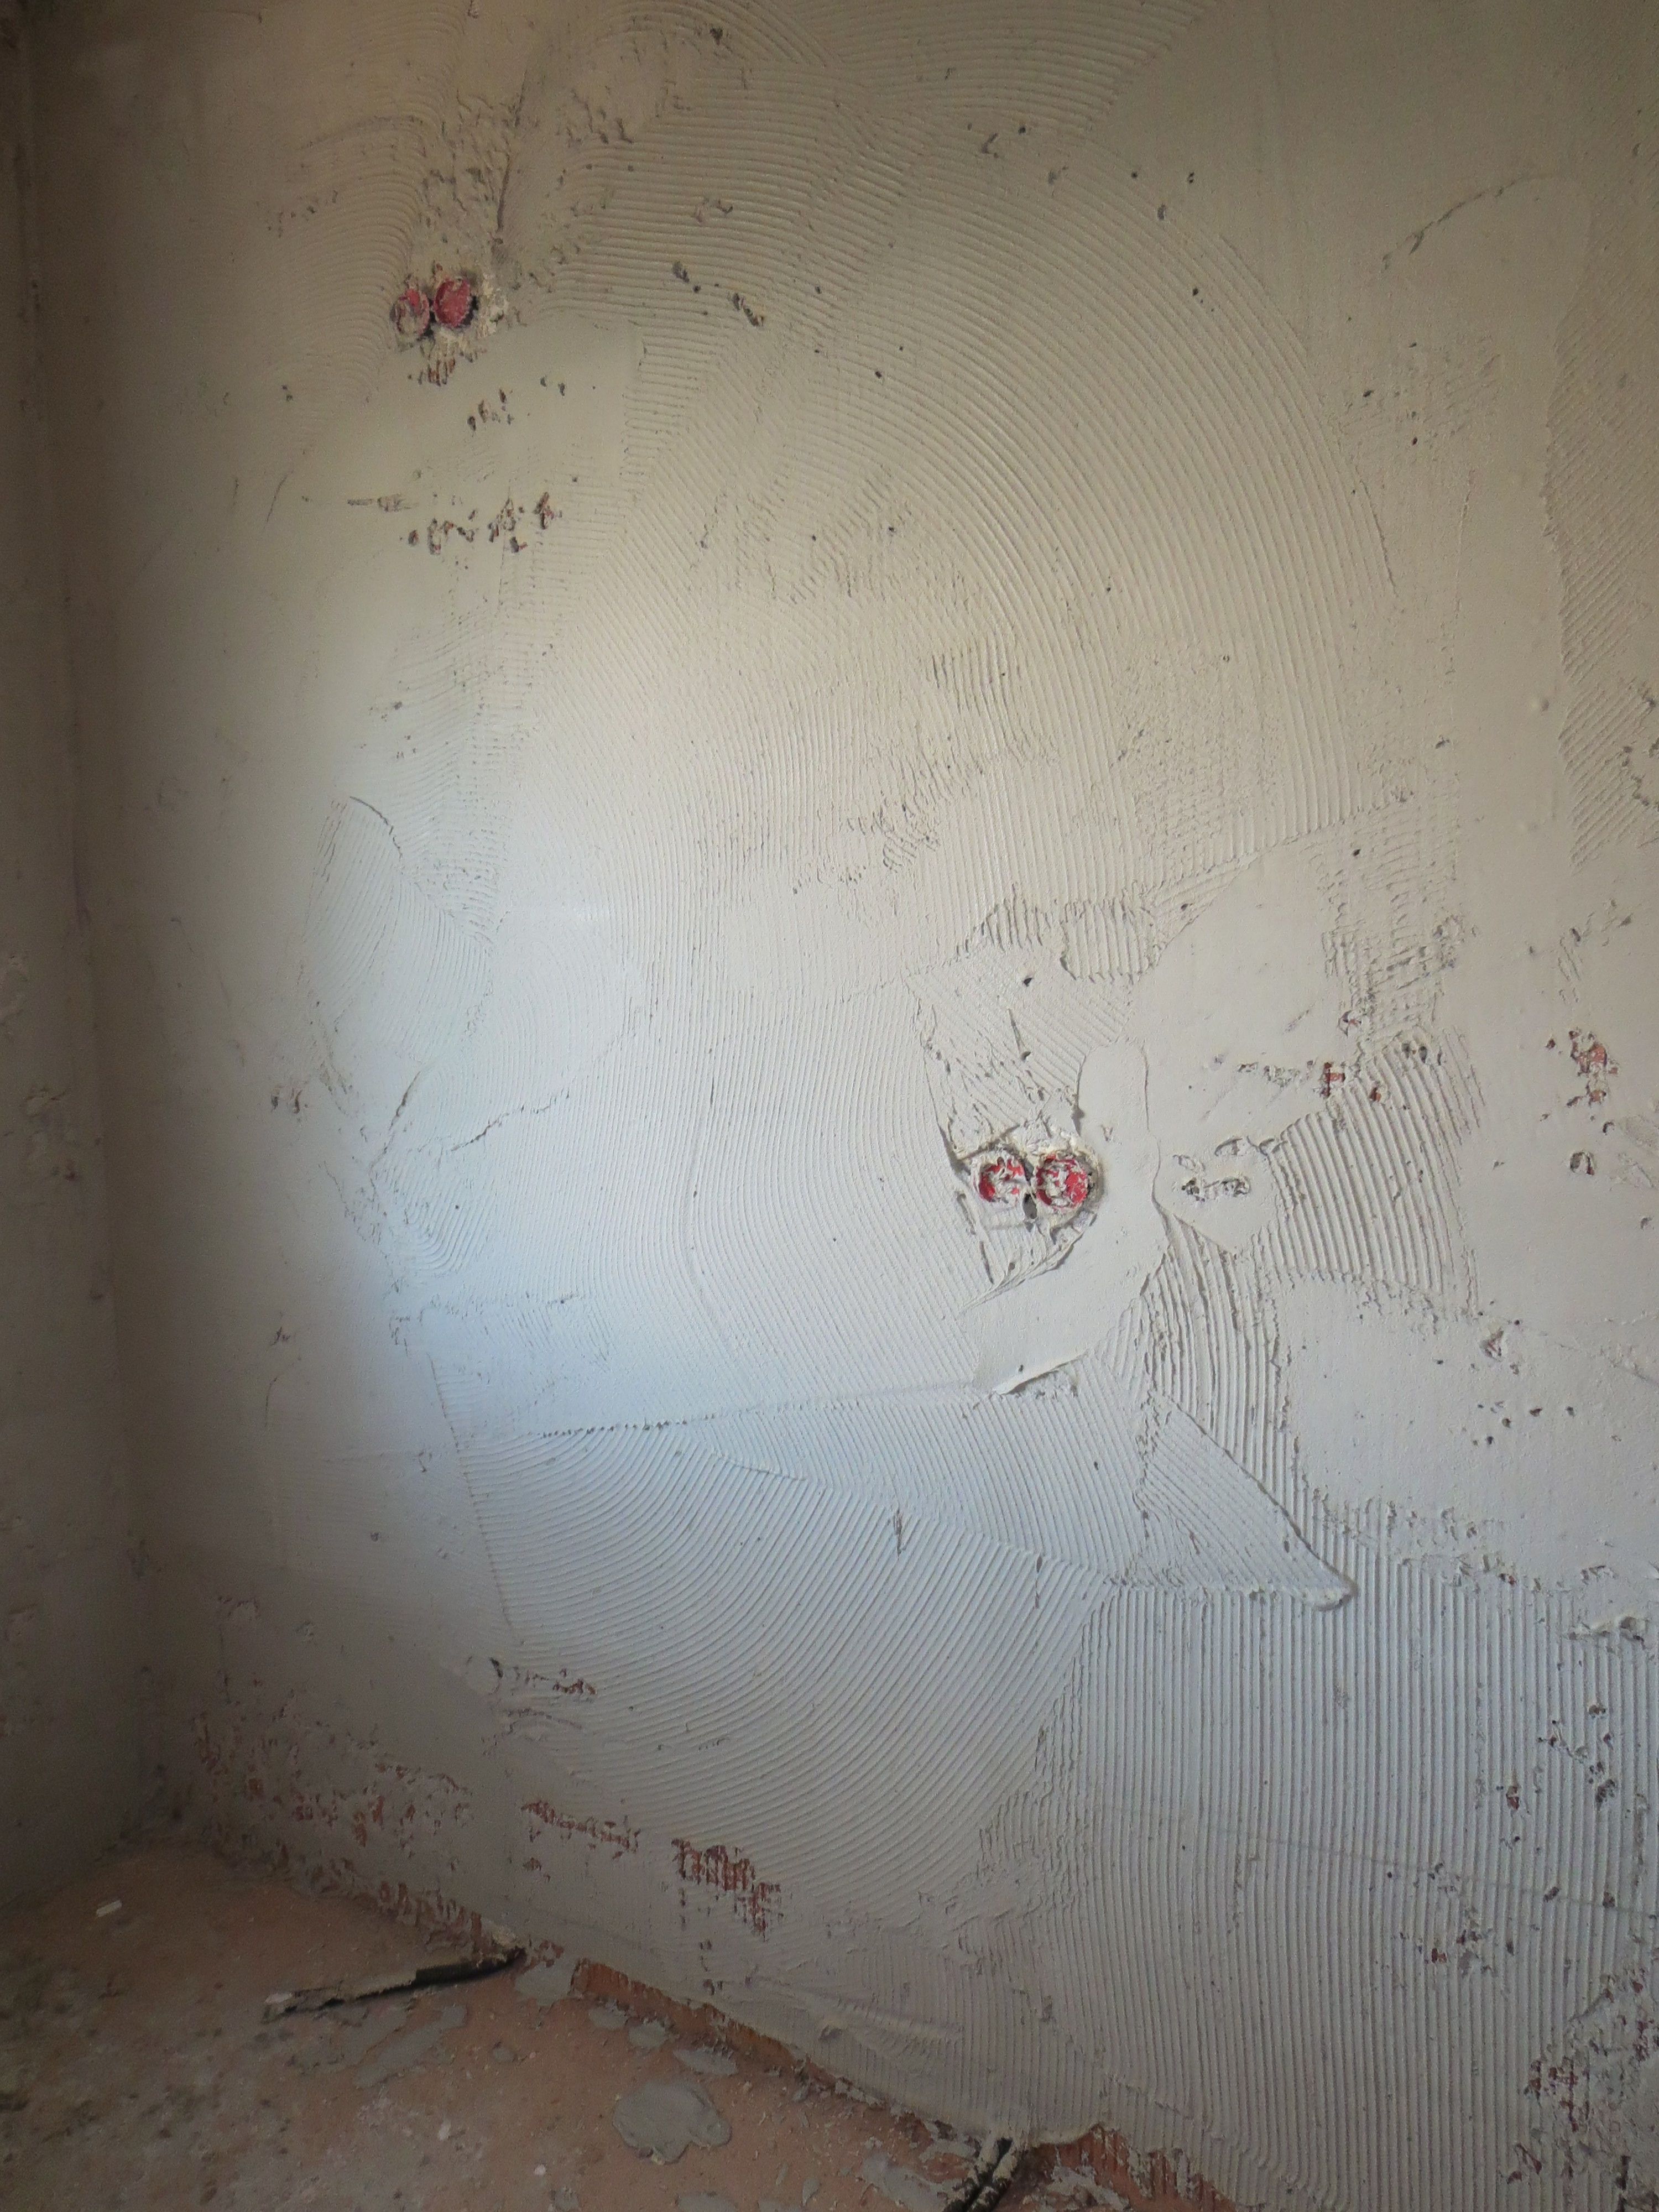
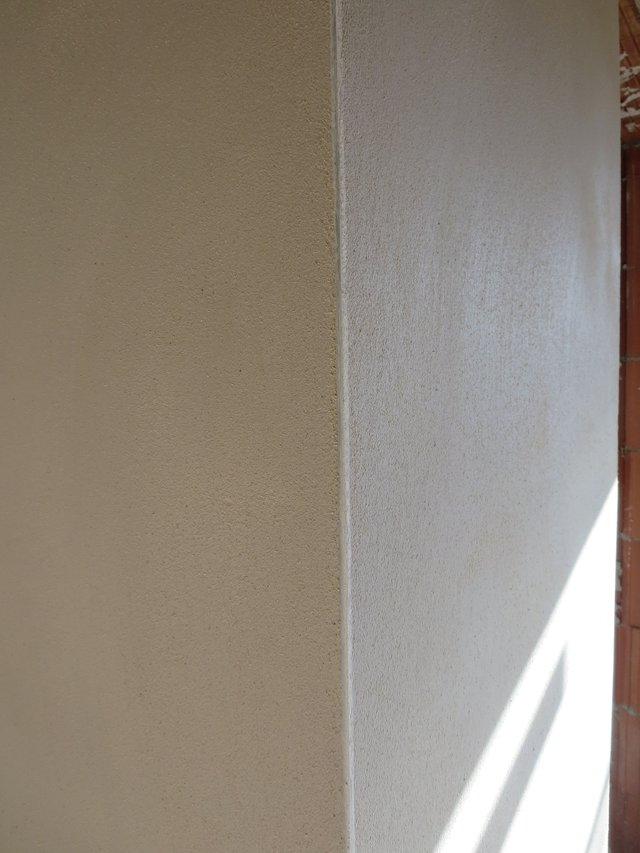
A detail of an edge, almost invisible is a metal edge under the plaster. So you get straight edges.
Ein Detail einer Kante, fast unsichtbar ist eine Metallkante unter dem Putz zu sehen. So bekommt man gerade Kanten.
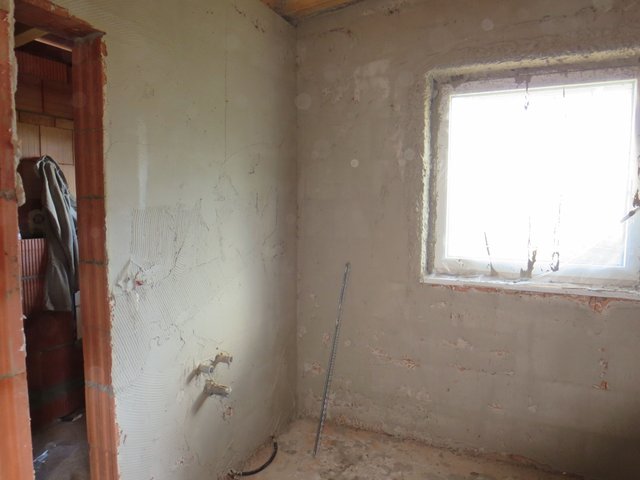
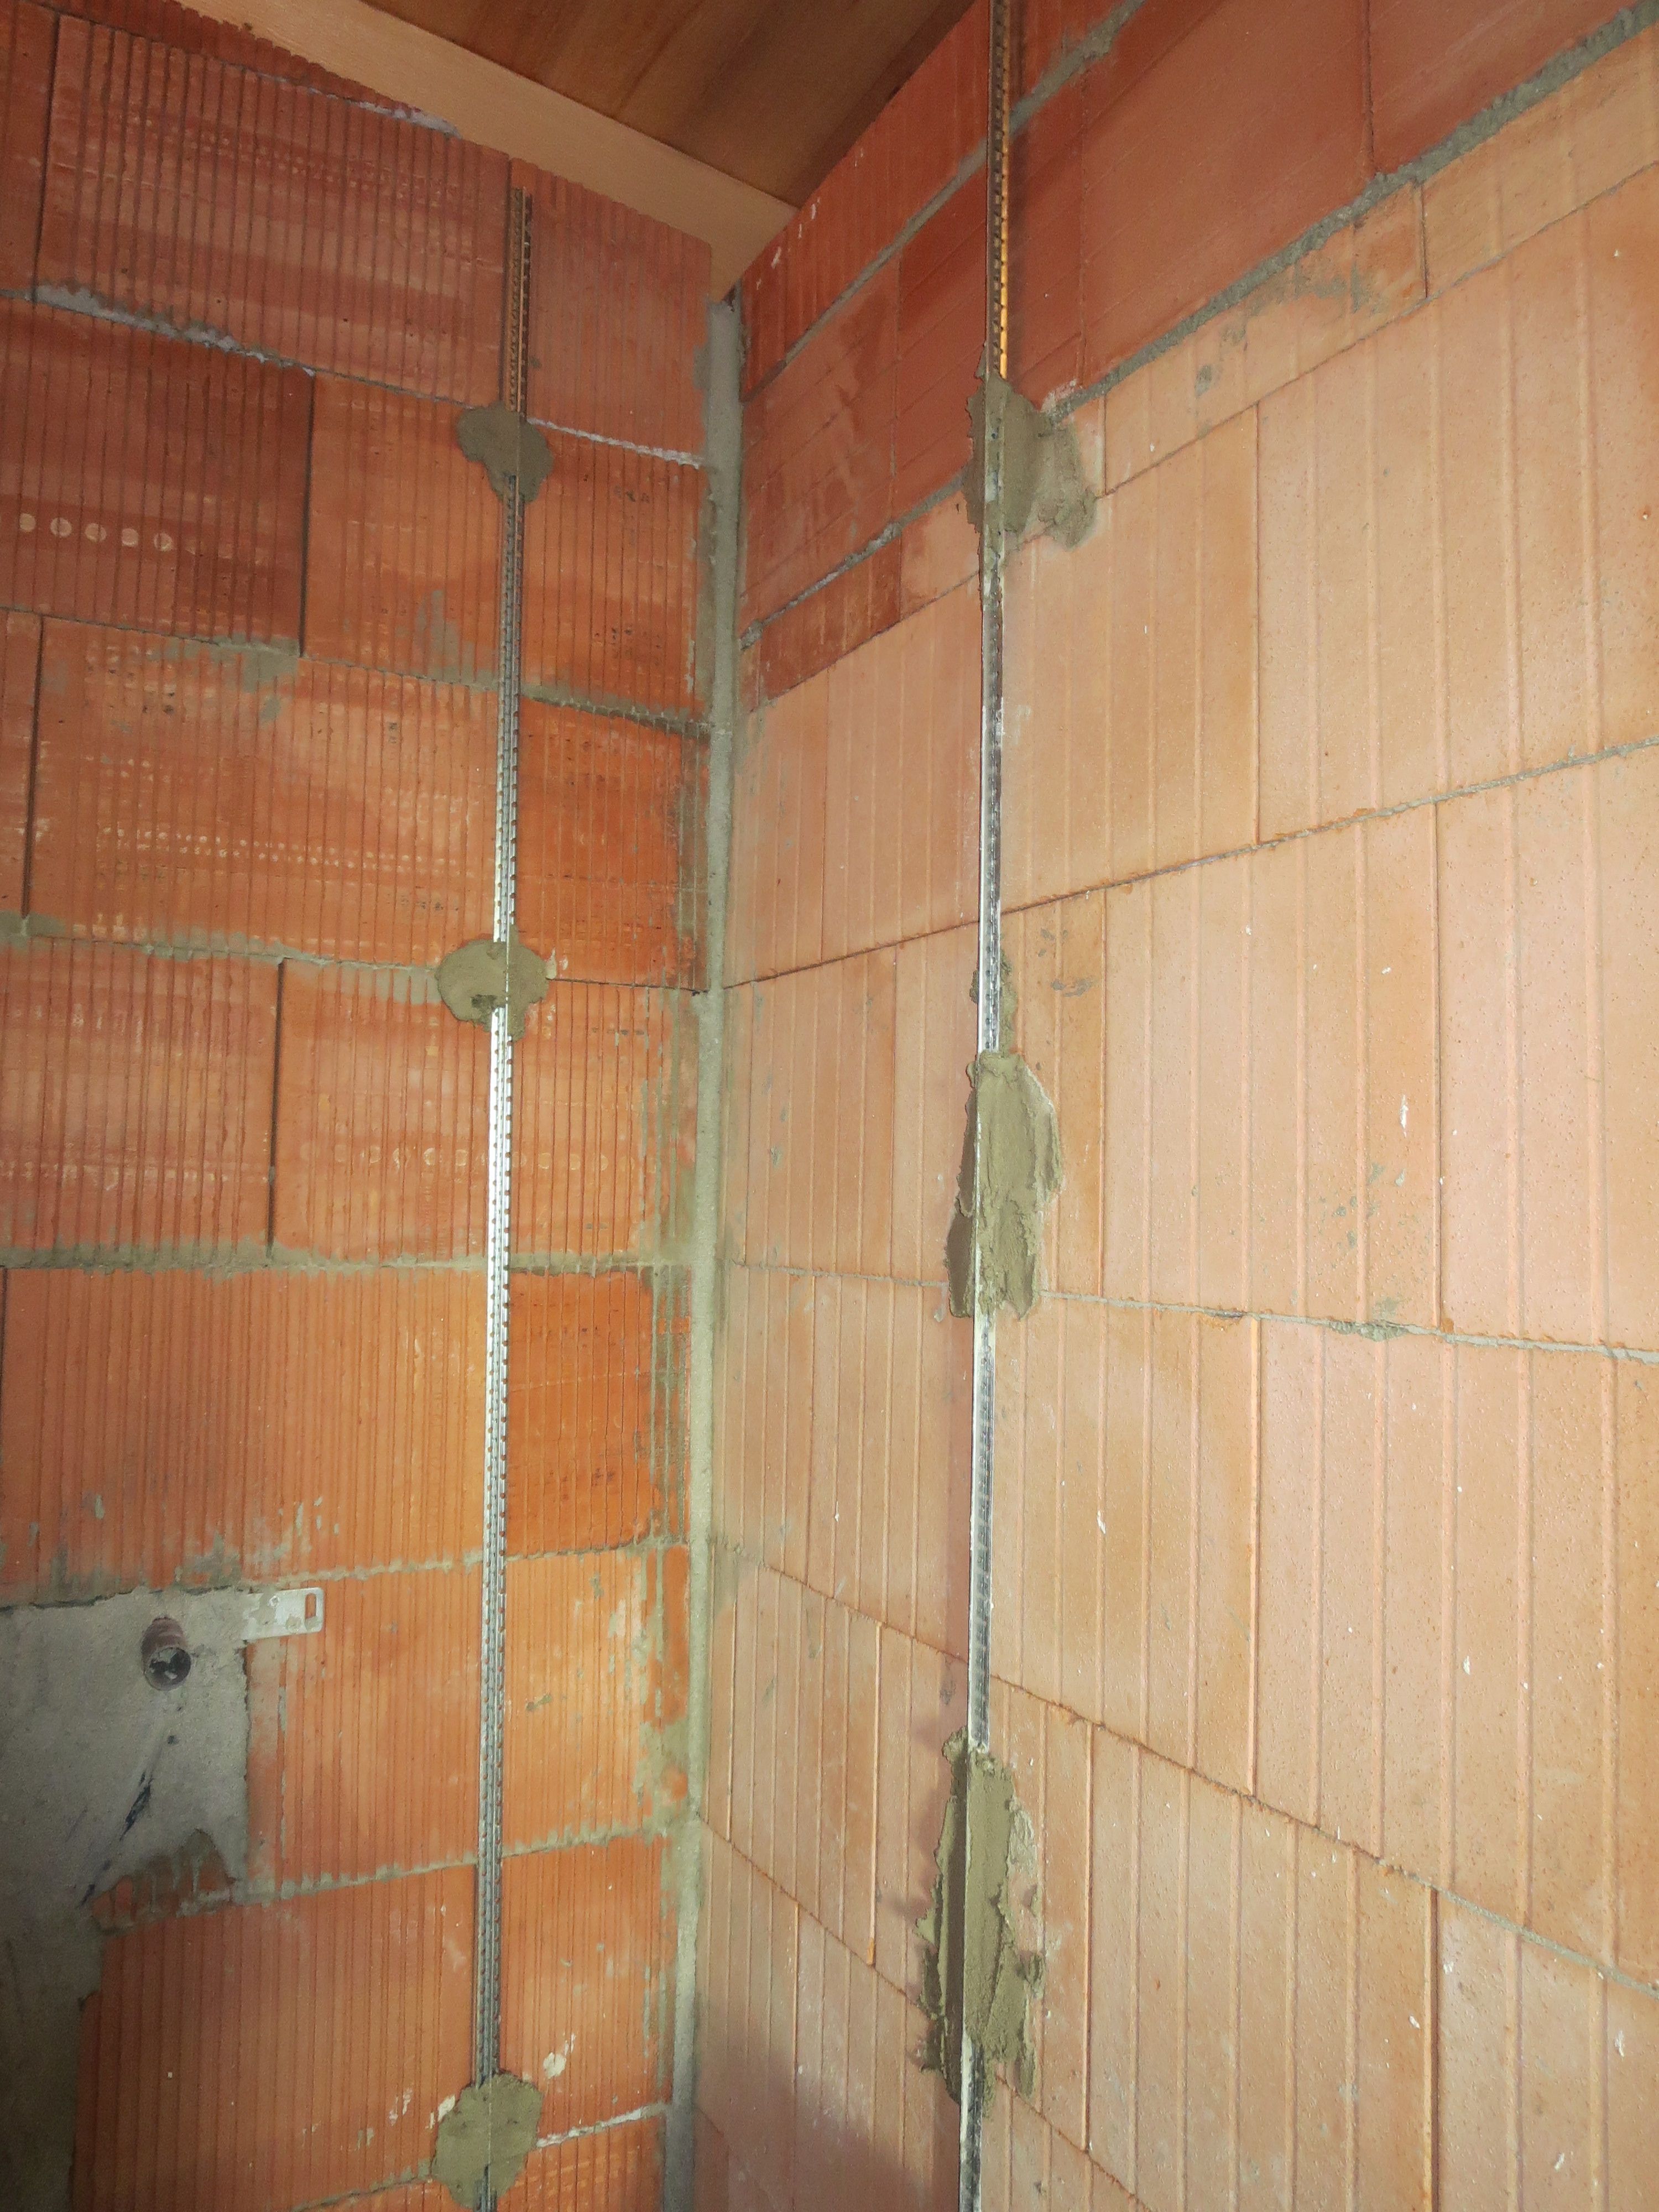
In the small rooms a different technique is used to get straight walls. Here metal strips are attached to the wall in order to control the thickness of the plaster layer.
In den kleinen Räumen wird eine andere Technik benutzt um gerade Wände zu bekommen. Hier werden Metallleisten an der Wand befestigt um die Dicke der Putzschicht kontrolieren zu können.
Tomorrow we continue with the ground construction. I would like to present the most detailed description of a house construction with this construction book and I am glad about your questions, your vote and especially a resteeming.
Morgen geht es dann weiter mit dem Bodenaufbau. Ich möchte mit diesem Bautagebuch die detailierteste Beschreibung eines Hausbaus abliefern und freue mich über Deine Fragen, Deinen Vote und ganz besonders über ein Reesteemen.
Tag/Day 1 | Der alte Garten und Planung / The old garden and Planning
Tag/Day 2 | Aushub, Fundament / Excavation, foundation
Tag/Day 3+4 | Fundamentwand und Anschlüsse / Foundation wall and connections
Tag/Day 5 | Innenraum auffüllen / Interior filling
Tag/Day 6-7-8 | Bodenplatte / Base plate
Tag/Day 9 | Außenmauern /Outer walls
Tag/Day 10 | Außenmauern /Outer walls
Tag/Day 11 | Außenmauern /Outer walls
Tag/Day 12 | Außenmauern /Outer walls
Tag/Day 13 | Innenmauern /Inner walls
Tag/Day 14 | Ringanker / Ring anchor
Tag/Day 15 | Innenmauern /Inner walls
Tag/Day 16 | Dach / Roof
Tag/Day 17 | Dach / Roof
Tag/Day 18 | Dampfsperre / Steam barrier
Tag/Day 19 | Dachziegel / Roof tiles
Tag/Day 20+21 | Wandschlitze/ Wall slots
Tag/Day 22+23 | Elektro Leerrohre / Electrical empty pipes
Tag/Day 24+25 | Sanitär / Sanitary
Tag/Day 26 | Windows
Tag/Day 27 | Pre-plastering
Tag/Day 28+29 | Facing walls and window-boards
Tag/Day 30 | Facing walls and window-boards
Bis nächstes Mal! / See you next time!
Danke für Deine Aufmerksamkeit! / Thank you for your attention!
original content by @schamangerbert in 4000x3000 quality shot with Canon Ixus 255 HS
 SchamanGerbert

It was a great article to improve my knowledge here beuase I work with architects and interior designers as a 3D artist.
Wow, great! If you what to know anything feel free to ask. In the end there will be about 50 posts, so each detail should be clear and visible in many pictures.
Looks really great, those straight smooth walls. ;) And it goes so fast, before you know it you can live there.
Great post.
Thank you!
It was built in 2013, so I am living in it now :) It took 3 1/2 month. We are now in the middle with this blog.
Oh I didn't know that, I didn't see them all. Good that you inform Mrs. sleepy head ;)
It's a great blog anyway, good that you documented it, and show it here.
Thanks :)
Never mind!
I am sure that nobody can get all posts of anything here :)
I am also following your renovation of your bathroom ,and missed a lot of them :)
https://steemit.com/photography/@wordsword/diy-renovating-the-bathroom-6-almost-there-plus-flower-photo