3D Texturing Tutorial - Making the Hell Hound - Episode 3 - The Substance Paint action)
Hi folks were here with another episode of the hellhound. In this episode we're going to be jumping around a bit but we're going to start off in substance painter. I show you how to export your textures from substance painter. I'll show you what those textures look like inside of unity and then we'll finish off with a little touch-up in blender.
1.Okay the first thing you're going to want to do is change your texture size to 128 by 128.

This is going to allow your computer to be able to export at 4096 by 4096 without freaking out. a higher resolution is recommended for example if you had a 128 by 128 and you tried to scale it to a 4096 by 4096 you're going to lose a lot of resolution making the image or Texture blocky and blurry now if you scale down from 4096 by 4096 the resolution will stay crisp and clean.
2.Right click in the scene View and select export textures.

3.Select your export resolution I chose 4096 by 4096.
4.Choose your configuration I chose document Channel plus normal.
5.Make notice of where your textures are being exported to.
6.Hit the export button.

7.At this point you should get a window that has two buttons open folder and okay push the Open folder button.

8.You should now have a window open to location of your textures.

Congratulations for those of you that were falling along you have now exported from substance painter.
Now we're going to jump into Unity for short time and check to make sure are textures of turned out okay.
1.Create a new folder that you can put your stuff in.
2.Pull in your model.
3.Pull in your textures.

4.Drag and drop your model in the hierarchy.
5.Select your material.

6.Drag and drop your material on your mesh.

7.Drag and drop each of the textures in there correct spots on the material.

As you can see after doing all steps everything looks about the same as it did in substance painter. With a little bit of time and not very much effort you could get it the exact same.

It looks like we're ready for blender open up blender and import your mesh. After importing your mesh we begin to set up the scene for the next episode.
1.Remove the texture.

2.Remove the material.

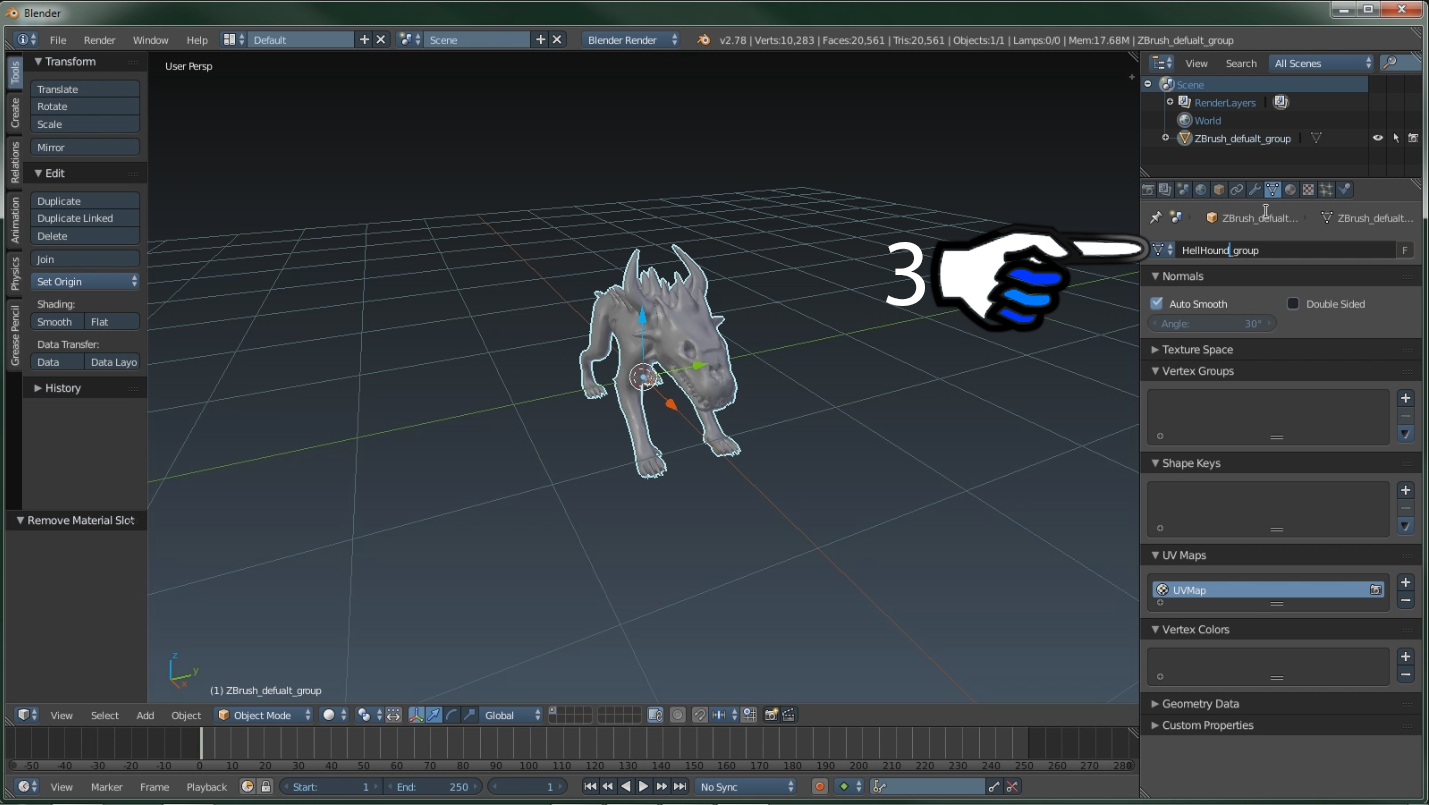
3.Name your vertex groups.
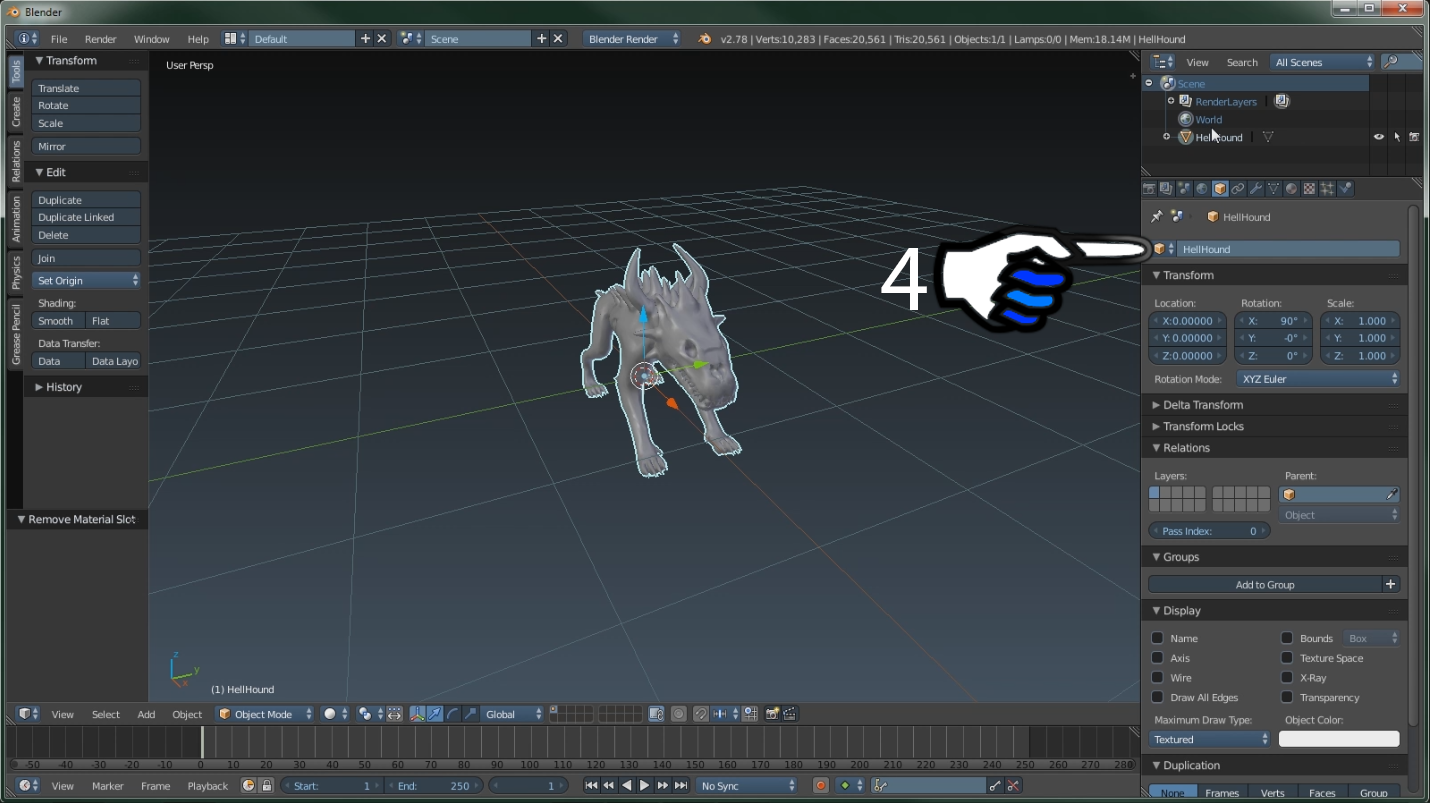
4.Name your mesh.
5.Save your project.

That's about it for this episode guys in the next episode will get into rigging. In the last 5 steps I went over some things that may be confusing why I did them the way that I did them. It just came from experience, textures and materials in blender are not needed it makes the export to Unity a lot more complex so I suggest doing it this way.
As usual I will leave links to my other tutorials.


Bonus.


Thank you for watching you Steemers keep on steeming.
Awesome! I have some freiends who might be interested in your series. Followed. :)
Cool thank you.