3D Texturing Tutorial - Making the Hell Hound - Episode 2 - The Substance Paint action)
Hello fellow steemers it's me again here with another episode of the hellhound. In this episode I go over how to navigate but not in a whole lot of detail and then we dive right into texturing so enjoy.
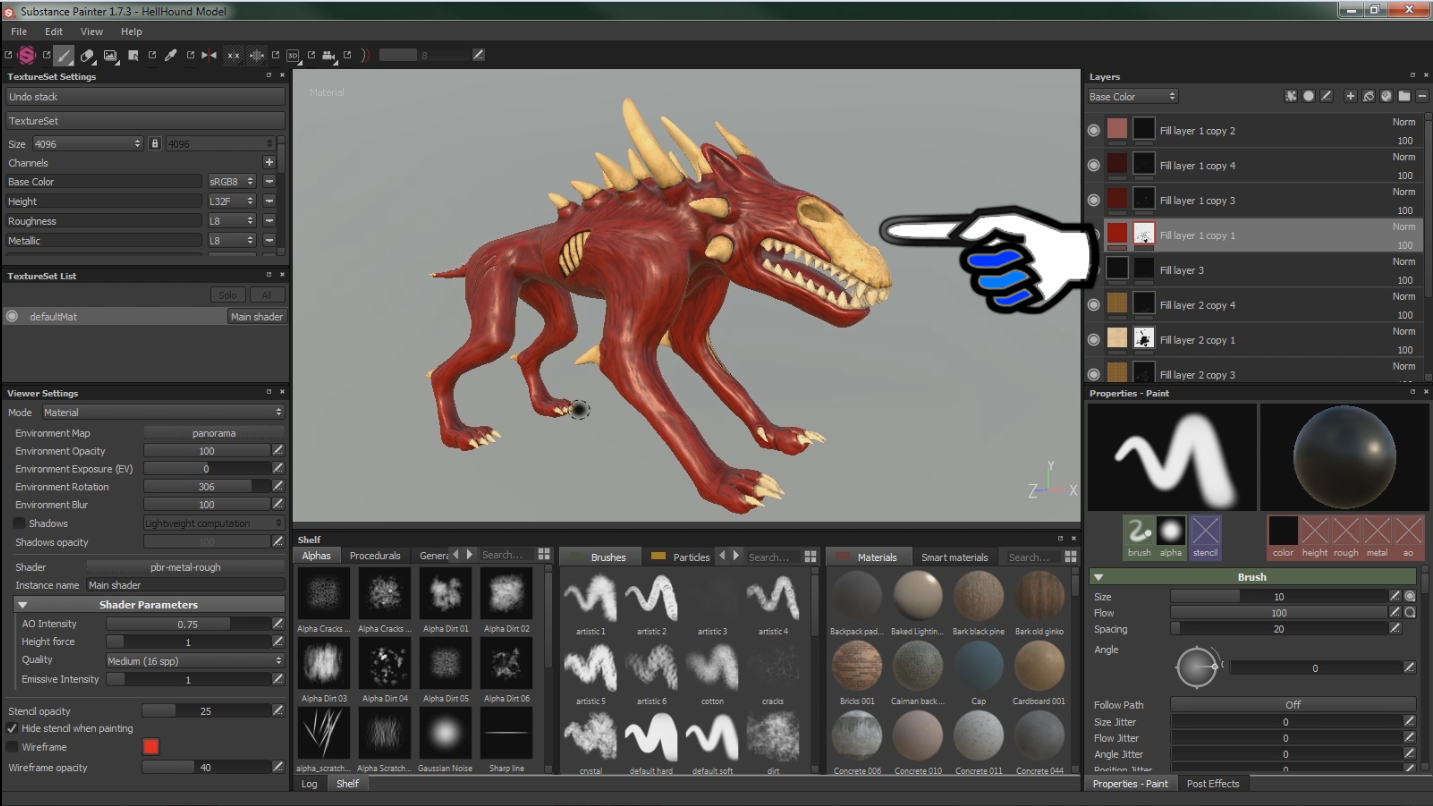
This is the desired look we're going for.
1.Go ahead and open your project.

2.Remove layer 1.

3.Navigate to the material.
4.Find and select a material.
5.Drag-and-drop material in layer hierarchy.

1.Right-click the layer.
2.Navigate to add black mask and add.

1.Back at the materials tab go ahead and select all the materials that you plan to use with your model.
2.Very important make sure you name your layers.

1.Navigate to the Symmetry button check it.
2.Select the axis in which you want to mirror.

This allows you to do both sides at the exact same time, saves you a little time.
1.Make sure the black mask is selected.
2.Make sure the slider for the grayscale material is on white.
3.Begin your adventure of painting.

Well I hate to say it but that's about it for now I hope you folks enjoyed and I'll see you in the next episode. As usual I will put a link to all my other episodes at the bottom.


Bonus.

Keep on steeming you steemers.
I really like the look of the final painted hell hound! That thing looks wicked. Great job, lots of good stuff here and substance painter looks top notch!
Thank you I think it's coming along pretty good.
Nice video @theanubisrider
Thanks the audio was a little off.