A specific tutorial on how to assemble 2D art using bones in blender for a specific steemit user abstract2000
Hi the tutorial took a little bit longer than I thought it was going to the first time I failed miserably. I misunderstood the question that was asked of me to make a tutorial. Unlucky me four hours of work went down the drain. I was not to be discouraged, I sucked it up and started over at about 5 o'clock this morning I finished it. I grab some shut-eye and now I am posting the tutorial. The video tutorial is exactly 18 minutes and 32 seconds as usual I made a text and image tutorial to go along with the video tutorial.
A specific tutorial for a steemit user abstract2000.
Okay the first thing you want to do is go ahead and turn the add-ons on. You do this by going to user preferences.
Then you want to select the add-ons tab.
Then scroll all the way down until you find a button that is unchecked and called Import-Export Import Images as Planes.
You're going to want to check that box.
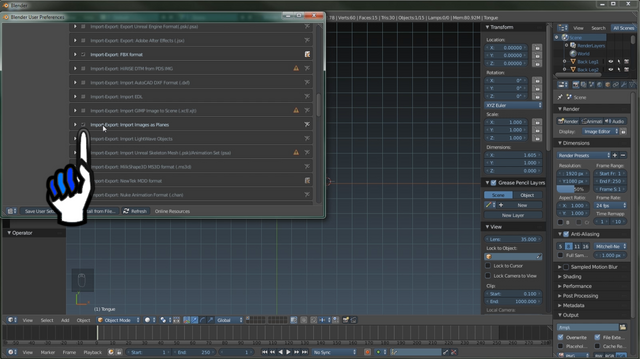
At this point you're going to want to save your user preferences this will allow the add-on to be turned the next time you open blender.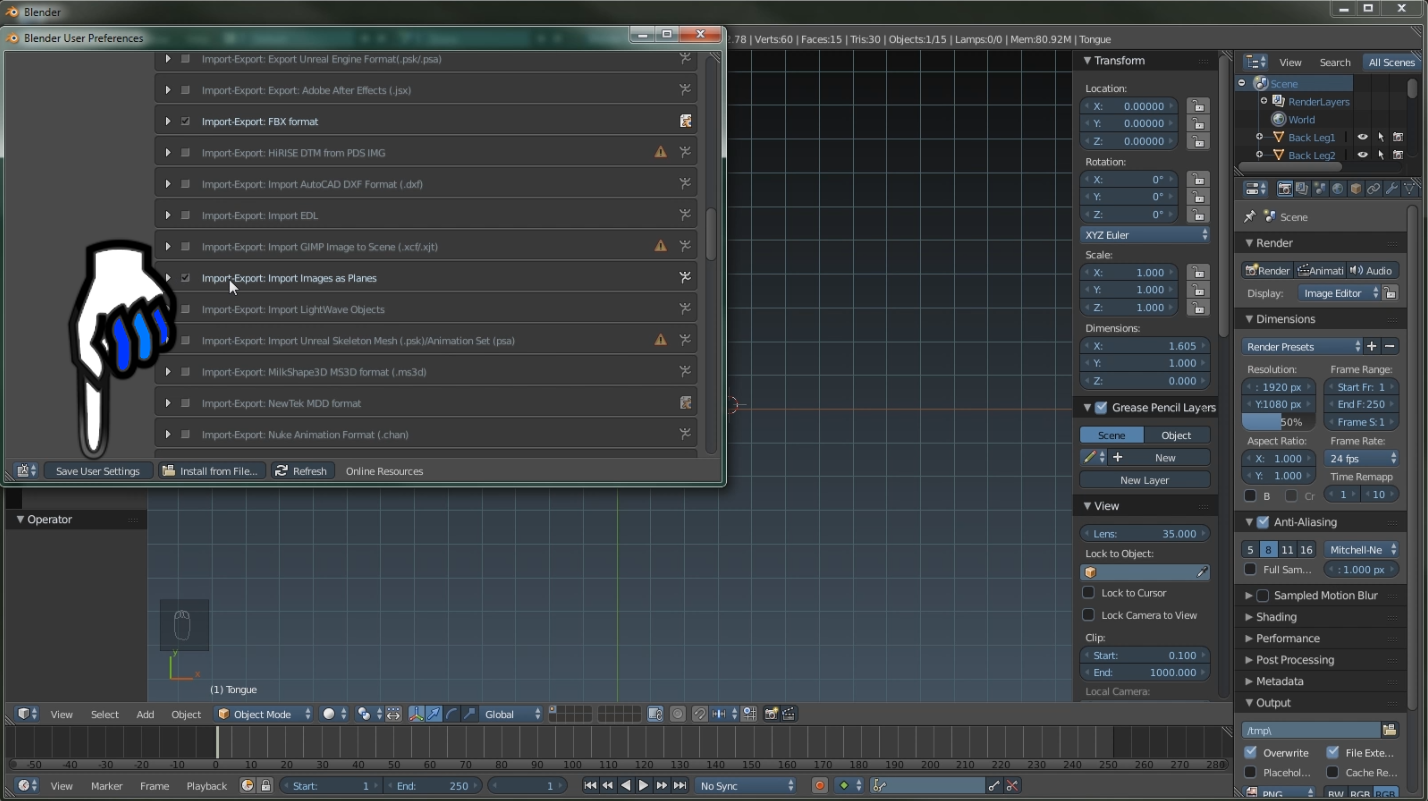
We should take a few minutes to brush up on what we just did. Basically what we just did is enabled the blender platform to be able to use that specific add-on. Then we went ahead and set it up to where the next time you open blender you will not have to go back in and turn this add-on on again.
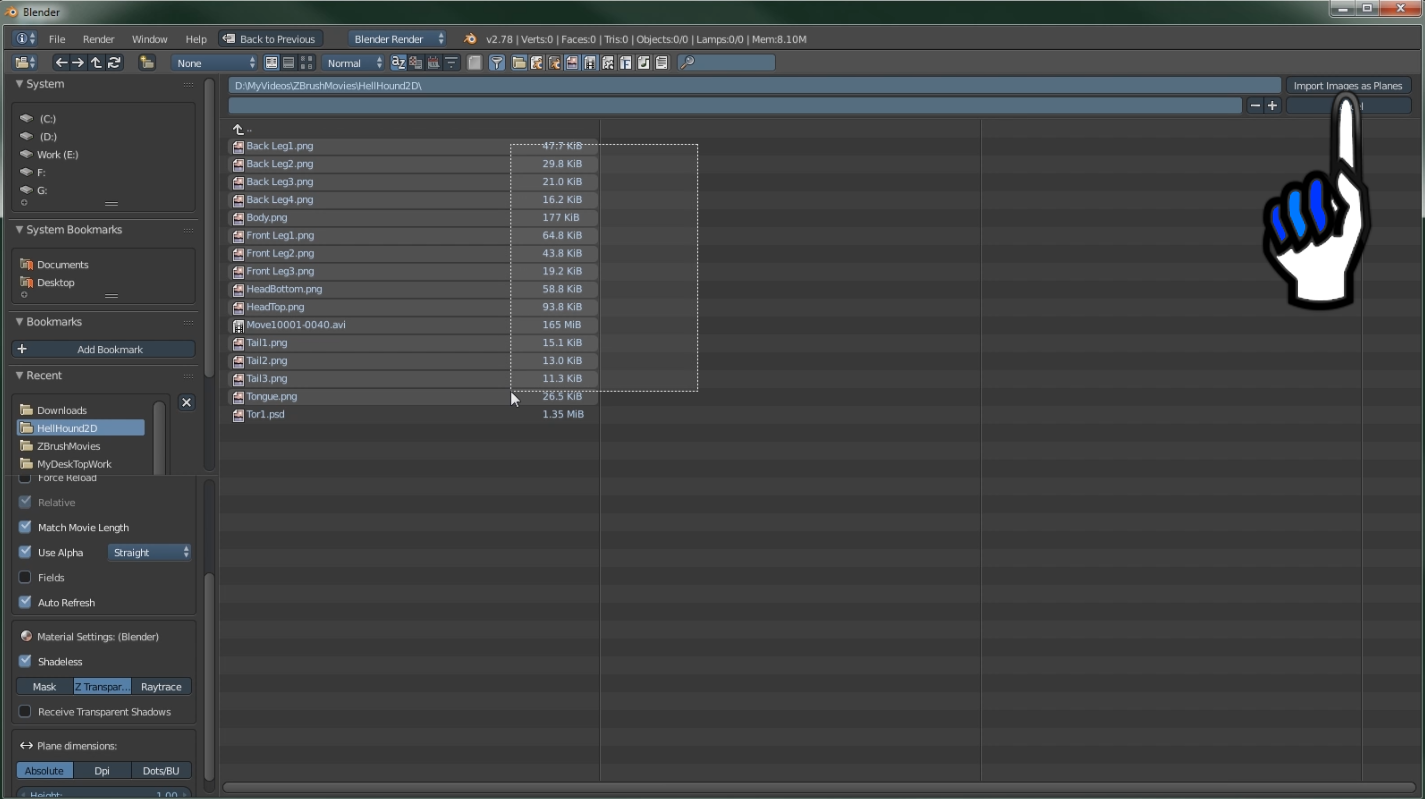
Ok at this point we're going to go ahead and import the images as planes.
You want to go to the folder that your images are being held in.
Now we need to find the import options tab there's going to be a few options in this that we need to check before we import.
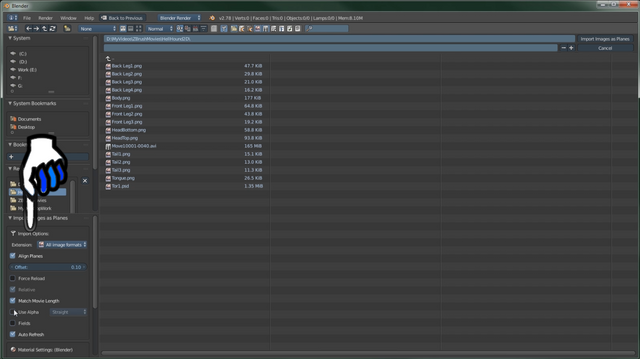
The first option that you're going to need to check is use Alpha.
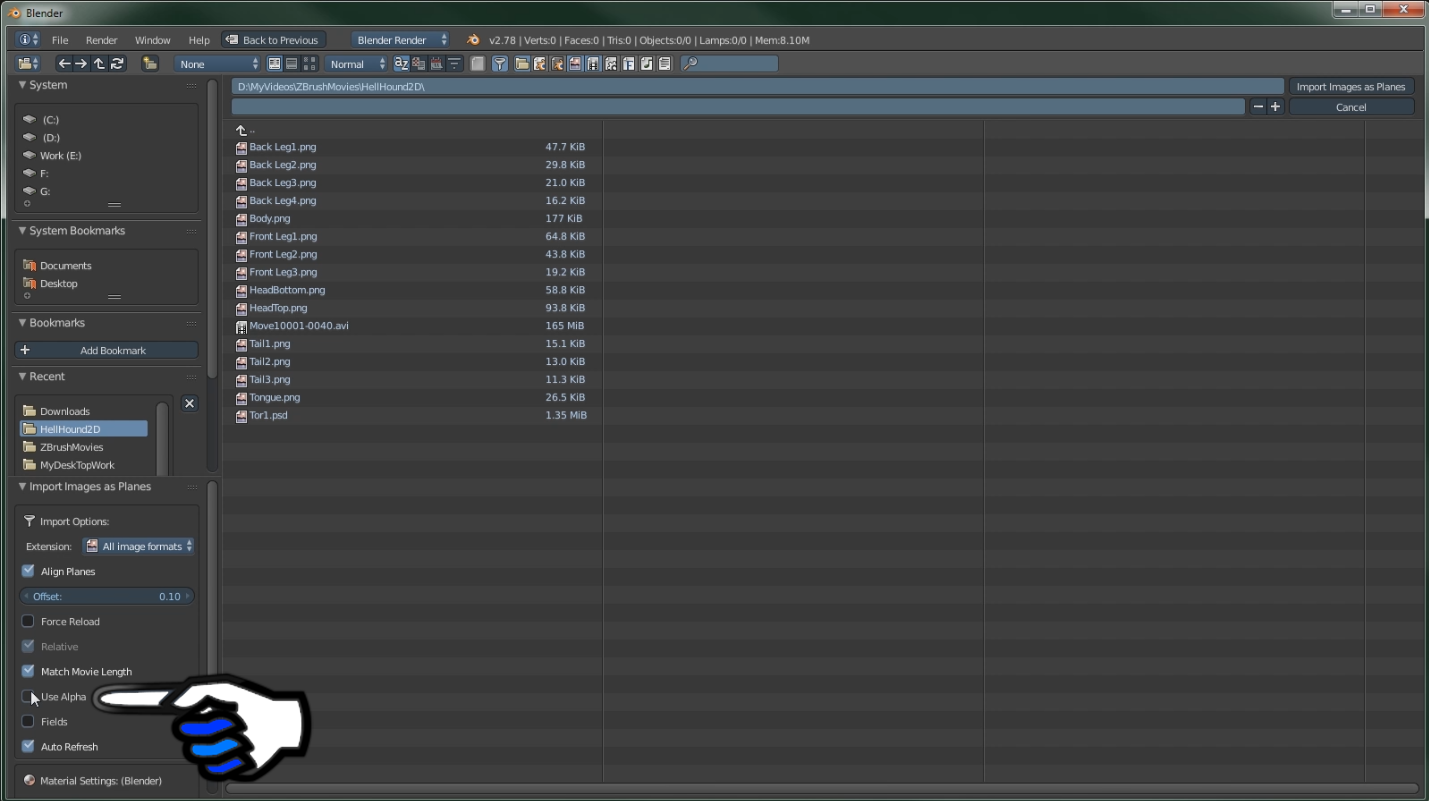
The second is going to be Shadeless.
The third is going to be Ztransparent.
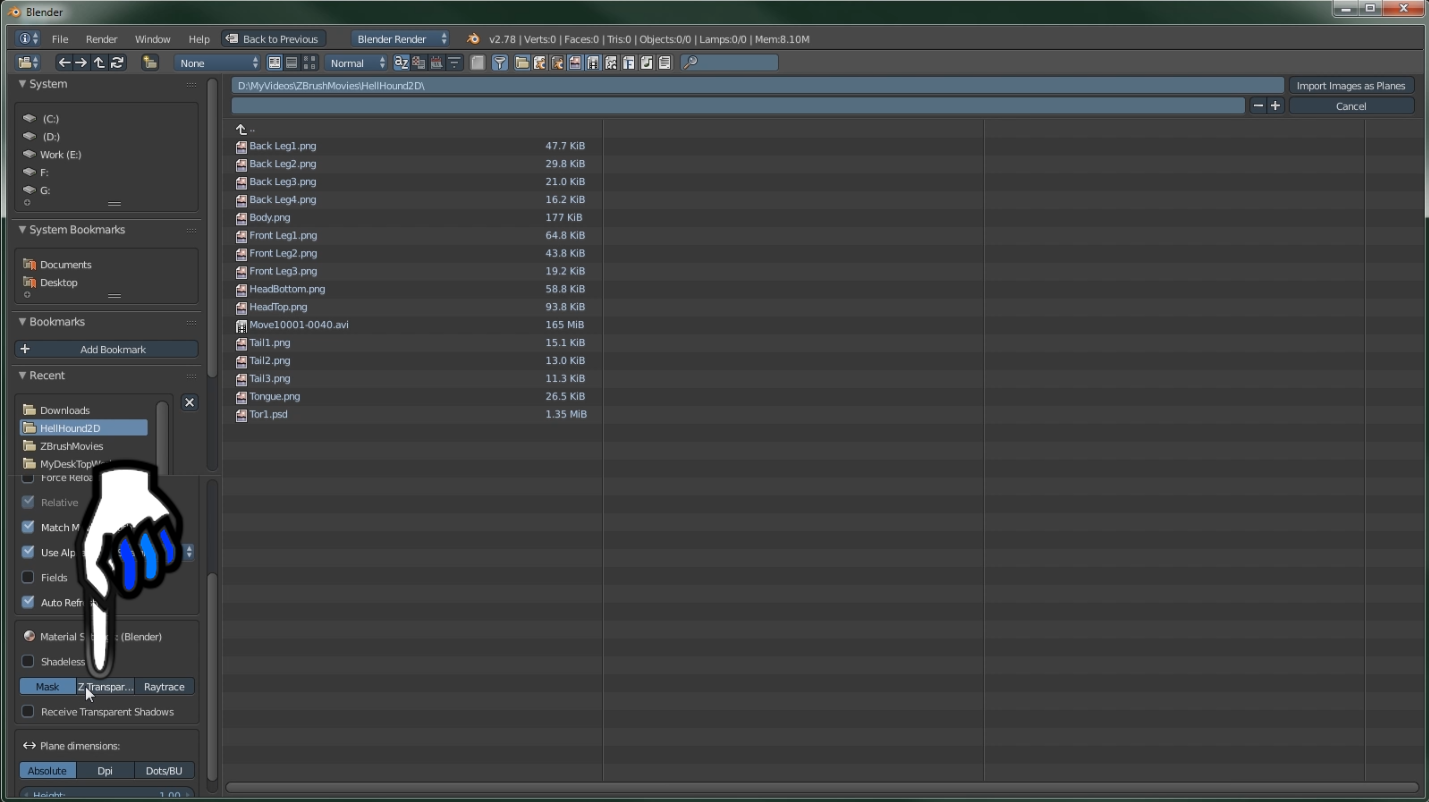
Okay let's go ahead and take a moment to think about what we've just done. We now know how to import images as planes. We now know how to change the import options. Good work let's go ahead and move on to the next steps.
You should now see a bunch of grey boxes on your screen.
At this point we're going to move to the transform tab on the location we are going to set all the x-axis if each square to zero.
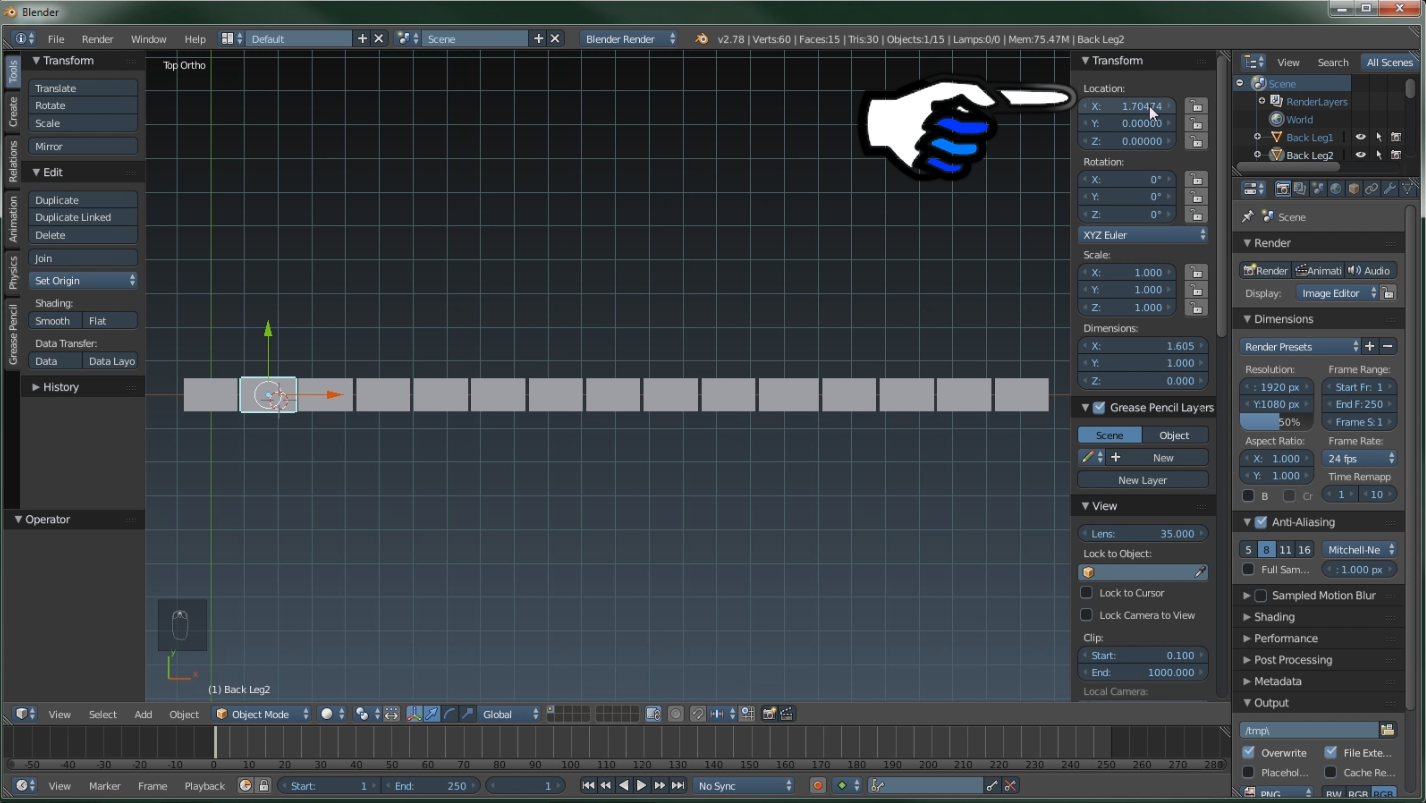
We now need to go ahead and change the viewport material to textured and you should see this. You noticed that your gray boxes aren't so great anymore.
I think that we're ready to start dropping in the bones. Before we start doing that let me explain what the tab is we're going to be using. There's a tab on the left upper side you going to want to navigate to it.
Inside the tab there are other tabs you want to select the create tab.
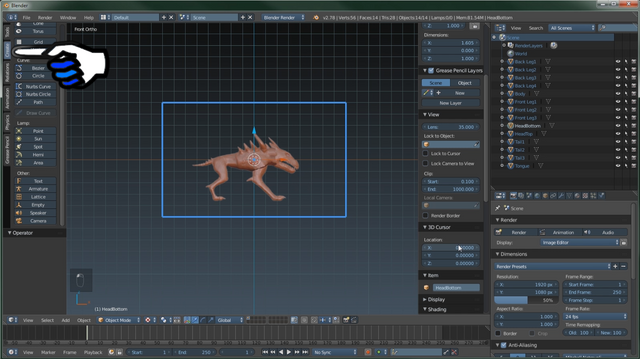
Scroll to the bottom till you see a button called Armature add it.
A quick little side note I am going to suggest that you named your bones.
At this point you're going to want to position the bone over the head pieces.
Then shift select all of the head pieces.
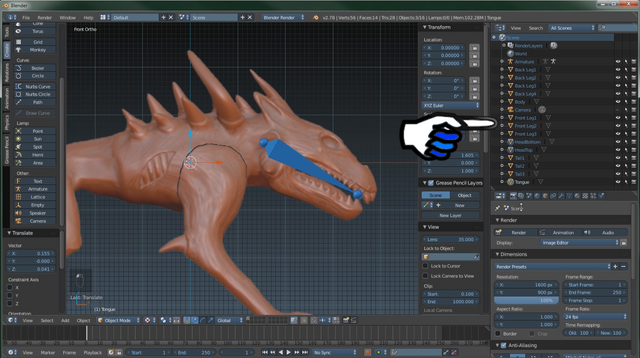
Then while you have the head pieces selected. Shift selected the bone make sure the bone piece is the last selected.
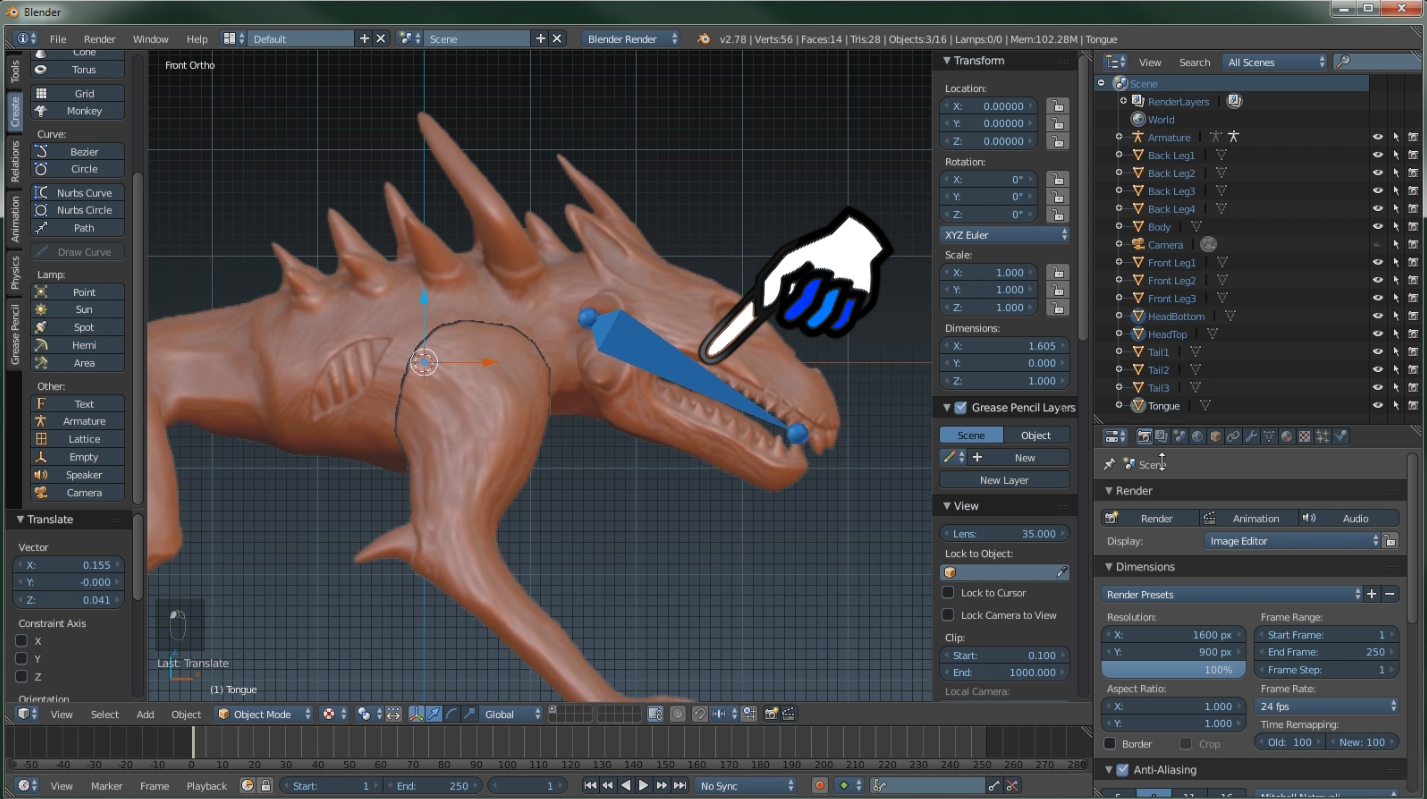
You're going to want to press Ctrl p this will bring up a menu you want to select with empty groups.
Okay now let's go ahead and discuss what's going on so we've added a bone, we positioned it, and we parented the head pieces to it. From this point we're going to go ahead and get into setting up weights for the bone take a look.
We need to set the objects interaction mode to weight paint mode.
We need to check one more button before we get to painting it is vertex selection mask for painting.
Now we paint over all the vertices that are showing for each headpiece this includes all body pieces as well. To clarify you add more bones and do the same thing over and over for each body piece.

As you can see the vertex painting groups worked just fine the head is moving.
So at the end of all of this you should see something that looks like mine I hope that this tutorial was helpful.
Well I think that's about it I had fun making this tutorial for you I hope you have as much fun as I did. I'm going to go ahead and put a list to my tutorial post you have a good day.
A lot of work involved in not only the project, but the tutorial. Very nice and thank you for the hard work. I was just suggesting someone earlier today to find some Blender tutorials. Ill refer them to your post.
Thank you and thanks for noticing men.
Thank you - I am in the middle of making up a pin up model and I wanted to move her around - I will be coming back to this reference. Thank you for your hard work. Cheers and much LUV followed - upvote and what the heck a restreem.
No problem and if you need some help anywhere else let me know
Awesome tutorial, @theanubisrider. It looks so real! I have just upvoted and followed you :)
Thank you not my usual work but I always like helping a fellow steemer.
Good Job Nathan, keep up the good work. Resteemed.
Thank you
Agreed, very impressive tutorial. Lots of work into this one. I have spent lots of time in Blender myself and I am still learning good stuff here.
Also, I saw something the other day I wanted you to see. It reminded me of you and I thought it might inspire you to do some more posts like this one right here.
Check this out...
Thanks you this is really inspiring I'm glad that you thought of me.
Nathan, @kidsysco here is a friend of mine outside of steemit. He and I have been speaking in slack before I discovered steemit. He is one of the few that really EMBRACED the steemit idea from our slack besides me.