3D Texturing Tutorial - Making the Hell Hound - Episode 1 - The Substance Paint action)

Hi fellow steemers in this episode we're going to go over how to get the hellhound into substance paint. So at some point in the zbrush tutorials I lost the subdivisions and the subdivisions are an extremely important part of making the LODs. Not to worry blender saved my a** by allowing me to make subdivisions. Which saved me a lot of time and effort cuz I would have had to start the hellhound over.
Okay so I'm going to go ahead and show you how to optimize your model so that it can go into substance paint. We need to go ahead and import the high poly model into blender.
1.Go to the File tab then down to import and then to obj.
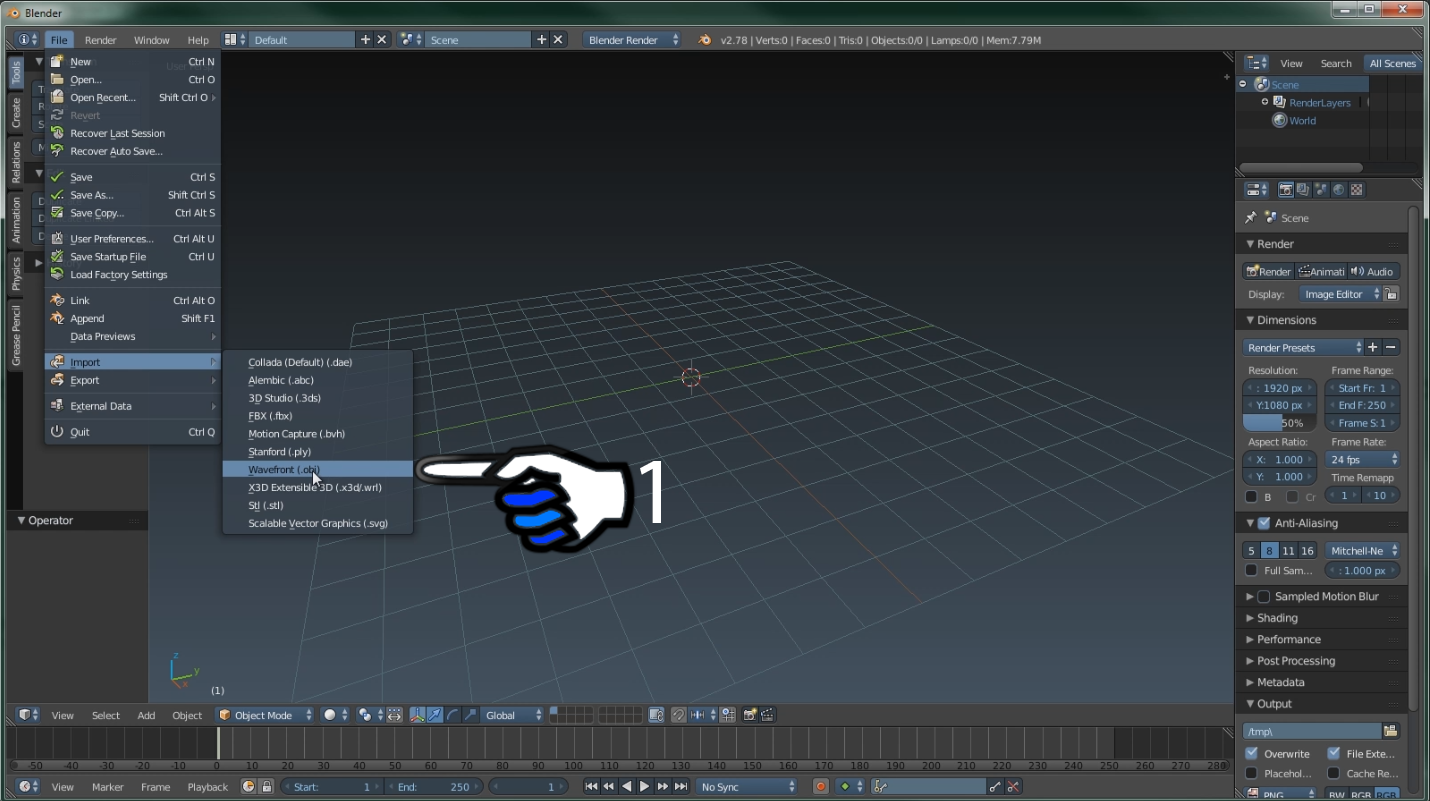
2.Find the model you are importing and select it.
3.Hit the import button.

1.Go ahead and select your model.
2.Select the modifier tab.
3.Select decimate.

1.Set the ratio to 0.5 I do 0.5 because it doesn't lag as much.
2.Make sure the vertices are under a million.
3.Inspect and make sure that the high poly model didn't change too much, as you can see no change just less vertices.

1.OK at this point you want to go ahead and Export your high poly model as OBJ.
Now that we have exported high-poly we need to start working on our high low poly. What I mean by that is we need a model that is in between 10,000 and 20,000 vertices and we will make the LODs with this model this one being the highest LOD.
1.Keep decimating till 2. is at the desired value.
2.Make sure the desired value is in between 10,000 and 20,000 verts.
3.At this point the model should be showing some changes don't freak out this is to be expected.

1.Now export the model that is between 10,000 and 20,000 verts and do OBJ.
Now we move on to substance paint this is where we'll go through the reasons why we set up the hellhound the way we did in blender.
1.Go to file then open.

2.Navigate to the mesh then go to select button push it, navigate to the mesh that we saved from 10,000 to 20,000 verts and select it.
3.Push the OK button.

This will open up your model into substance paint now we all know that this is not the desired look we're looking for
let's get started on fixing that.
1.Navigate to texture settings.
2.Select bake texture button.

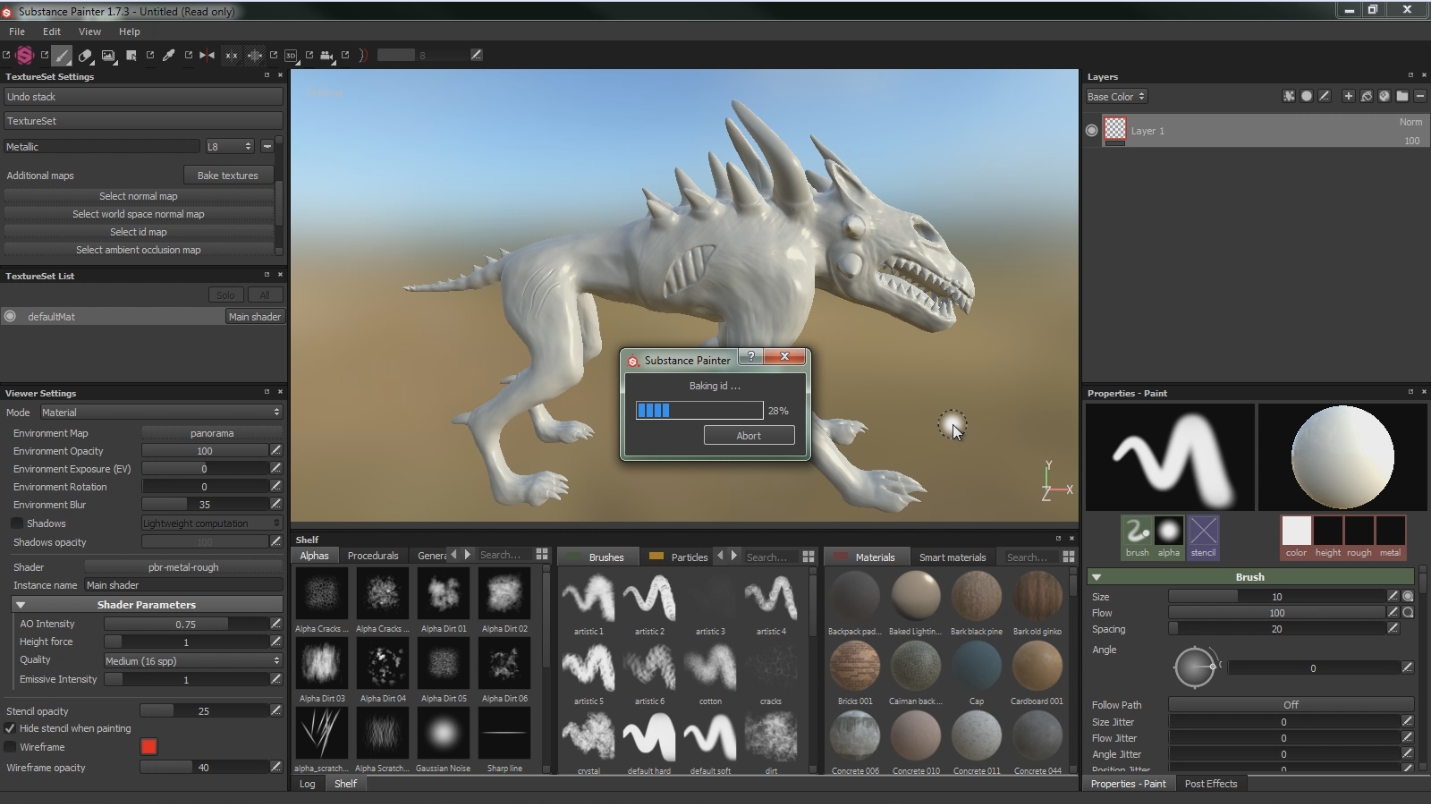
Now we're going to set up the import of the really high poly the one that's between 300,000 and 1,000,000 verts.
1.Set up your output size I choose to do 4096x4096.
2.Import the really high poly the one that's between 300,000 and 1,000,000 verts.
3.Hit the bake textures button.

Okay what we've just done is told the high poly to bake to the other hi Polly the normal map and the ambient occlusion map exe... Let's go ahead and watch that.


So now we have a model that is between 10,000 and 20,000 verts that looks like the model that is between 300,000 and 1,000,000 verts pretty freaking cool if you ask me. That's it for this tutorial guys when we come back we'll be doing texturing thanks for watching.


Bonus.

Alright thank you, you Steemers keep on steeming.
Thanks for sharing
Thank you.