3D Modeling Tutorial - Making the Hell Hound - Episode 11 - More Z-Brush action)
Hello fellow followers good afternoon in the last episode episode 10 we left off on working on the tail. So it's only fitting that we begin this episode episode 11 with the tail. We are going to be getting into some pretty cool stuff in this episode. Tearing away some muscle, revealing some bone exe.... Before we get started I'm going to list the beginning to now episodes for those that are just now joining us.
Episode 1
https://steemit.com/art/@theanubisrider/3d-art-hellhound-model-episode-1
Episode 2
https://steemit.com/art/@theanubisrider/3d-art-hellhound-model-episode-2
Episode 3
https://steemit.com/art/@theanubisrider/3d-art-hellhound-model-episode-3
Episode 4
https://steemit.com/steemit/@theanubisrider/3d-art-hellhound-model-episode-4
Episode 4.5
Episode 5
Episode 6
Episode 7
https://steemit.com/zbrush/@theanubisrider/3d-modeling-tutorial-making-the-hell-hound-episodes-4-5-to-7-more-z-brush-action
Episode 8
https://steemit.com/zbrush/@theanubisrider/3d-modeling-tutorial-making-the-hell-hound-episode-8-more-z-brush-action
Episode 9
https://steemit.com/zbrush/@theanubisrider/3d-modeling-tutorial-making-the-hell-hound-episode-9-more-z-brush-action
Episode 10
https://steemit.com/zbrush/@theanubisrider/3d-modeling-tutorial-making-the-hell-hound-episode-10-more-z-brush-action
Okay let's go ahead and get started with episode 11.
Hell Hound model episode 11
When we left off in episode 10 we were struggling with the tail. I figured out why we where stuggling the geometry AKA polycount was way too low for the area of this part of the model.
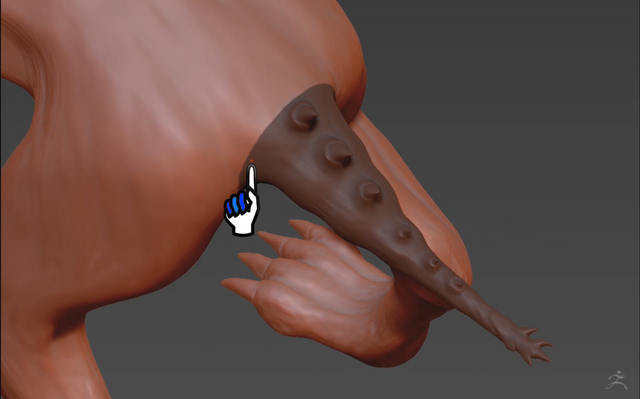
If you look closely here you can see blocking in the geometry in the previous photo you can see that I masked off the tail. Doing this allowed me to increase the geometry AKA polycount without disturbing the rest of the model.
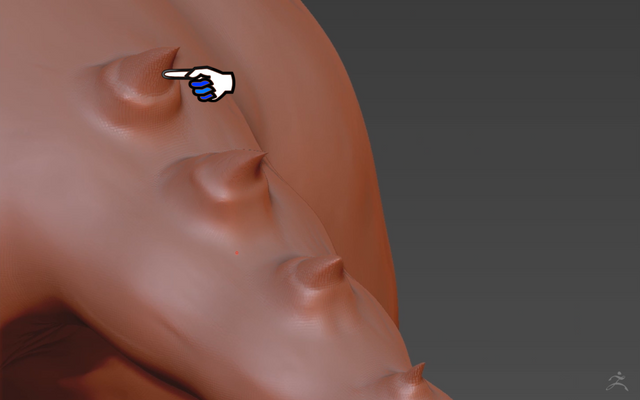
As you can see here after doing all that then smoothing it out you get rid of that choppy look.
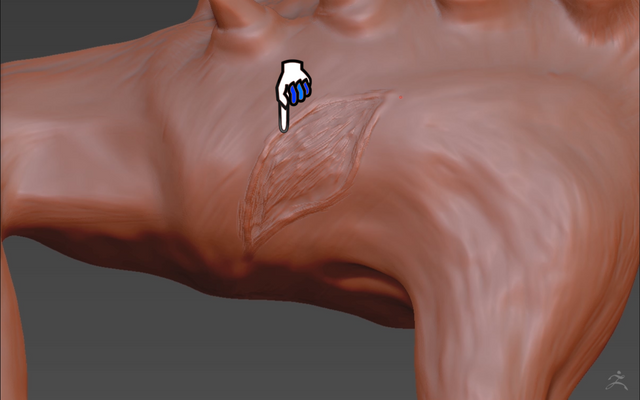
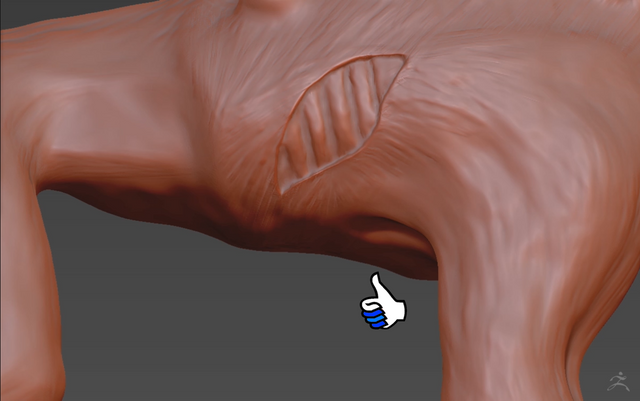
Here's where all the fun begins I start to imprint a gash on the side of the ribs. Time and patience will allow success.
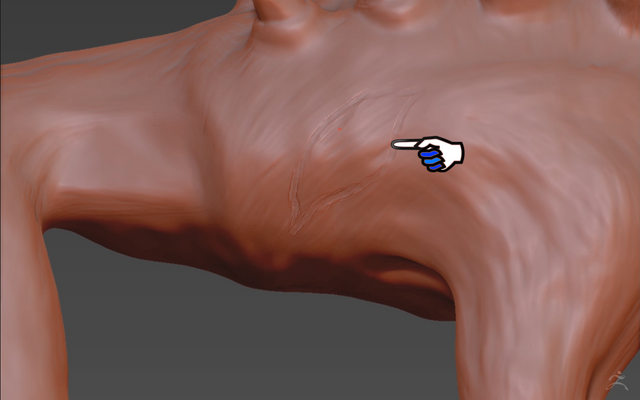
As you can see we're starting to get the desired look but it's not quite there so let's keep at it.
Okay I think I like this for now we'll do some touch-up work later.
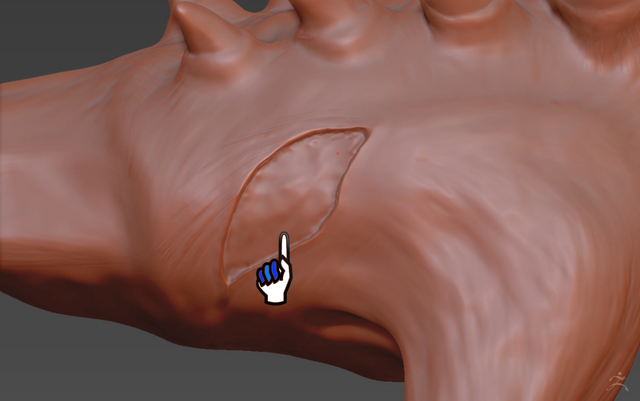
With the work of the gash almost completed let's go ahead and add the structure of the rib bones.
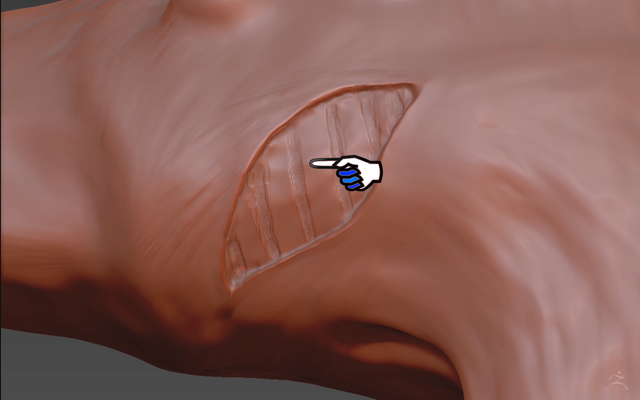
This part was not easy the bones seem to be a little off to me.
But with a little time and patience I think I got the look. It still needs a little touch-up work but will do that right at the end
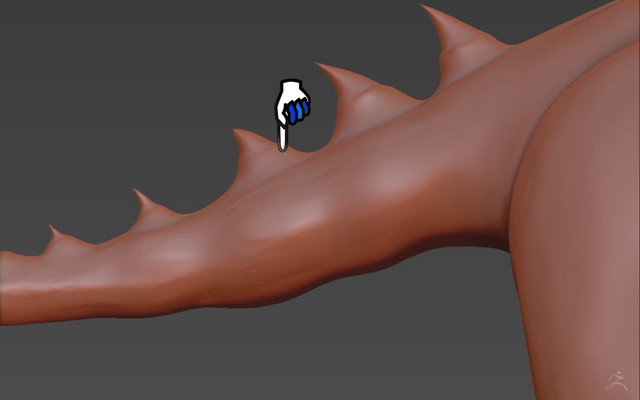
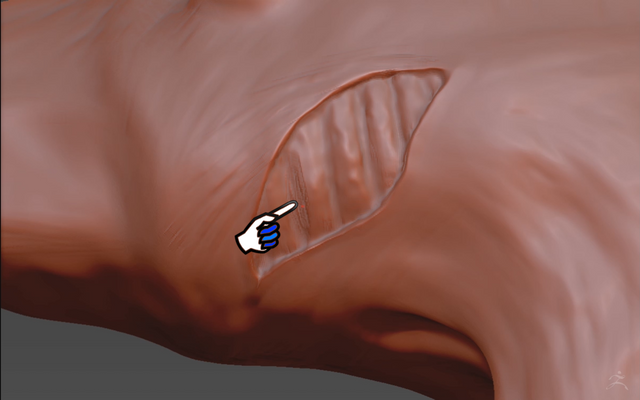
I liked the result of the gash on the ribs so much that I decided to do one on the leg
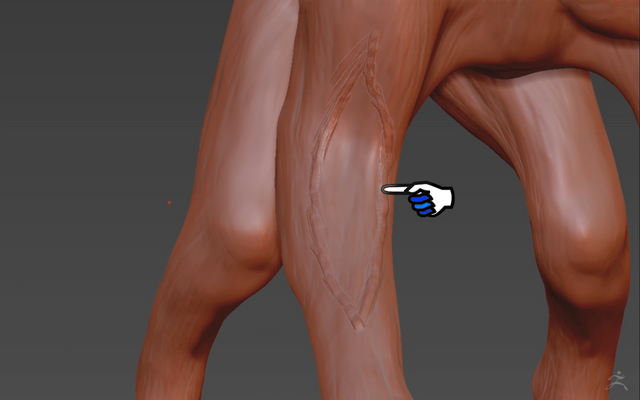
Same concept here outlining the gash.
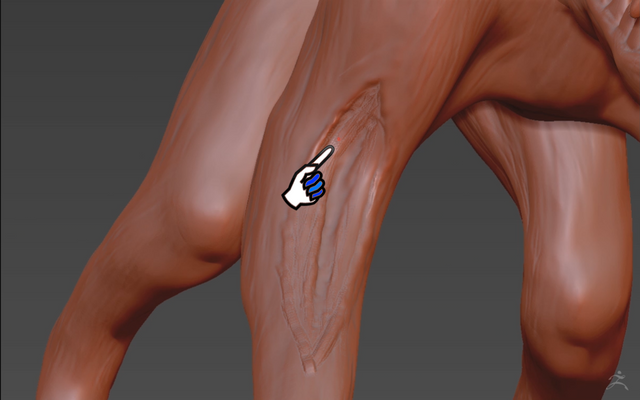
As you can see I started adding the bones and lift up the muscle.

I think all-in-all with a little extra work at the end this will look pretty good.
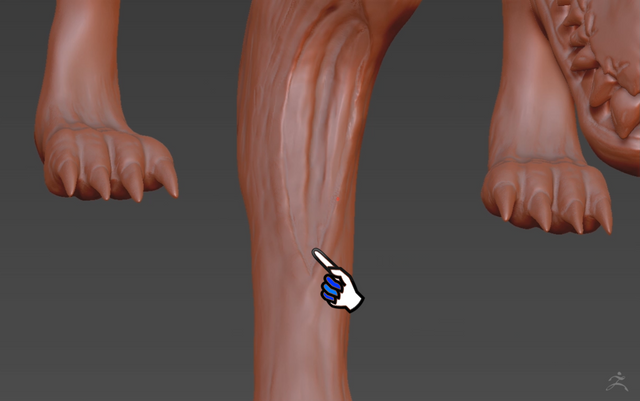
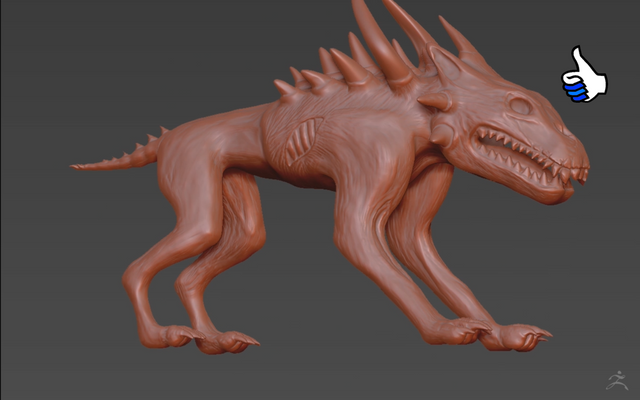
Well here we are Folks at the end of episode 11.
I hope you enjoyed this. If you did I would appreciate your up vote. If you like 3d modeling and follow me that is predominantly what I will be posting about. Just a few more modeling episodes before I show you how to export from zbrush the way I do so that we can work within substance painter 1. Thank you very much enjoy your day.