How I Designed And Built The Magic Mirror for ~Beauty and the Beast~ Part 2
"The best mirror is an old friend."
- George Herbert -
In case you missed it, here's the first part of this article.
I finally had a workable appearance for the Mirror.
It had taken some time to reach that point, however, and I still had a long way to go. I needed to complete the overall design and get it implemented.
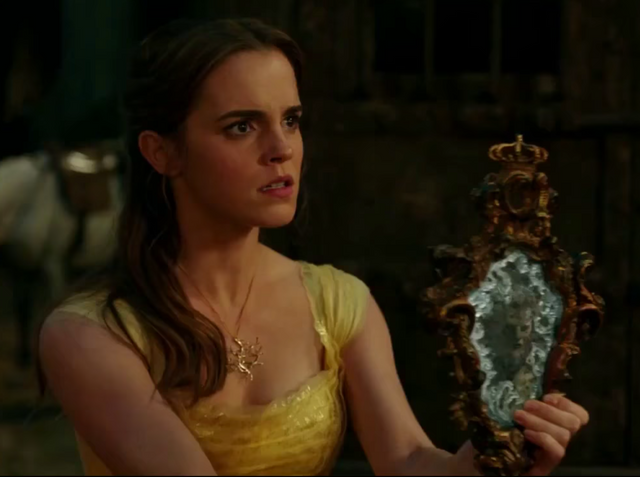
Belle, showing Gaston the Beast.
Source: Disney image by way of YouTube
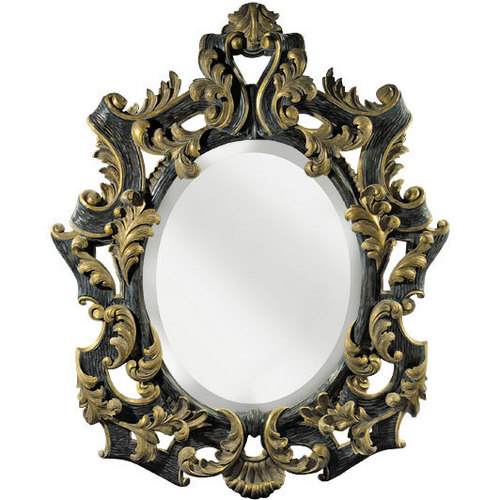
One of dozens of mirror outlines...
Source: https://pinterest.com/
NOTE: In this series of design articles, clicking most images will open a full-sized version. So you can, you know, zoom in on anything you're curious about.
I had spent hours on Pinterest,
looking at dozens of Baroque mirror outlines like the one on the right. However, they all still presented the same problem; I had no way to replicate the bas-relief decorations on any of the mirror frames, and so I ultimately stuck with the outline from the movie and winged it for the 3D effect.
I might have done better with different 3D modeling software.
Possibly Rhinoceros or Blender 3D software? However, I had neither the finances to purchase another program nor the time to learn and get up to working speed with a different piece of arcane software.
So I stayed with what I had already achieved, and used it as a foundation on which to build the rest of the design.
If you open individual images from the sequence below, you can see some of the fine detail of the Mirror appliqué. This ultimately became the pattern for both the face and the back surface of The Mirror.
|
|
|
|
|
|
|
|
Closeups reveal fine detail of Mirror appliqué (click for full-sized images)
Original images by @creatr
I discovered that,
if I were patient enough, I could extend and expand on the Baroque Mirror appliqué that I had already completed. That the 123D Design program would allow me to add to and expand it, as long as I were willing to suffer some ten to twenty second unexpected pauses in navigation, and some three to five minute delays when saving a file.
Weeks earlier,
I had purchased a sheet of partially silvered plastic to use in front of the Kindle, effectively a "one-way mirror" that would reflect Belle's face but still allow the Kindle video to show through. However, when I tried it out, I found that it didn't allow enough light from the Kindle screen to show through.
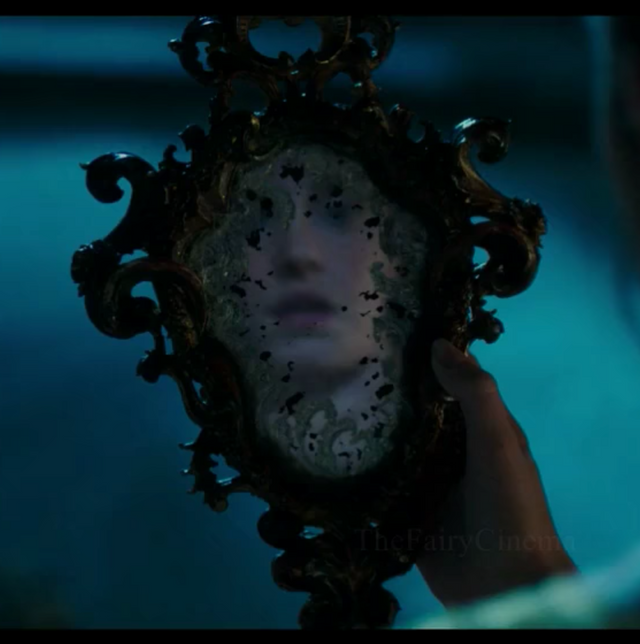
As it turned out, the Kindle screen all by itself, when turned off, is shiny enough to show a reasonable reflection... actually a lot like this image (on the left) from the movie. And so I only needed to mount the Kindle without that mirror material in front of it.
However, I still needed to create a strong,
supporting frame for the Kindle Fire, one that would encase and display it. I also had to create space for LEDs to illuminate Belle's face, and a battery box to hold the batteries for powering up the LEDs.
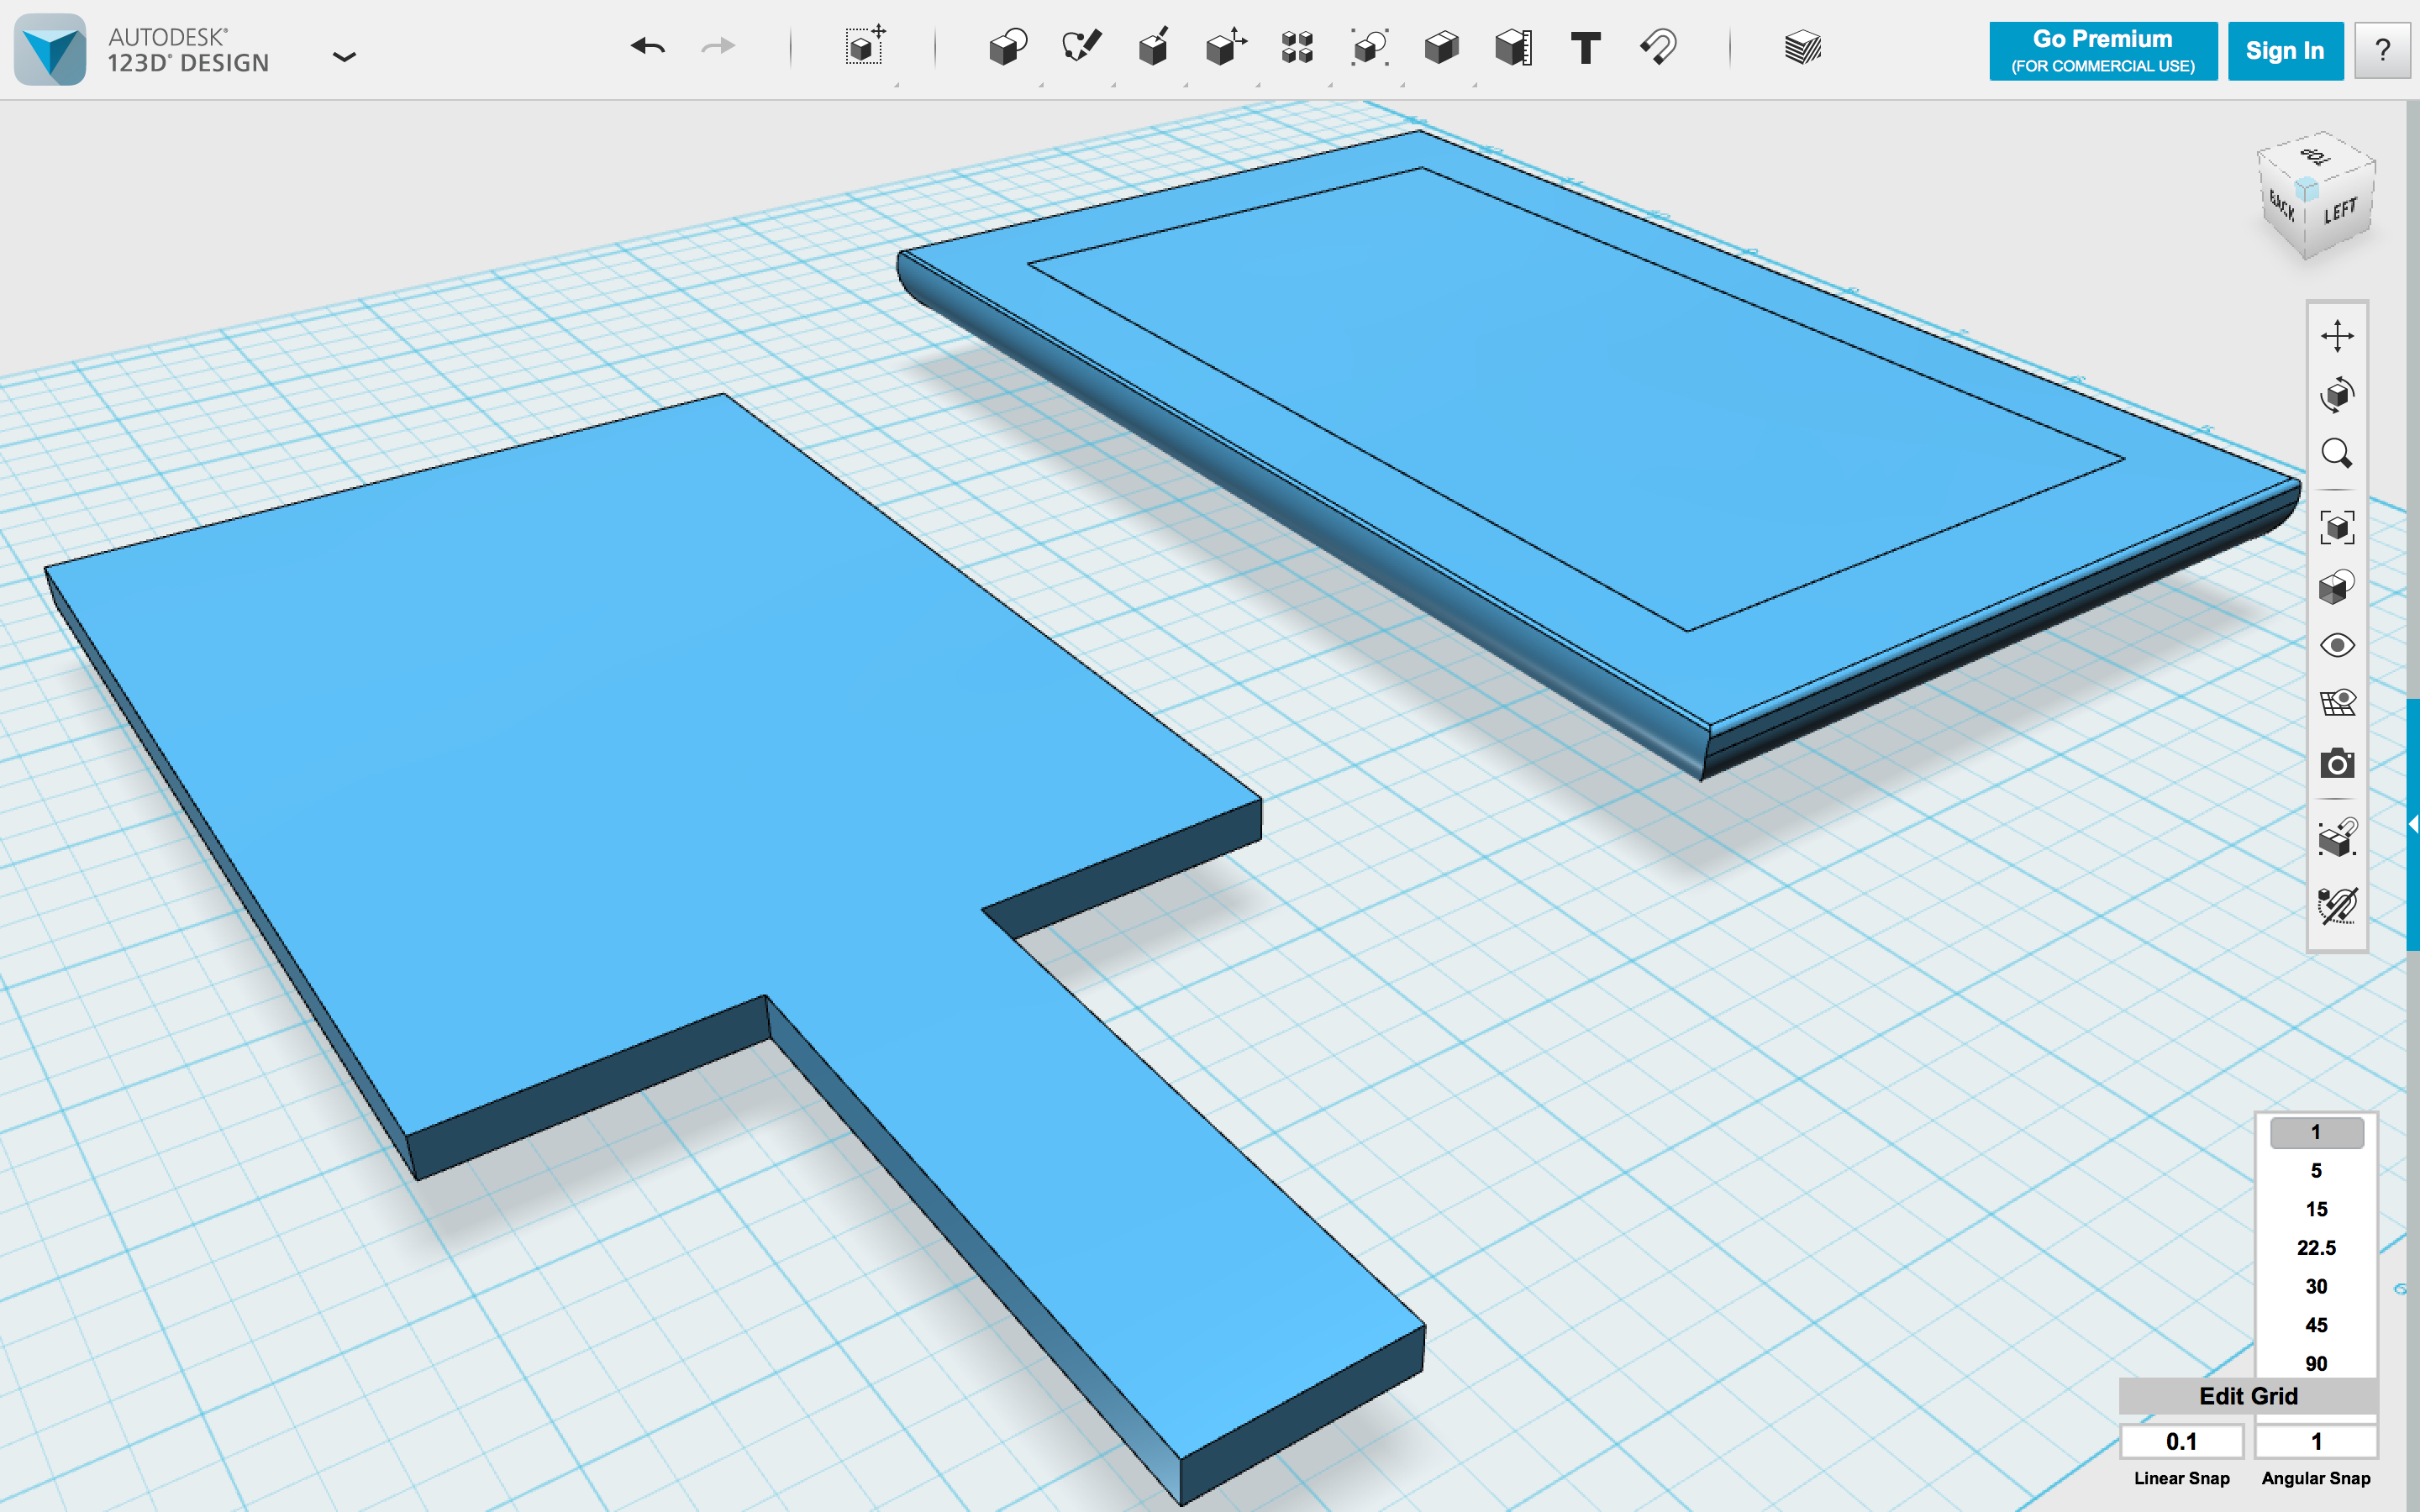
3D models of stiffener and Kindle Fire.
Original image by @creatr
Working with 123D Design,
I modeled a paddle-shape core that I would later cut out of pressboard. The purpose of the core was to stiffen and strengthen the mirror assembly, and to tie the handle and the mirror case together into a single, integrated unit.
I also modeled the Kindle Fire itself, so that I could "subtract" it from the body of the Mirror case, leaving an internal cavity for it to reside in.
One very cool property of 3D modeling and printing is that it is quite easy to cut out a small piece of a model that you are designing, and print only that section to verify that you've got all your dimensions right. For the mirror, I did this to ensure that the Kindle Fire case would fit well inside the case, and also to check the fit of the battery box.
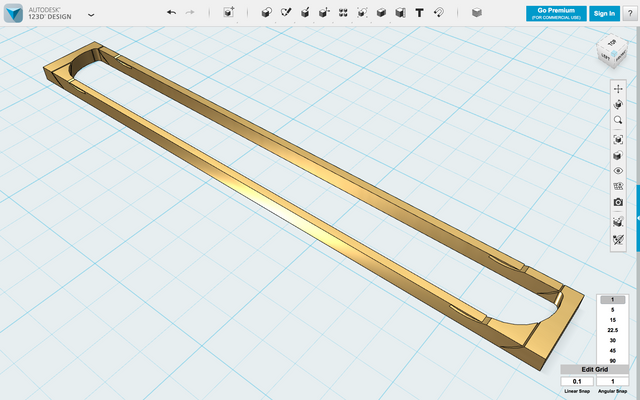
Test print "slice" of the Mirror case to ensure that the Kindle will fit.
Original image by @creatr
This 3D model is a "slice" of the Mirror cavity that holds the Kindle. I extracted it from the full model and printed it so that I could be sure that the Kindle would fit in its case.
Good thing that I did!
As it turned out, the fit was too tight. And so, I subtracted a little more from the inside of the case model, which resulted in a near perfect fit for the final product.
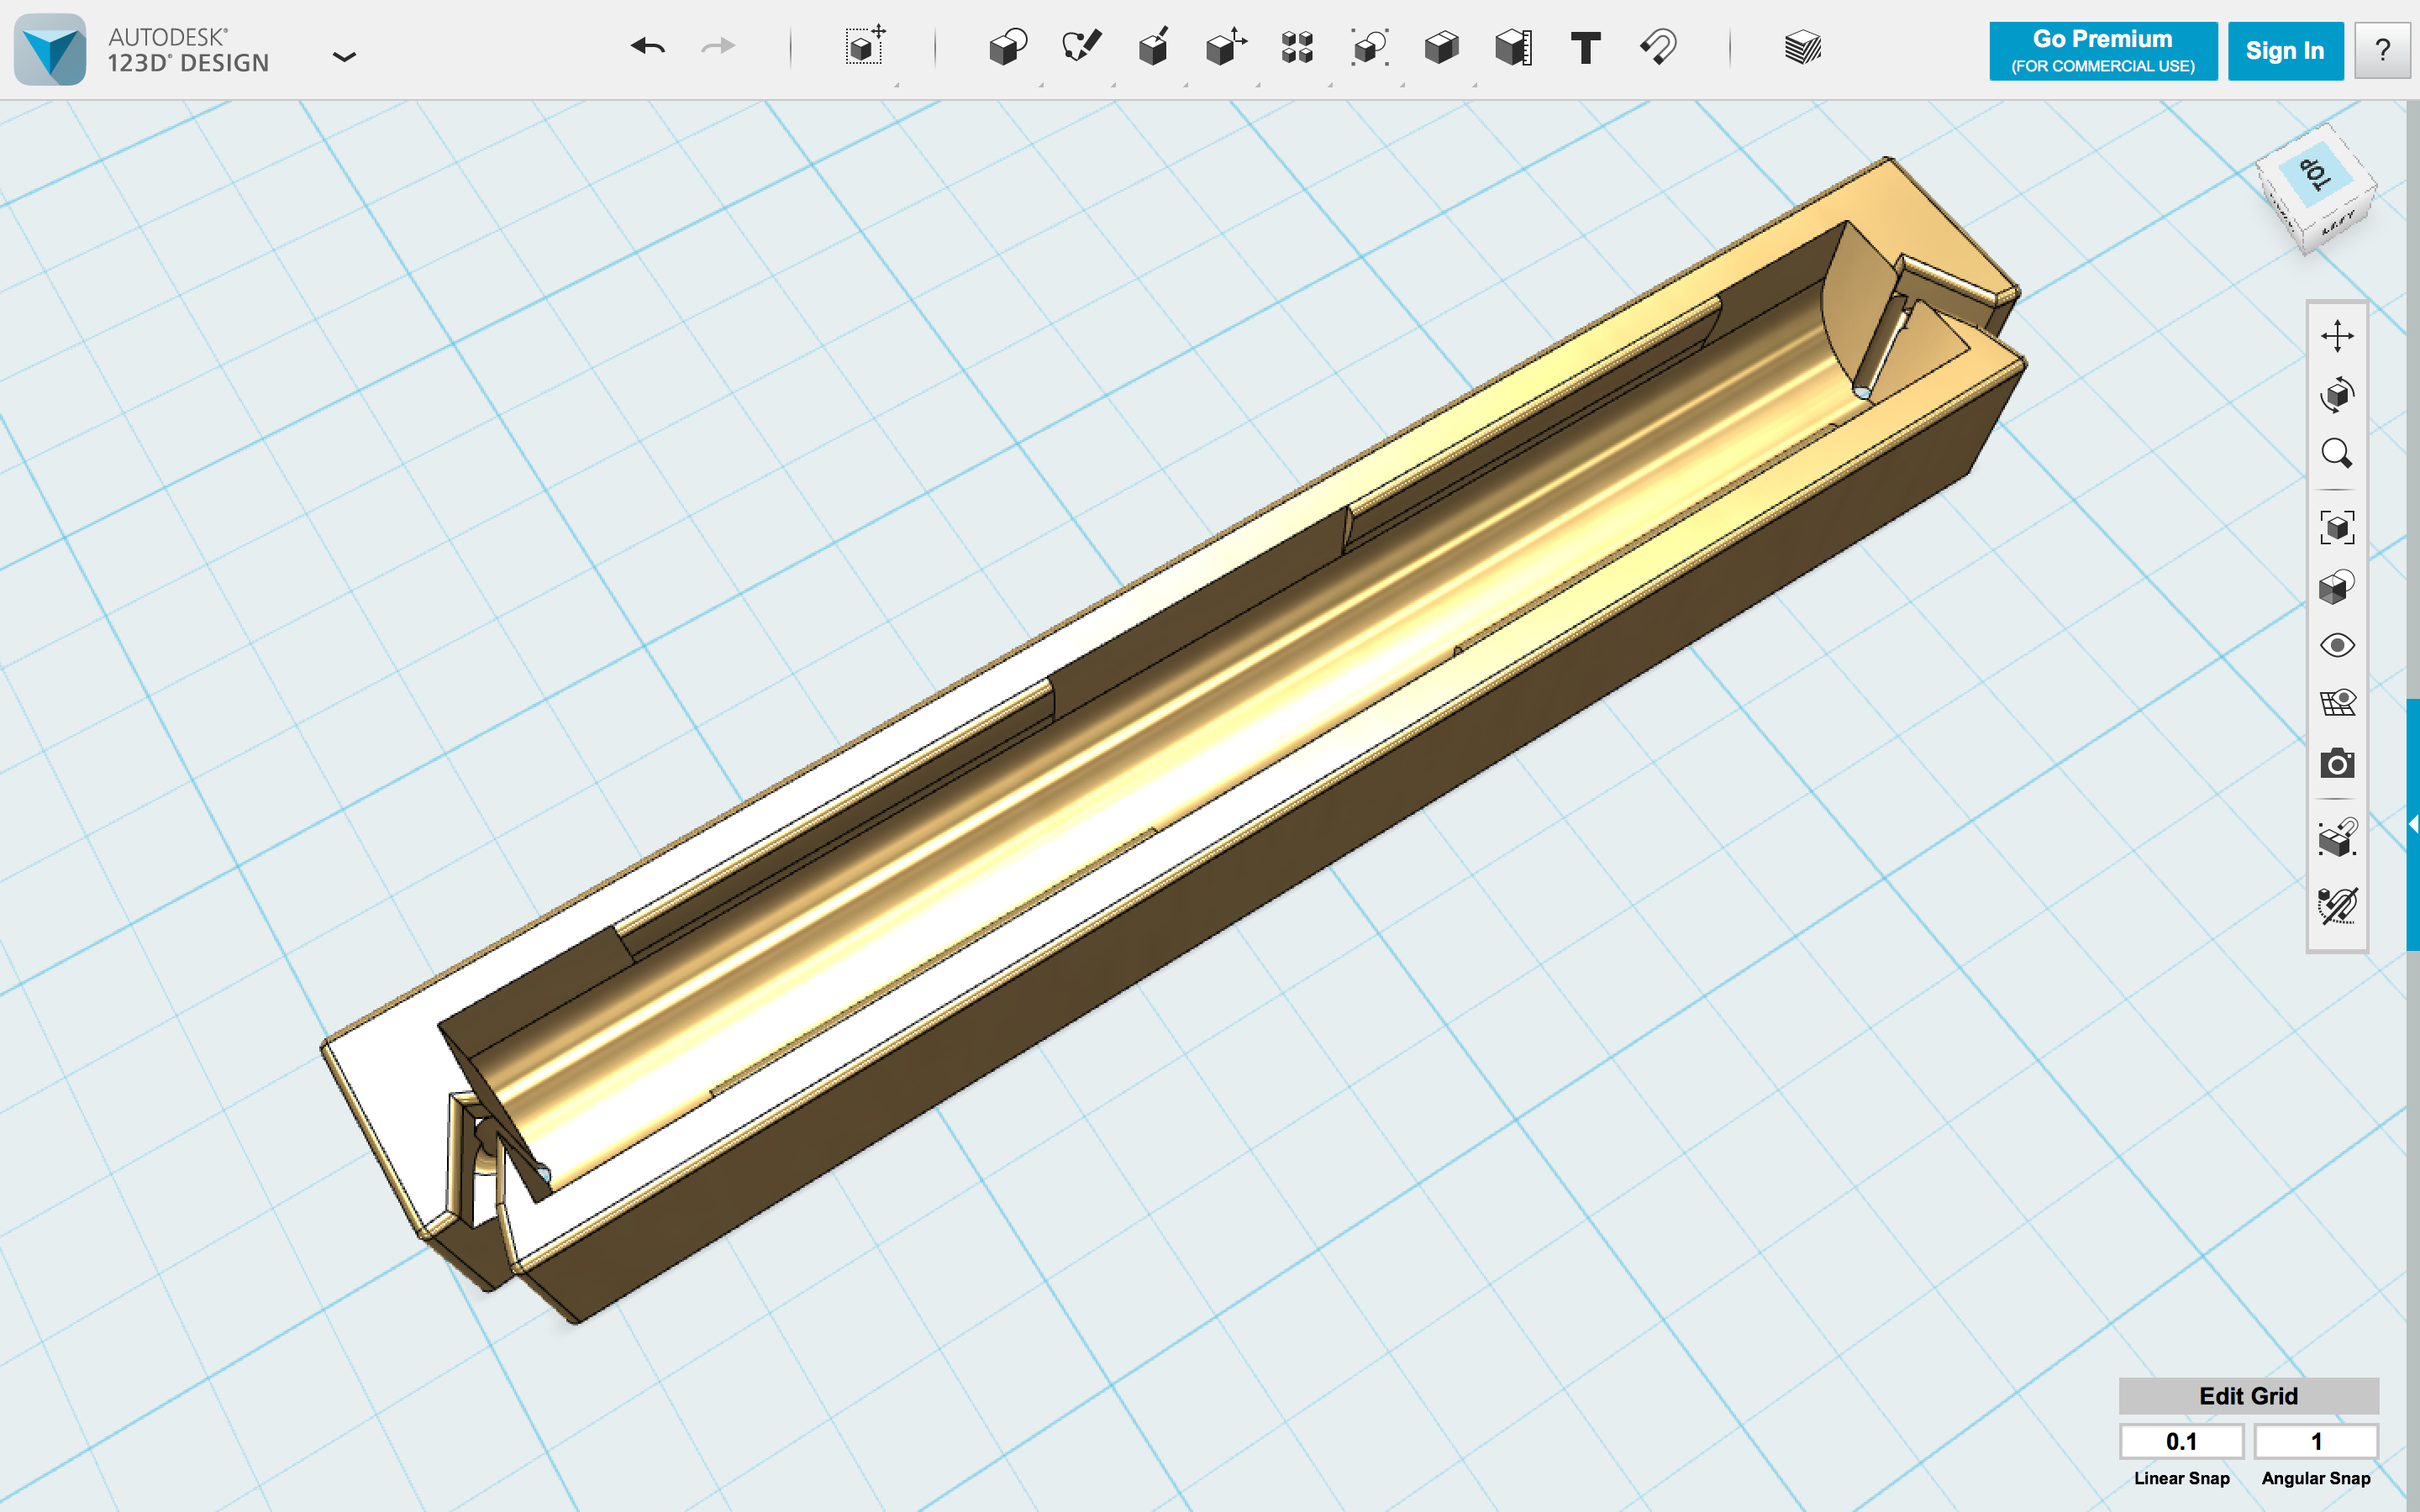
Test print of Mirror battery holder.
Original image by @creatr
I took similar precautions with the battery case.
In the image above, you can see the "slice" of the complete Mirror case that holds two AAA batteries. At the ends are spaces for 14 gauge copper wire to be inserted, bent, and routed away to the switch that controls the LEDs.
The next image is a 3D model of a set of different standard-sized batteries - AAA, AA, and C cells.
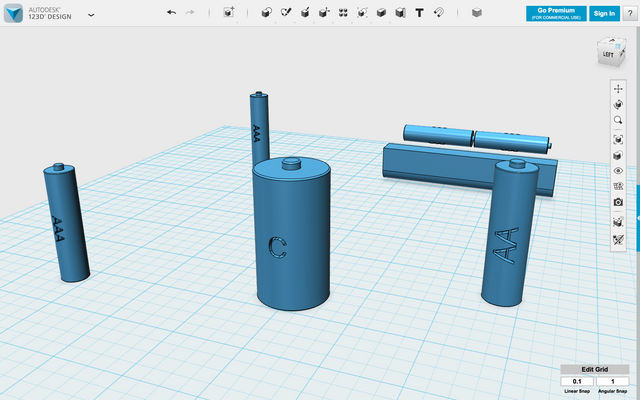
3D battery models.
Original image by @creatr
All this came together, ultimately,
in a complete model of the "body" of The Mirror. In the next image, you can see all the elements together.
- The overall outline, matching the shape of the original Mirror appliqué.
- A case for two AAA batteries (near the top). If you look closely, you can see that I even added "—" and "+" polarity legends.
- A cavity that exactly fits the structural hardboard paddle.
- A "T"-shaped channel (below the paddle cavity) to route the wires from the battery to a switch at the bottom of the case.
- Two identical cavities at the bottom of the case to accommodate a switch on either side, with channels for the wires to pass through.
- An opening at the bottom of the case where the handle of the structural paddle will stick out.
You can also see the many holes for the screws that will hold the entire assembly together.
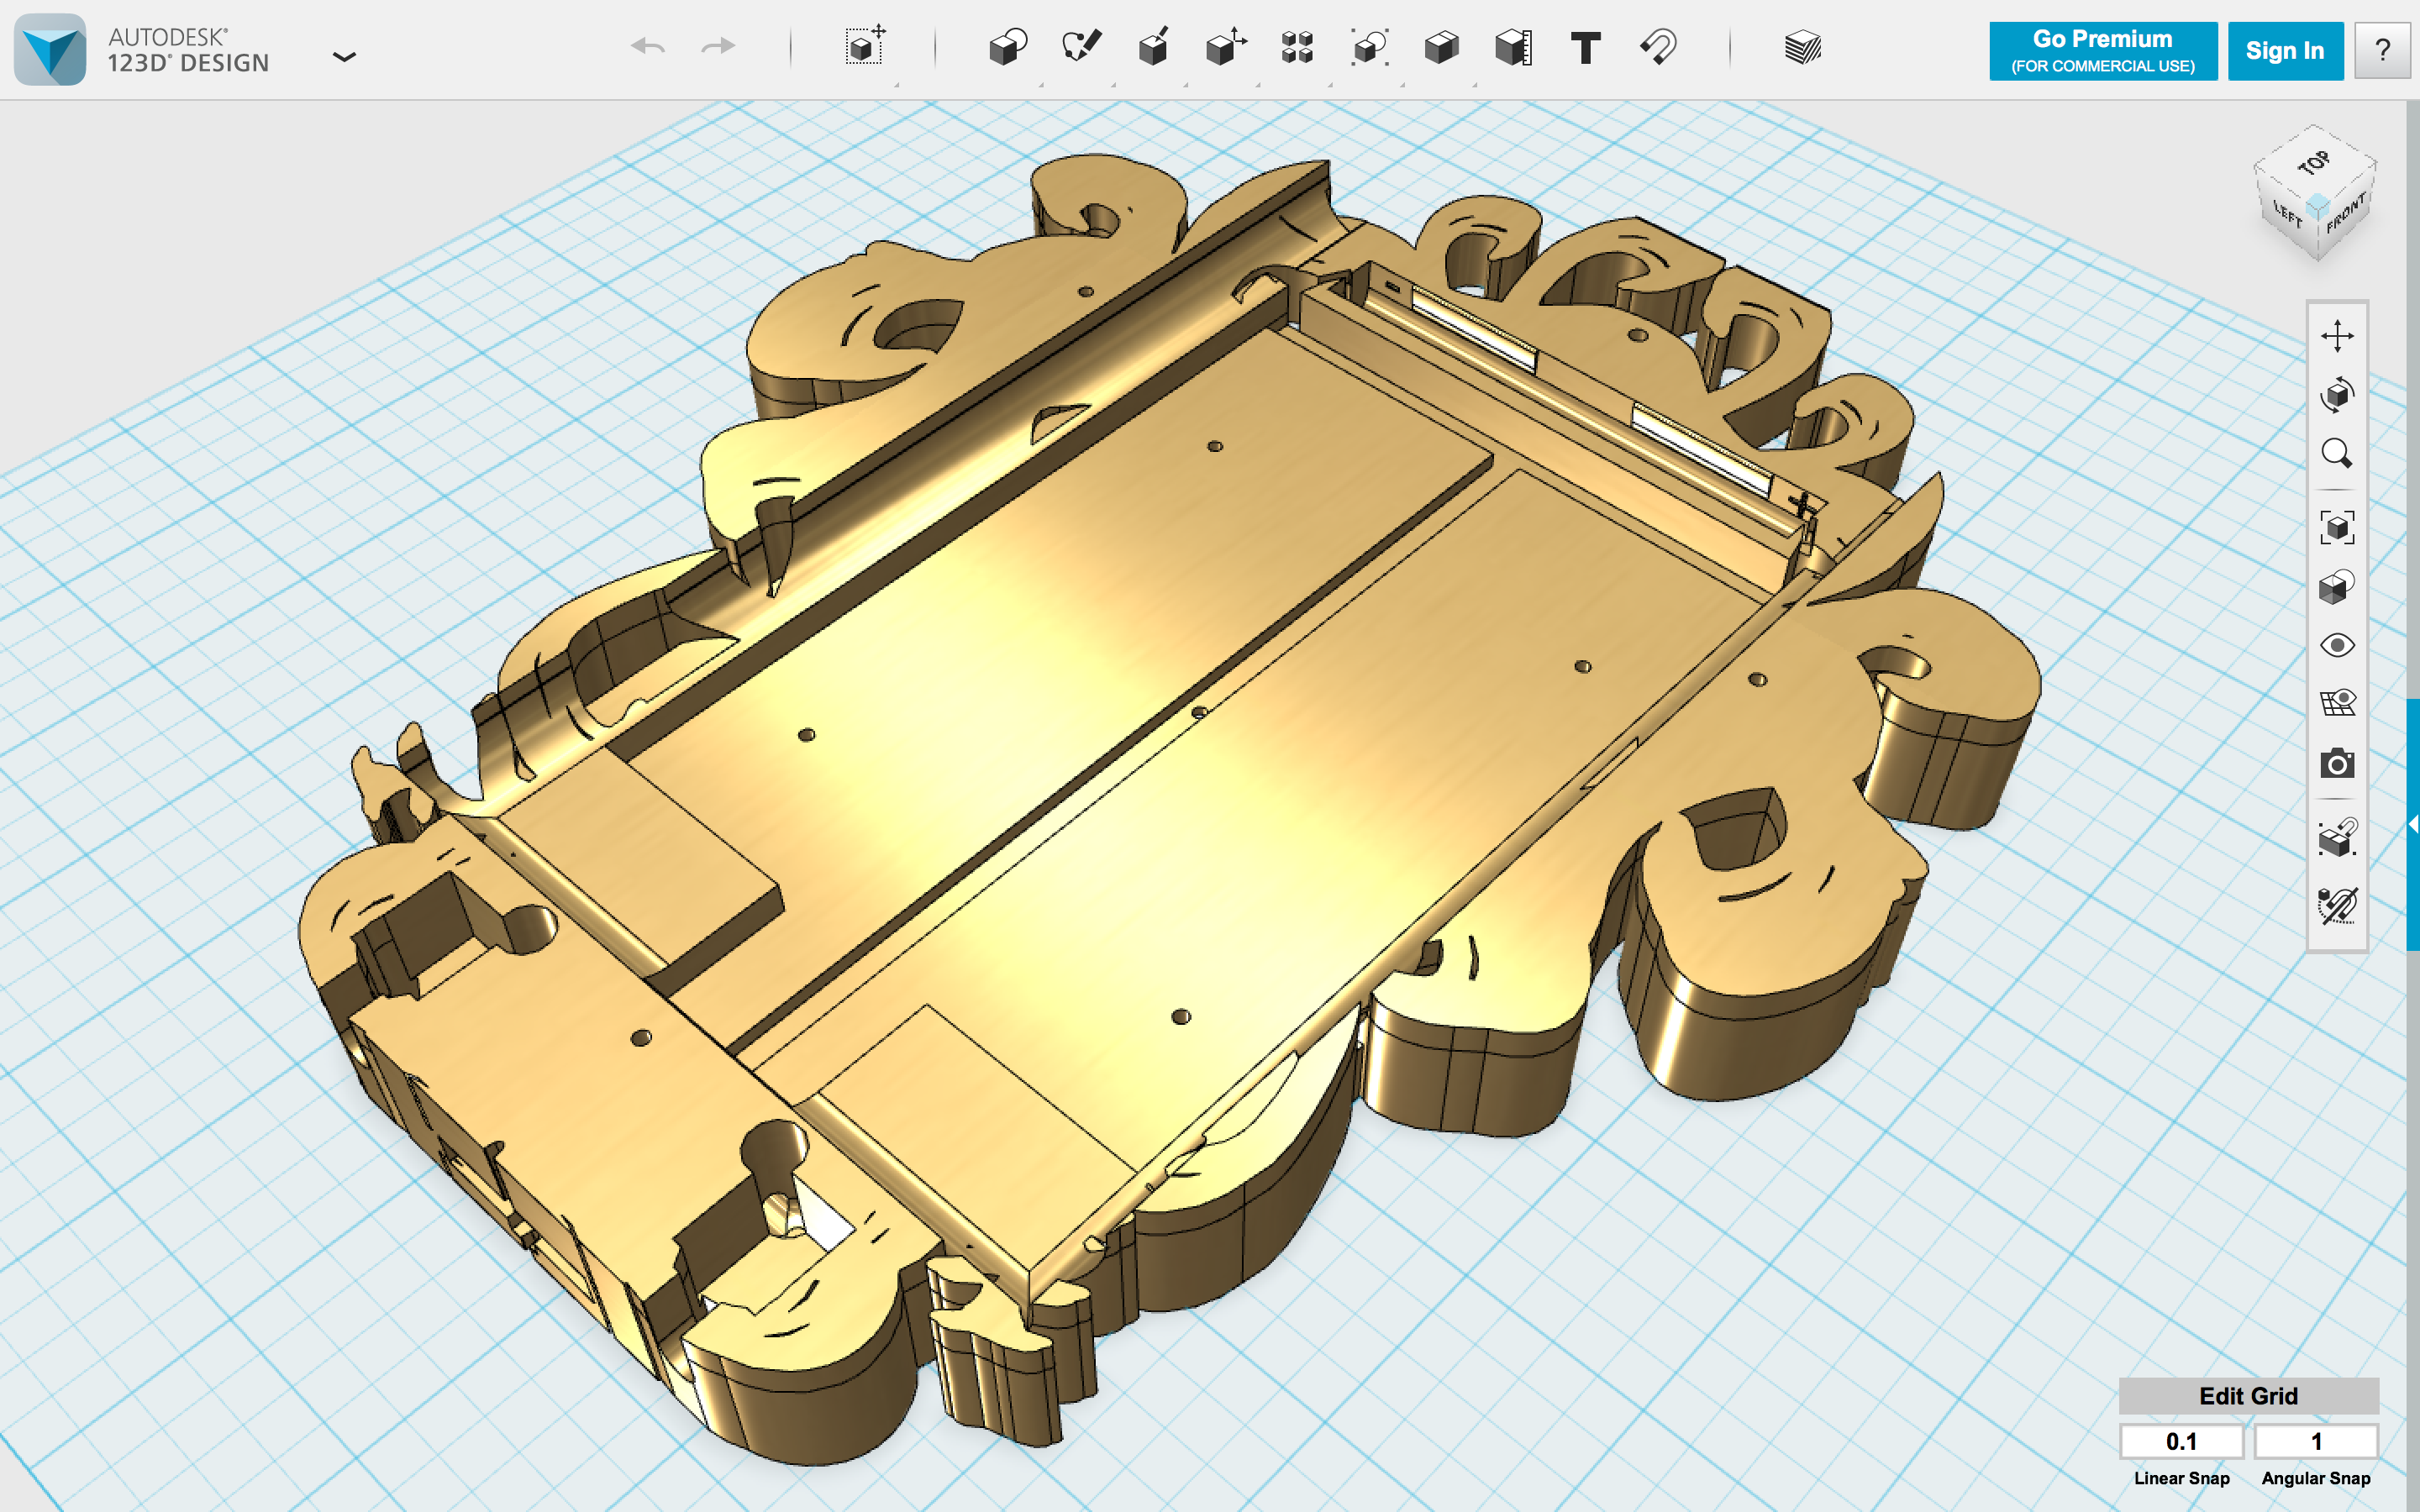
3D model of the Mirror back.
Original image by @creatr
In other words,
there is an almost unbelievable amount of detail that goes into creating an artifact like this one.
What did I forget?
That's the agonizing question that I always ask myself when I'm about to start up the 3D printer.
In the next installment of "How I Dunnit," well see the faceplate and LED channels, as well as start printing and assembling the parts into the finished product. Stay tuned!
~To Be Continued~
If you're just tuning in, here are previous entries in this series (including ruminations) about prop-making:
"The Ocean of Life" - A Haiku by Duncan Cary Palmer
"When Wandering Wizards Wonder..."
"Finally Out to Sea..." a Haiku by Duncan Cary Palmer
Beauty and the Beast Props - Enchanted Rose ~Teaser~
Beauty and the Beast Props - Magic Mirror ~Teaser~
Beauty and the Beast Props - Windmill ~Teaser~
Beauty and the Beast Props - The Director Is Happy!
Fine-Tuning The Rose for Beauty and the Beast
How I Designed And Built Maurice's Windmill for ~Beauty and the Beast~ Part 1
How I Designed And Built Maurice's Windmill for ~Beauty and the Beast~ Conclusion
How I Designed And Built The Magic Mirror for ~Beauty and the Beast~ Part 1
How I Designed And Built The Magic Mirror for ~Beauty and the Beast~ Part 2
How I Designed And Built The Magic Mirror for ~Beauty and the Beast~ Part 3
How I Designed And Built The Magic Mirror for ~Beauty and the Beast~ Conclusion
P.S. If you have an "in" with anybody at Steemit, Inc. - Would you please ask them to get rid of these damn, extremely annoying "off-website" arrow/boxes? The have, overnight, made Steemit ugly. There are much better solutions.
For more true-life stories, CLICK our Library Stories Shelf.

Introducing: The SILVERengines proton - Image by @creatr
CONTACT US - Will Exchange for Steem
You are why I'm here on Steemit!
I have very eclectic interests and hope, over time, to write about them all.
⬇️To Check Out @creatr's World⬇️CLICK Each Image Below⬇️
|
|

|


very good effort @creatr, you are we very hard worker person. @mafzaal92 appreciate your hard work, and i hope you will share more art or handmade things on steemit.
thnks for sharing.
Thank you.
That's a lot considering you didn't have a more complex 3D program! Do you have any familiarity with molding clay? I had a similar but not nearly as complex project that I completed using that medium for a magic mirror, but I think it was for a poem- Tristan and Isolde maybe?
I've certainly used clay, papier-mâché, play dough, etc. before. And I also carve wood as an art form, and for making utilitarian but beautiful objects.
Those are all good, fun, and useful.
However, nothing beats 3D modeling and printing in my book these days. Especially if I'm doing something that I think may ultimately be more than a "one-off" project.
So, which Tristan and Isolde? I looked, and there seem to be several...
Or, was it an original of yours? :D
Ooooo I'd love to see your woodworking!
It wasn't an original- it was for my bachelors in English Education, and I vaguely remember there was a loom, a magic mirror, and Isolde committed suicide in the end in the river outside a tower. I'll keep googling, or see if I can find the textbook. It was written during the 1800s or earlier for sure.
Most of what I've carved, I've given away as gifts... However, perhaps one day I'll photograph and publish a jewelry box I carved for my wife... I think you'll like it. :D
That would be awesome!
That's really complex and technical! You are really great at engineering these types of things. I like the design idea you have for the mirror. The kindle fire is unique. It'll be a really neat prop on stage.
Thanks, my friend!
Now if I can just sell some more of these to other theater companies... :D
Very interesting challenge. I can't wait to follow your progress!
Thanks! More to come...
So much effort for a mirror.
I am impressed
Here you deserve this

Thanks!
The story isn't over yet... Stay tuned. ;)
The process ate very vast and Unique, the mirror concept is just so amazing, I can't even do this myself, alone. It's a bundle of talent
Thank you.
Brings new meaning to measure twice and cut once.
the only thing I ever built was a picnic table I slapped together in my basement that I couldn't get out the door :( I'm very good at demolishing things however, lol
I've heard of people doing that with boats and airplanes, but you're the first picnic table capture I've heard of... ;) Congrats! :D