Firmware, First Heat, First Moves, XY Gantry Alignment (3D Printer Part 14)
Hi! This time, there are a few things: the beast heats up and she made a few moves, it is not yet operational but quiet happy of those baby steps.
Firmware
First, I took an old release of Marlin 1.0.2 but I was not able to have a correct display on the Full graphic LCD after a lot of tinkering with the LCD library, arduino version/compiler,... just a waste of time.
Then, I switched to the Marlin 1.1.6 and a few minutes after there was not any issue on the LCD with my arduino environment, very happy :).
For the time being I am just using the basics in the configuration, no tuning, not anything special. I just need a base line to make the printer heats and that it moves.
First Heat
Once the cable burden on the head was done, I performed the following check list:
- Check the heat resistance that there is no short.
- Check the thermistor resistance, about 130/140KOhm in my case. Use you fingers to heat the element and check the resistance variation.
- Check temperatures of the heat bed and the hot end: both have the same sensor, and it was accurate with the room temperature.
- Check that the fan to cool the hotend works. It is a safety issue. I put it on the PSU directly, it does not make a lot of noise.
- Heat the hotend to about 170°C, check if something burns, check how fast it goes.
- Ramp up on the hotend to 190°C, 230°C, 250°C, check if something burns, how fast and how stable it is. It seems that the default settings on the Marlin are quiet ok with my E3D Clone.
- Put the fan to full blast and check the stability of the temperature of the hotend.
- Check if there is too much heat on the 3D Printed part.
- Switch off the hotend and let it cool down.
- Switch off everything.
After, I performed the following check list for the heatbed:
- Check the resistance of the heatbed: you do not want to burn a MOSFET for nothing. Sometimes you can have a heatbed with a shortcircuit ...
- Turn on, put a temperature of about 35°C, check if anything is bad
- Ramp up to 50°C, 60°C, 80°C. I do most of the time PETG, so no need to go up for the time being and no need to burn a MOSFET on this test heatbed.
Everything went fine, big cables are nice, big PSU too. The hotend heats fast, the temperature is stable. The test heat bed draws about 100W/12V/8A, this is weak, but it is enough for what I print. The final heat bed draws about 600W/250V.
First Moves
Before that, I had to wire all stepper motors.
Short note: do not trust wire colors, use your ohmmeter to find the wiring of your stepper motors and check the ports of your motherboard. (I wasted sometime to rewire...)
Follows the check list for this:
- Check all stepper motors are correctly wired. Check it with the ohmmeter.
- Move the head to the center of the heatbed.
- Switch on and try to move a few millimeters.
- If the stepper motor moves in the opposite direction it is not a big deal you can either simply reverse your connector (if you are lucky as me) or update your firmware configuration to invert the direction.
- Check for overheating of stepper drivers: current too high and/or gantry not aligned.
I had a few issues with robotic moves, the gantry is not correctly aligned and the stepper drivers was super super hot (hopefully those are very robust). Still super happy to see it moves.
XY Gantry Alignment
The XY Gantry needs to be aligned on all axis.
In my case to align on Z, it is very straightforward I just need a square and I measure the distance from the 2020 upper rail to the KP08 pillow block for X and Y axis: I just had to correct one KP08.
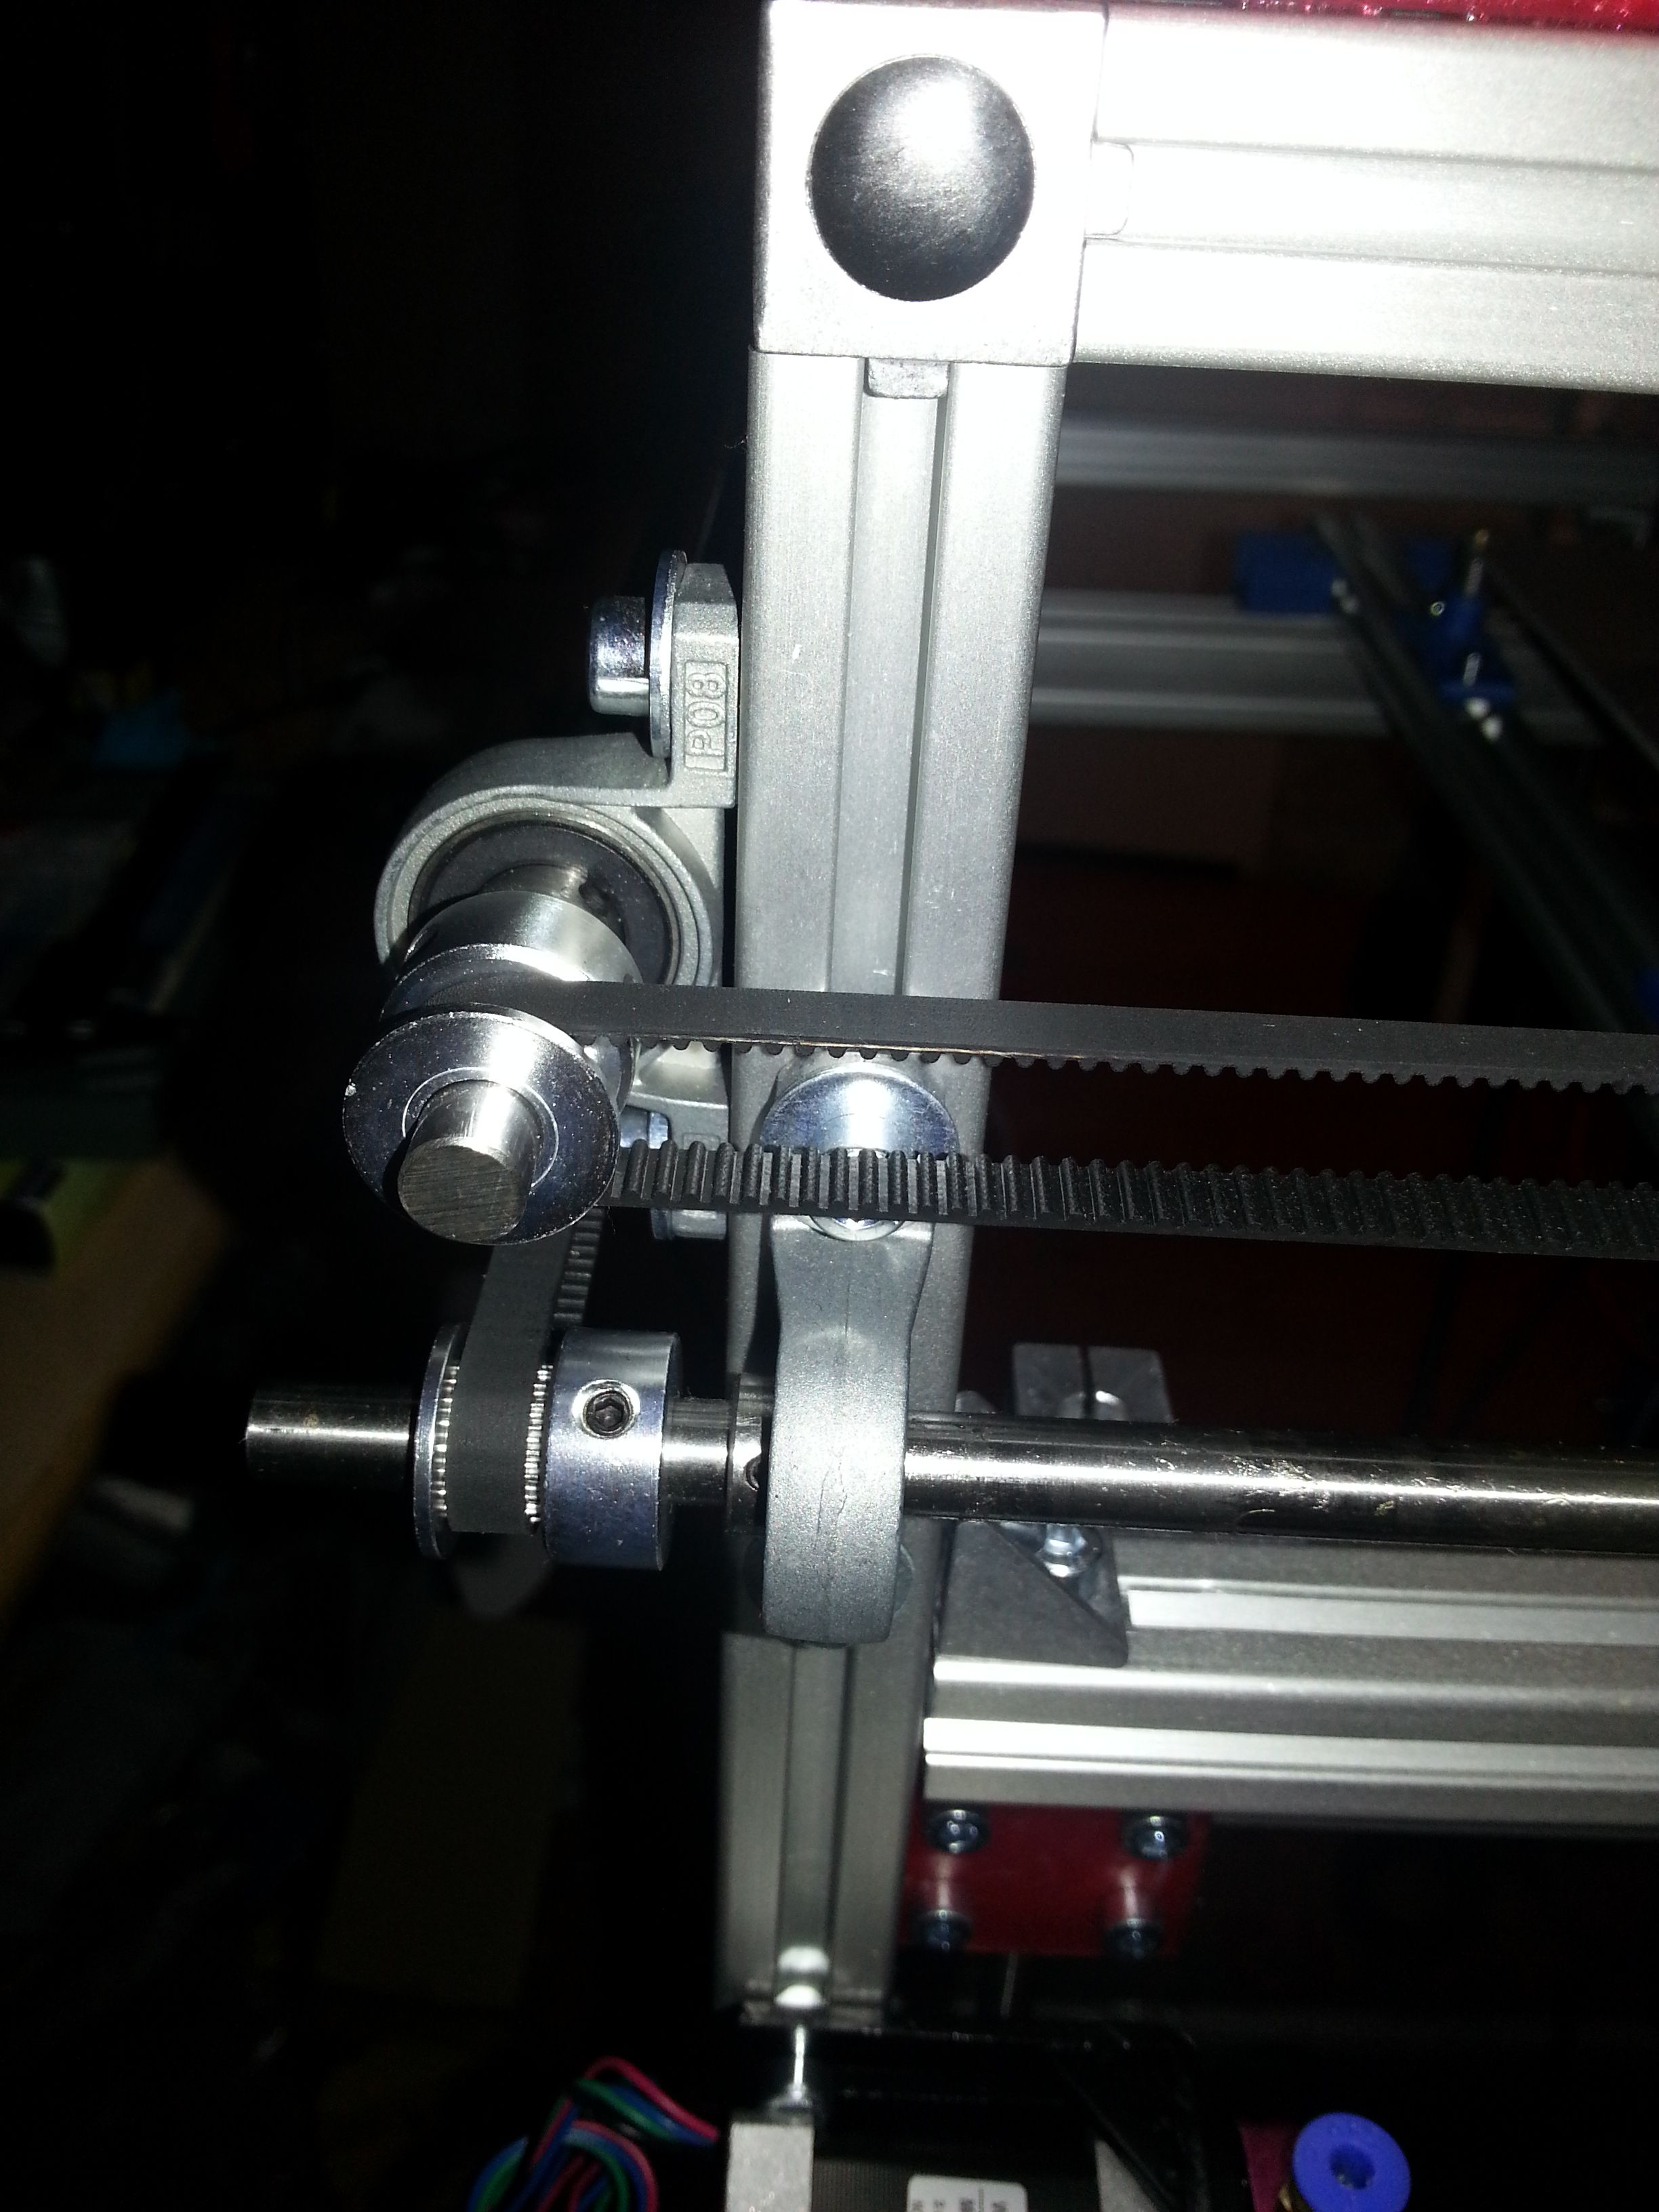

For X and Y, my procedure is similar to the procedure used by Ultimaker (https://ultimaker.com/en/resources/19953-aligning-the-axles).
First, I built a small tool to align in my case, rods are not on the same plane.
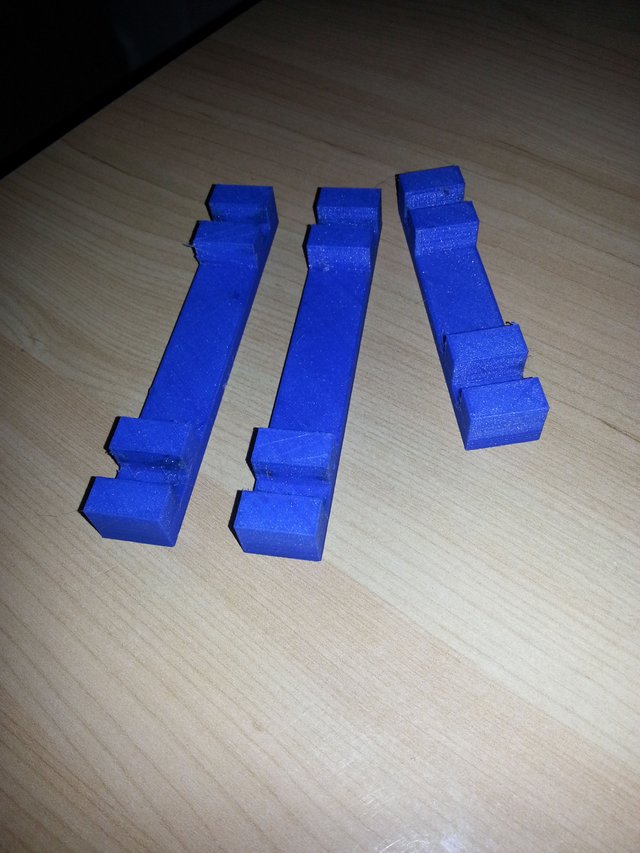
The short one was a failed test, too short for one axis.
First, cleanup all rods and put a light oil on it, I put some motor oil 5W30 (No WD40).
Follows the procedure performed for each axis:
- Loosen all pulleys on the given axis.
- Move the head to an extremum of the given axis. The hotend should be in the middle of the opposite axis.
- Put the tools to attach each pair of rods: I put them on each end of both rods, rods are long and easy to bend.
- Push forwards both tools.
- Align each pulley on the side.
- Tighten bolts of each pulley.
- Repeat on the other side of the given axis.
- Check that the belts on each side have about the same tension.
- Check that the movement is smooth with no kinks, iterate as required until the movement is smooth.
Once, I performed this procedure (a few times) I was still having a movement that was not smooth enough and stepper drivers becoming super super hot.
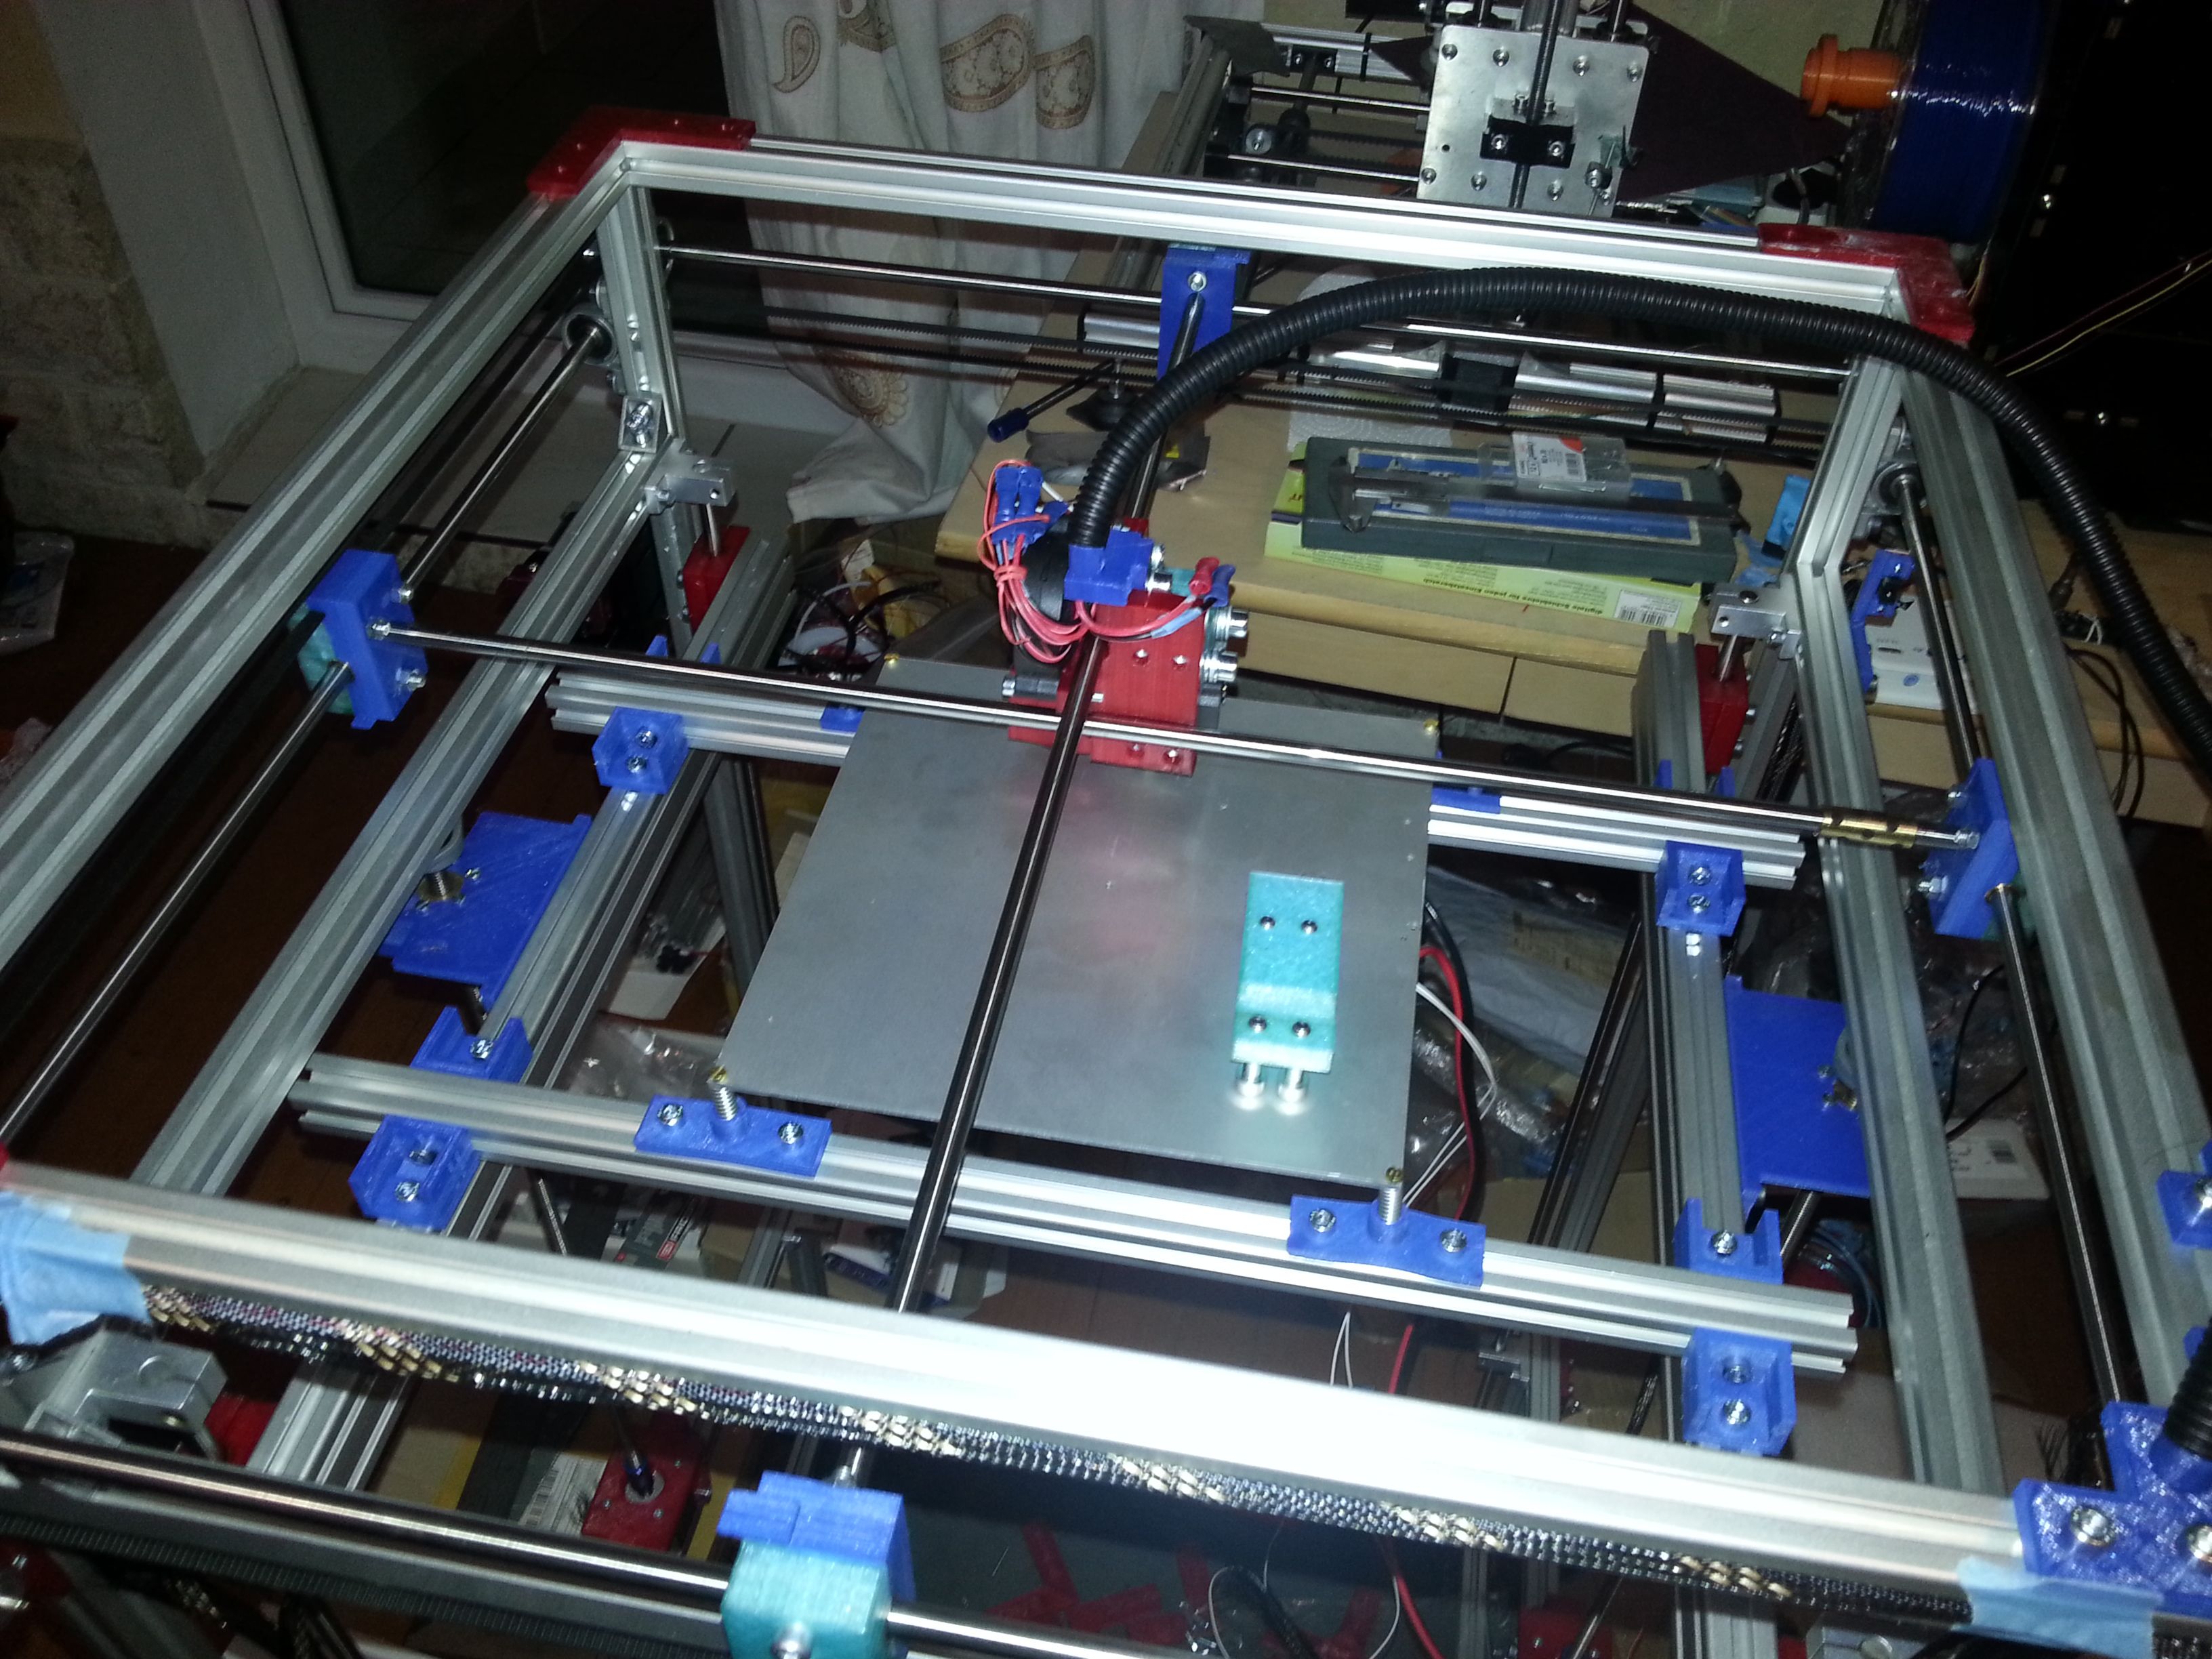
I removed an axis on the hotend head, and tada a bearing was way off the center, bending a rod and of course causing this issue. I have to iterate on this part and its support to make it perfectly aligned, this is part of the tinkering of the design in situ. I iterated also on the heatbed spring supports.
Forthcoming Part
More tinkering, alignment and Z-End Stops.
Previous Parts
- https://steemit.com/technology/@boucaron/why-building-yet-another-3d-printer-part-1
- https://steemit.com/technology/@boucaron/why-building-yet-another-3d-printer-part-2
- https://steemit.com/technology/@boucaron/why-building-yet-another-3d-printer-part-3
- https://steemit.com/technology/@boucaron/why-building-yet-another-3d-printer-part-4
- https://steemit.com/technology/@boucaron/the-hotend-head-3dprinter-part-5
- https://steemit.com/technology/@boucaron/xy-stepper-motor-supports-3dprinter-part-6
- https://steemit.com/technology/@boucaron/z-stepper-motor-supports-3dprinter-part-7
- https://steemit.com/technology/@boucaron/test-assembly-3d-printer-part-8
- https://steemit.com/technology/@boucaron/lcd-support-3d-printer-part-9
- https://steemit.com/technology/@boucaron/x-y-optical-end-stops-3d-printer-part-10
- https://steemit.com/technology/@boucaron/small-heat-bed-assembly-3d-printer-part-11
- https://steemit.com/technology/@boucaron/power-supply-unit-holder-3d-printer-part-12
- https://steemit.com/technology/@boucaron/cable-management-for-the-hot-end-head-3d-printer-part-13
This post has received a 1.39 % upvote from @buildawhale thanks to: @boucaron. Send at least 1 SBD to @buildawhale with a post link in the memo field for a portion of the next vote.
To support our daily curation initiative, please vote on my owner, @themarkymark, as a Steem Witness