Cable Management for the Hot End Head (3D Printer Part 13)
Hi ! It is cable time.
I will cover only the cable management for the Hot End Head.
Constraint
I have several meters of 0.75 mm² (18 AWG) that are good up to 10 A.
So I decided to put all the cables with this gauge for 2 reasons:
- being able to put high power resistance even with 12V without re-cabling.
- reduce the resistance of the cable due to the length.
Design
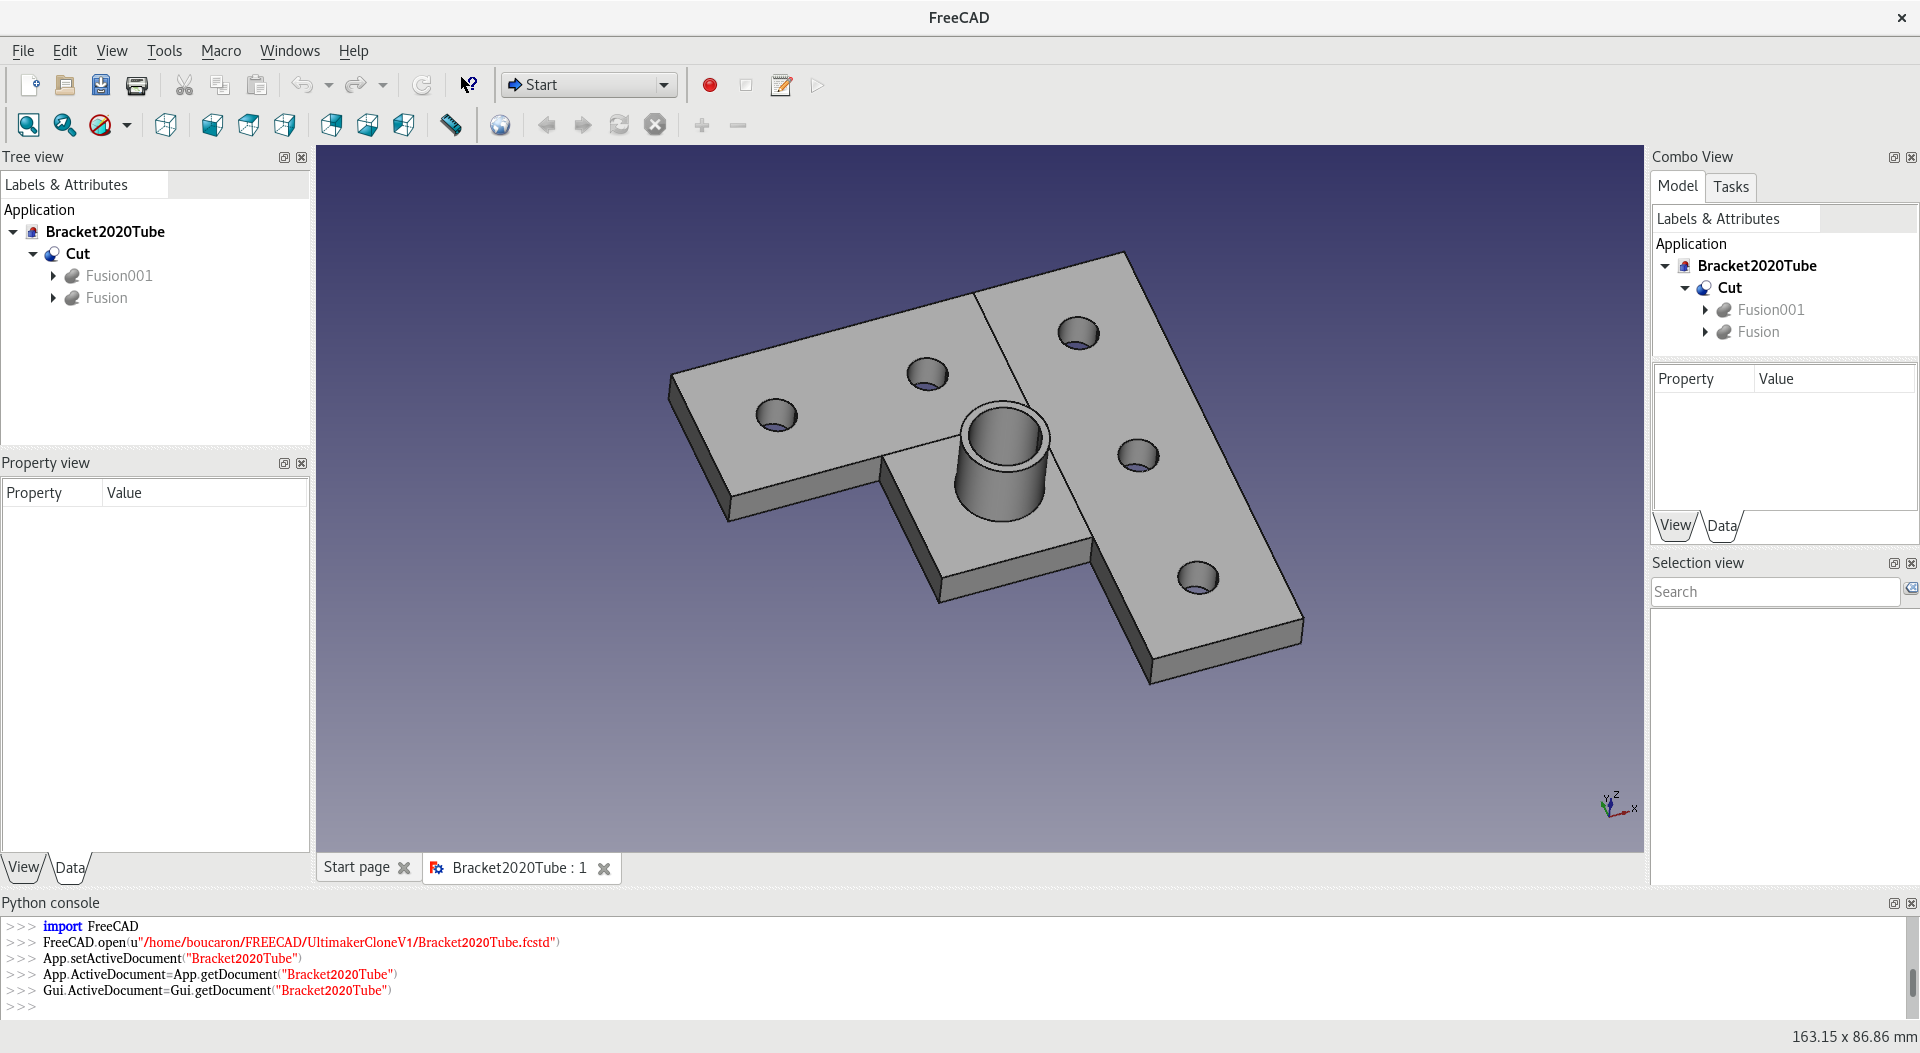
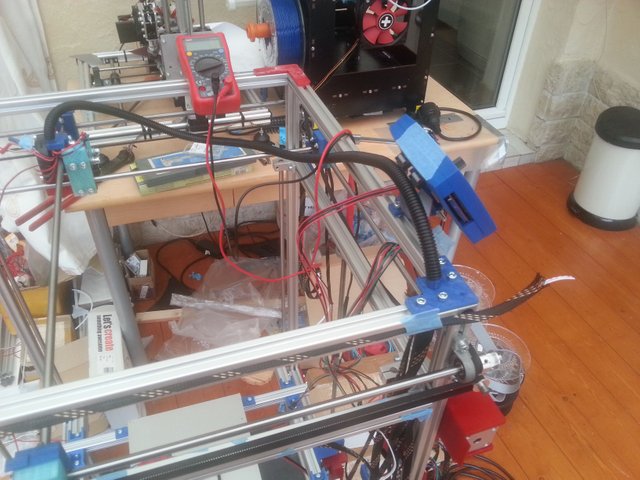
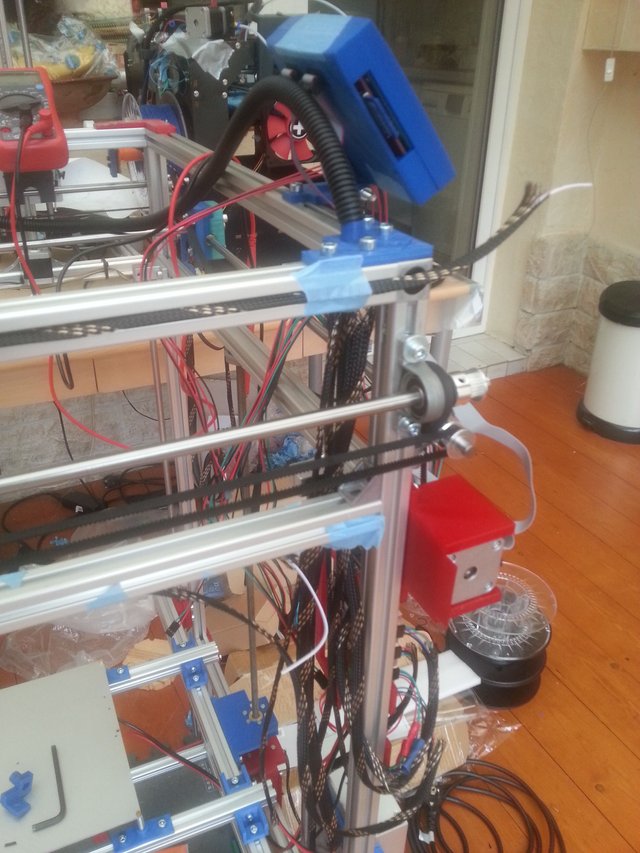
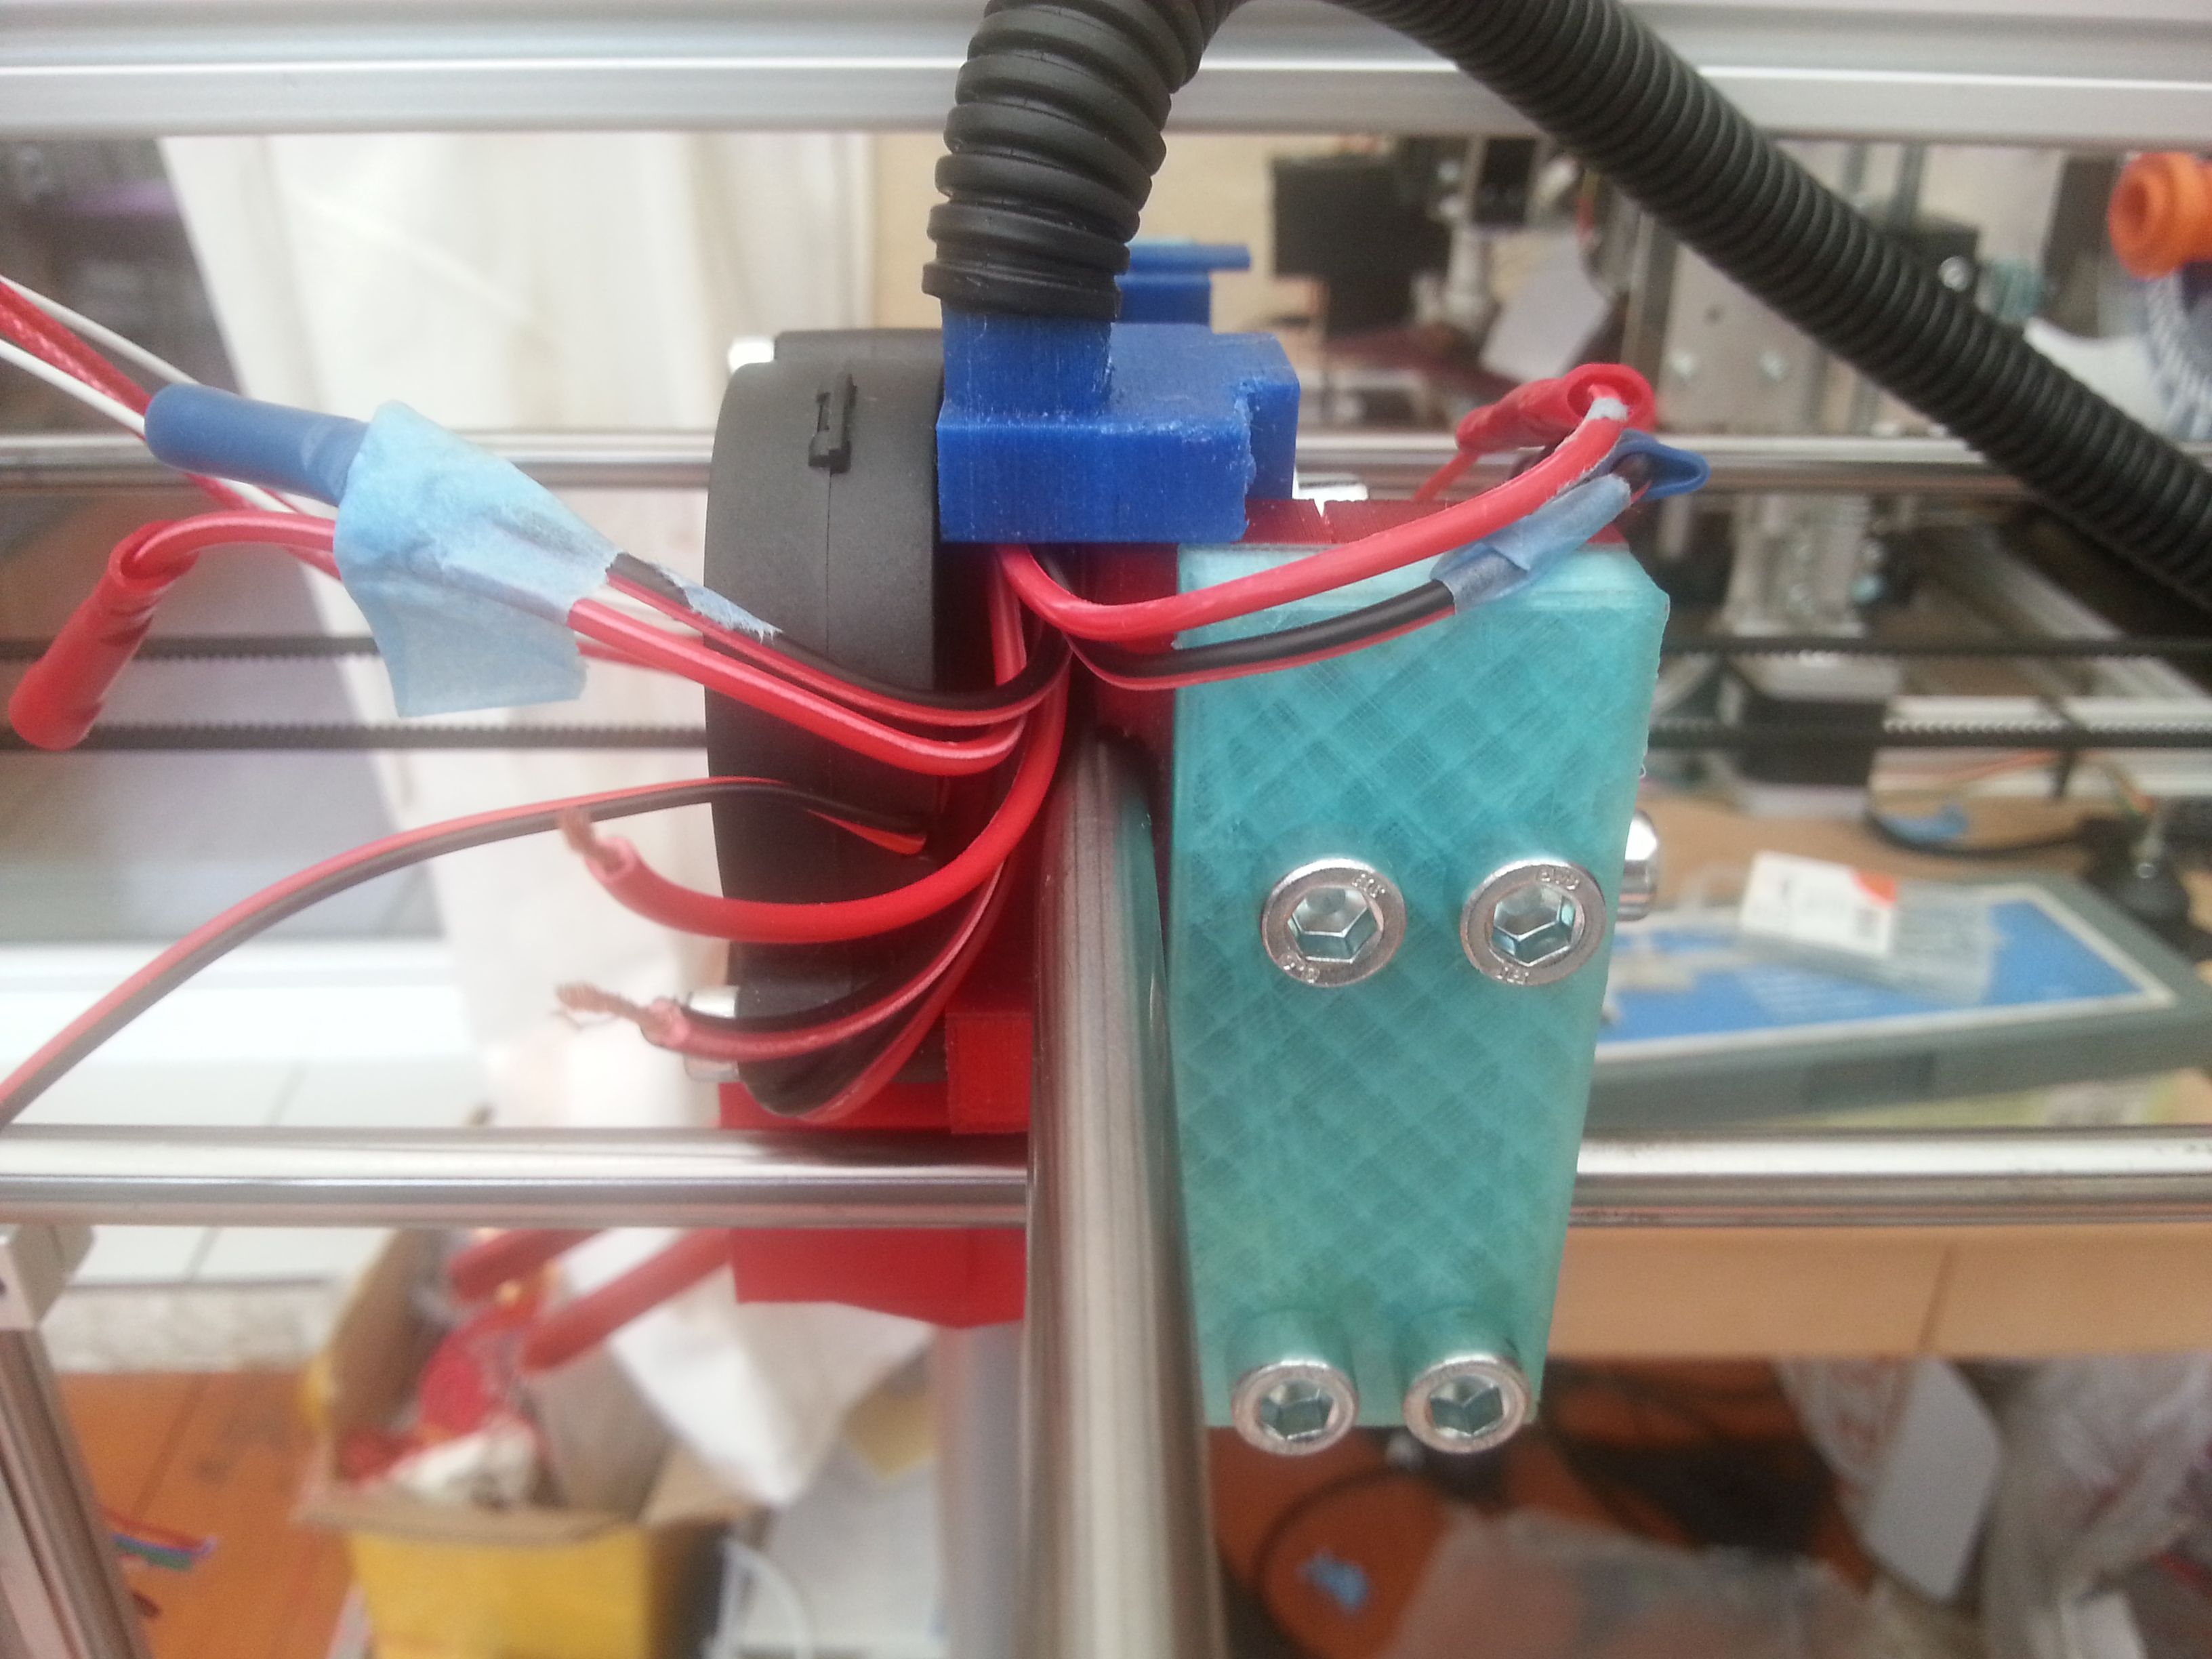
Simplicity, there is a cable duct guide integrated on the square bracket of the corner that is next to the motherboard linked with the cable duct to the other guide that is on the hot end head.
The bracket is very simple as you can see on the next screenshot.
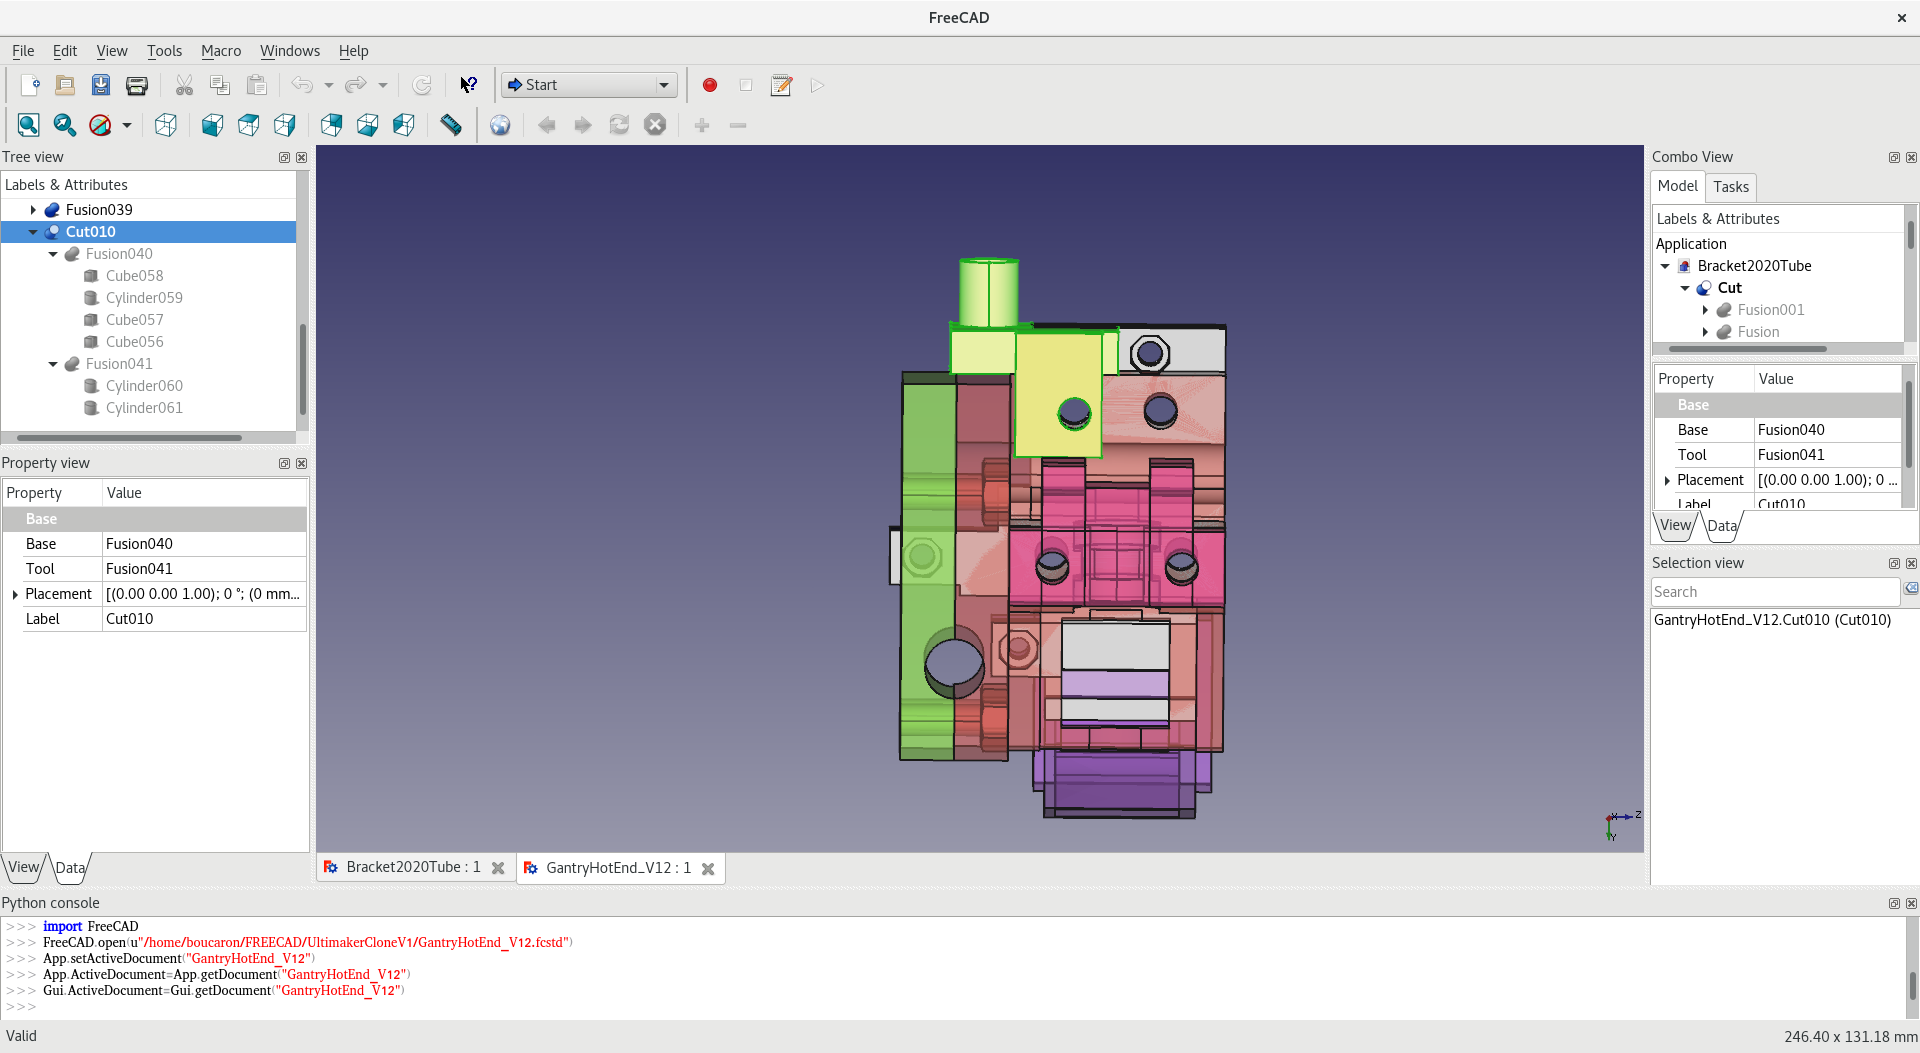
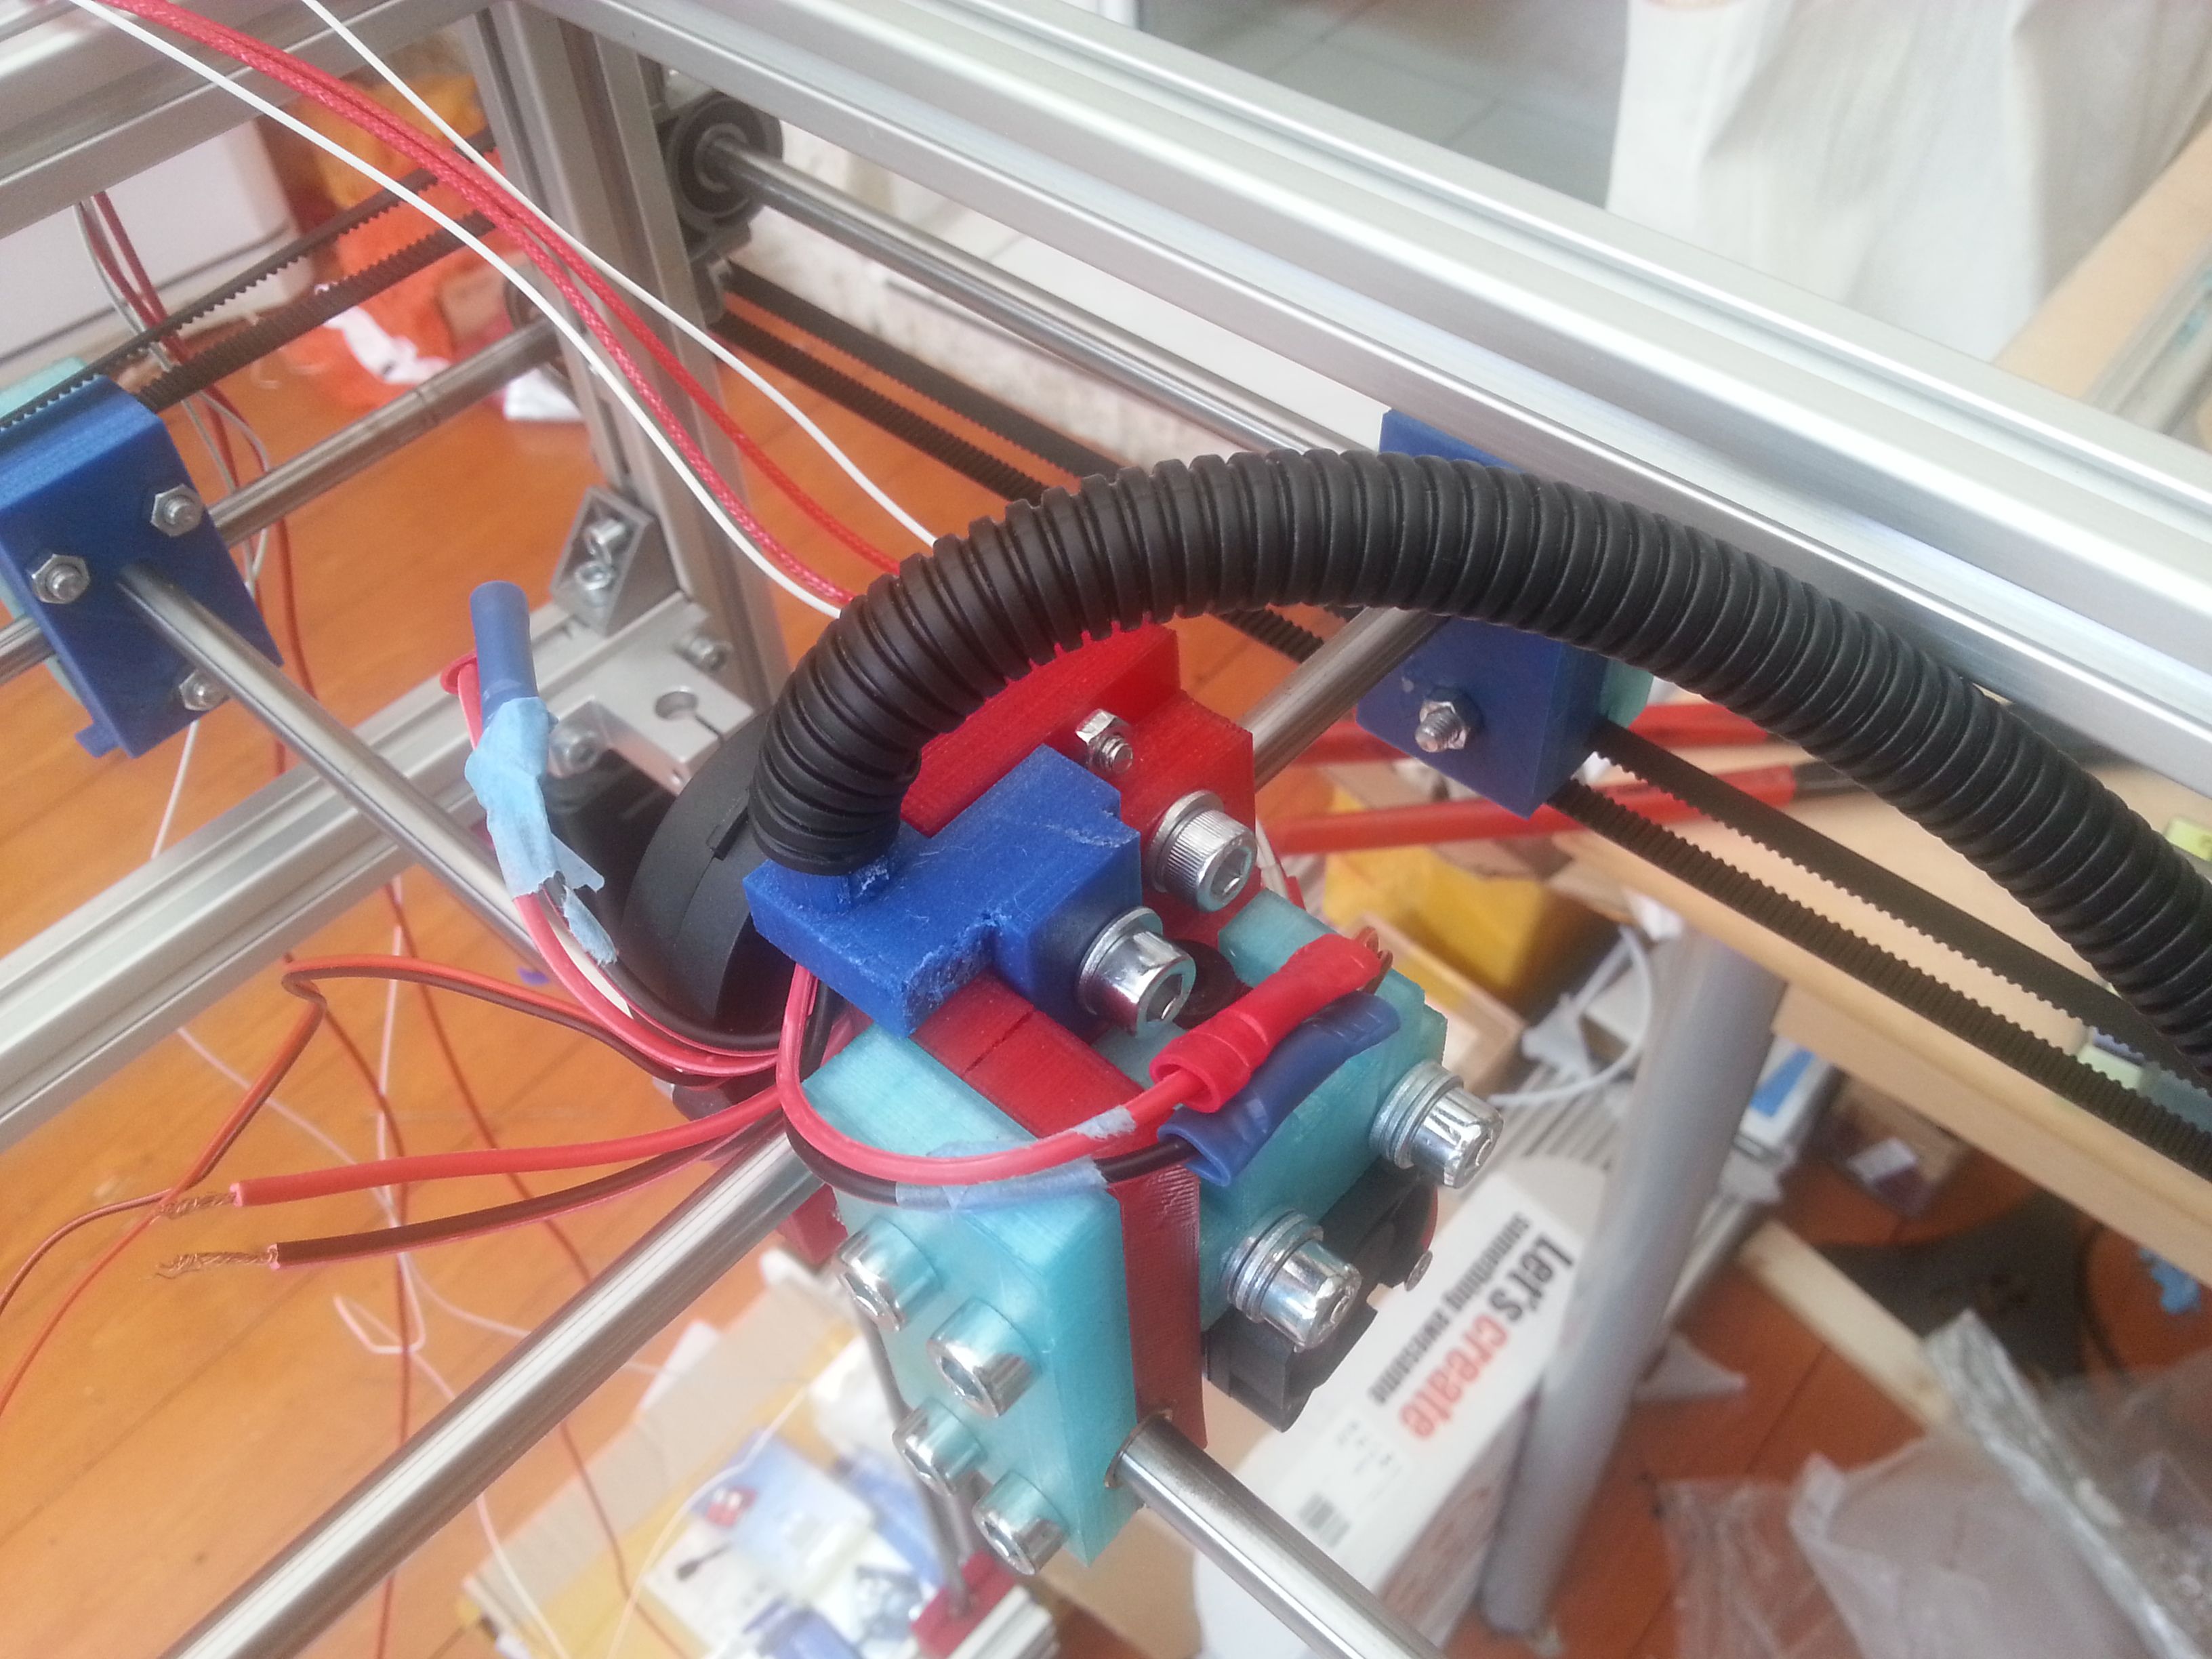
For the Hot End it looks simple, but there is some trick to make it hold on it. I am using the existing surfaces of the whole assembly to hold the piece reusing an existing screw that is just a bit longer.
Printing
Nothing specific for the bracket just enough infill to keep the part rigid enough.
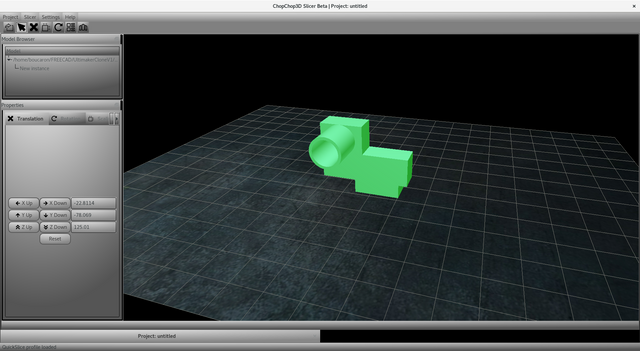
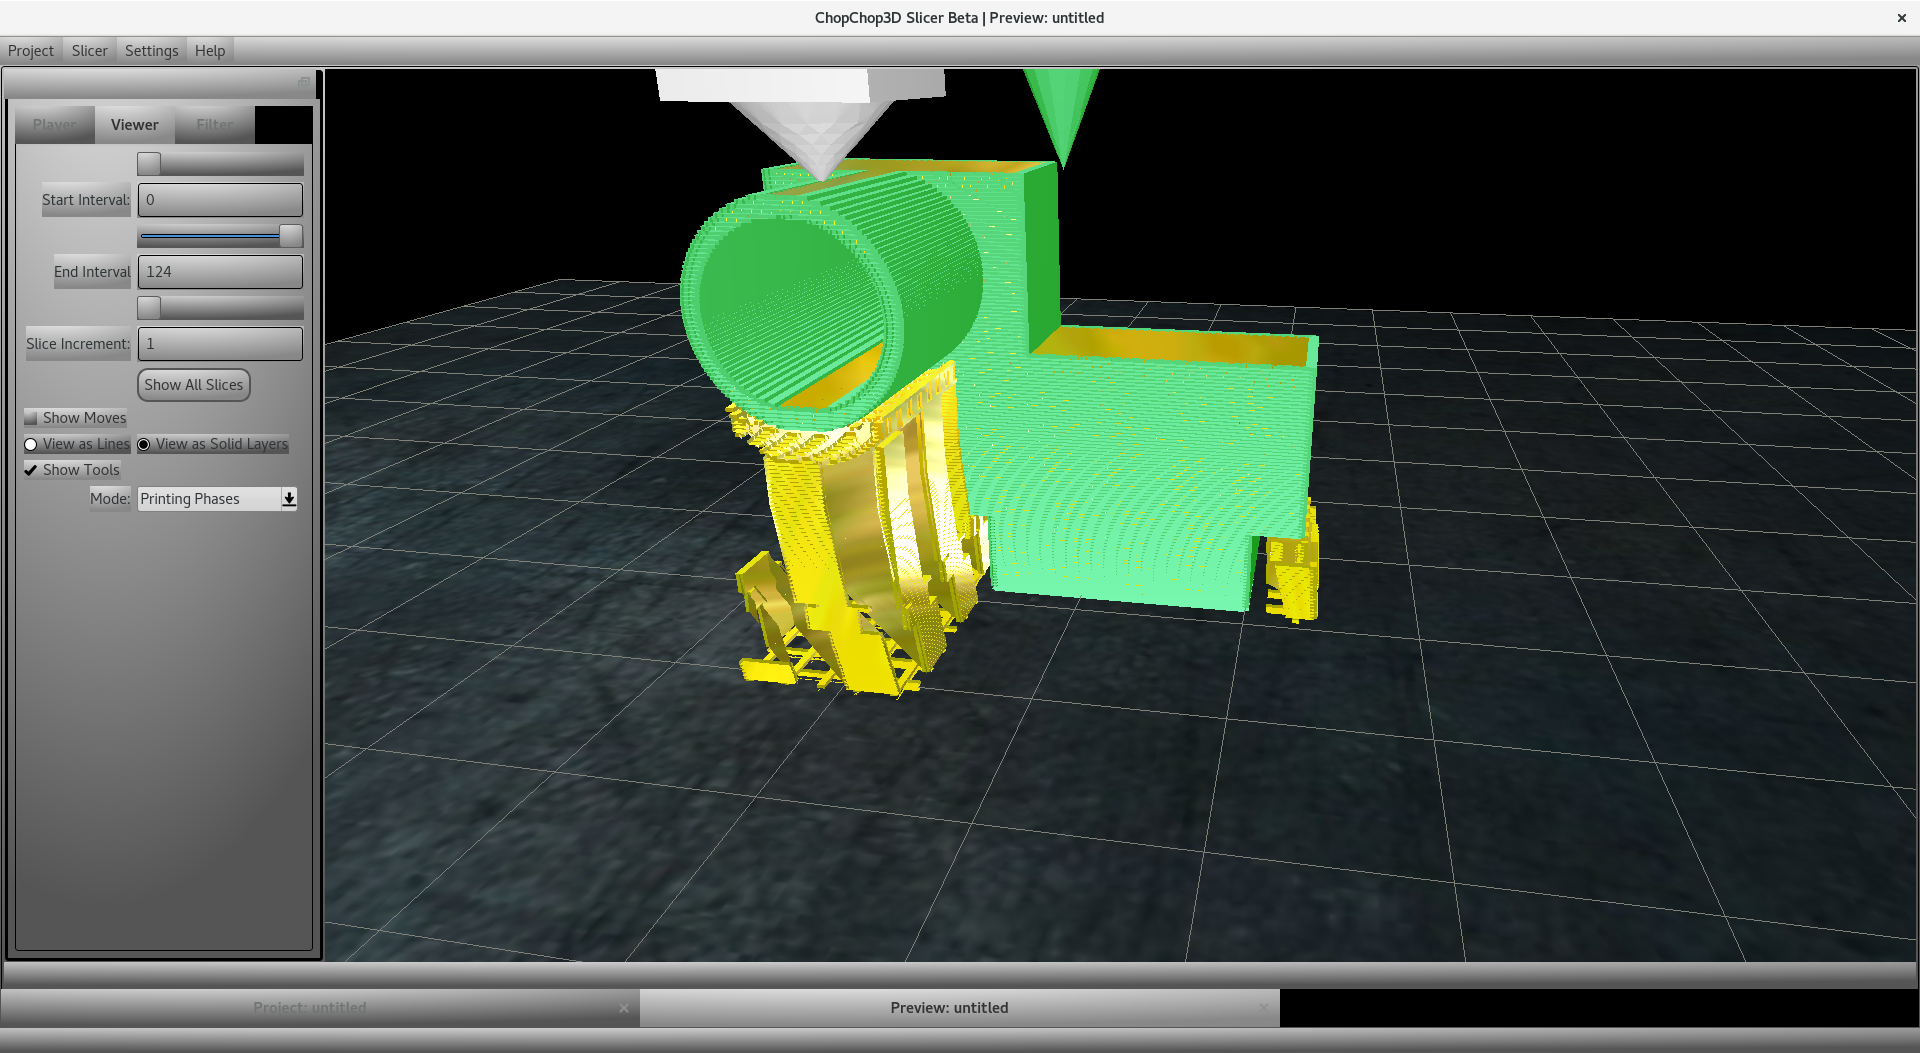
The hot end part is using bed supports and it is printed as follows.
Assembly Notes
It is a bit difficult with this cable gauge, the cable duct is really tight with 4 pairs of those cables. I had to separate a pair of those to be able to fit them into. I had to iterate once on the part for the head due to lack of room for the wires.
You need to take the time to cut to the length each pair of cable appropriately, fix them all together and put them together in the cable duct.
After comes the funny wiring part, where you have to find a good route for the cable, cut to the length and wire the things together.
Patience and planning is key.
Temperature was a bit too hot for the supports, I was trying to compensate the cold temperature of the veranda.
All the cables come just being the mother board and the PSU, still planning some stuff for the remaining cables.
It is a bit tight there and not so easy to find a good route for the cables.
Forthcoming Part
More cable things and Z-End Stops.
Previous Parts
- https://steemit.com/technology/@boucaron/why-building-yet-another-3d-printer-part-1
- https://steemit.com/technology/@boucaron/why-building-yet-another-3d-printer-part-2
- https://steemit.com/technology/@boucaron/why-building-yet-another-3d-printer-part-3
- https://steemit.com/technology/@boucaron/why-building-yet-another-3d-printer-part-4
- https://steemit.com/technology/@boucaron/the-hotend-head-3dprinter-part-5
- https://steemit.com/technology/@boucaron/xy-stepper-motor-supports-3dprinter-part-6
- https://steemit.com/technology/@boucaron/z-stepper-motor-supports-3dprinter-part-7
- https://steemit.com/technology/@boucaron/test-assembly-3d-printer-part-8
- https://steemit.com/technology/@boucaron/lcd-support-3d-printer-part-9
- https://steemit.com/technology/@boucaron/x-y-optical-end-stops-3d-printer-part-10
- https://steemit.com/technology/@boucaron/small-heat-bed-assembly-3d-printer-part-11
- https://steemit.com/technology/@boucaron/power-supply-unit-holder-3d-printer-part-12
Usefull post . I like your post
This wonderful post has received a bellyrub 1.83 % upvote from @bellyrub.
This post has received a 0.77 % upvote from @buildawhale thanks to: @boucaron. Send at least 1 SBD to @buildawhale with a post link in the memo field for a portion of the next vote.
To support our daily curation initiative, please vote on my owner, @themarkymark, as a Steem Witness
@originalworks
The @OriginalWorks bot has determined this post by @boucaron to be original material and upvoted(1.5%) it!
To call @OriginalWorks, simply reply to any post with @originalworks or !originalworks in your message!