The HotEnd Head (3DPrinter Part 5)
Long time, I did not publish about the 3D Printer :). I will present in this part how I designed the HotEnd Head. It was tedious, long, but hey it is important.
Design constraints
- Simplicity.
- Light.
- Rigid.
- Compact.
- Customizable & Detachable Air Duct.
Components
- I am using only 2 brass bearings: it offers more contact with the rod in a very compact package, and it is lighter than classic LM8. Probably less noise too and a bit more resistance for the stepper motors.
- The hotend is a E3D V6 clone with its supplied 30x30mm fan. May be I will modify the design to put a silent 40x40mm instead.
- The cooling fan is squirrel cage of 50x40x15mm.
Design
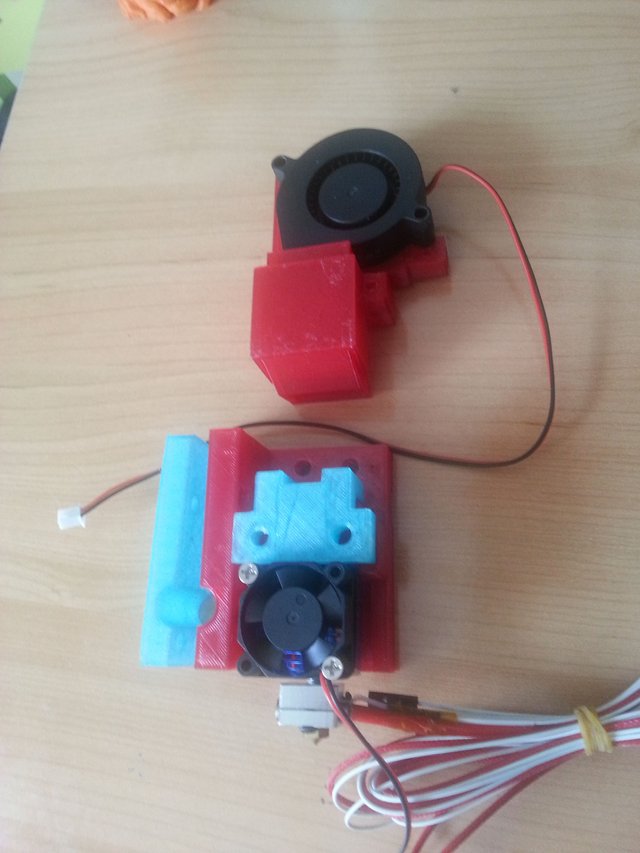
It consists of few parts:
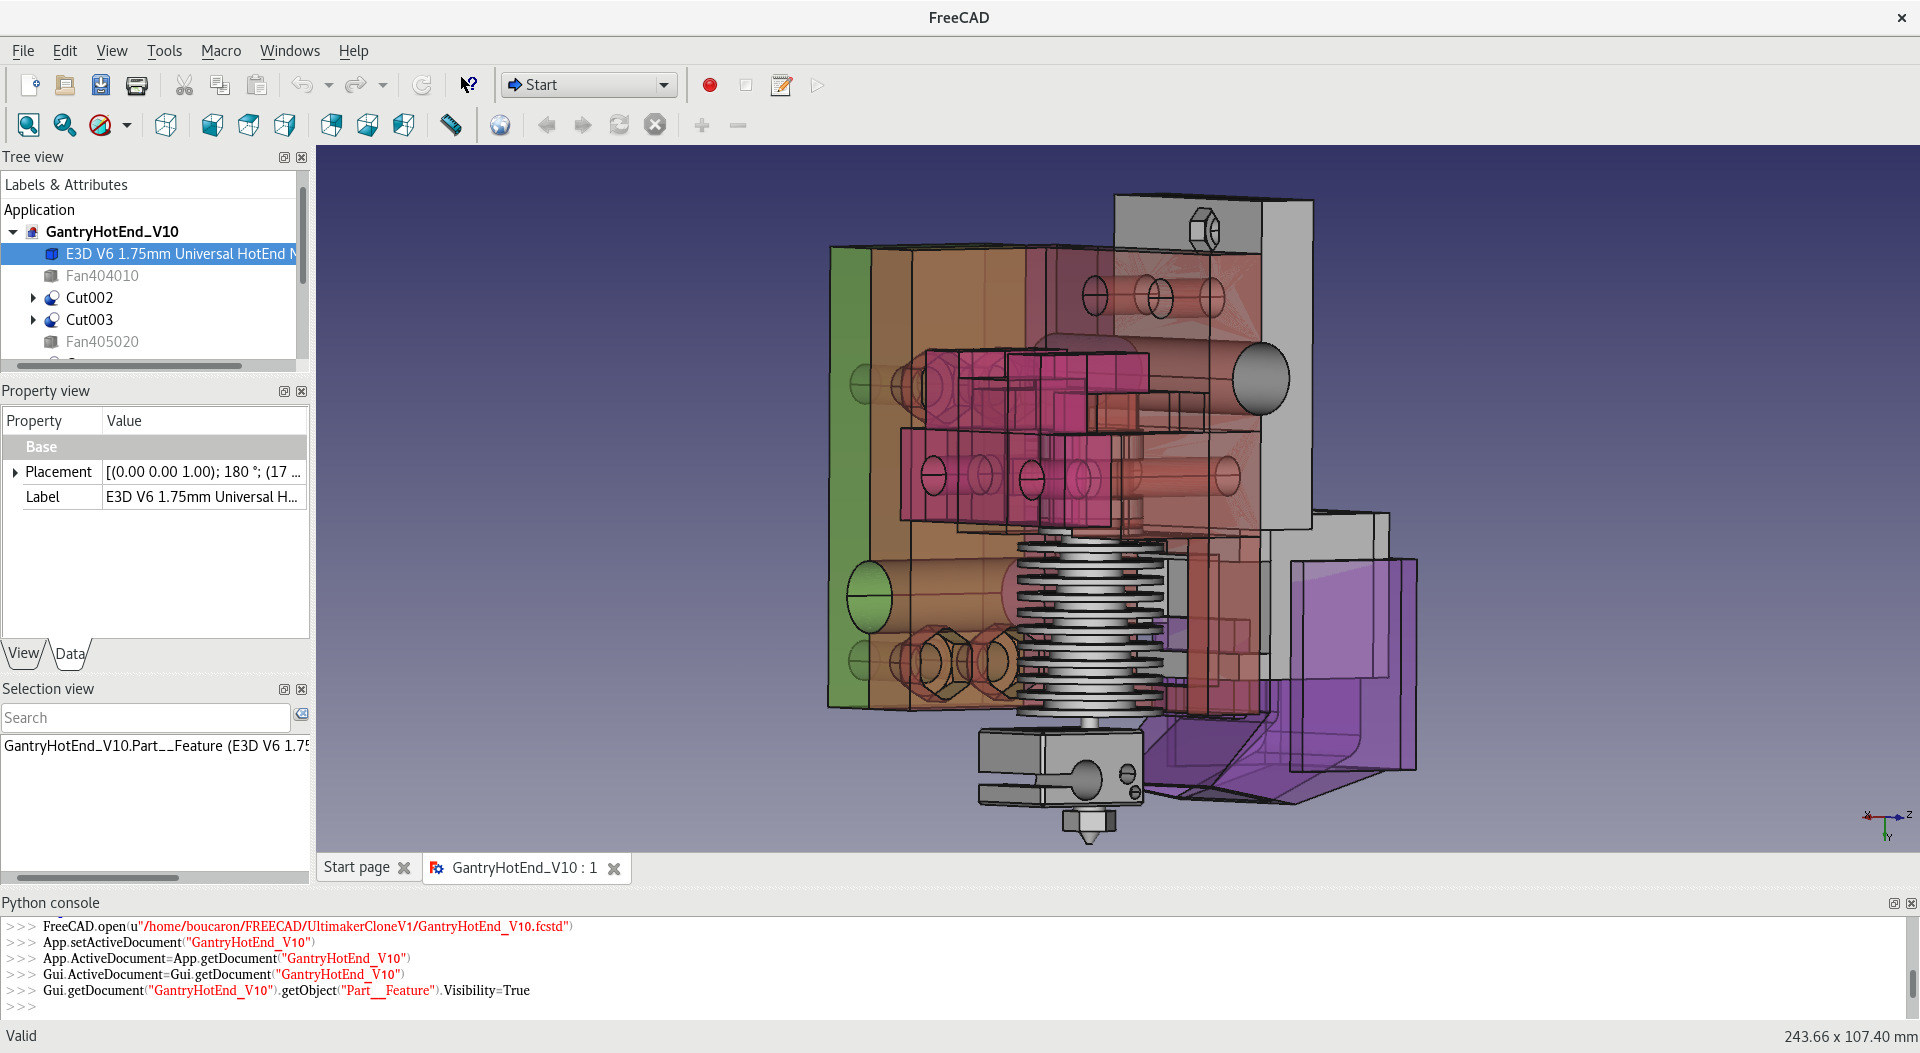
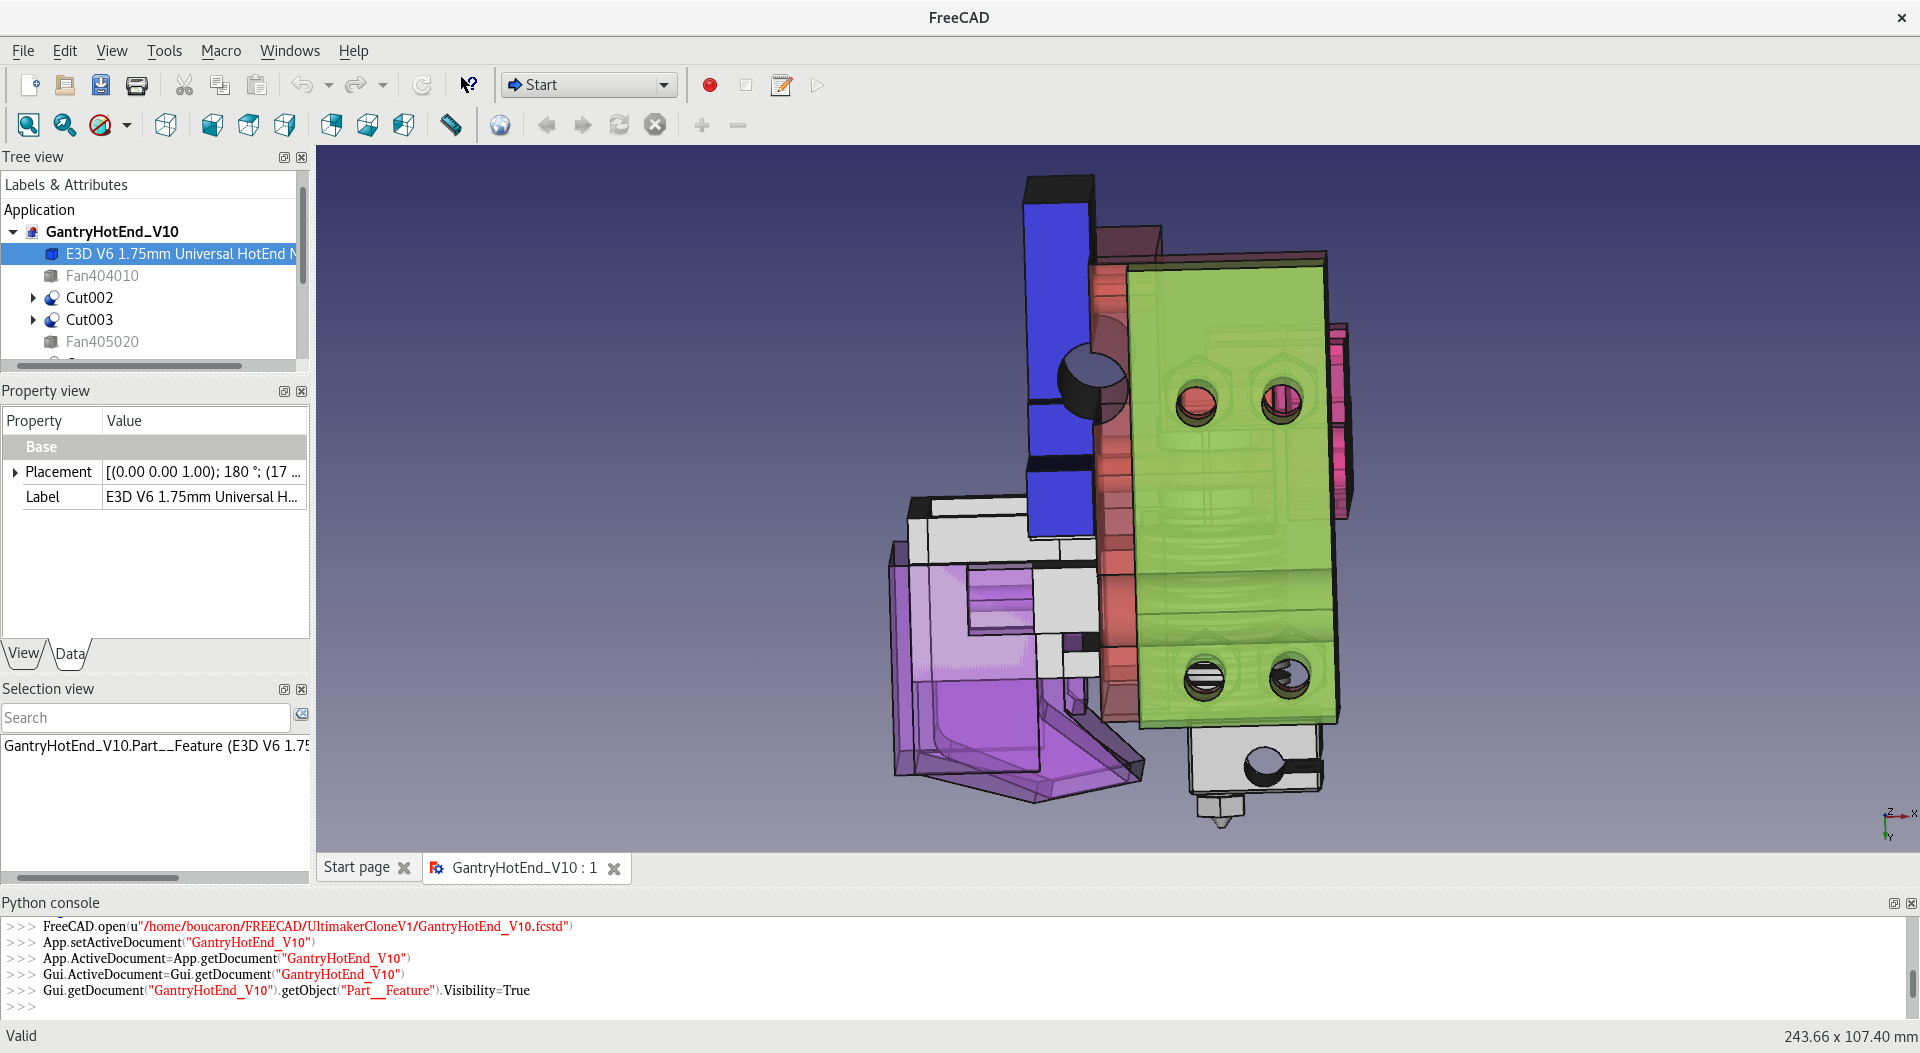
The main part where the Hotend is fixed on to.
The cap to secure the Hotend on the main.
The side cap to fix on the Y axis the main.
The backplate integrating the cooling fan and holding the detachable air duct.
Surprisingly, the total weight of all those 3D Printed part is less than just the weight of the fan, and it is few times less than the weight of the E3D hotend.
I spent some time to try to put as much surface contact area to secure the E3D hotend. You do not want the hotend to translate on X,Y, Z or to rotate on X,Y. The cap is also designed in this way and the additional top surface area is used to help secure the nozzle. There is also a contact area at the bottom of the hotend to secure it, the limiting factor being the clip used to put the 30x30mm cooling fan on the hotend, otherwise I would have slightly increased the contact surface area.
Iterating on the Design
Main part
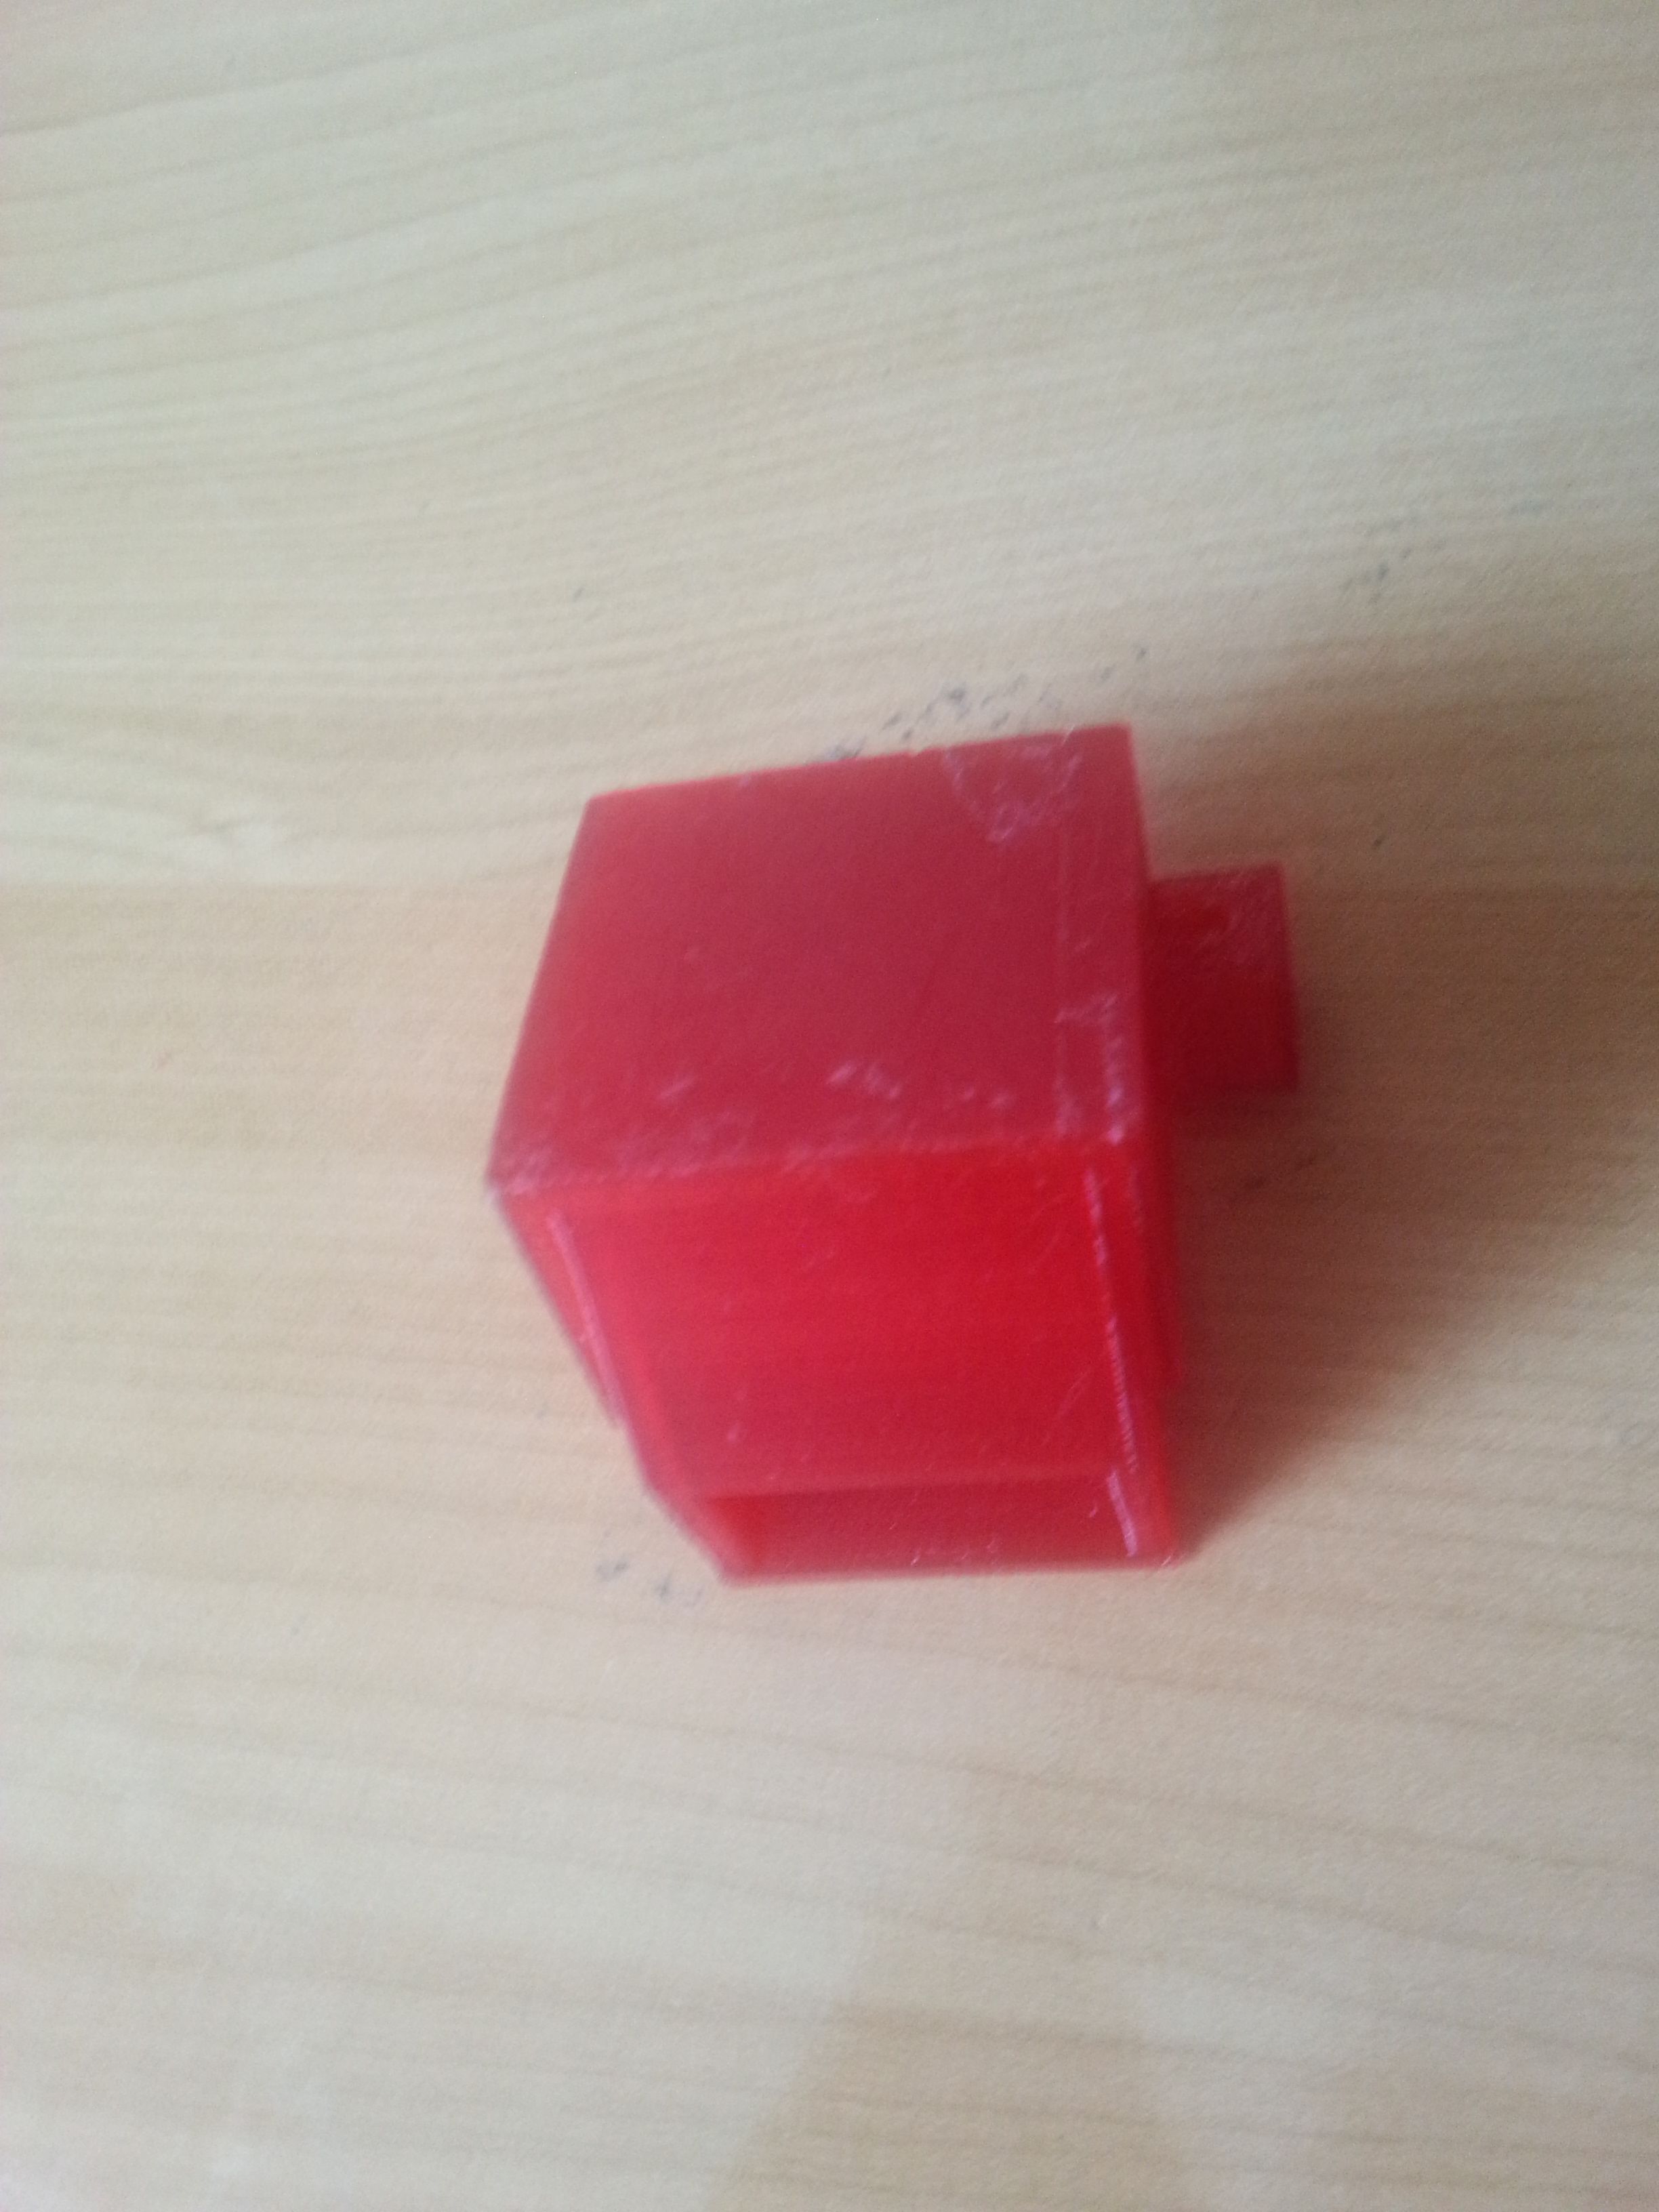
I had to iterate few times on this one:
- V0 with important surface area to support the E3D HotEnd. Use a tight clearance when printing.
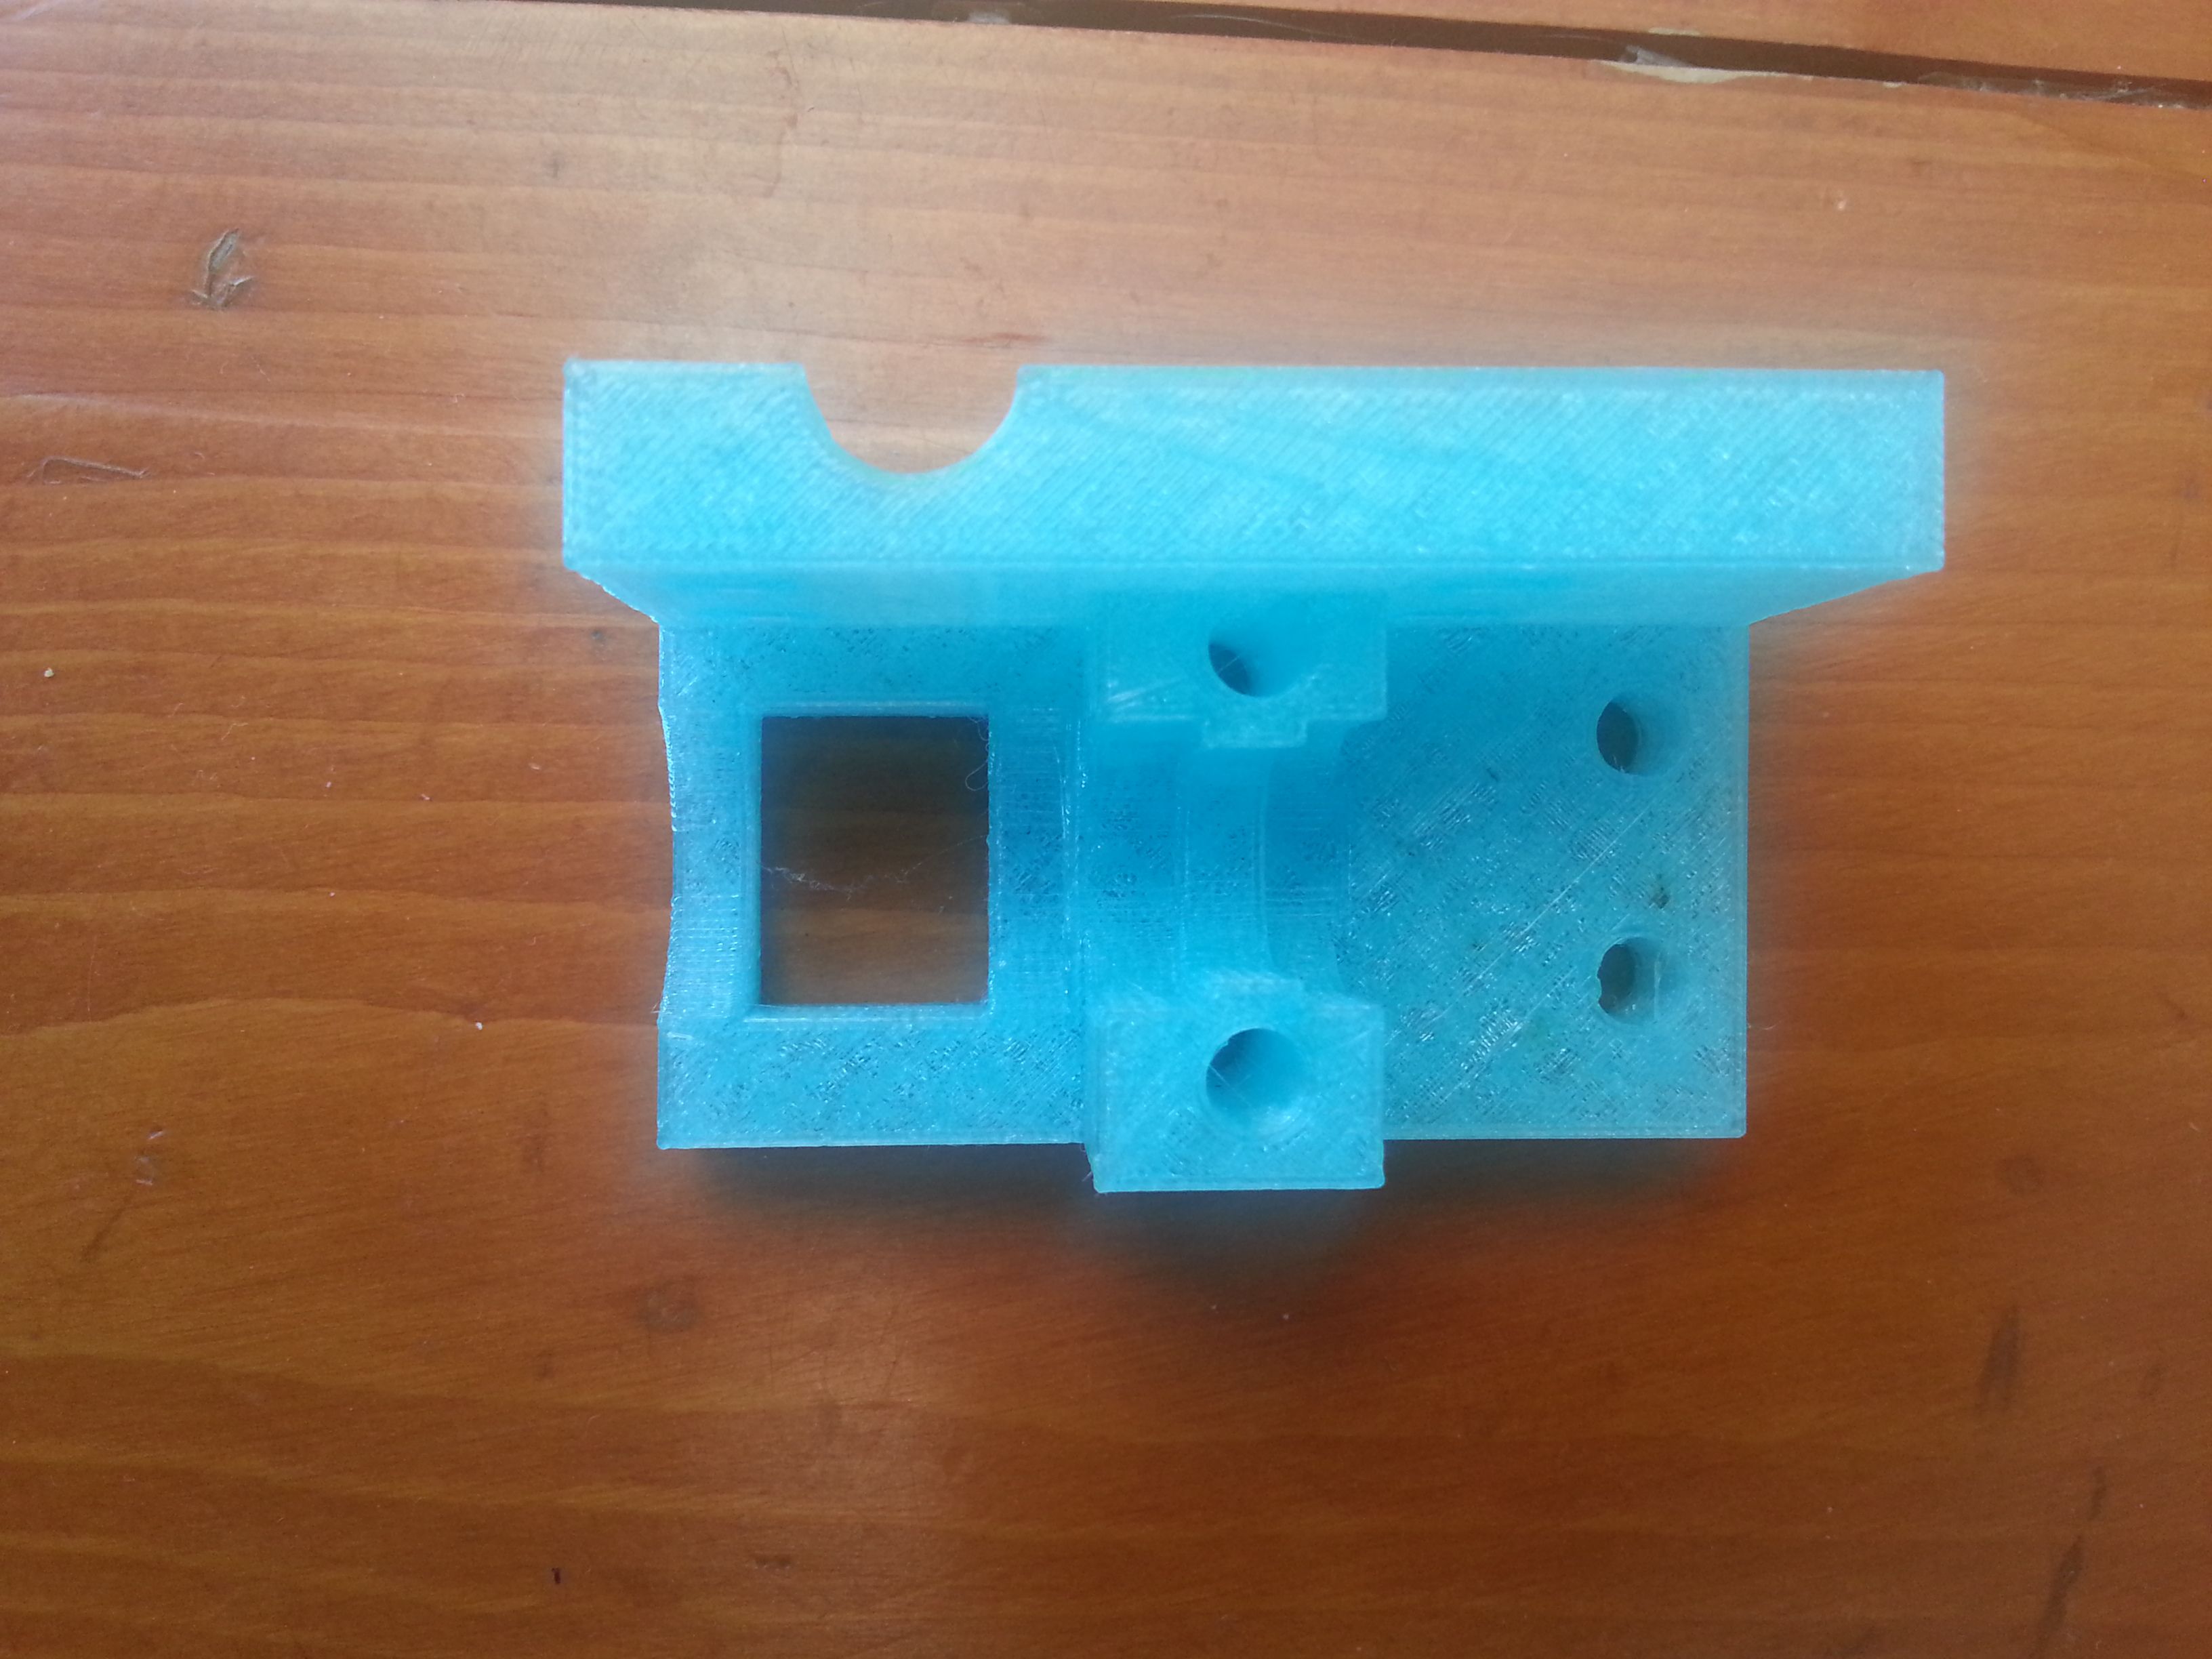
- Increase a bit the width due to the E3D Fan Clip.
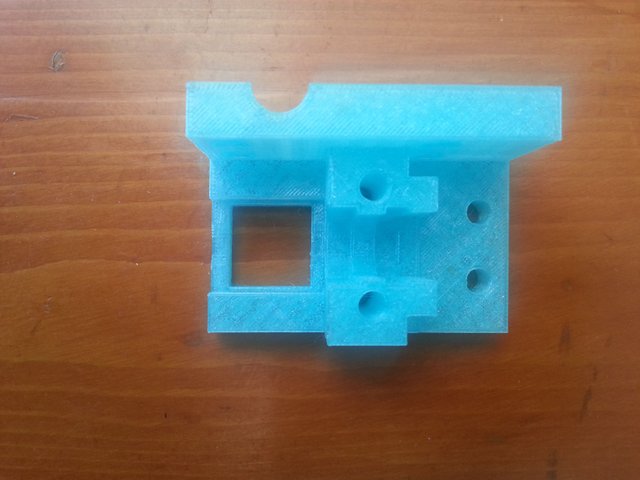
- Improve the top contact patch for the E3D HotEnd.
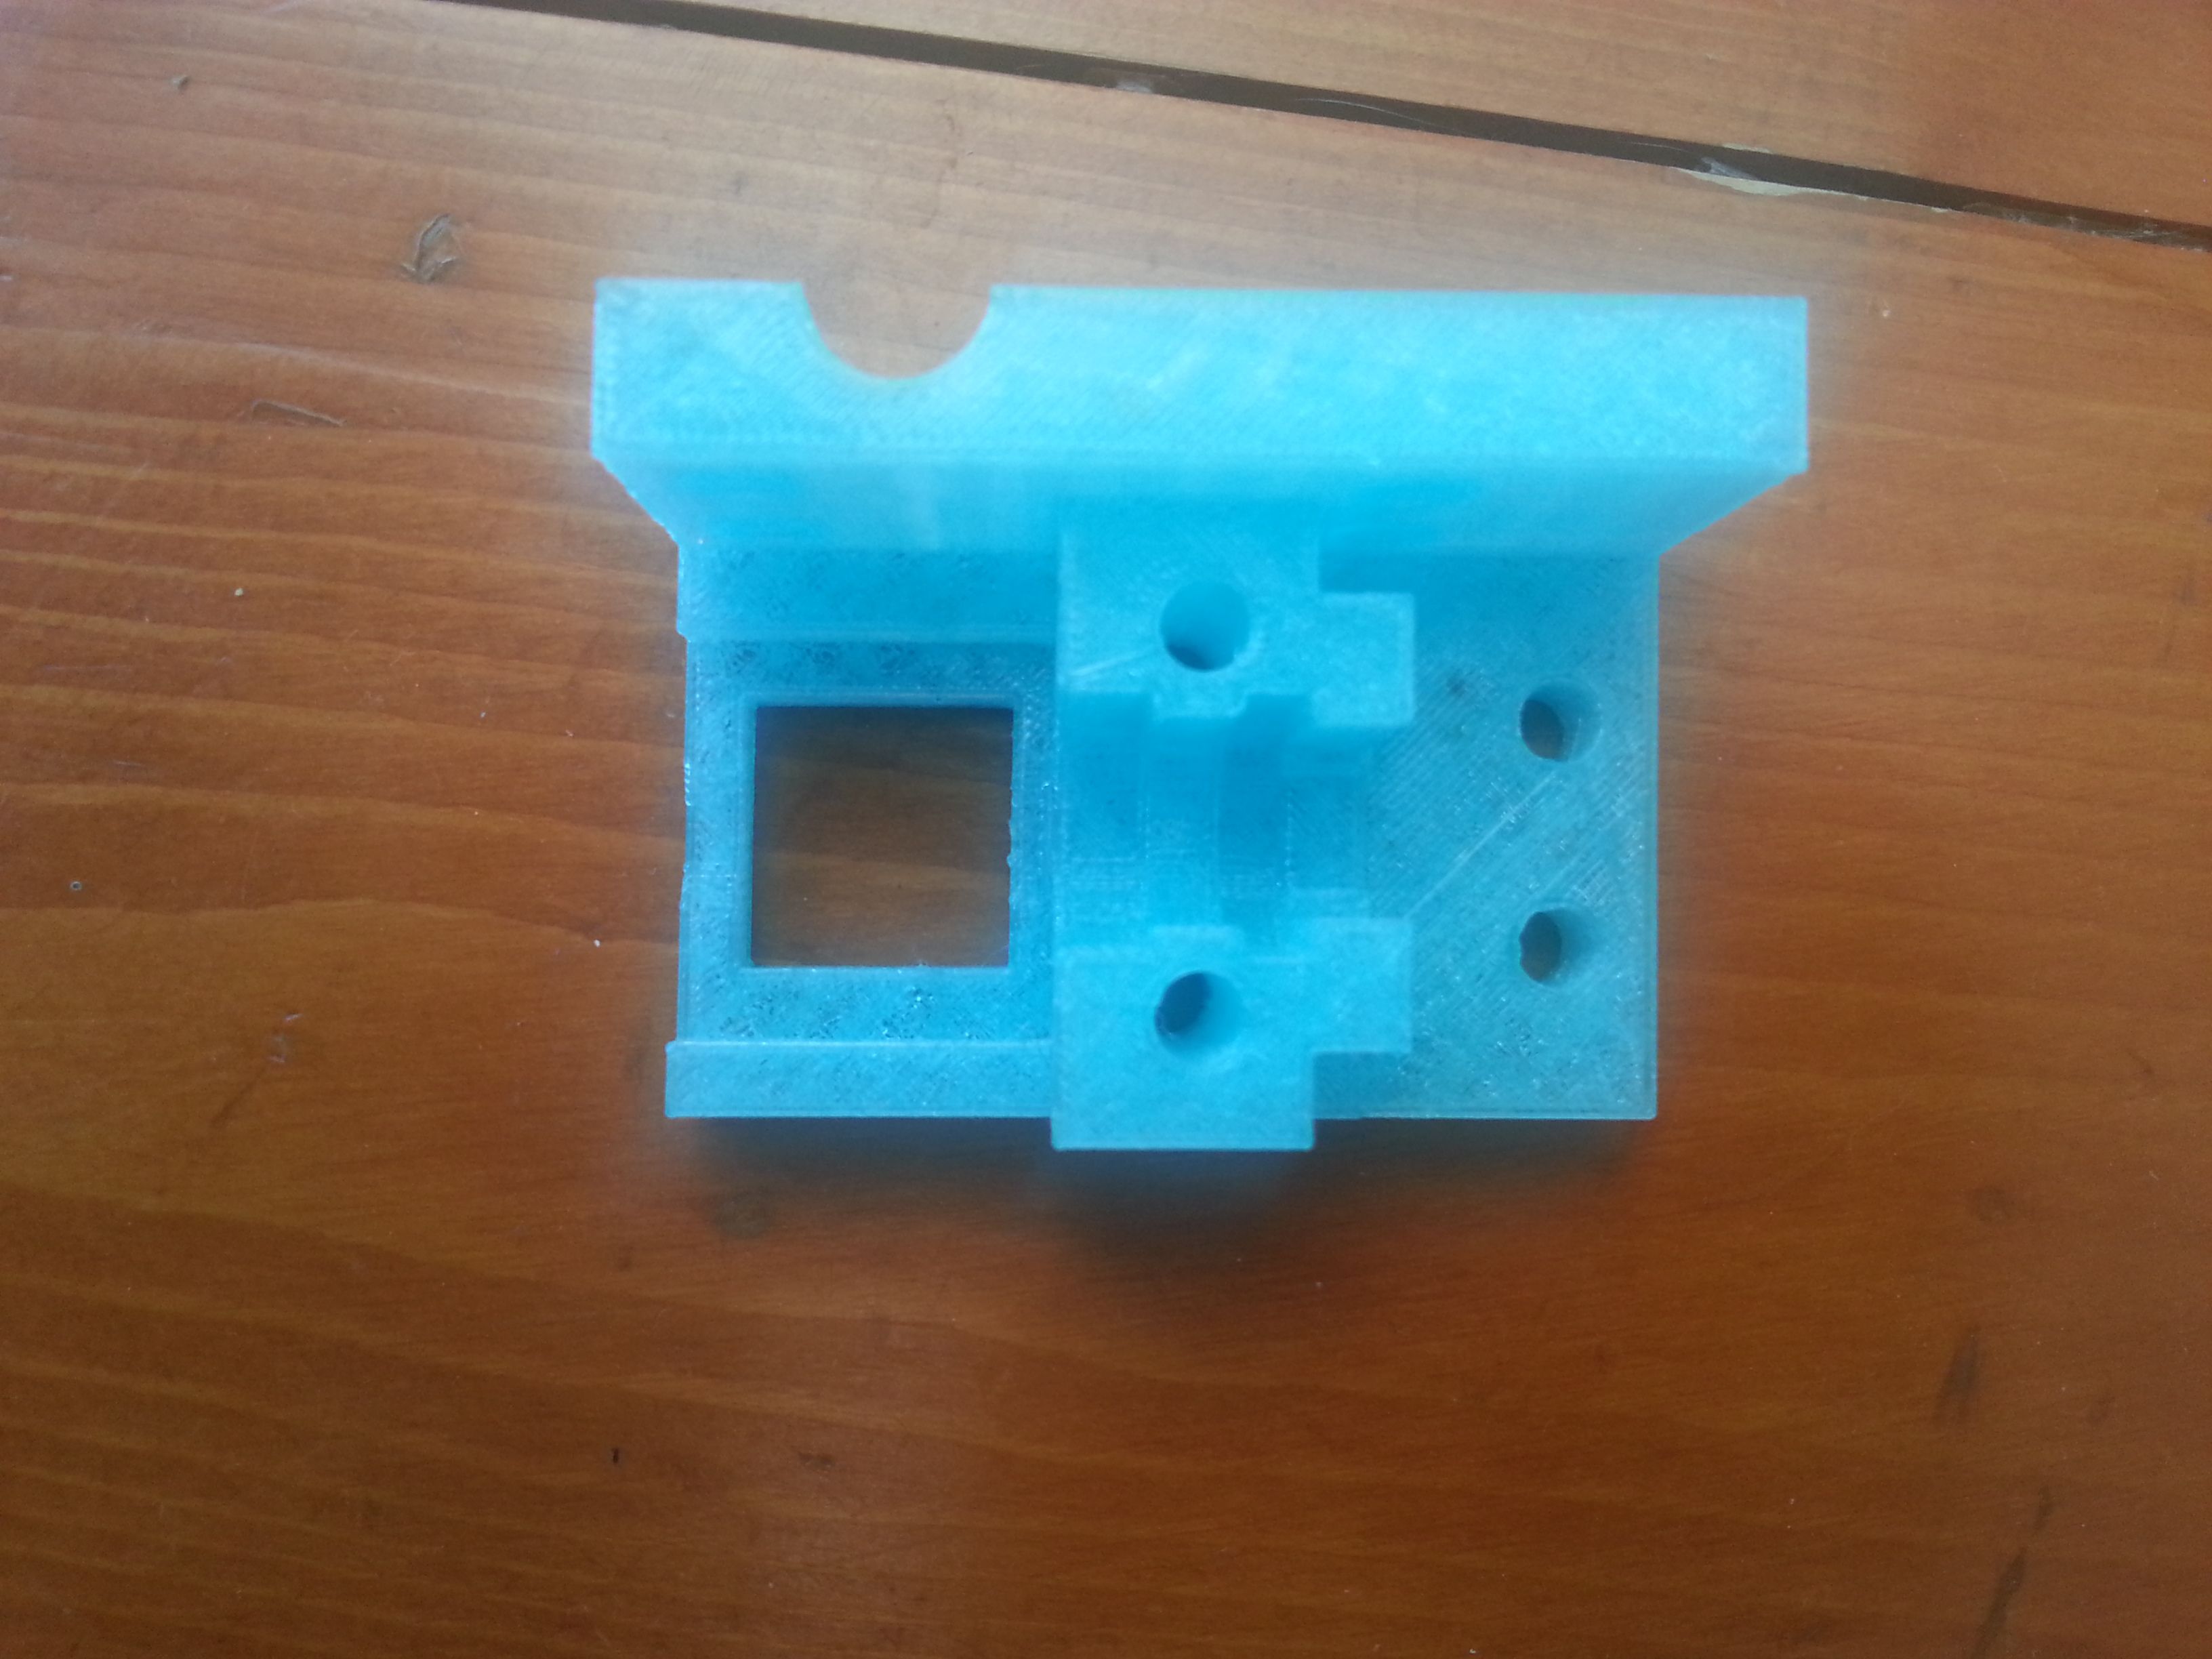
- Add missing nuts holes.
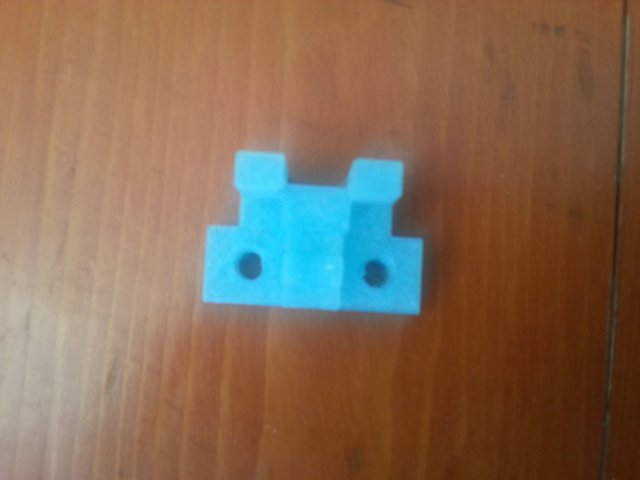
HotEnd cap
Improve the surface contact patch, use a tight clearance when printing.
Side plate
Just redesign to reduce the surface, the volume, the weight and the the print time.
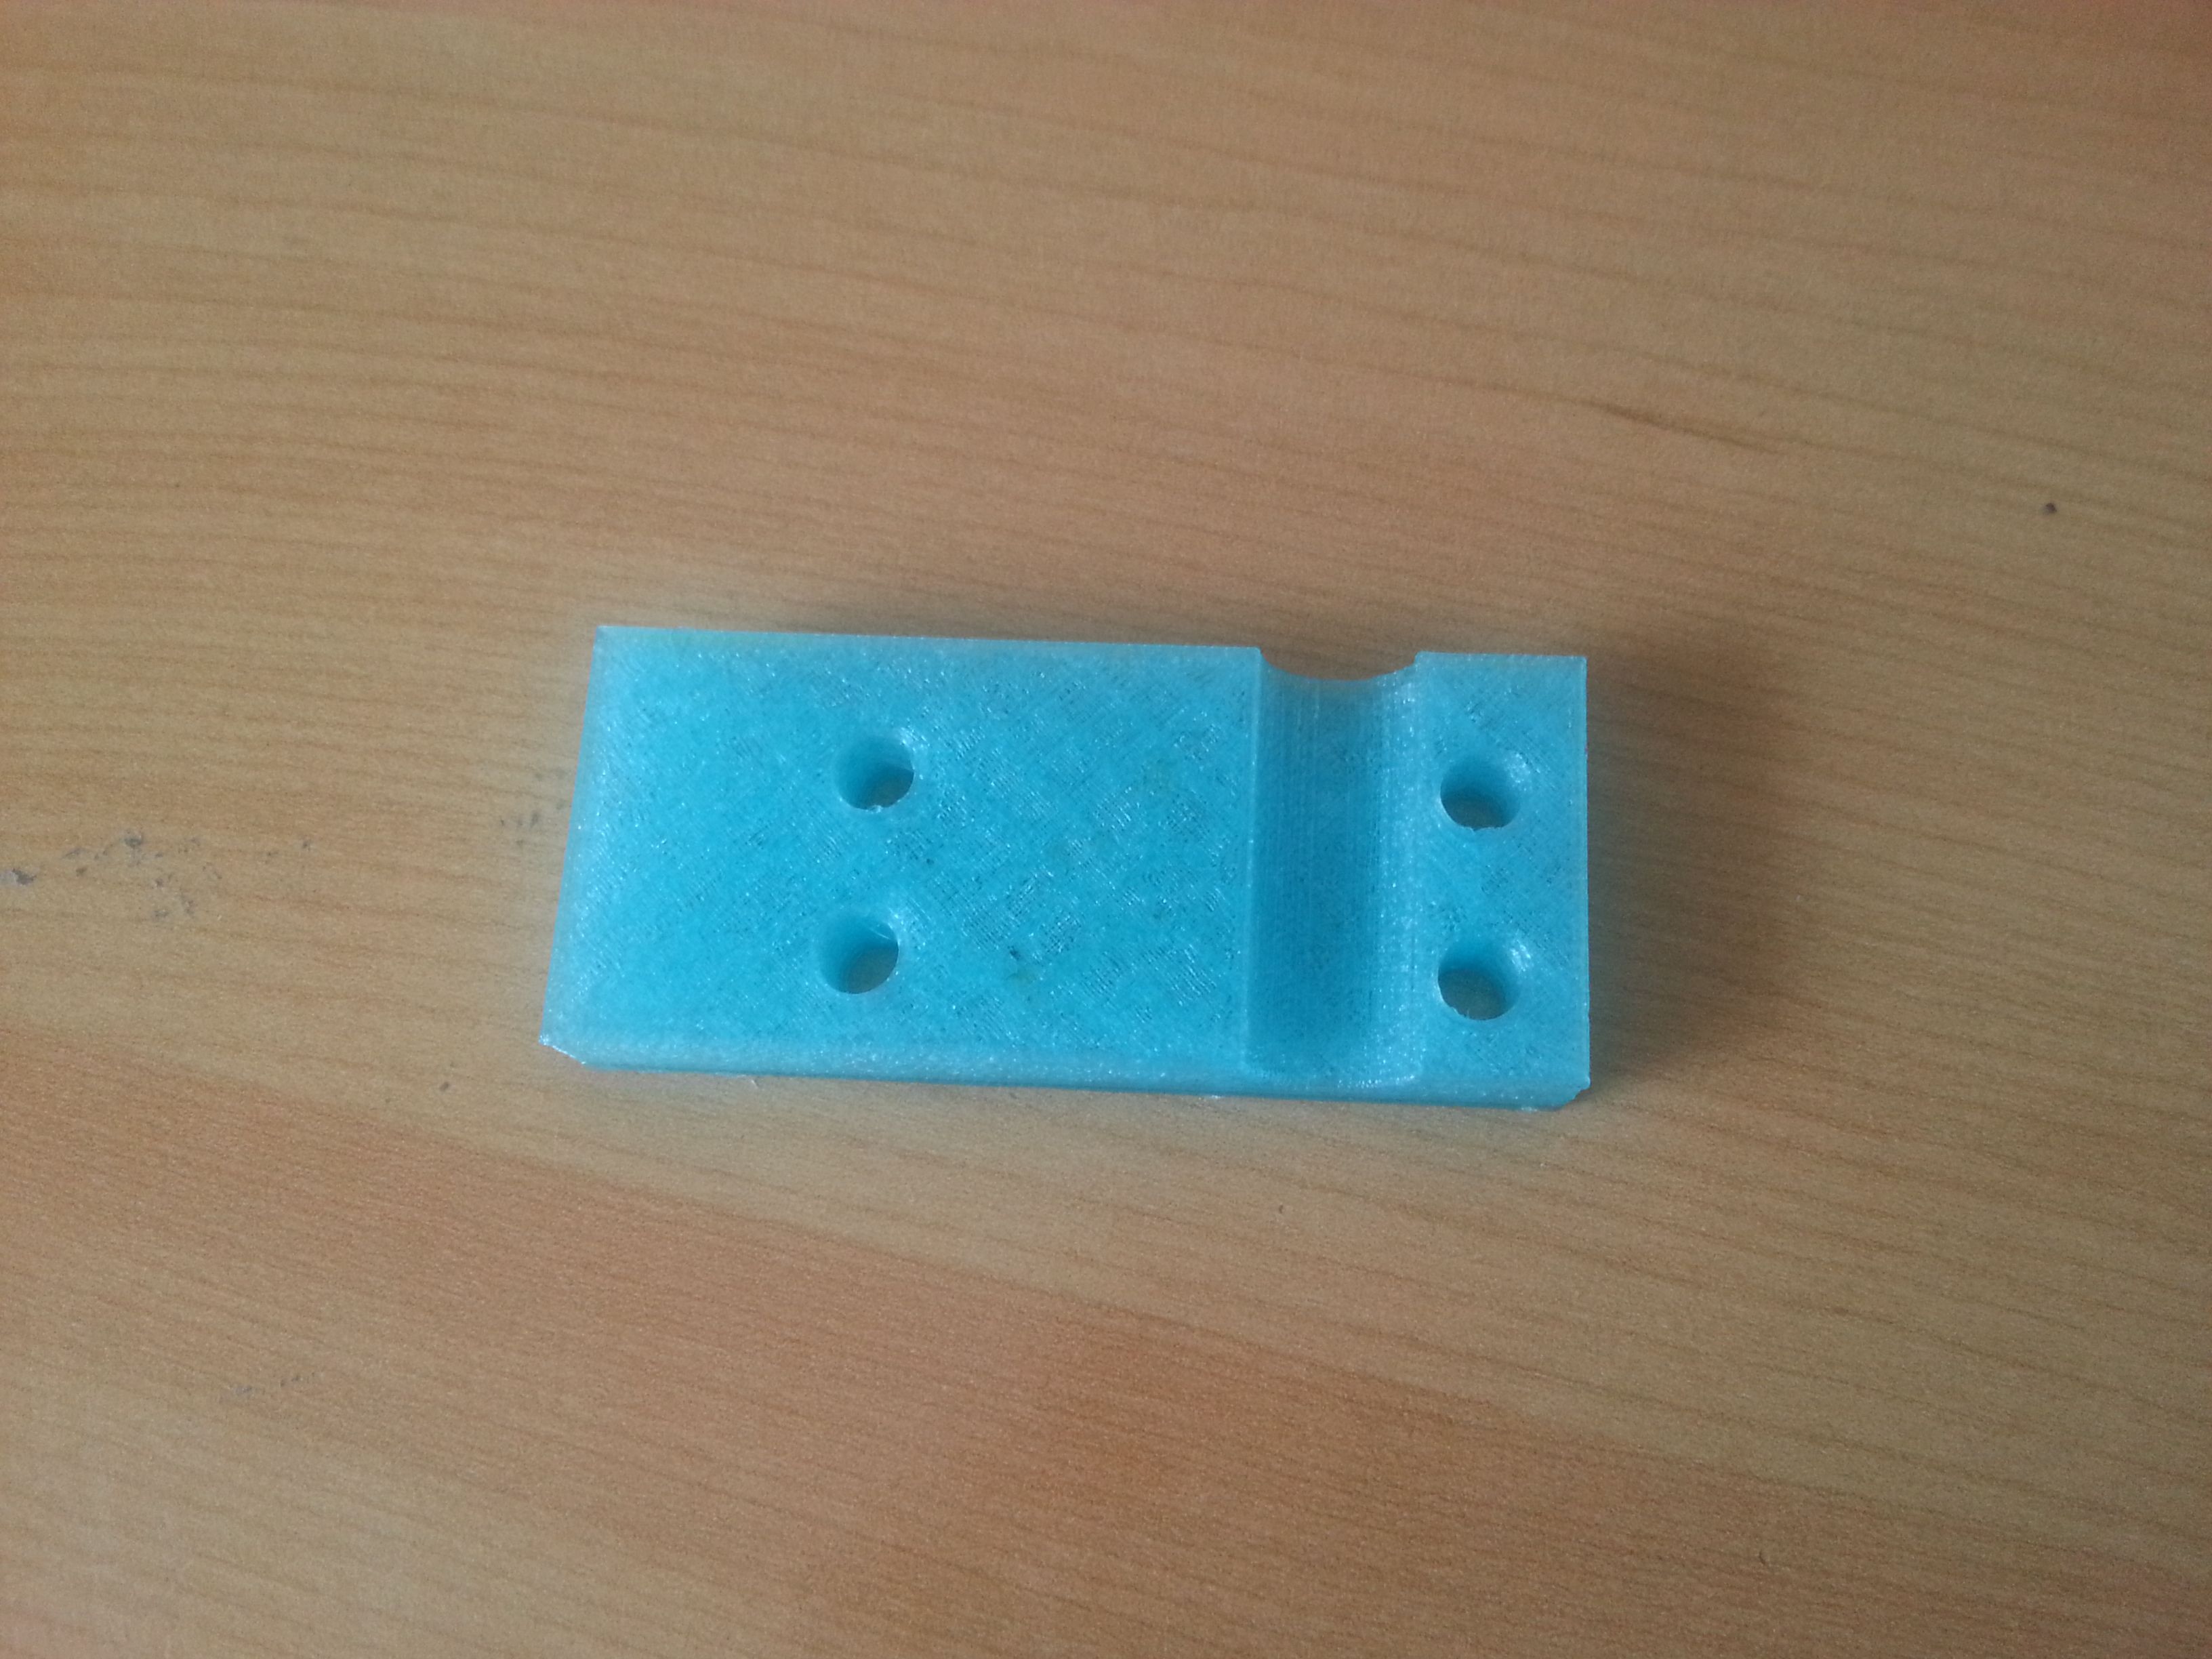
Back plate
I had to iterate a few times on this one:
- Increase the surface.
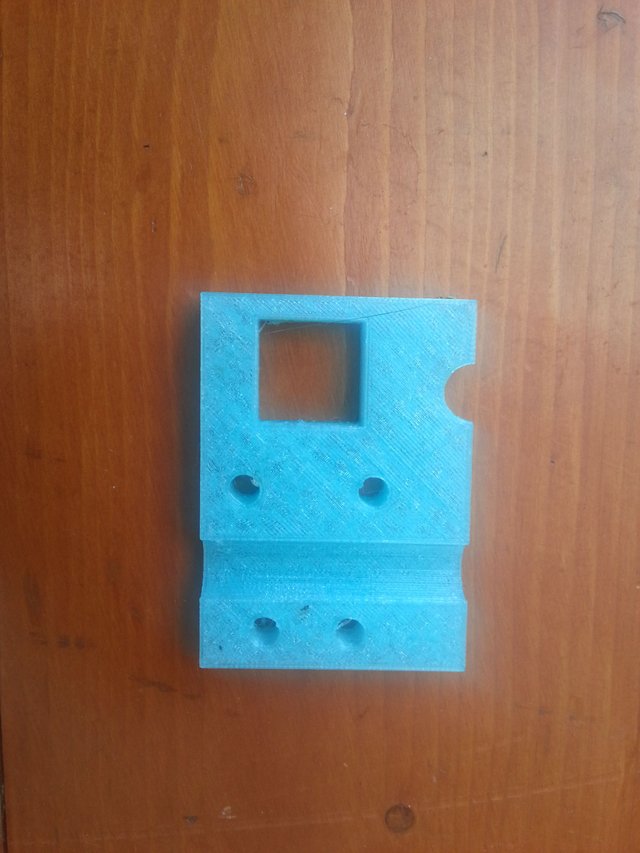
- Add Fan holes.
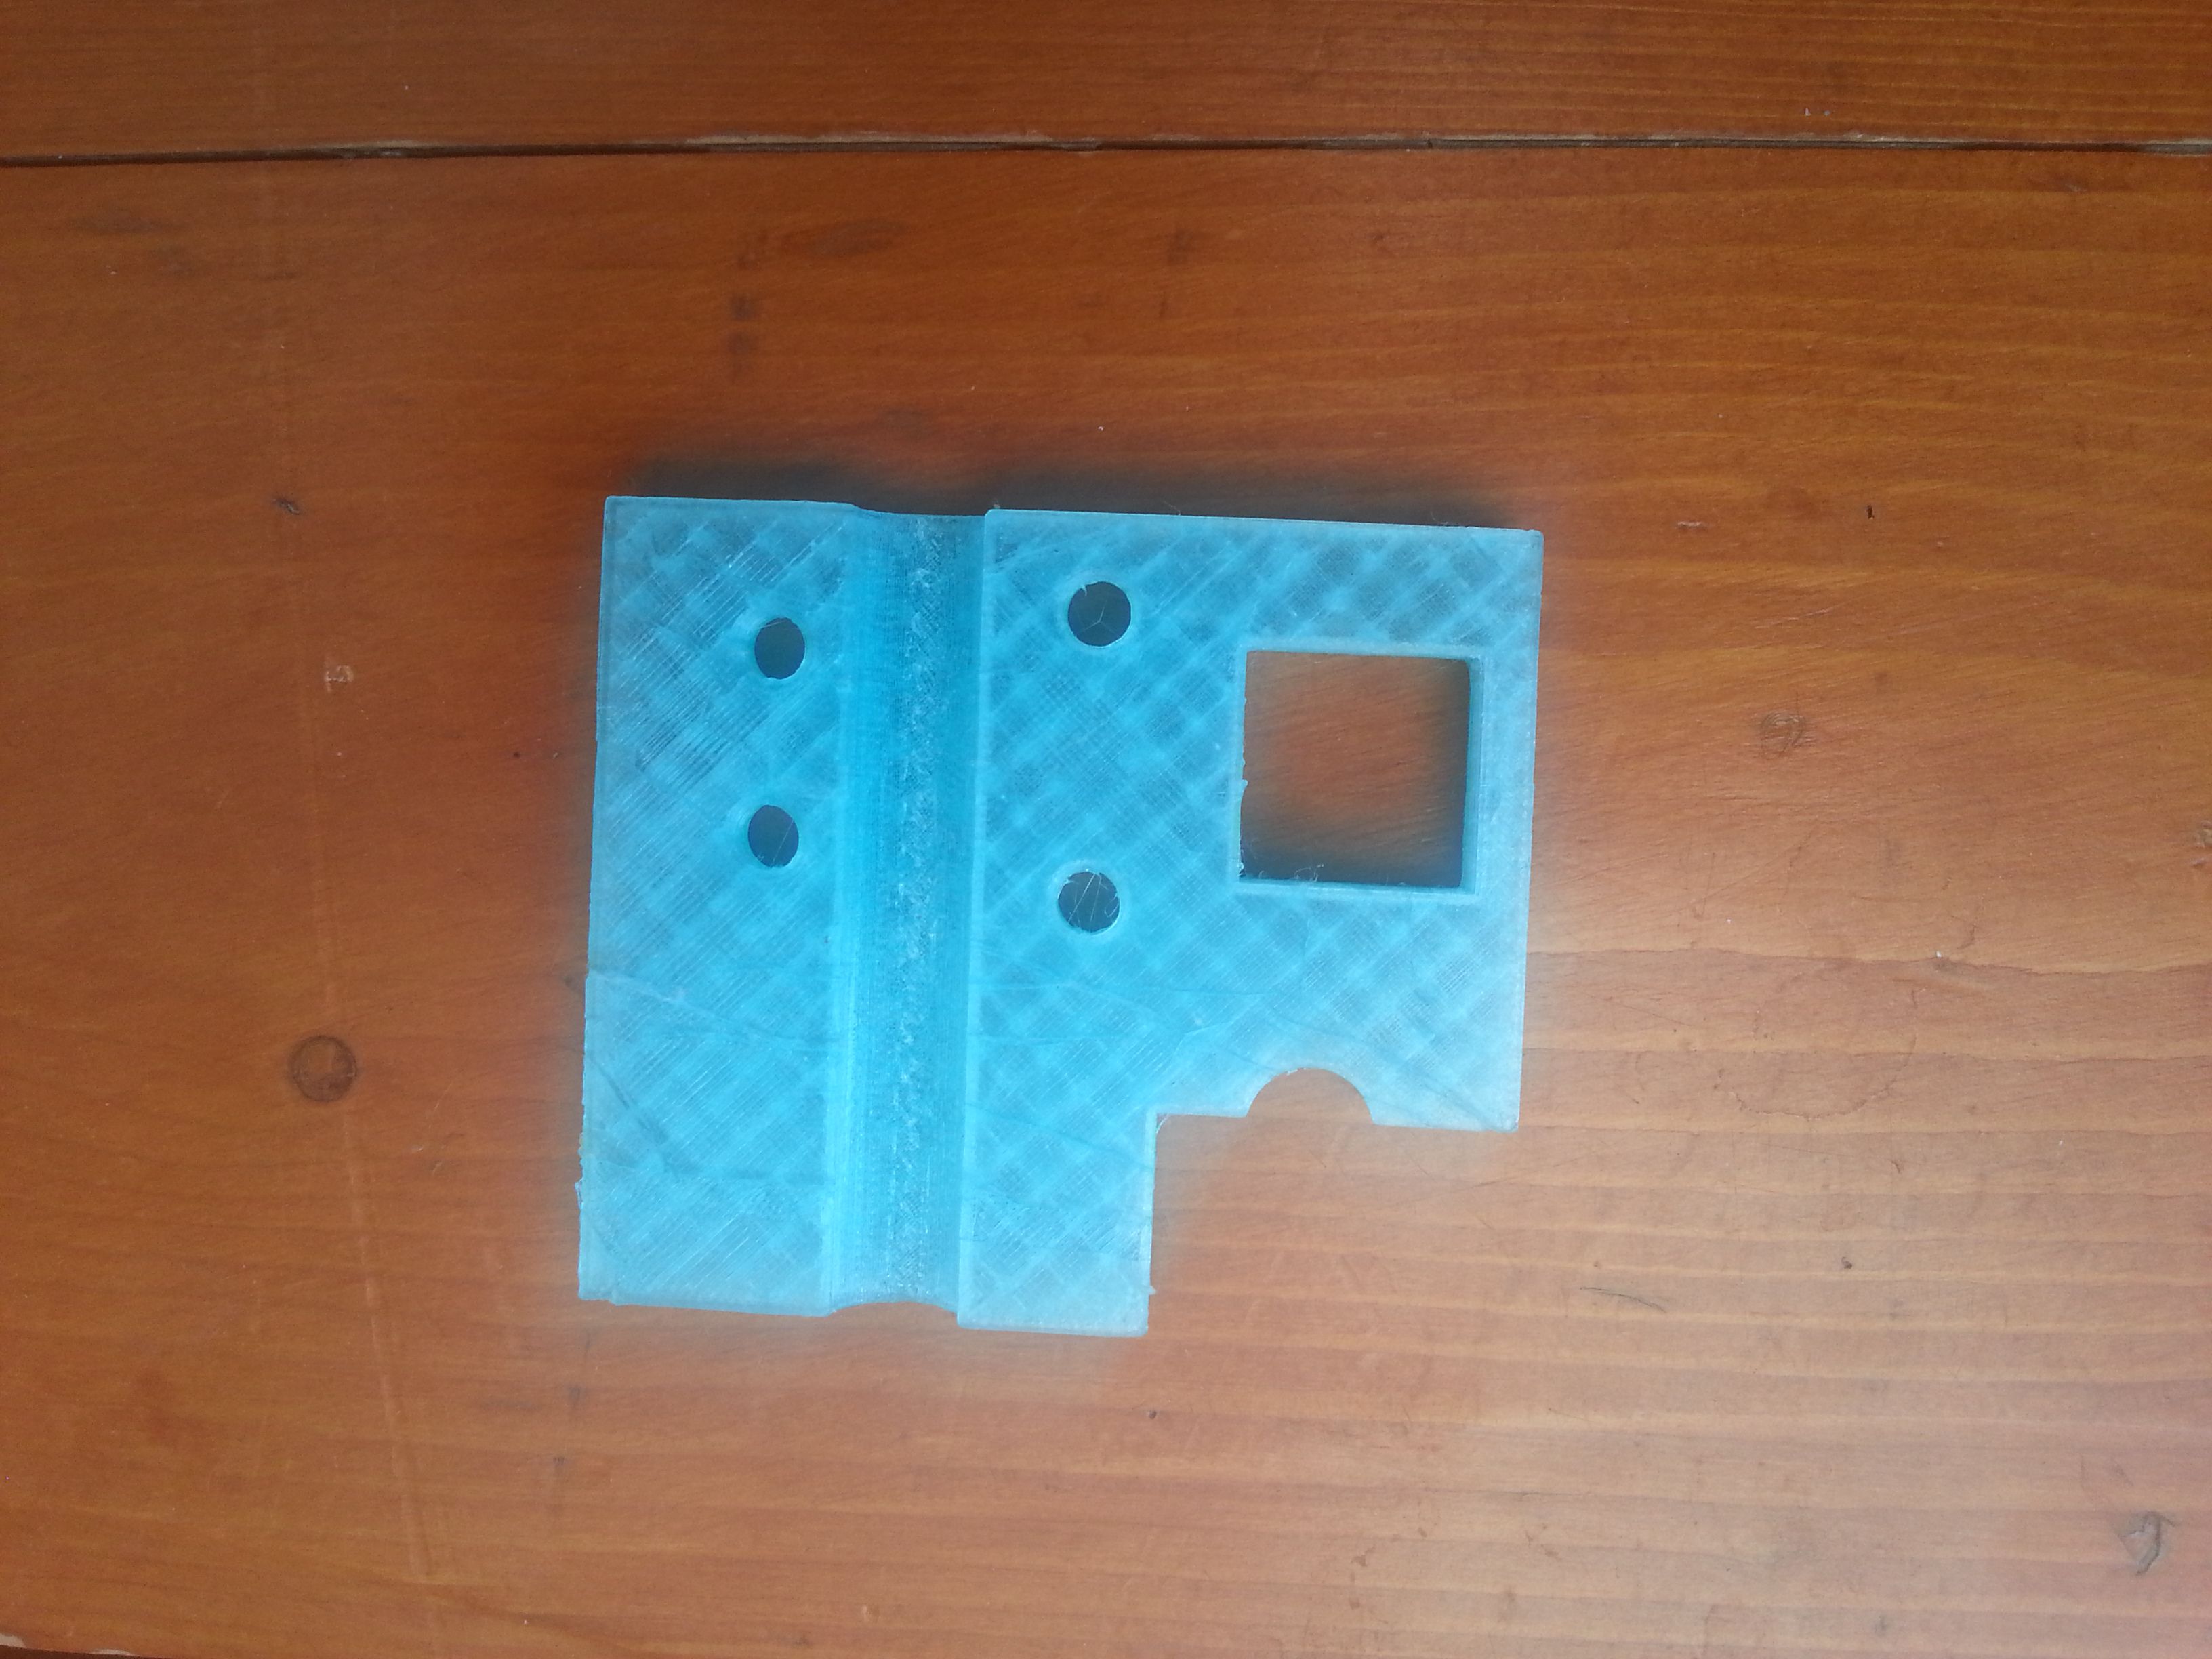
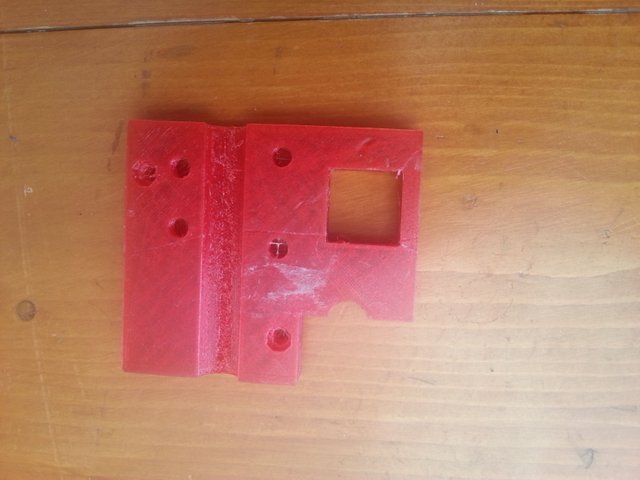
- Change fan duct hole placement.
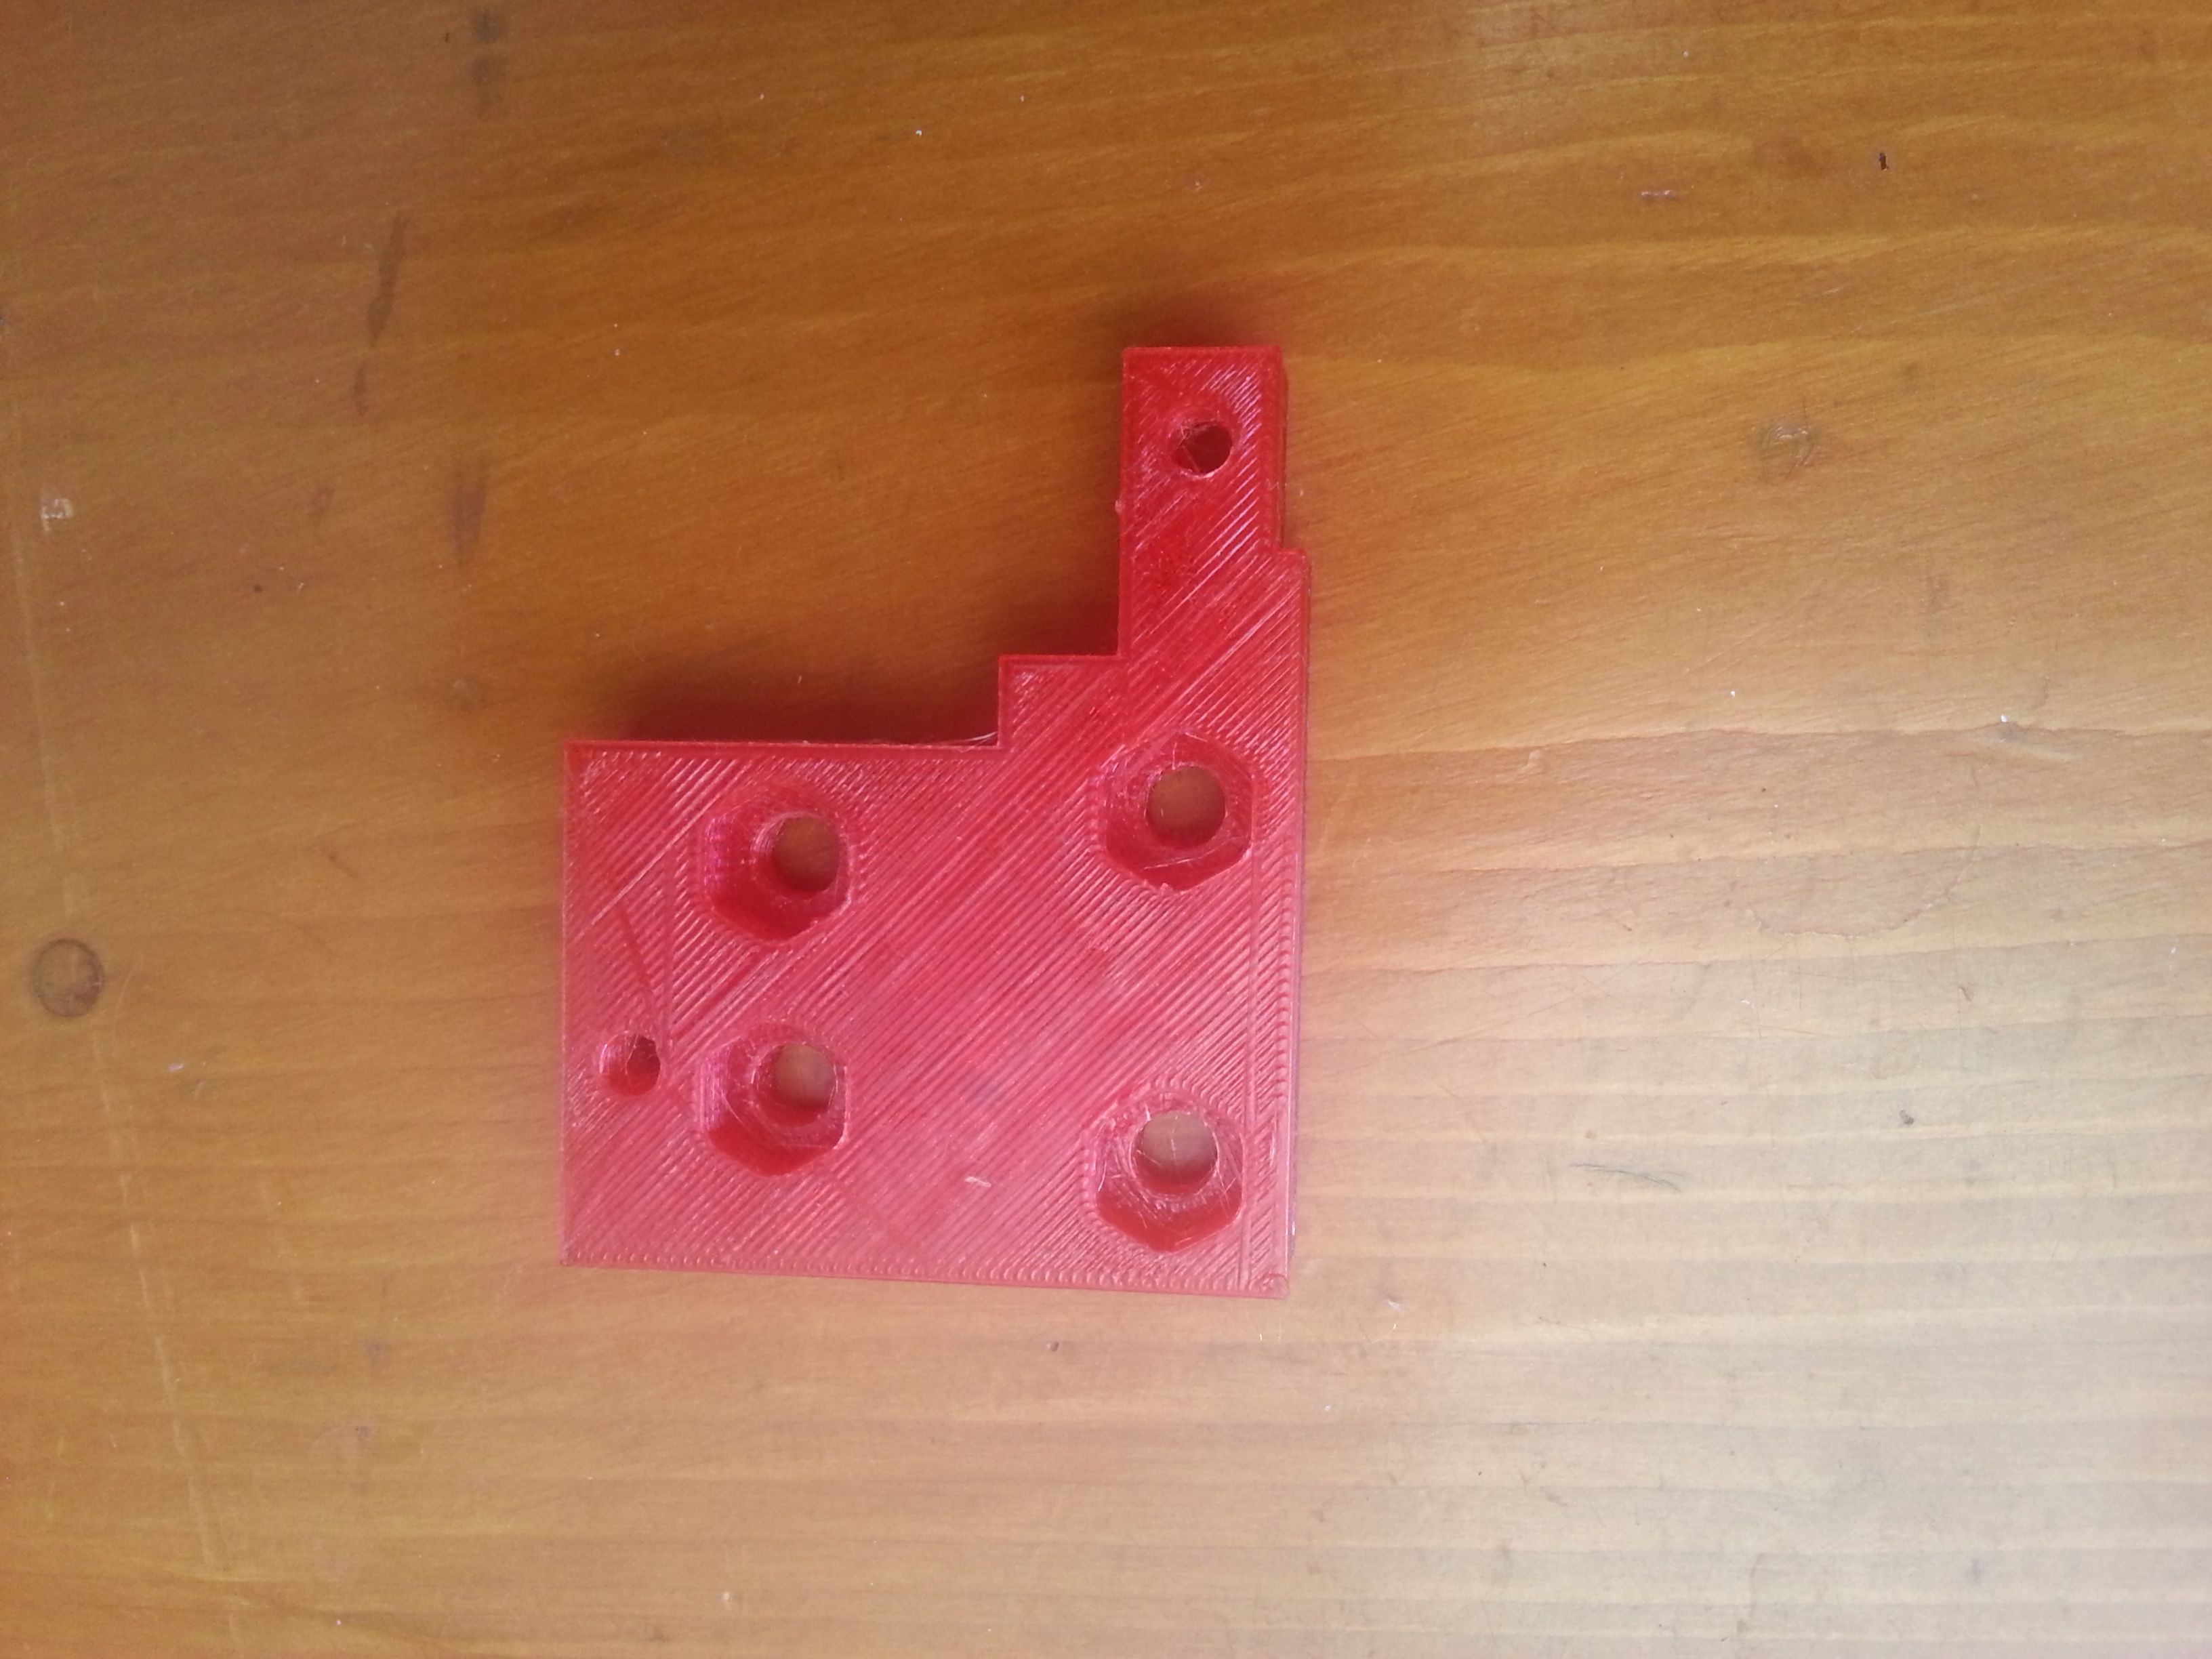
- Reduce surface and add missing nuts holes.
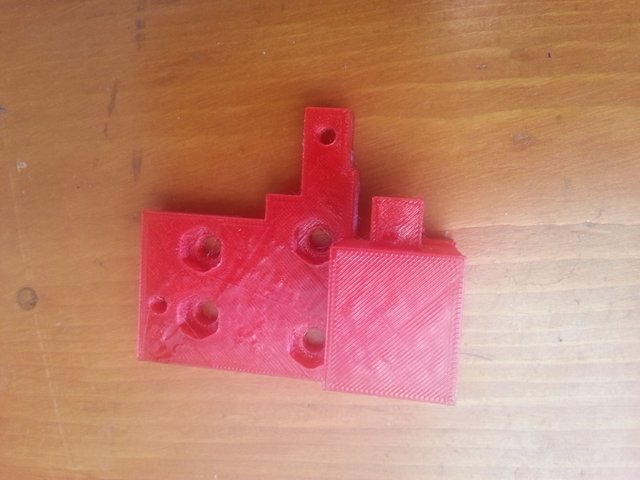
- Improve a bit the rigidity next to the fan duct and tuning the supports for printing.
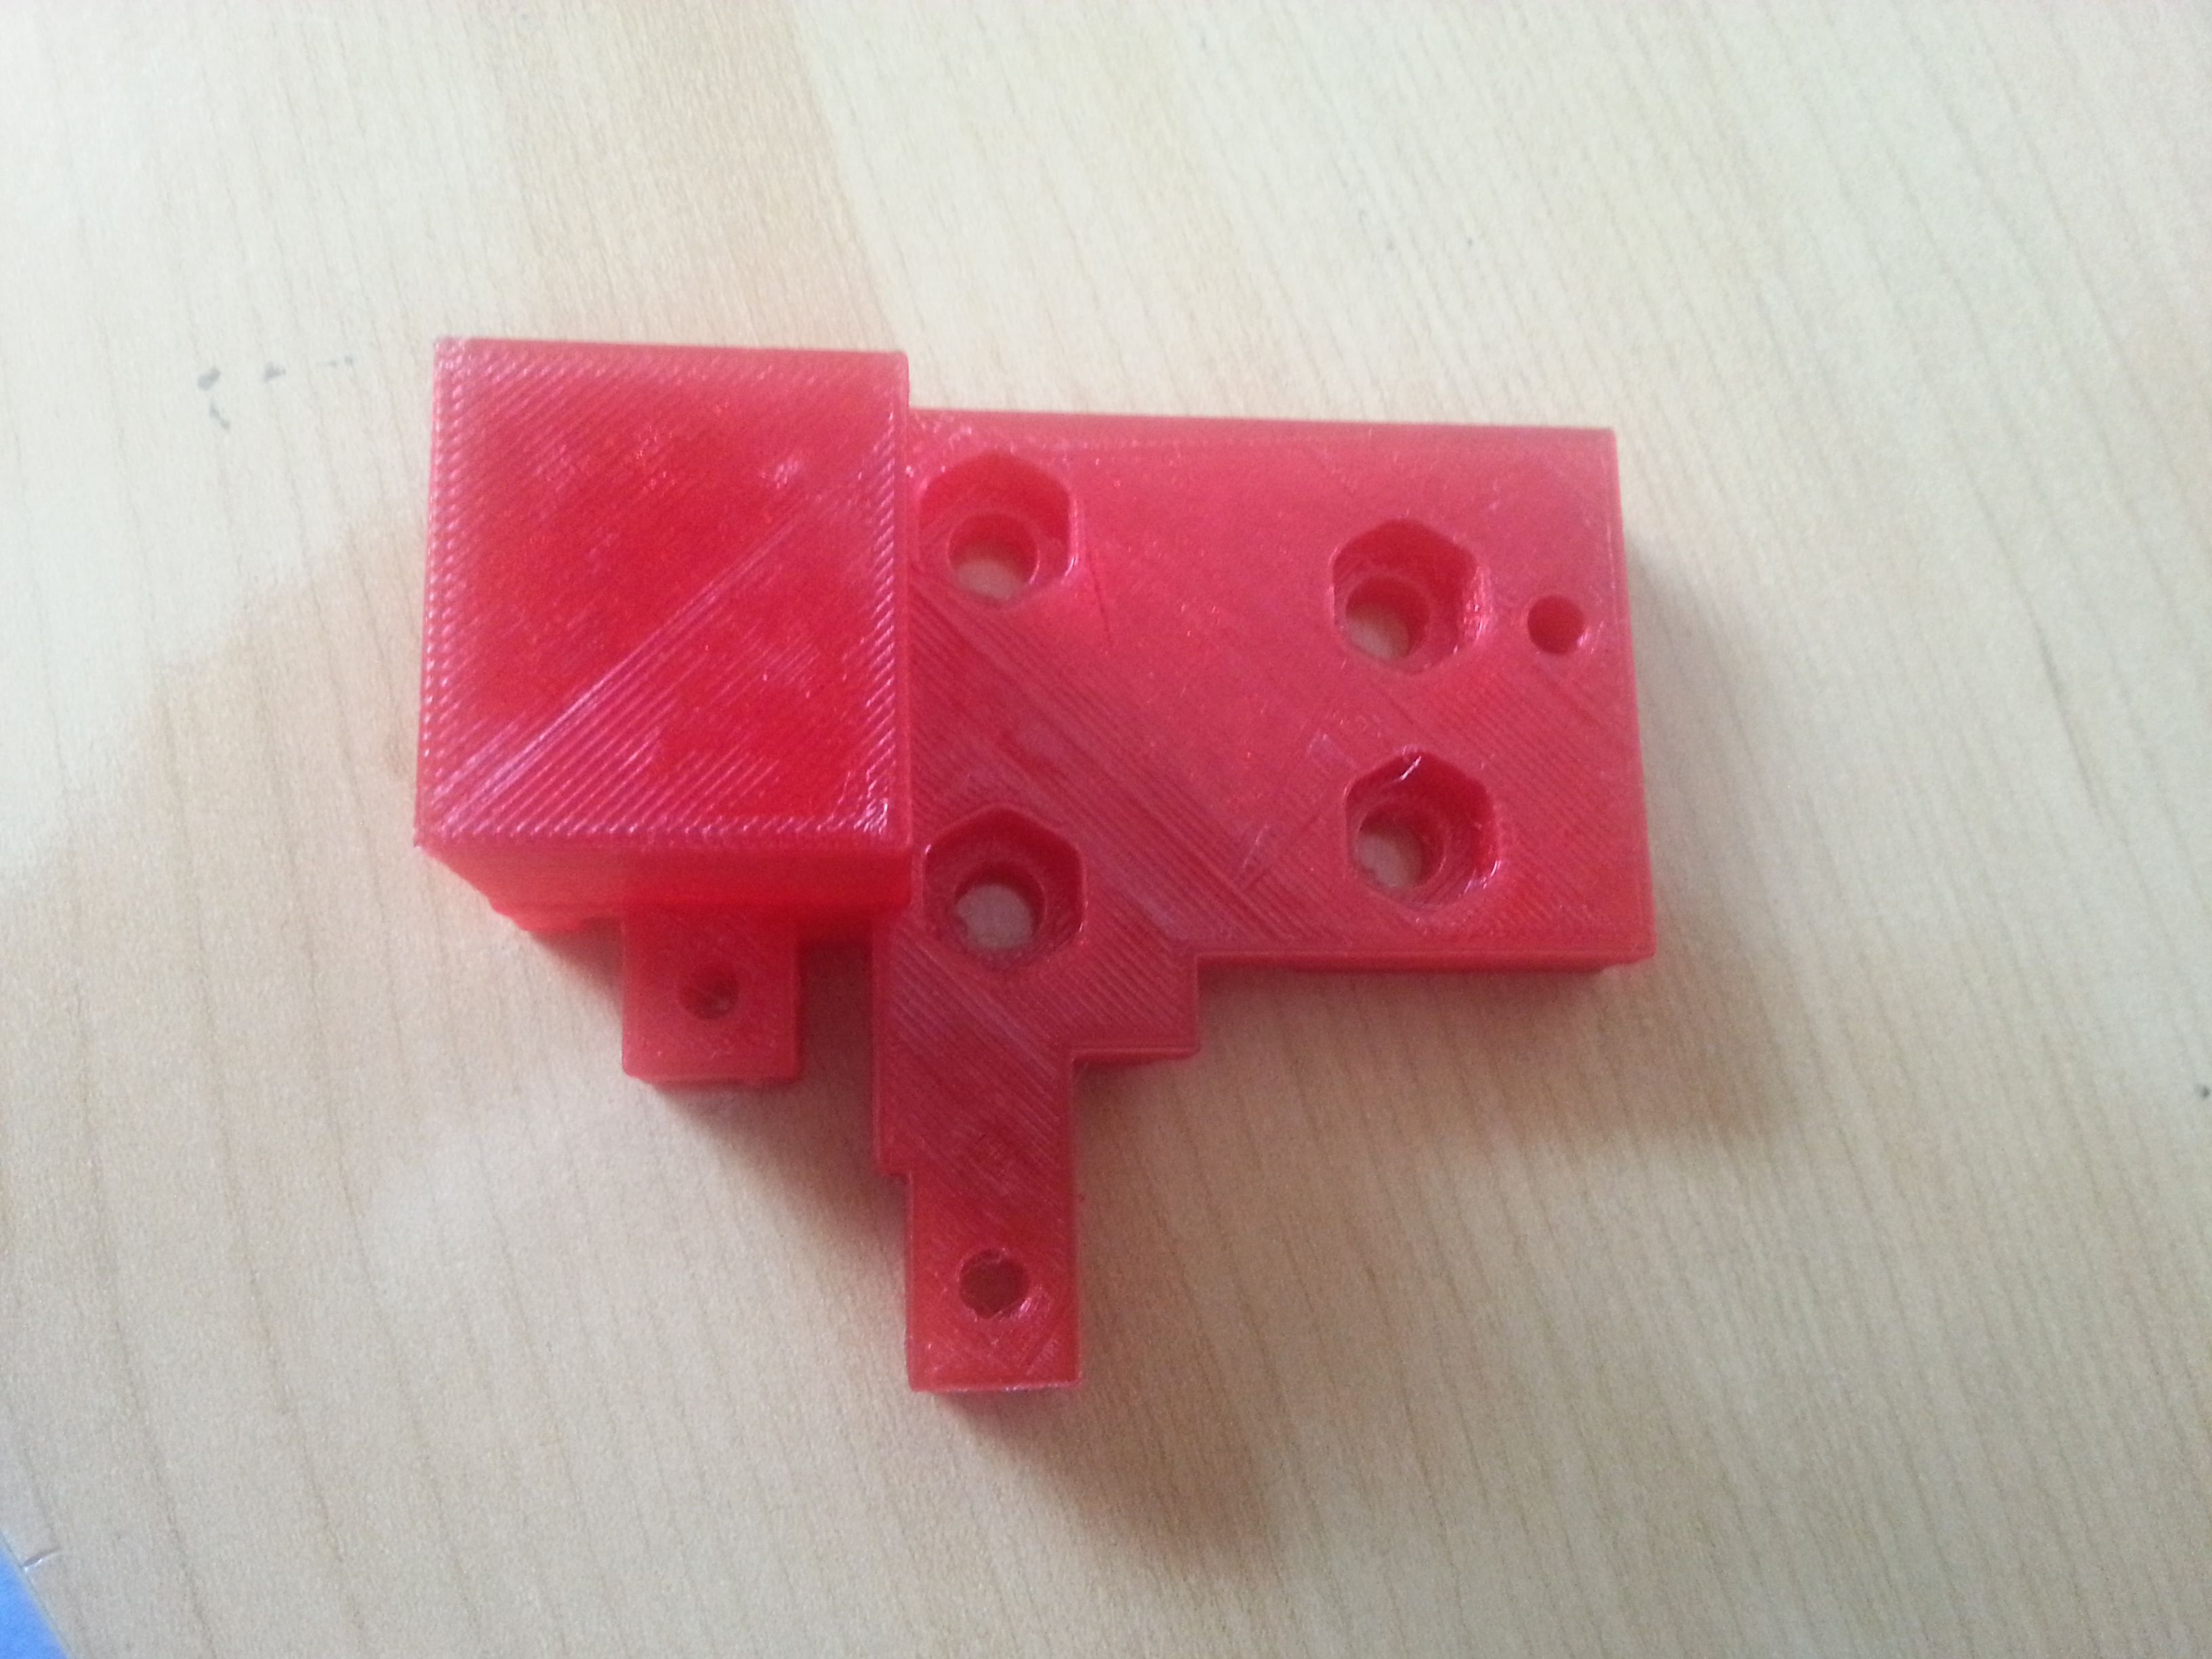
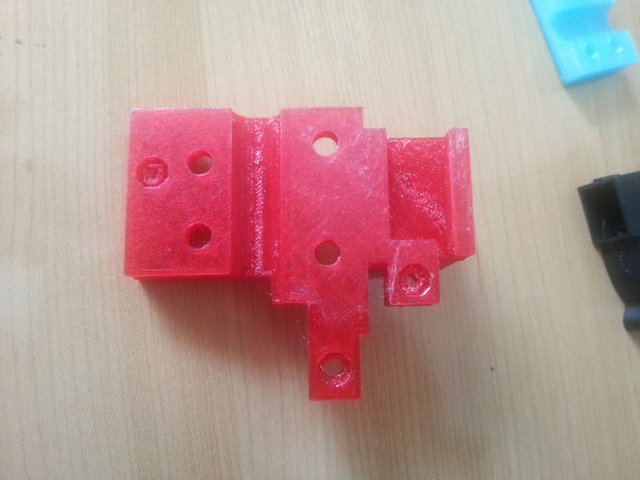
Fan duct
Just change the orientation of a hole and minor changes. The way the duct is printed directly grips due to printed layers, the screw is optional.
Future works
For the time being, I did not put any support for any probe to perform the bed leveling: I am not so happy by the size it takes for an inductive probe.
Probably, I will design another head to allow for automated tool change using magnets. There are some interesting designs coming around for this: weight matters.
I do not like this 30x30mm clipping fan, it introduces too much constraints on the design, it reduces a lot how I can lock the E3D HotEnd. I will check this when performing the first test prints, if it is not ok due to potential deflections, then I will remove this clipping fan, fully constrain the main body of the HotEnd and put a bigger 40x40mm fan.
Previous parts
https://steemit.com/technology/@boucaron/why-building-yet-another-3d-printer-part-1
https://steemit.com/technology/@boucaron/why-building-yet-another-3d-printer-part-2
https://steemit.com/technology/@boucaron/why-building-yet-another-3d-printer-part-3
https://steemit.com/technology/@boucaron/why-building-yet-another-3d-printer-part-4
I can't really understand it, but it is fascinating!
It is pretty nice to design it on the computer, print it, check what is wrong and you can iterate "quickly" (it takes a few hours for each part).
Very cool!
@boucaron - I found your post on my daily technology top list and strongly believe your post is undervalued, so I upvoted and resteemed your post ! All the best !!
Happy to ear that, thanks !
:)
@originalworks
@OriginalWorks Mention Bot activated by @boucaron. The @OriginalWorks bot has determined this post by @boucaron to be original material and upvoted it!
To call @OriginalWorks, simply reply to any post with @originalworks or !originalworks in your message!
For more information, Click Here!
Congratulations @boucaron! You have completed some achievement on Steemit and have been rewarded with new badge(s) :
Click on any badge to view your own Board of Honor on SteemitBoard.
For more information about SteemitBoard, click here
If you no longer want to receive notifications, reply to this comment with the word
STOP