Small Heat Bed Assembly (3D Printer Part 11)
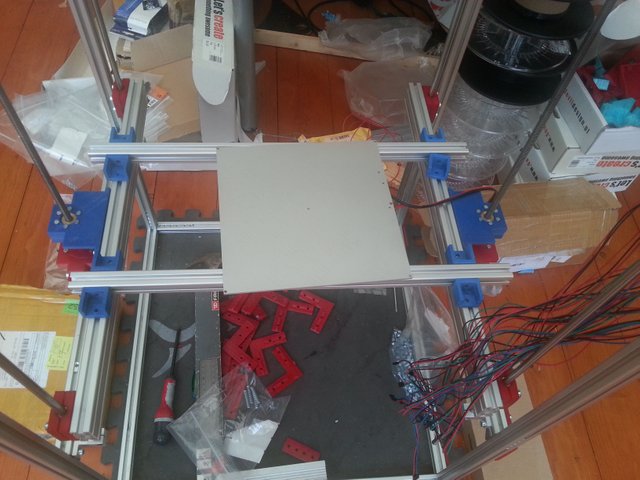
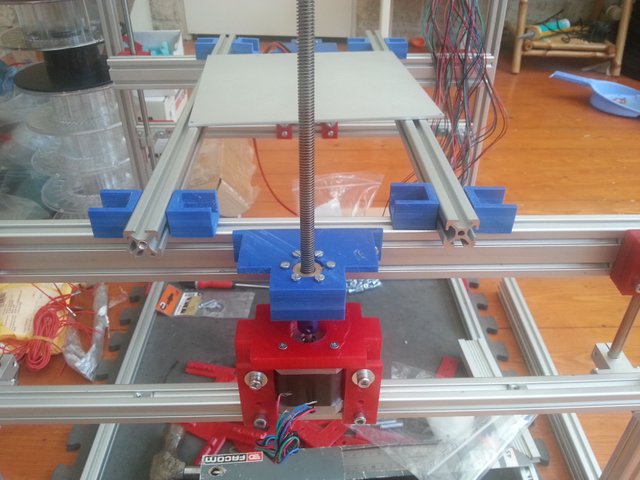
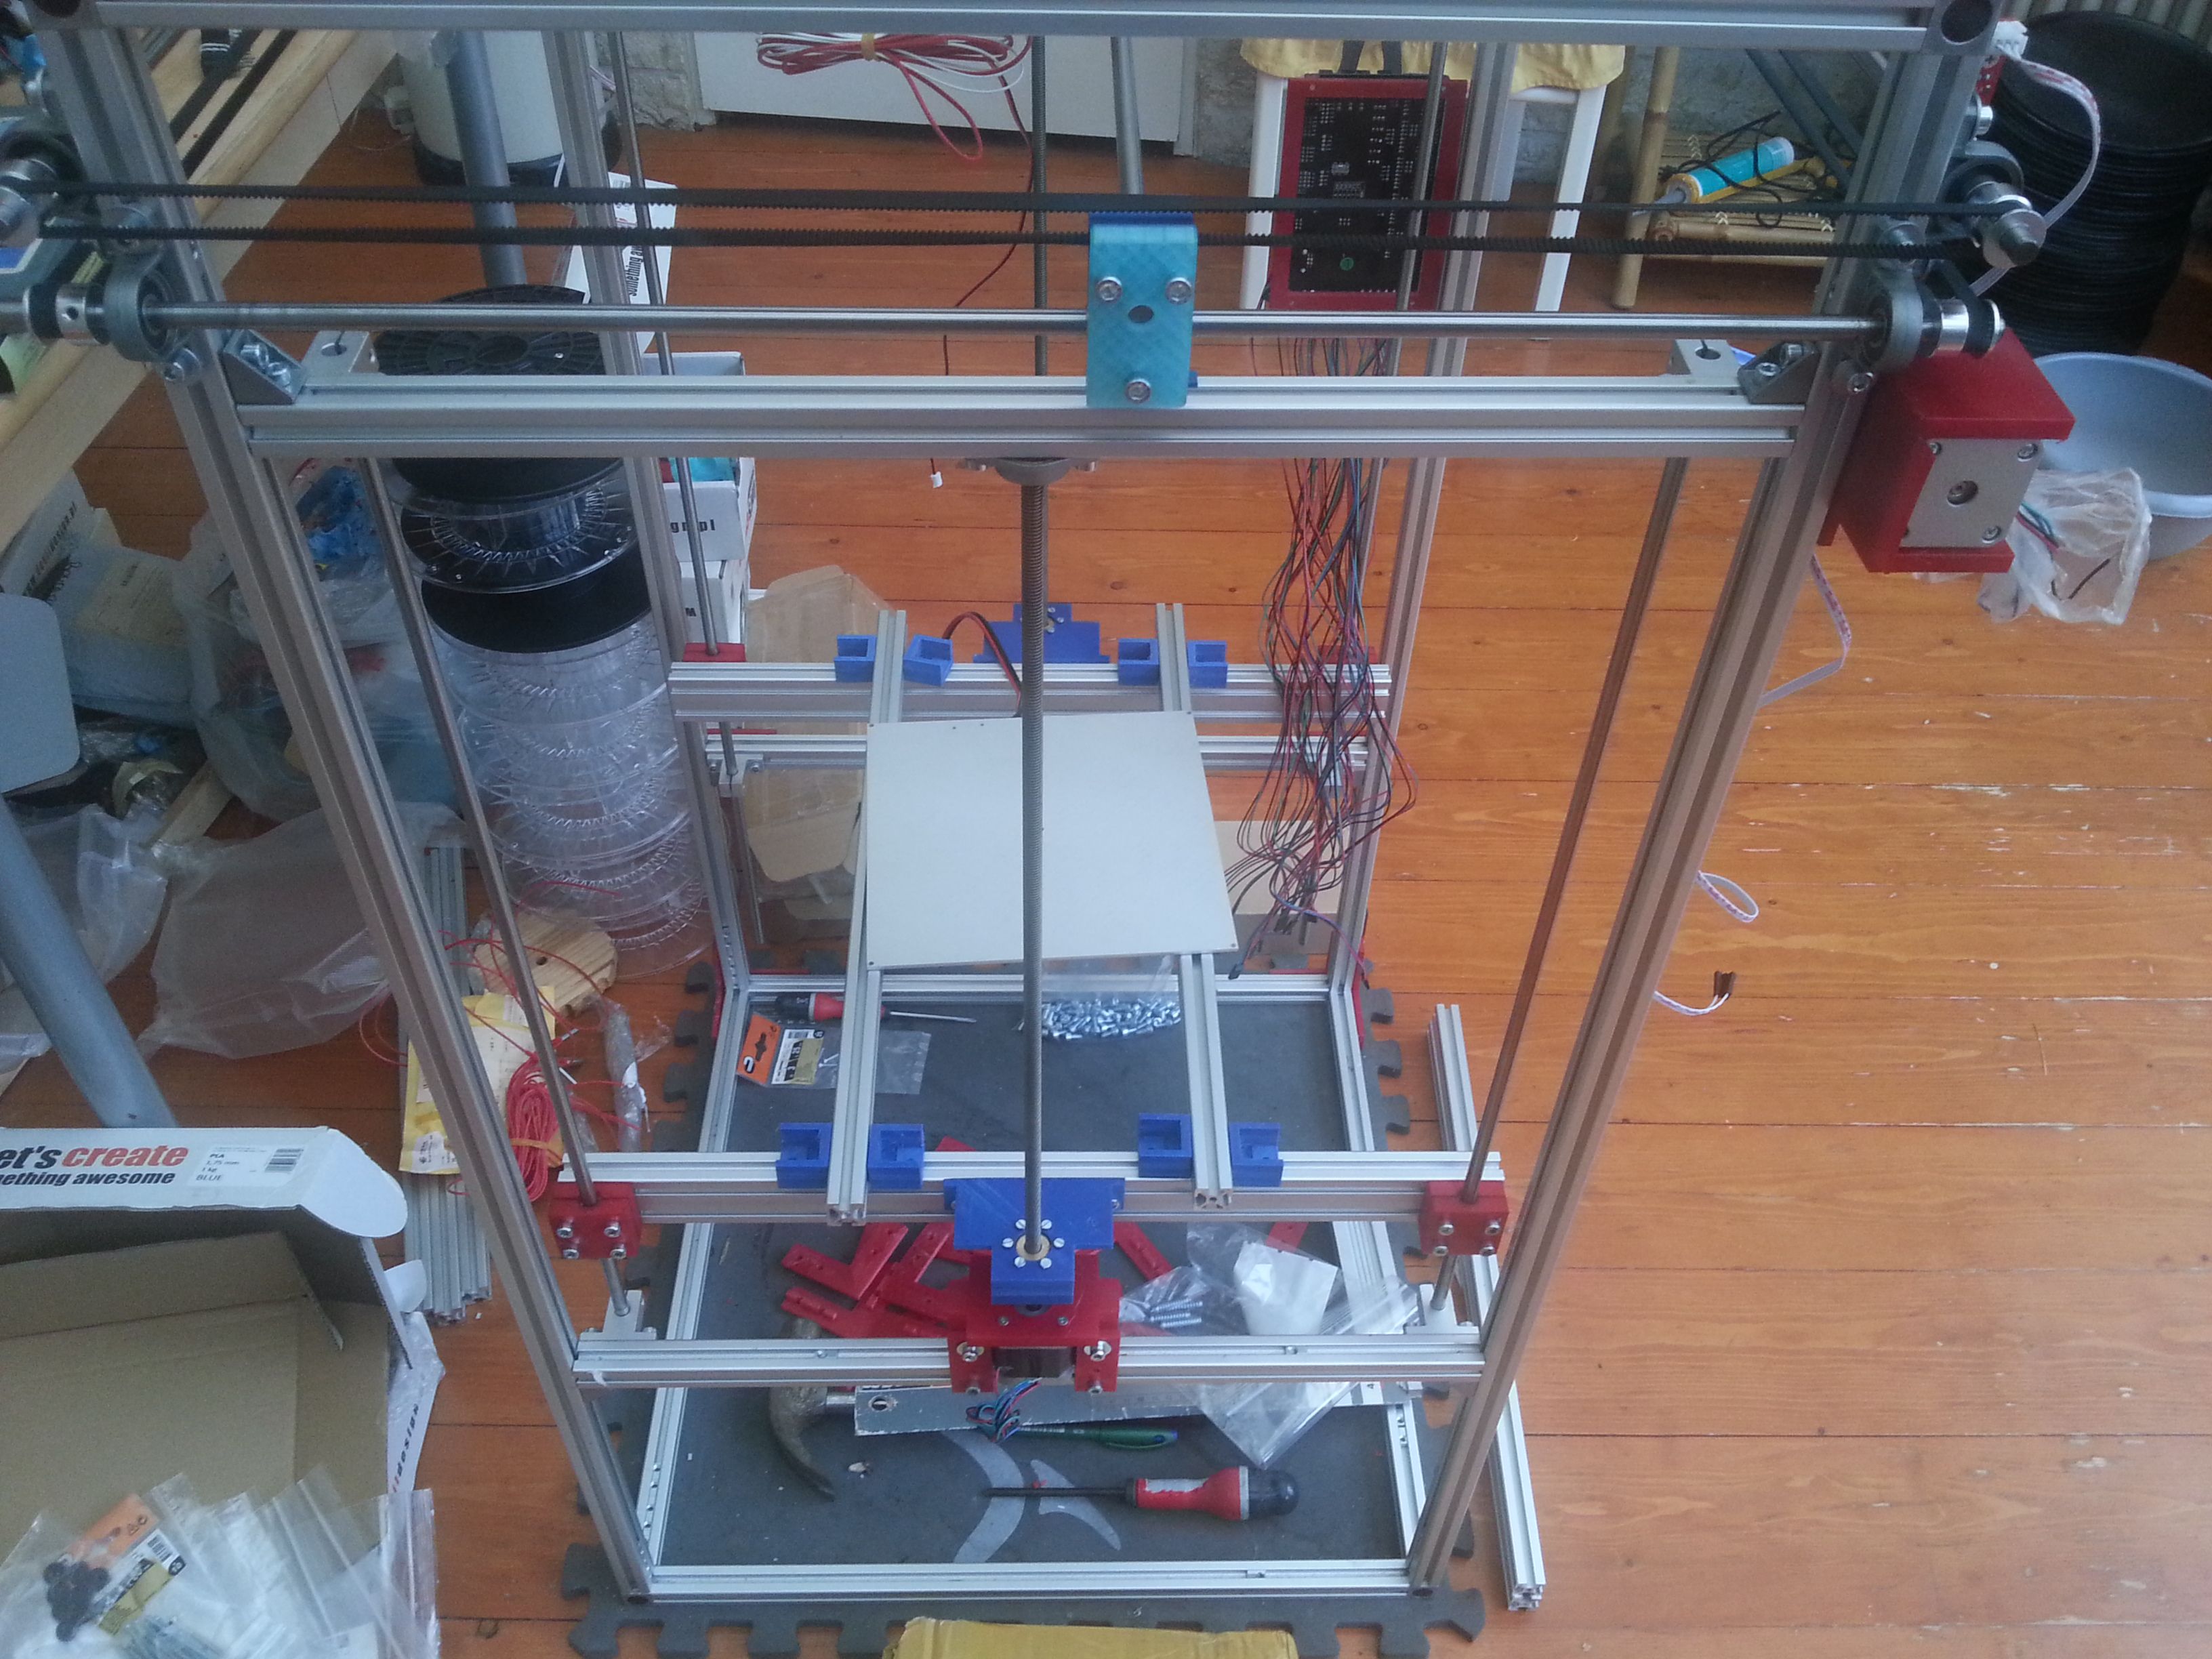
Hi ! Finally, I built a big part of the assembly for the small heat bed used for testing, not so far away to make this thing alive. Quiet funny to see this little guy inside the chassis.
Design
The design is straightforward and modular:
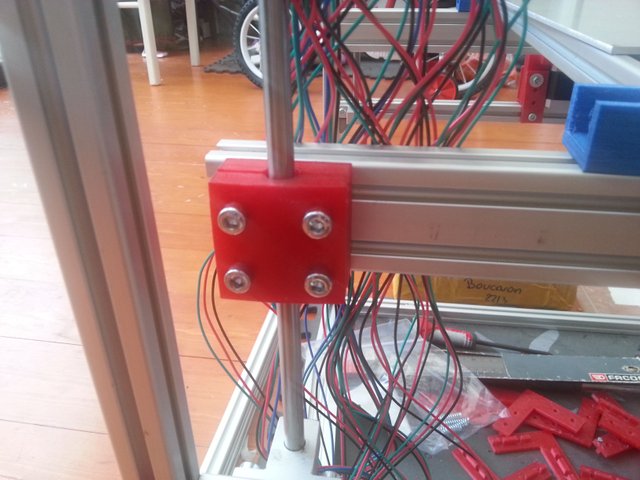
- There are 2 500mm bars of 2040 that are holding the bearings and being attached to each lead screw on the Z Axis.
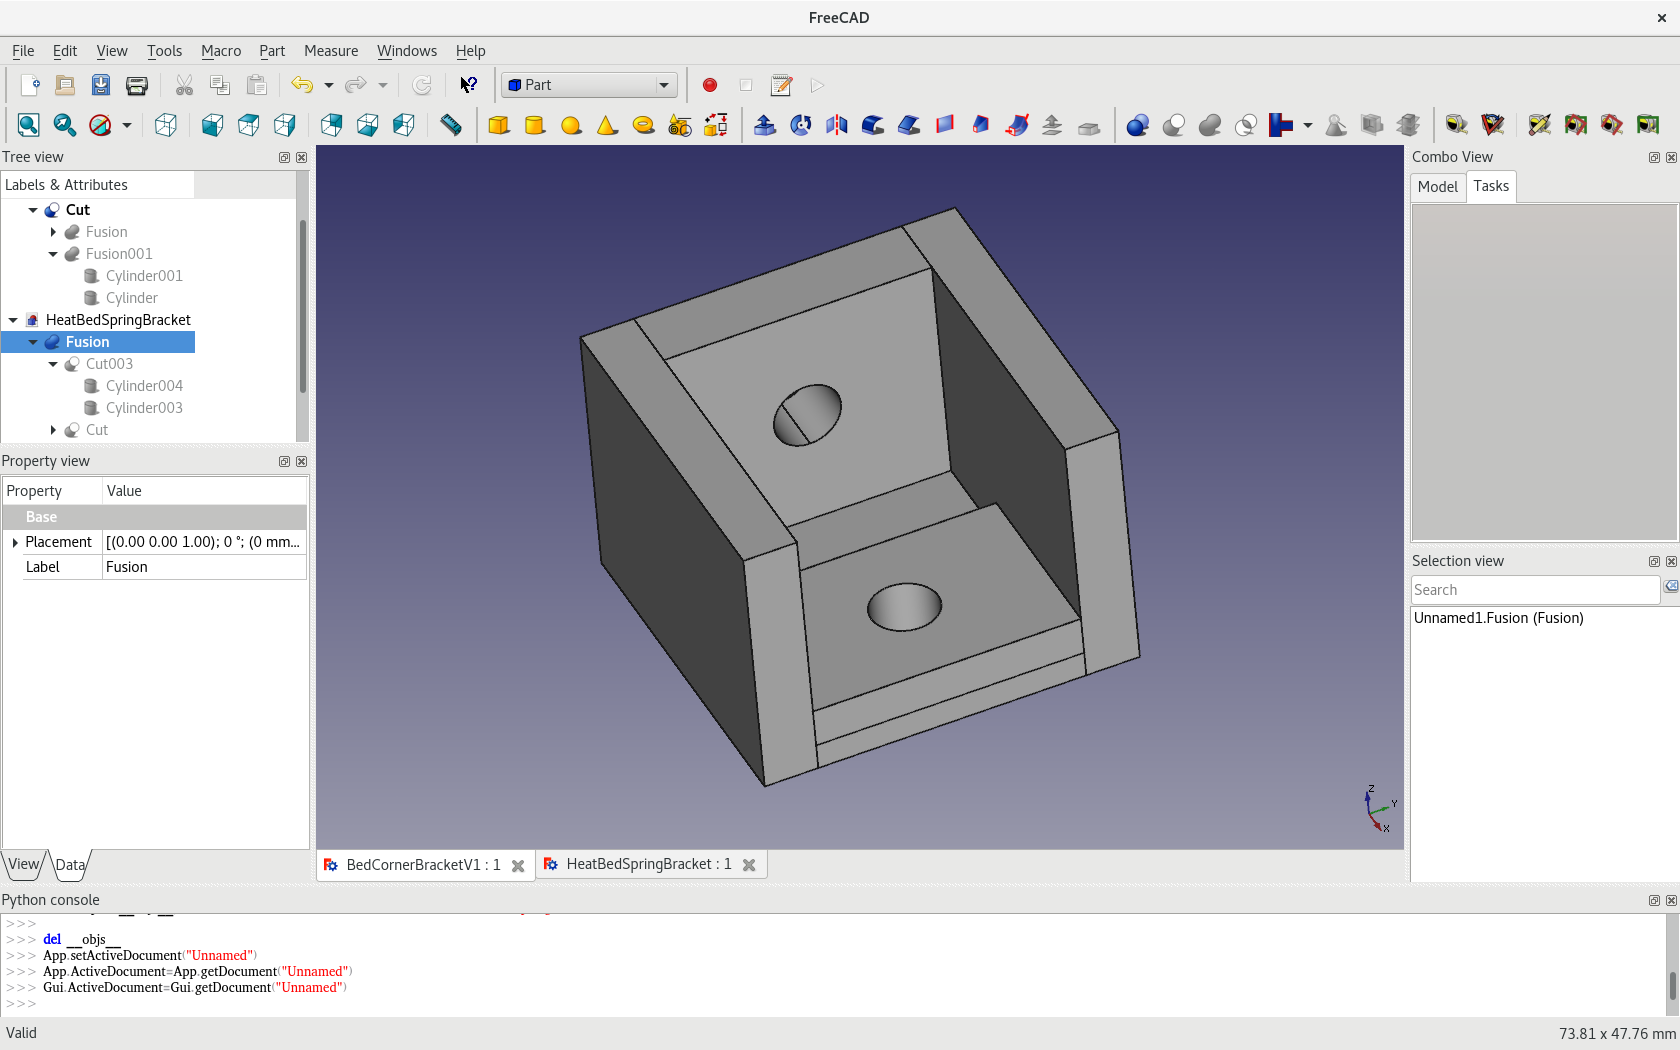
- To hold the heatbed there are 2 500mm bar of 2020 perpendicular to previous ones attached to it with a commonly found screw/spring combination to level the heat bed.
- It is very easy to put a small 200mm heatbed to the massive 400mm on it.
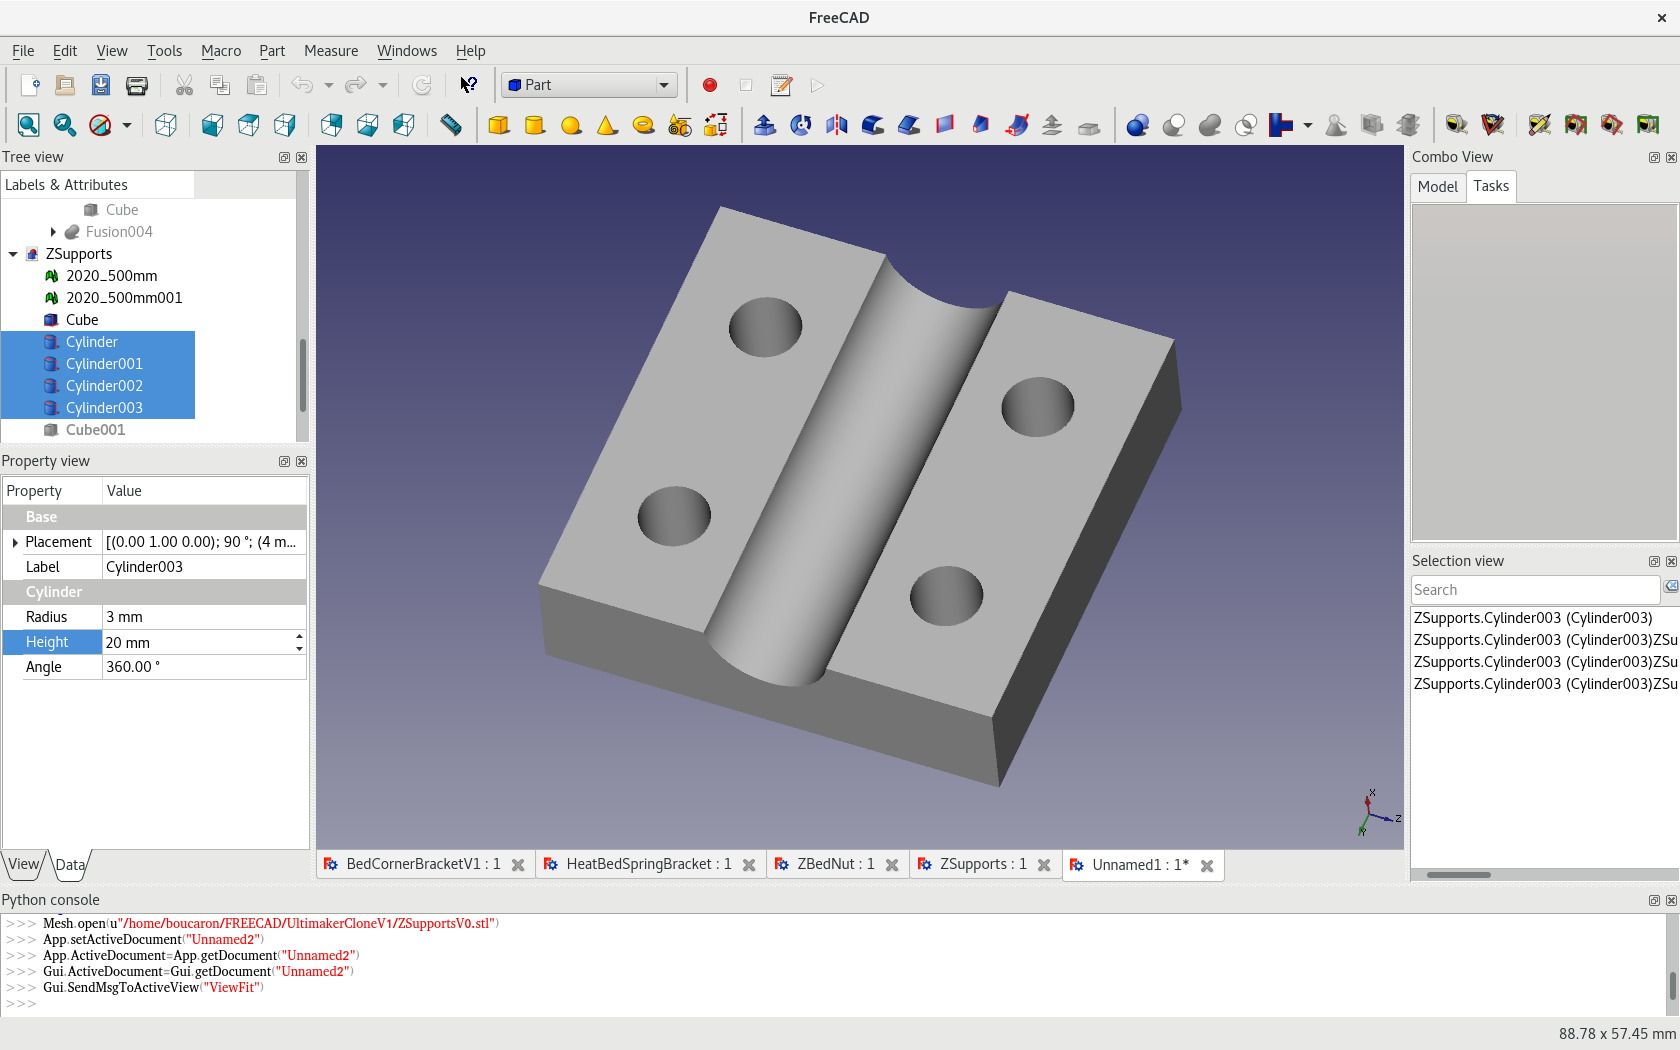
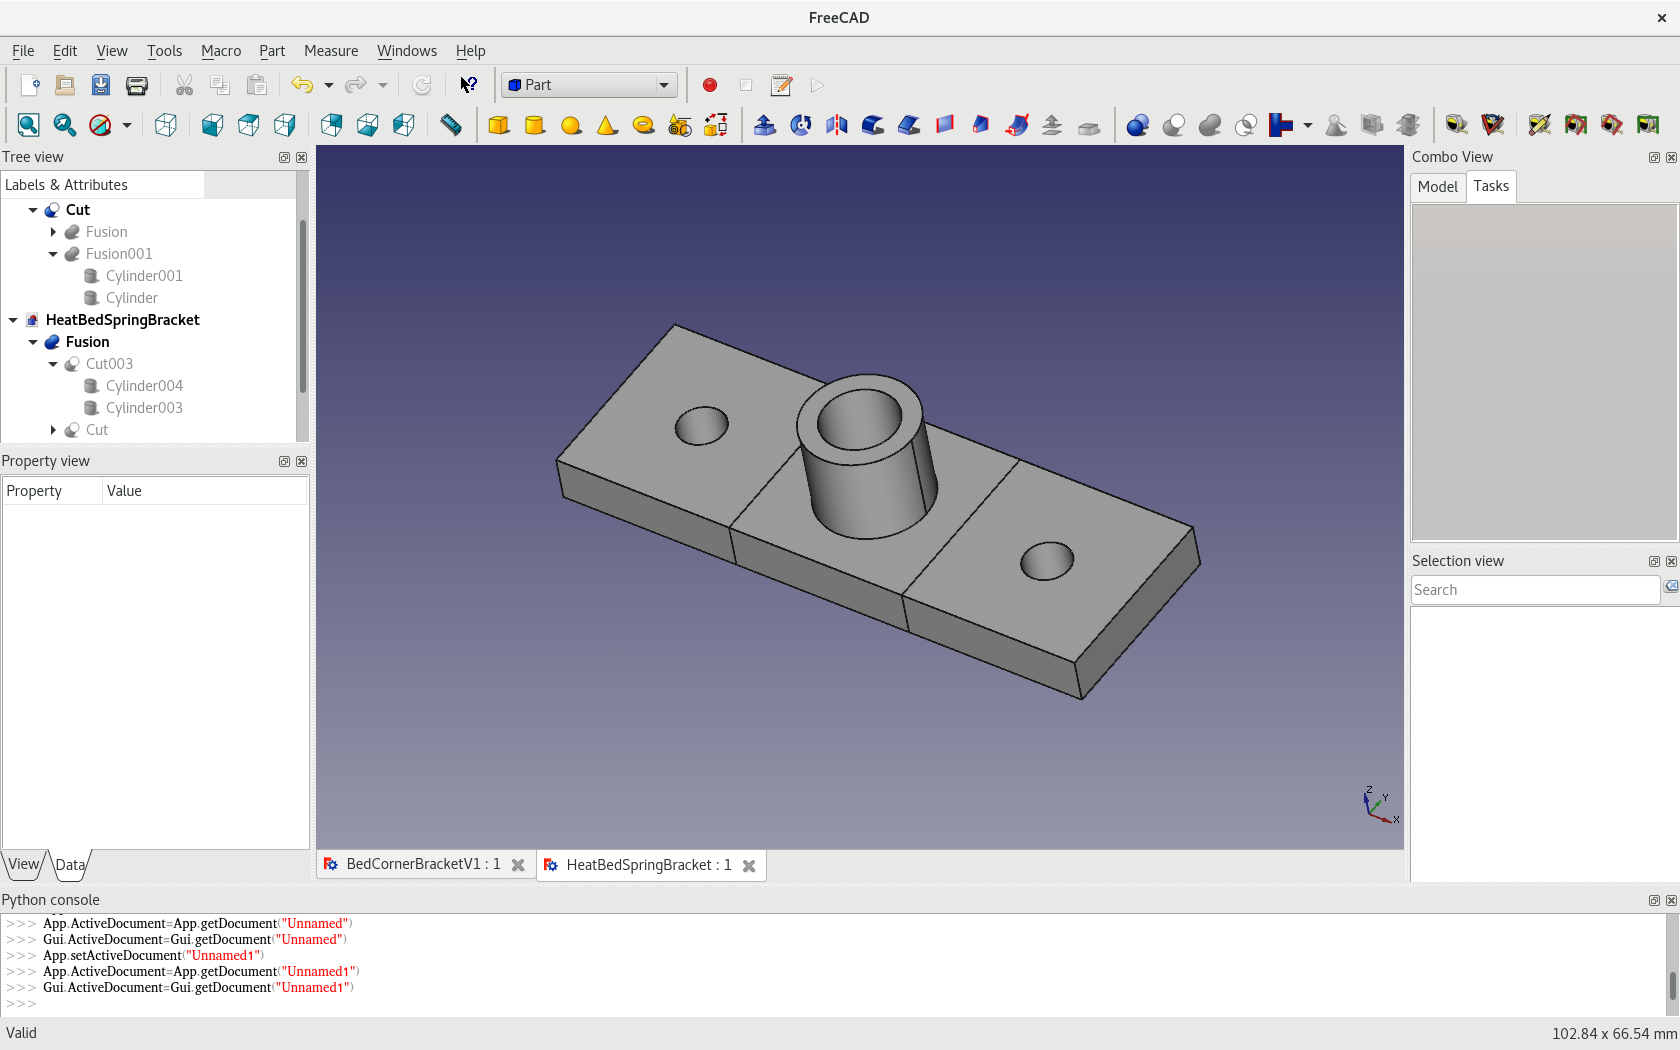
- Both 2040 are attached to the leadscrew bolt through a support that wraps around the bolt tightly.
With the "short" 500mm leadscrews, I have an effective distance on Z of about 450mm which is not bad considering the 25/27mm for the height of the brass bolt, about 12/15mm for the bearing holder and the coupler at the stepper motor.
Assembly notes:
It is a bit tricky to obtain a good alignment on the Z Axis, you have to be kind, patient, very calm because there is very very little play.
- Pre Align the Z rods using a square and careful measurements on the 4 rods holders: measure, check, re align as many times as required. Tighten them just to hold for the moment.
- Put some light oil on all the rods.
- The bearing holders should be free to move, put them inside the rods, with untighten screws.
- Untighten the bolts of the rods holders.
- Set all the bearing holders to the distance you want and move as required the rods holders.
- Move kindly and slowly the 2040 from the middle up and down (apply additional oil if required) a few times along a few centimeters to align the bearing holders, then tighten slowly and progressively the bearing holders using a cross pattern.
- Move up down to the top and bottom kindly and slowly from the middle of the 2040 in order to align the rod holders that are not yet tighten (apply oil if required) until there is no binding and the move is very fluid.
- Then move to the top, and tighten the bolts.
- Retry the move up down procedure.
- Then move to the bottom, and tighten the bolts.
For the Lead Screw, it is relatively straightforward:
- You want to align on the center of the chassis
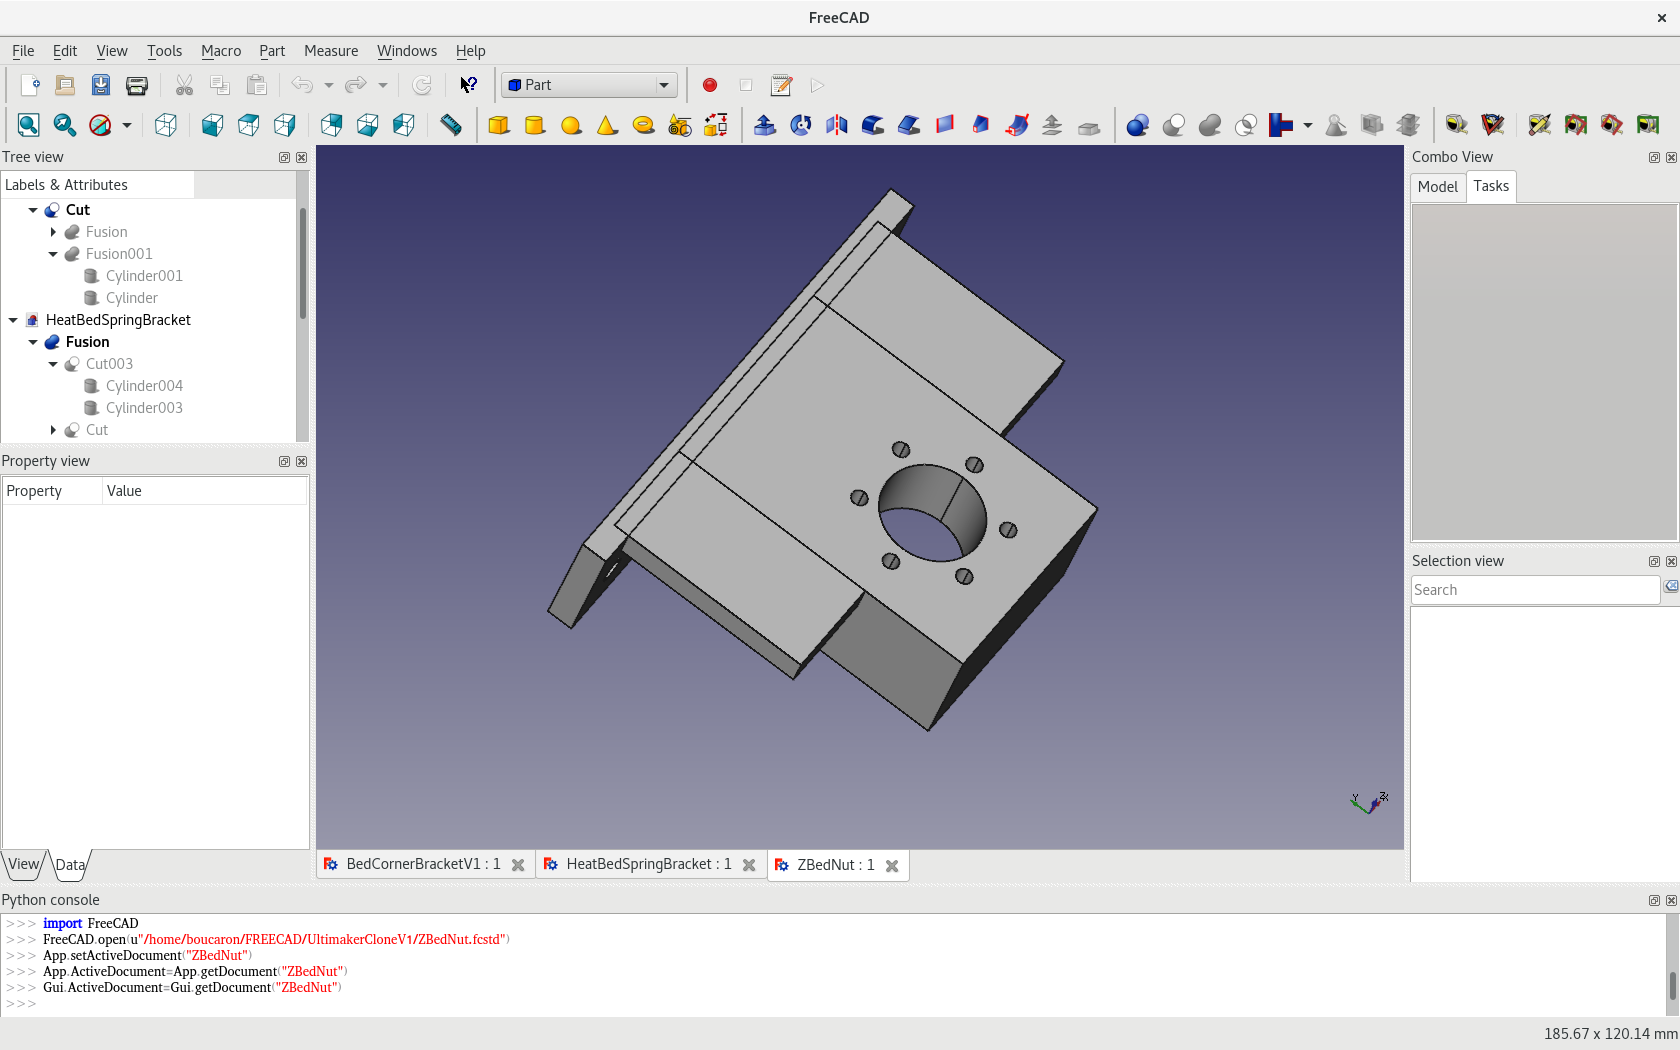
- You just need to center its bearing appropriately and also the stepper motor support.
- You keep them not fully tighten.
- You put the leadscrew and you align every thing such that the movement is very fluid and there is no wobble of any kind.
- Then, you can tighten the screws to keep the position and you recheck and fix as required.
Forthcoming Part
Probably, it will be about cable things.
Previous Parts
- https://steemit.com/technology/@boucaron/why-building-yet-another-3d-printer-part-1
- https://steemit.com/technology/@boucaron/why-building-yet-another-3d-printer-part-2
- https://steemit.com/technology/@boucaron/why-building-yet-another-3d-printer-part-3
- https://steemit.com/technology/@boucaron/why-building-yet-another-3d-printer-part-4
- https://steemit.com/technology/@boucaron/the-hotend-head-3dprinter-part-5
- https://steemit.com/technology/@boucaron/xy-stepper-motor-supports-3dprinter-part-6
- https://steemit.com/technology/@boucaron/z-stepper-motor-supports-3dprinter-part-7
- https://steemit.com/technology/@boucaron/test-assembly-3d-printer-part-8
- https://steemit.com/technology/@boucaron/lcd-support-3d-printer-part-9
- https://steemit.com/technology/@boucaron/x-y-optical-end-stops-3d-printer-part-10
img credz: pixabay.com
Nice, you got a 8.0% @minnowbooster upgoat, thanks to @boucaron
Want a boost? Minnowbooster's got your back!
nice
keep supporting each other.
@originalworks
The @OriginalWorks bot has determined this post by @boucaron to be original material and upvoted it!
To call @OriginalWorks, simply reply to any post with @originalworks or !originalworks in your message!
For more information, Click Here!
Special thanks to @reggaemuffin for being a supporter! Vote him as a witness to help make Steemit a better place!