Bird Photography Tutorial
Many people love birds and as their interest grows with these fascinating creatures, they become birders and/or bird photographers. When you start taking pictures of birds you realize that it’s not that easy. Maybe you decide to get a good camera and invest in a telephoto lens to improve the quality of your images but still things don’t seem quite right. In this post I will share a couple of techniques I follow in the field that have helped improve my bird images. Some of these techniques can be applied to wildlife photography too. I will also share the equipment that I have and use for all my images as well as information on my upcoming Bird Photography Workshop in Costa Rica. ;-)
Ornate Hawk-Eagle

Gear
Let’s start with the gear. You don’t need to have the latest and greatest equipment to take good images. The most important thing is to learn how to use what you have, understand the limitations of your gear and work around them. My recommendation:
DSLR Camera with back focus button capability (will explain more in a second, this will change your life!)
Telephoto lens (I mean….. you need to get close to the birds without disturbing them, right?)
Sturdy tripod (make sure it supports the weight of your camera + lens)
Camera strap
Shutter release (oh yes, you will need this in some special cases)
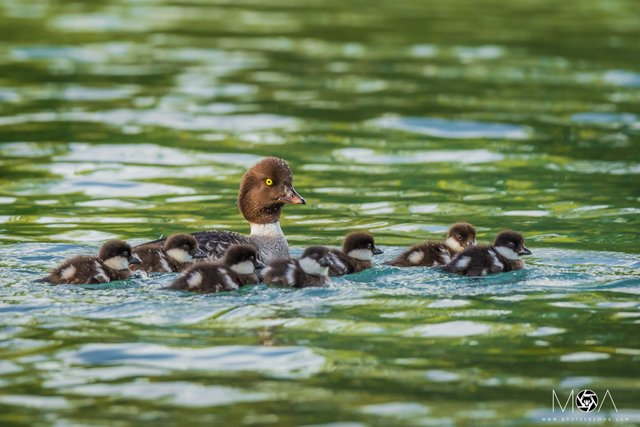
Common Goldeneye
With respect to the camera, you can use either DSLR or mirrorless as long as it has the following settings. My preference is a DSLR (I shoot with Canon so I’m using their nomenclature), I previously wrote a post about this here. Keep in mind that if your camera has a crop sensor you will have greater focal length (greater zoom). For example if your sensor has a 1.6x multiplier, then a 300mm lens becomes 300mm x 1.6 = 480mm. Almost 500mm in a full sensor.
Back focus button: in your camera’s menu there should be a “Custom Controls” section where you can configure what some of the buttons do. Leave the front button only for metering and activating the shutter and use a back button for autofocus. Why? Well, in this way you are able to focus on a subject with the back button and then take the picture with your normal front button without focusing again. This is great for composing your image and for tracking subjects.
Autofocus operation: usually you will need two modes, “One Shot” for birds that are relatively still and “AI Servo” when you need to track a bird in flight or that is moving too much. Usually I only use it for birds in flight.
Drive mode: for birds I always use continuous shooting which lets me take multiple images while the shutter is pressed. Remember, birds are moving living wonderful subjects that will not pose for you. For this reason you want to be able to take multiple shots back to back to capture the right moment!
ISO: make sure you can set an Auto mode and also that you can limit how high you want it to go. In this way you don’t have to worry about setting it and also you will avoid getting very high ISO images full of noise. Having said this, always try to use a low ISO if possible. The lower the value the less noise in your images.
AF point selection: ok….. this is going to be controversial, in my humble opinion you need only one AF point, the one in the center which usually is the most sensitive one. Make sure you can manually select to focus only using this point. Trust me, it will make your life easier instead of having a bunch of focus points trying to focus on other things like branches and leaves instead of the bird you are trying to photograph.
Highlight alert: I like to enable this feature so I can see if I’m overexposing the image
Exposure compensation: based on how the image and the histogram look, I can adjust the exposure quickly with a dial the camera has on the back.
Tv mode: time value mode, where basically you adjust the shutter speed and let the camera calculate the best aperture and ISO values. You can further tweak this with the exposure compensation and also by setting a specific ISO value if you don’t want to use Auto ISO.
Av mode: aperture value, where you decide which aperture you will use. The camera will calculate the best shutter speed and ISO values. Same as before, you can further tweak this with the exposure compensation and also by setting a specific ISO value if you don’t want to use Auto ISO.
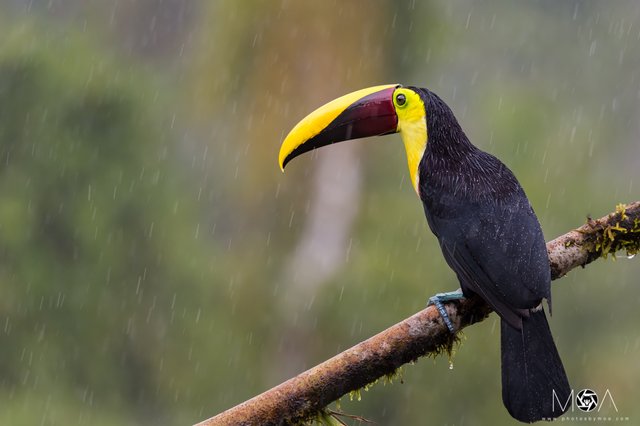
Yellow-throated Toucan
The telephoto lens is kind of simple to select. I would look for image stabilization, autofocus and manual focus, very good zoom (500mm is my preference) and high quality glass. In other words make sure your lens takes sharp images under the right settings. You can have a superb camera, but if your lens is poor quality you will get poor images. The focal length will depend on what kind of birds you are photographing and where. If you are too close you won’t need 500mm, but if the birds are far away you will need good zoom. With birds I have found out that the greater the zoom the better. Brands like Sigma and Tamron offer lenses that go from 150mm to 600mm. These are good options for someone starting out; they are versatile lenses that usually have a good price. The tradeoff is the sharpness of the image. For the price you pay I think it is a good compromise since prime lenses cost thousands of dollars.
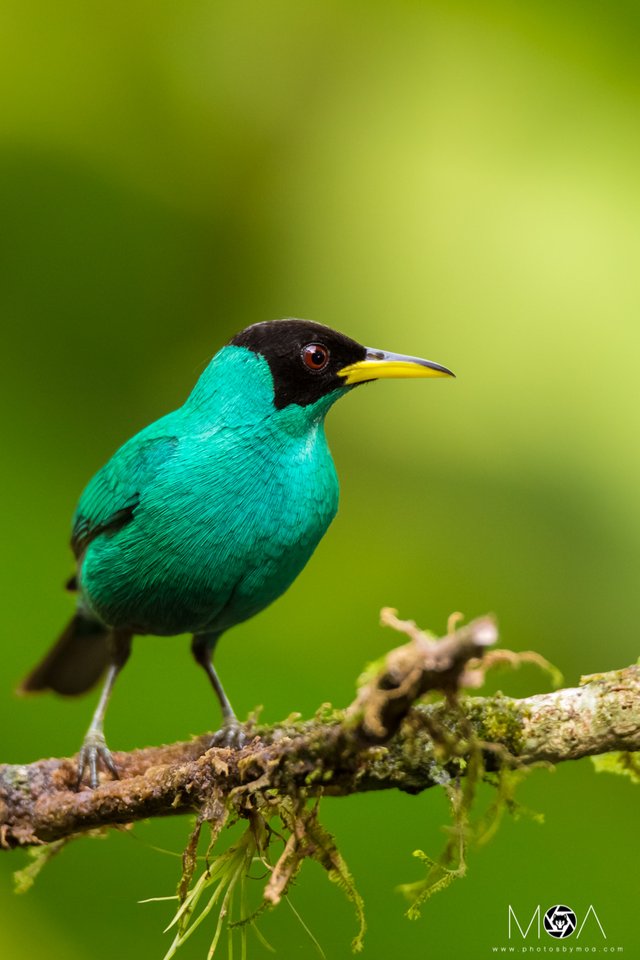
Green Honeycreeper
A tripod is essential if you have the chance to stand at a single place to photograph birds. It will give you greater stability, you won’t need to keep holding your heavy lens for a long time, and will let you use a lower shutter speed which means a lower ISO value and lower noise in your images. This extra stability will help you get sharper images.
The camera strap is great if you are out in the field walking while carrying your camera. It gives you quick access to it in case you suddenly spot a bird and let’s you rest your arms. Look for one that you can adjust to your height and that is comfortable on your shoulders.
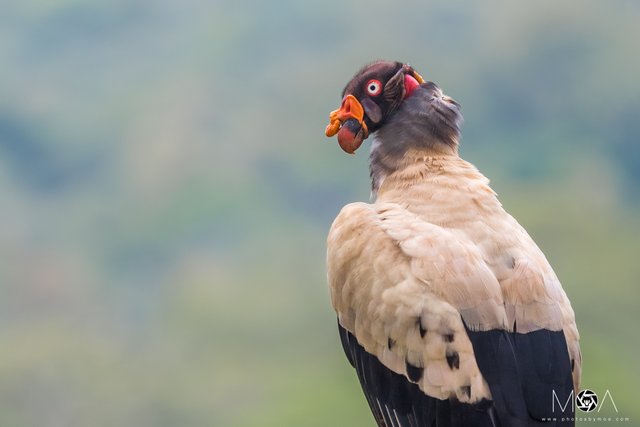
Finally the shutter release! If you are recording video or you get the chance to photograph a bird that is staying still or is constantly coming back to the same spot, you will have the chance to put your camera in the tripod, connect the shutter release and just shoot whenever the bird is in your desired composition. This will give you the highest quality images since you will be able to shoot at low shutter speeds and very low ISO values. Don’t believe me? Do you think this will never happen? Well, look at this image. The King Vulture stayed perching on this branch for at least 15 minutes. Enough time to take video and this amazing shot. Shutter speed of only 1/100s and an ISO of 200!!!
King Vulture
Settings
The settings I use depend on the situation I’m in when taking the picture.
If I’m walking in the field, I will carry my camera with the strap and hand hold it for my pictures. For this reason I will use the Tv mode with a shutter speed of 1/1000s and ISO Auto. My lens has a maximum focal length of 600mm, the rule of thumb is to use a shutter speed equal to the inverse of your focal length (remember to use the multiplier if you have a crop sensor). In my case since I have a full frame sensor I should use at least 1/600s. Now, based on my experience with my lens I prefer to use 1/1000s for greater stability and sharpness. I can’t hold my camera that well so this helps me compensate for my movement. For this reason I don’t use Av mode, since the camera will try to use the lowest possible shutter speed which might introduce some movement in the image.
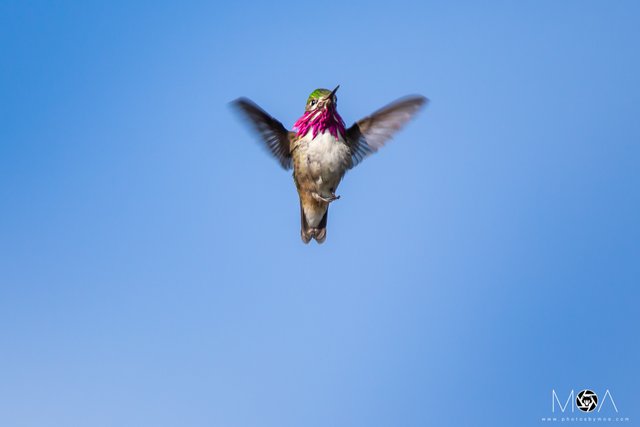
If I’m at a location where birds come to and I don’t have to move around, I will put my camera on the tripod, leave the image stabilization on and have the ball head loose so I can move the camera easily. For this case I will adjust the shutter speed (Tv mode) to the lowest possible value that makes sense depending on how fast the bird moves. I won’t consider the focal length anymore thanks to the stability from the tripod. The shutter speed could range from 1/100s for birds that stay still to 1/2000s or higher for hummingbirds.
Calliope Hummingbird
The final situation I will explain is if a bird is perching on a branch for long periods of time. I will put the camera on a tripod, compose the image, lock the tripod, turn off the image stabilization on the lens, in Tv mode adjust to a low speed and use the shutter release. I will turn on Live View mode and focus manually. This will guarantee the maxim sharpness and quality for my images.
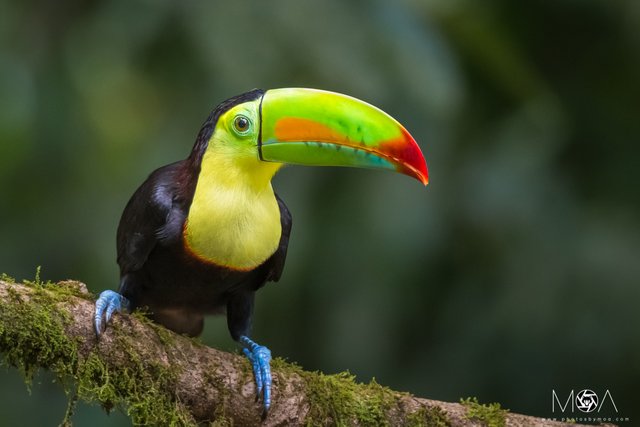
Keel-billed Toucan
Conclusion
Remember that you will achieve the best results when you fully understand how to use your gear and know what are the limitations you need to consider. For example maximum ISO, best shutter speed and aperture values for optimum sharpness, etc.
As promised this is my gear for bird photography:
- Canon 6D (full sensor)
- Tamron SP 150-600mm f/5-6.3
- Carry Speed Extreme strap
- Gitzo tripod (ultralight for long walks)
- Milano sturdy tripod
- Vortex Diamondback 8x42 binoculars (always good to locate birds in the field)
Would you like to learn all these techniques and more at an amazing location for Bird Photography? Join me this December 2018 for my Costa Rica Bird Photography Workshop! Registration closes on September 30th and there are only two spots left, register now here: https://www.photosbymoa.com/Workshops
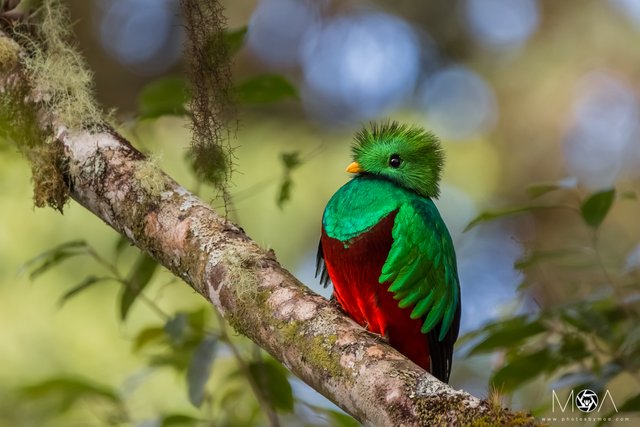
Resplendent Quetzal
Thanks for reading this post; if you liked it please upvote it and resteemit! If you want to read more about landscape and wildlife photography you can follow me. Let me know if you have any questions!
For more inspiring images and fine art prints, please visit my website.
http://www.photosbymoa.com/
World of Photography
>Visit the website<
You have earned 6.50 XP for sharing your photo!
Daily photos: 1/2
Daily comments: 0/5
Multiplier: 1.30
Block time: 2018-09-07T16:22:39
Total XP: 39.00/100.00
Total Photos: 6
Total comments: 0
Total contest wins: 0
Follow: @photocontests
Join the Discord channel: click!
Play and win SBD: @fairlotto
Daily Steem Statistics: @dailysteemreport
Learn how to program Steem-Python applications: @steempytutorials
Developed and sponsored by: @juliank
Awesome tutorial..
Posted using Partiko Android
Thanks! I'm glad you liked it!
Sneaky Ninja Attack! You have just been defended with a 55.56% upvote!
I was summoned by @moaphotography. I have done their bidding and now I will vanish...
woosh
A portion of the proceeds from your bid was used in support of @youarehope and @tarc.
Abuse Policy
Rules
How to use Sneaky Ninja
How it works
Great moving!!
Great tutorial @moaphotography!
Thanks cpol! Let me know if you have any questions!
Your post had been curated by the @buildawhale team and mentioned here:
https://steemit.com/curation/@buildawhale/buildawhale-curation-digest-09-10-18
Keep up the good work and original content, everyone appreciates it!
Congratulations @moaphotography! You received a personal award!
You can view your badges on your Steem Board and compare to others on the Steem Ranking
Do not miss the last post from @steemitboard:
Vote for @Steemitboard as a witness to get one more award and increased upvotes!