Tutorial (Godot Engine v3 - GDScript) - RigidBody Rope!
 Tutorial

What Will I Learn?
Hi,
In my last tutorial, I demonstrated how to create a simulated Chain, using RigidBody Nodes utilising Godot Engine's physics engine.
Despite my thinking that this was going to be an easier topic, I was soon corrected!
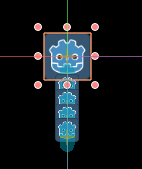
This is what I've created:
!()[
Assumptions
- You have installed Godot Engine v3.0
- You are familiar with GDScipt
You will
- Be given an overview
- Prototype the effect
- Create the Long Rope edition
- Create the Short Rope edition
Requirements
You must have installed Godot Engine v3.0.
All the code from this tutorial is provided in a GitHub repository. I'll explain more about this, towards the end of the tutorial. You may want to download this
Overview
Boy, this was much more difficult than I expected! The biggest problem I faced was the reality that ropes are one long continuous item, whereas, Physics nodes like to be units that are linked together. This results in tearing between Nodes and 'rough' edges!
It would be possible to use RigidBody's with Collision Areas and then overlay a Beizer Curve drawn through the points they exist at, which would improve quality and fluidity; but compromise in the graphics image and speed is relinquished.
My want was a Rope that swung and interacted, much like the Chain in the previous tutorial.
Let's begin!
Prototype the effect
In my head, as I started this tutorial, I knew how I perceived the Rope to work. Before coding scripts, I manually created the effect by adding Nodes to the Game Scene as I felt was needed.
Let me walk you through what I did, as I recommend it as a 'good practice' to get into.
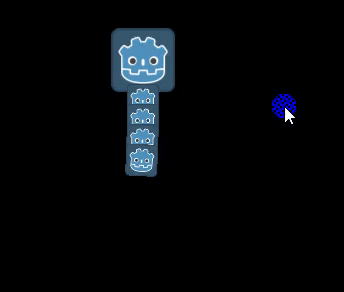
I built this:
Let's see it in operation:
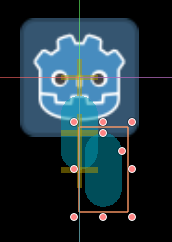
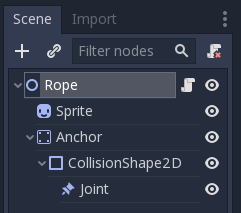
I added a StaticBody2D to anchor the rope structure and then added several RigidBody2D pieces as smaller and nested children. Here's the Node tree:

The interesting points to note are:
- The Anchor is the StaticBody2D as mentioned above
- The Anchor contains a Collision shape, Sprite and PinJoint
- Each PinJoint contains a RigidBody2D as a child
- The RigidBody2D contains the same structure as seen in item 2
With this structure, the entire rope may be easily formed.
I've left the prototype in the source code that can be found in the GitHub repository stated below
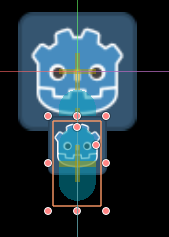
The Collision Shape for each RigidBody2D was added as a capsule shape:
This allows us to create an overlapping chain of shapes:
i.e. if I move the second capsule to the right:
You will note the overlapping Shapes form a nice circle, this is what I was aiming for! This is effectively where the Sprite image needs to be positioned over; the hinge between two Rigid Body joins.
Like so:
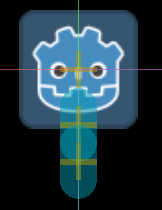
As I add children links, we form the 'Rope' effect:
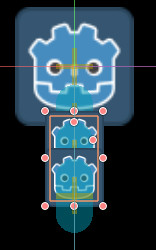
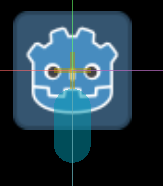
.... but hang on, it doesn't look like a rope!!! It looks like the Godot Engine icon!
Yes, you are correct, what we need to do is place a piece that represents a piece of Rope, so I created this:
![ropeLink[10x16].png](https://steemitimages.com/640x0/https://res.cloudinary.com/hpiynhbhq/image/upload/v1521813962/hrgn8wh3x2so8cuhzoqo.png)
and

.. but that leads to more questions:
- Why two sizes?
- Why are the ends rounded?
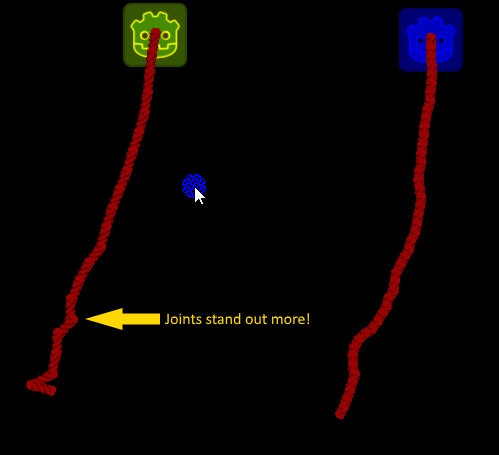
The first answer is linked to my findings and struggle with this tutorial! The quality of the rope is dictated by the size of the Rope segment. The smaller it is, the smoother it becomes, BUT, the more pieces of rope you need! There is a need to balance this in your game. I can't tell you what you should do, the only state that you need to decide quality vs performance!
Note: I ran my code with the short piece rope to the bottom of the screen with no performance issues!
If you play with the example code, you will see that the long pieces are more noticeable at the 'joins':
Using this, I went and built the 'Long Rope' version
Create the Long Rope edition
Create a new Scene, add a Node2D as the root and name it Rope and save it (I stored in /LongPieceRope/Rope.tscn)
You should create the following Node structure:
- The Sprite should be the Godot Engine logo (if you don't have something to hand; you could use the original Anchor from the chain)
- The Collision Shape should be set as a Circle with a radius of 10; this is important because if the Rope moves to vigorously, it will collide with Anchor (which is what you want), but you want to tune where it wraps
- I left PinJoint2D settings as default, but I did rename it to 'Joint', to make the script coding simpler
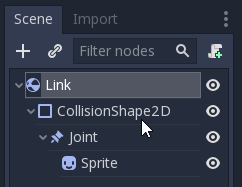
We next need to create the 'Piece' instance, so please create a new Scene, add a RigidBody2D as the root and save it (I stored in /LongPieceRope/Piece.tscn).
Create the following Node structure:
Set the RigidBody2D Transform>Position to (0, 20); if you don't, things start to go wrong! It must be placed down 20 pixels; found by experimentation.
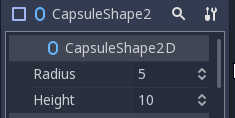
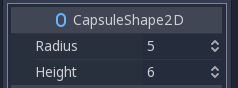
Set the Collision Shape as a Capsule type with a size of 5 x 10
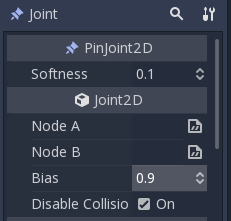
Rename the PinJoint2D to 'Joint'; to remain in-line with the joint in the Rope instance. Please also set the Softness to 0.1, Bias to 0.9 and ensure the Disable Collisions remains ticked (we definitely don't want collisions between Parent and Children, because our hinge is overlapping!)
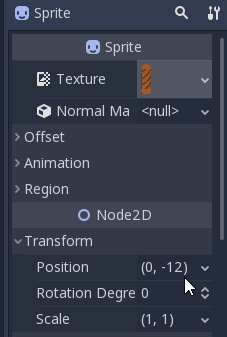
In the Sprite, set its texture to the Long piece of rope. The Shape has a size of 10 x 30, in the Transform>Position, we it to (0, -12), which is the offset that I felt was neatest.
We now need to complete the Rope by returning to the Rope Instance and add the following Script to the Rope Node2d:
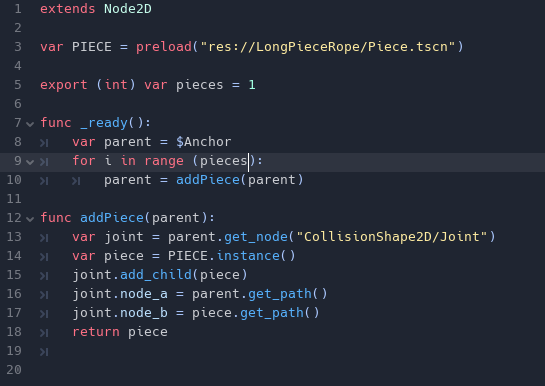
Let's walk through the code:
extends Node2D

var PIECE = preload("res://LongPieceRope/Piece.tscn")

export (int) var pieces = 1
We extend the Node2D class, create a variable preloaded with the Piece instance and we expose a link count to the editor
func _ready():
    var parent = $Anchor
    for i in range (pieces):
        parent = addPiece(parent)
When the Node is ready, loop for the number of links required and call the next function to add a new link to the parent. On its return, store the new child as a parent to the next. The parent is initialised with the Anchor before the loop
func addPiece(parent):
    var joint = parent.get_node("CollisionShape2D/Joint")
    var piece= LINK.instance()
    joint.add_child(piece)
    joint.node_a = parent.get_path()
    joint.node_b = piece.get_path()
    return piece
The add link function gets the parents PinJoint2D, instances a new Piece and adds it as a child to the Joint. The Joint's node A & B are set with the Parent and Child nodes before returning the piece
Easy peasy! Try running it:
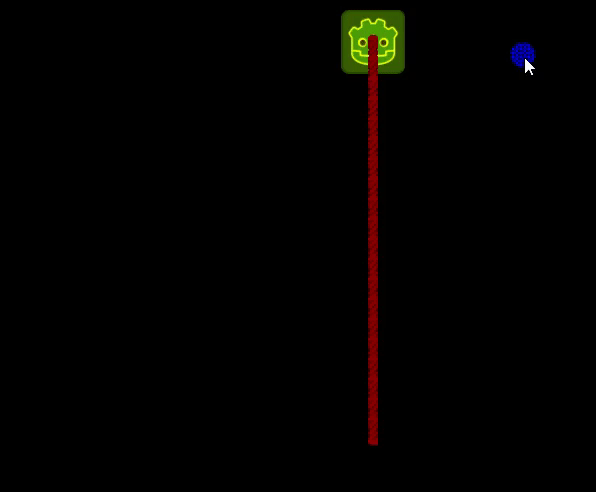
You should be able to see the 'Join' issue I mentioned above.
Create Short Rope edition
If you would like a 'smoother' version, you need to implement the same again, but with a smaller Rope Piece image and hence, smaller Collision shapes!
Follow the same step above, but change the following:
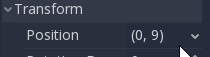
Ensure the Piece RigidBody2D position is set to (0, 9)
Reduce the Piece Capsule Size in the CollisionShape2D to (5, 6)
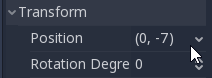
Set Piece Sprite to the smaller one and set its position to (0, -7)
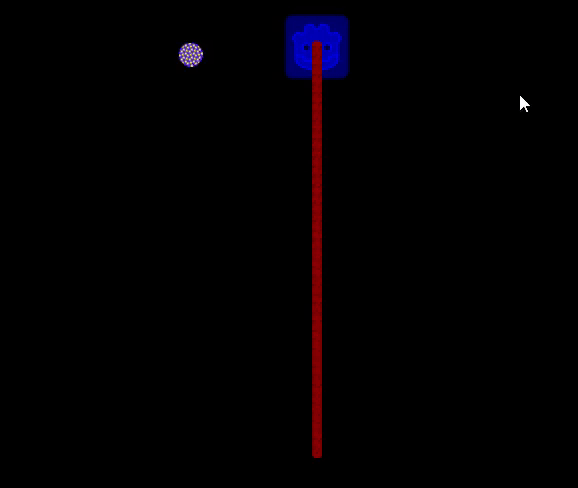
That's it! Such a small change will have a BIG effect! Try rerunning again:
Perfect! That concludes this Tutorial, but I will say, try adding different Chains and Ropes and see how the react to each other. Study the Mass properties in the RigidShapes, as you should be able to make them behave differently with each other!
Finally
I hope this is useful to you! I've enjoyed putting it together and see several game ideas in it. Thanks for joining me.
Please do comment and ask questions! I'm more than happy to interact with you.
Sample Project
I hope you've read through this Tutorial, as it will provide you with the hands-on skills that you simply can not learn from downloading the sample set of code.
However, for those wanting the code, please download from GitHub.
You should then Import the "Rope" folder into Godot Engine.
Other Tutorials
Beginners
Competent
Posted on Utopian.io - Rewarding Open Source Contributors
Thank you for the contribution. It has been approved.
I haven't been keeping up with your tutorials lately (busy with university stuff), so I was wondering what happened to the game you were creating? Also, great tutorial as always!
You can contact us on Discord.
[utopian-moderator]
Hey @amosbastian, I just gave you a tip for your hard work on moderation. Upvote this comment to support the utopian moderators and increase your future rewards!
Hi Amos,
I'm just about to return to it. I got a little sidetracked with the physics. I wanted to make sure I got my head around them, as I was trying to figure out whether I should use physics in the 'Invaders' game or not. The concrete answer is NO, 'but', hehe. I think there might be a case to do something with it.
So, expect the next article over the weekend! My last post was on the 'colour changing' of the players ship and alien.
I now want to introduce the GUI and then the Waves of ships; to make it playable!
Hey @sp33dy I am @utopian-io. I have just upvoted you!
Achievements
Community-Driven Witness!
I am the first and only Steem Community-Driven Witness. Participate on Discord. Lets GROW TOGETHER!
Up-vote this comment to grow my power and help Open Source contributions like this one. Want to chat? Join me on Discord https://discord.gg/Pc8HG9x