Tutorial (Godot Engine v3 - GDScript) - Invader Graphics!
.png) Tutorial
Tutorial

What Will I Learn?
This tutorial builds on the last, which explained how to add smooth movement to the Invaders.
In this article, you will learn to place Images into the game. A very simple activity!
Once implemented, you'll find the Invaders start to look real and that they are invading from space!
Assumptions
- You have installed Godot Engine v3.0
- You've completed the previous tutorials
- You should be familiar with Scenes, Nodes, creating instances and a basic grasp of GDScript syntax and documentation
You will
- Apply a space background
- Apply an image to the Invader node
- Apply glittering stars
Requirements
You must have installed Godot Engine v3.0.
All the code from this tutorial will be provided in a GitHub repository. I'll explain more about this, towards the end of the tutorial.
Acquiring images; Copyright and Licenses!
For this tutorial, I need images. Preferably they'll be of a good standard and lend themselves to a 'Space Invaders' theme.
The law of copyright prohibits me taking and reusing one of the many images from the internet. I could even acquire the original Arcade images.
Why don't I?
Copyright prevents me from doing so.
If I did, Midway (the copyright owners) would be entitled to issue a lawsuit against me... and I certainly don't want that!
Secondly, I want to create my own version of the game, to make it:
- Unique
- Modern
- Take advantage of the graphics capabilities than were not around in the late 70's!
If I were creating a commercial game, I would try to find a Graphic Artist to collaborate with me; often either on a paid basis or on a profit-sharing basis.
However, there is little chance that I'm going to find somebody to help me (although if you are reading this and think you can help, let me know!)
My last approach was to look amongst the MANY free game art websites that exist on the internet.
My Personal favourites being:
There are many sites and community forums to find assets for your game. You just need to go look!
However, BE WARNED! Although many assets are free, some will have licenses attached. These can be as simple as 'do what you like with them' but others may require you to open all work as open source! This CAN be a tricky minefield to tread, but it should not put you off!
My advice is go look for assets, find what you need and then examine its license. The author will state the type of license applicable, therefore you can google its meaning; or alternatively, contact the author and check! There is nothing better than getting approval from the author and it is often nice for them that their work is appreciated and being used.
For example, for this series, I'm planning to use assets from these two brilliant artists:
Skorpio
I found Skorpio's Spaceship kit along with the space background assets.
Looking at the available licenses (bottom left side):
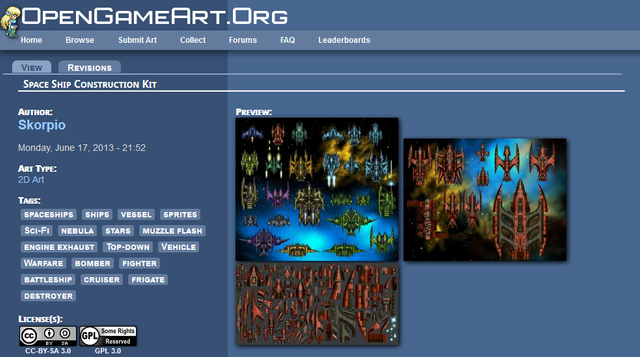
I selected the Creative Commons by SA 3.0 license. This allows:
- Share — copy and redistribute the material in any medium or format
- Adapt — remix, transform, and build upon the material for any purpose, even commercially.
It protects me because "The licensor cannot revoke these freedoms as long as you follow the license terms"; where the terms are:
- Attribution — You must give appropriate credit, provide a link to the license, and indicate if changes were made. You may do so in any reasonable manner, but not in any way that suggests the licensor endorses you or your use.
- ShareAlike — If you remix, transform, or build upon the material, you must distribute your contributions under the same license as the original.
- No additional restrictions — You may not apply legal terms or technological measures that legally restrict others from doing anything the license permits.
Given the terms, I 'may' alter the star field into smaller elements, rather than one large sheet; therefore I'm allowed to do so. However, I must provide the same license to the changes.
I had already planned to provide the tutorial code in a publicly available GitHub instance, under the MIT license model that Godot conforms to. Clearly, I will also include the images, but will ensure a 'readme' file exists that explains and places any derived work into the CC-SA-v3.0 license with attribution. IN this way, I make all work available under the correct license.
Carlos Alface
I didn't stop my search for Spaceships and I soon stumbled over Carlos's material on his blog page and in the same Open Game Site:
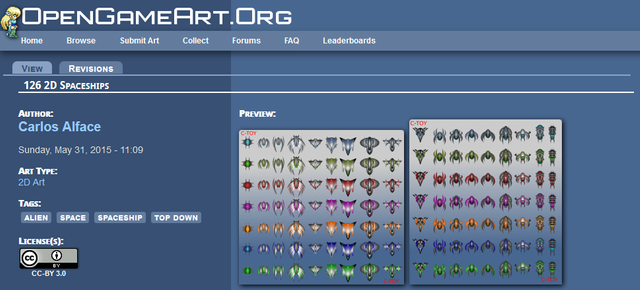
As can be seen, Carlos provided his images with a CC-SA-v3.0 license too! Which makes my life much easier.
Communication
Despite understanding the license, I contacted both to check for their permissions. They were both responded quickly to my intention of use. They were both supportive and I hope that this set of article brings them wider publicity; especially when the game is built.
ARMED with the images we need! Let's add them!
Space is dark!
Our first step is to make sure our background in Godot Engine is pitch black.
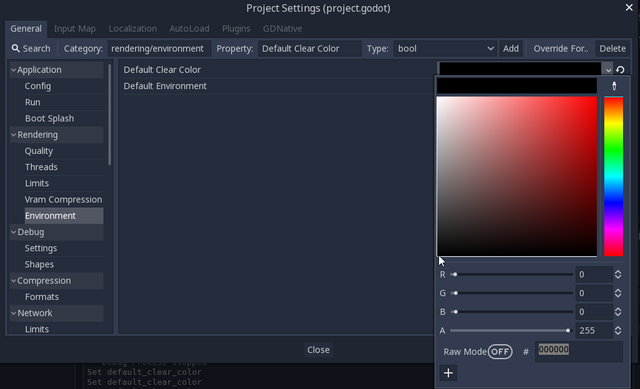
Open the Project Settings and select, General > Rendering > Environment and click the right hand colour in the item Default Clear Colour:
Select the bottom-left Black colour or set the values to zero.
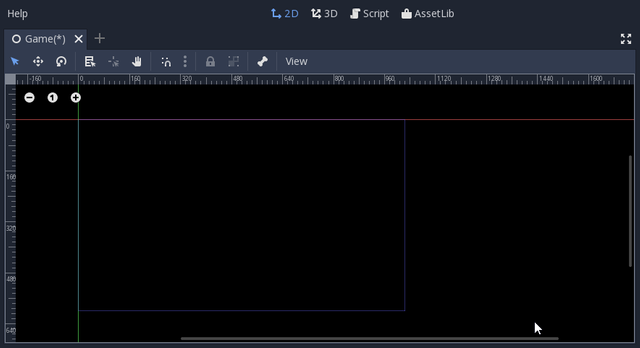
When you close the window, you'll find the 2D background is now pitch black!
That's a start, but let's add some stars too!
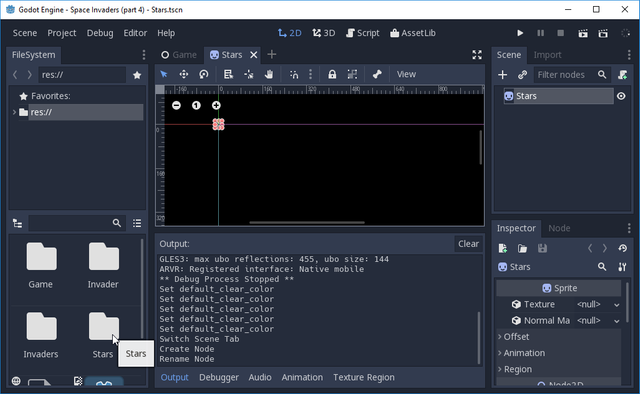
Please create a new Scene, called, Stars. Make sure you add a Sprite root node and name it Stars . Finally, save the Scene into its own folder, called... yep you guessed it, Stars!
You will then need to obtain the Stars-Nebulae.zip from the Open Game Art site, provided kindly by Skorpio OR go to my GitHub to obtain it.
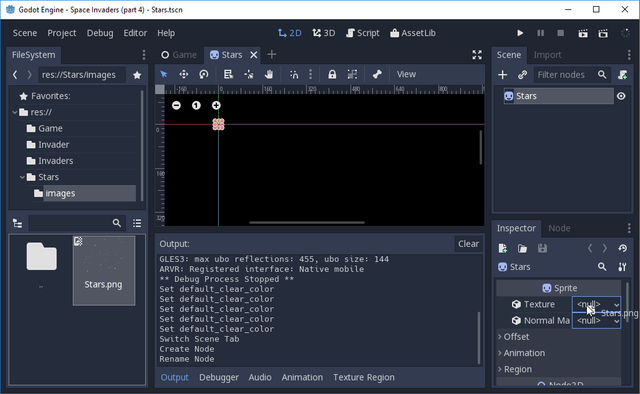
From the zip, you will need to copy the stars.png to your project. I created an images folder within the Stars folder and placed the image here
This is a deliberate decision because it allows me to reuse the starfield in another game, by simply copying the entire folder as a single asset!
The images folder also allows me to place the license.txt files required for the GitHub publish (see further down)
Simply attach the stars.png to your Sprite's texture:
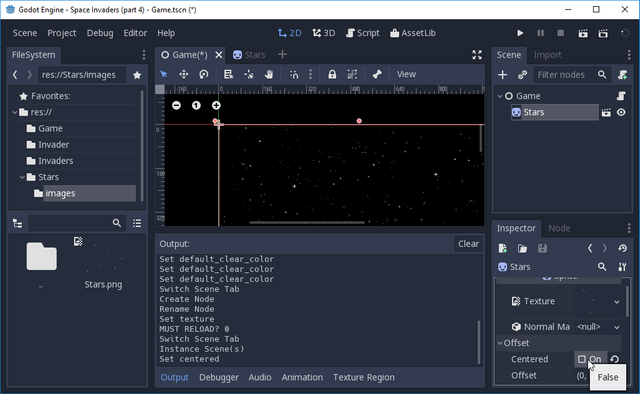
You should then save the Scene, switch back to the Game Scene and then add a Star Scene as an instance node:
As can be seen in the above screenshot, you will need to set the Star node uncentered, otherwise it will only cover a quarter of the screen. Ignore the fact that the starfield goes across the bottom border, that's because the image does not match the screen height size!
If you now run the game, you'll have a nice Space background with stars in it, whilst the invaders fly across it!
Change the Invader images!
Let's do the same with the images of the Invaders.
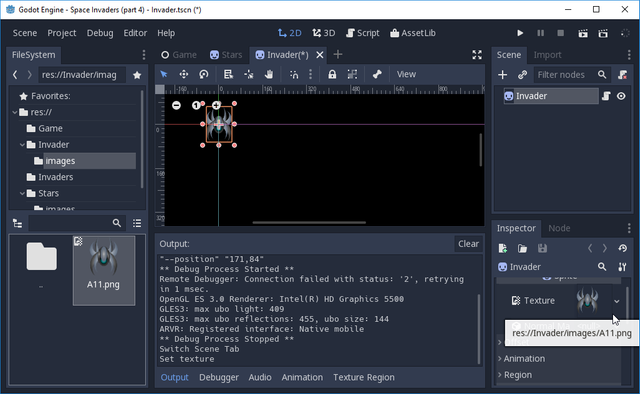
Please obtain the Spaceship pack kindly provided by Carlos. You may select the Invader of your choice; I preferred A11.png!
I created an images folder in the Invader folder (to ensure the image is local to it) and then assigned it in the Scene root Sprite.
Now try running it!
...oh, not what I was expecting!
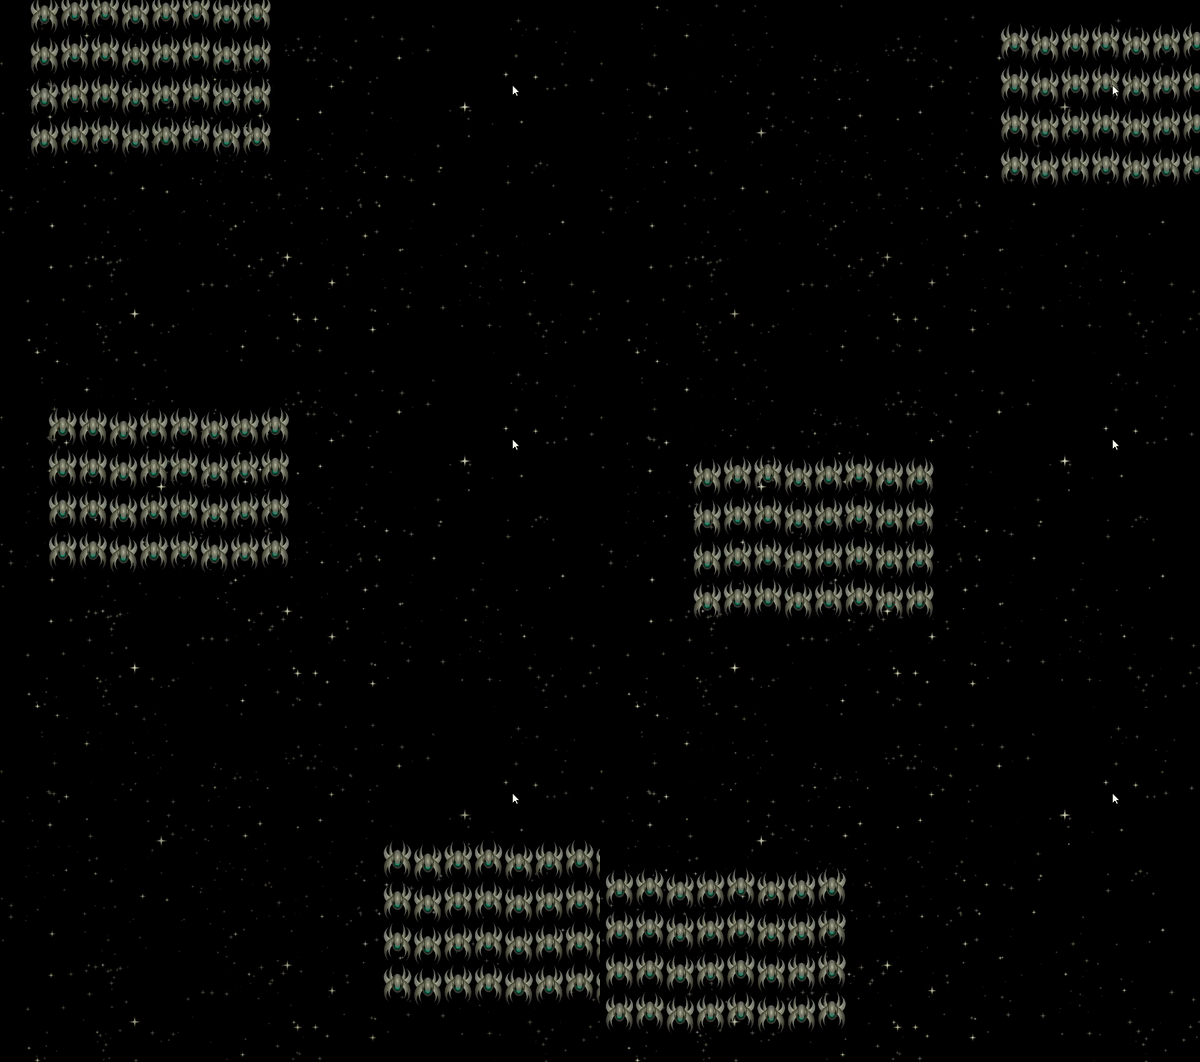
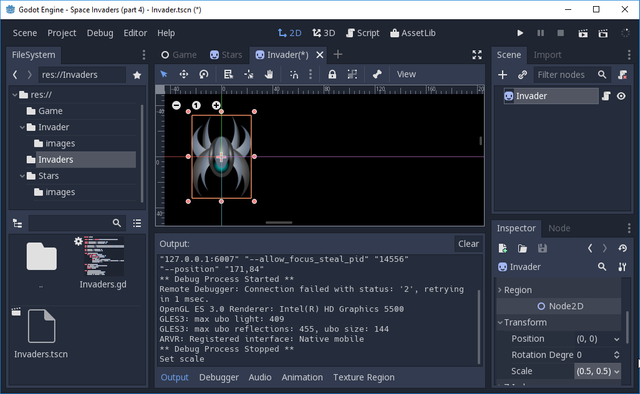
What I failed to consider was the size of the chosen image! Its dimension is 93 x 130 pixels, where as the Godot icon is only 64x64 pixels.
Given this, I decided to change the Invader Sprite scale, reducing it to half size with (0.5, 0.5):
Our code in the previous tutorials included Scale as part of its calculation of the Invader size! Therefore no matter what scale you set, the code will re-adjust proportionally.
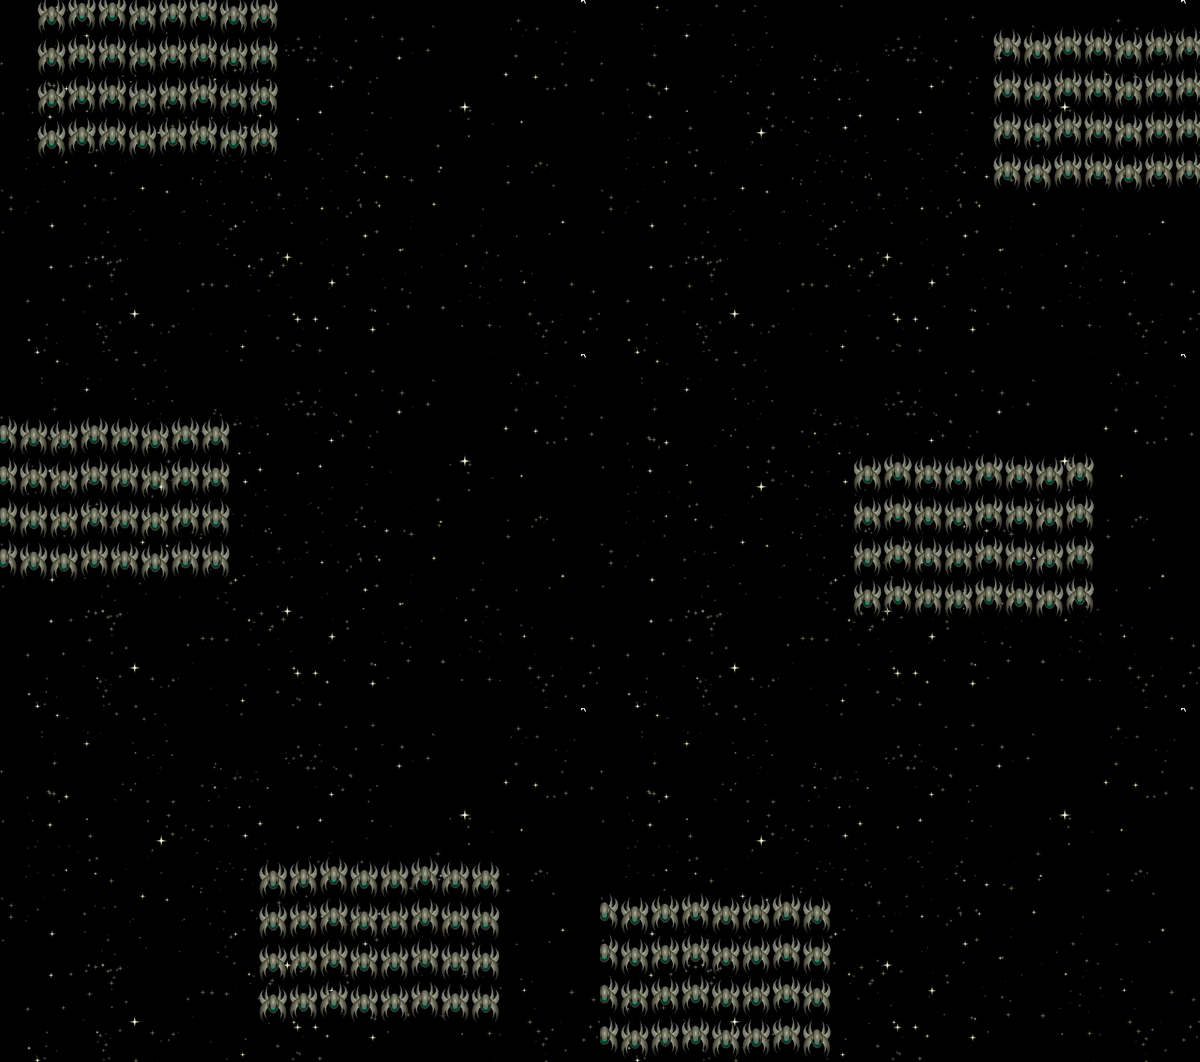
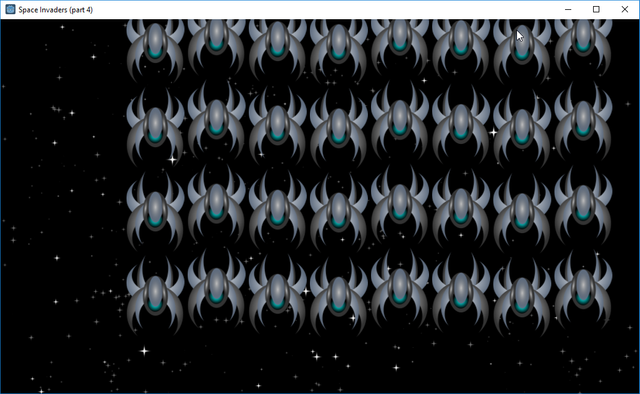
When it is now run, the game starts to look pretty:
Twinkle Twinkle little star
Before I wrap this tutorial up for today, let us do one other thing!
Let's make the stars sparkle randomly.
In a future article, we'll introduce individual stars and make a dynamic and beautiful star field!
The fixed field, for now, works for this tutorial but limits the capability of the engine.
Open the Star scene and attach a script to the root Sprite:
extends Sprite

func _process(delta):
    modulate = Color(1, 1, 1, randf() * 0.5 + 0.5)
as seen in the editor:
Let's walk through the code:
extends Sprite
Extend the Sprite class
func _process(delta):
Implement the process function, which is called periodically by Godot Engine
modulate = Color(1, 1, 1, randf() * 0.5 + 0.5)
Change the Sprite's colour!
The texture we assigned is primiarly transparent, with a few sprinkled stars on it (try opening in an image editor).
The star pixels will have their alpha intensity altered between 0.5 and 1.0! In that way, they appear to sparkle and shine.
Unfortunately, they all will do so, like a synchronised swimming team.
As stated, in a future tutorial, we'll separate them, so that we can then make them shimmy independently with a broad spectrum of colours too!
Let's now run it!

... much better, as if the universe is alive. It's not brilliant, but it will do for now!
Godot game workspace license file
As stated, to comply with the CC-SA-V3.0 license, I've added a license.txt file into each of the image folders in the Stars and Invader scene folders; this is why having an images folder is important! You can compartmentalise images to ensure you protect the license terms and conditions:
for example, the license.txt reads:
*********************************************************

Please Note: The A11.png image was taken from the Spaceships pack found here:

https://opengameart.org/content/126-2d-spaceships

Using the cc-sa-v3.0 license
https://creativecommons.org/licenses/by-sa/3.0/

*********************************************************
You can use any image from this pack (spaceships) in any project,
The only condicion is that you thanks me in your project.

If you use any of the images from this pack, please send me a email
with a link to your project.

Thanks

[email protected],
blog http://carlosalface.blogspot.pt/

Carlos Alface 2017
*********************************************************
By including these, I can be faithful to the terms I've agreed when uploading the project to GitHub.
... but I wont stop there, I will also send a courteous email to inform them of this article!
Finally
That concludes this issue. My next article will address the player ship and firing a weapon! Finally, the fun will begin.
I've also created an Itch.io account for this and will make the game web playable!
Please do comment and ask questions! I'm more than happy to interact with you.
Sample Project
I hope you've read through this Tutorial, as it will provide you with the hands-on skills that you simply can't learn from downloading the sample set of code.
However, for those wanting the code, please download from GitHub.
You should then Import the "Space Invaders (part 4)" folder into Godot Engine.
Other Tutorials
Beginners
Competent
Posted on Utopian.io - Rewarding Open Source Contributors


good project. RT'd ⭐️
Oh thanks!
Thank you for the contribution. It has been approved.
Everything is starting to look really nice, those artists definitely did a great job! Looking forward to the next tutorial!
You can contact us on Discord.
[utopian-moderator]
Blimey, you stalking me :) that was quick. Thank you.
cool work. rt'd ⭐️
Cool project. shared
https://sp33dy.itch.io/alien-invaders?secret=jHmt9TsgnVJT92SK5qNTcIfFBA sneaky peak of it on itch.io
Hey @sp33dy I am @utopian-io. I have just upvoted you!
Achievements
Suggestions
Get Noticed!
Community-Driven Witness!
I am the first and only Steem Community-Driven Witness. Participate on Discord. Lets GROW TOGETHER!
Up-vote this comment to grow my power and help Open Source contributions like this one. Want to chat? Join me on Discord https://discord.gg/Pc8HG9x
You've got upvoted by
Utopian-1UP!You can give up to ten 1UP's to Utopian posts every day after they are accepted by a Utopian moderator and before they are upvoted by the official @utopian-io account. Install the @steem-plus browser extension to use 1UP. By following the 1UP-trail using SteemAuto you support great Utopian authors and earn high curation rewards at the same time.
1UP is neither organized nor endorsed by Utopian.io!