Creative Process 01: Shooting Portraits
Behind every great work of art is a long and tedious creative process. Some would even commit years of their lives to complete one. Others might judge some artworks for being too simple or easy to create but it’s the thought process that gives it more value. Artists develop their own process over time. Knowing the method that works for you can increase your productivity.
Anyone can take pictures but not everyone can create photographs. The creative process separates one from the other. People tend to learn more about the tools rather than the system. Having the exact same gear of photographers you look up to doesn’t guarantee producing equally astounding photographs. When looking at a photo, try to figure out the decisions made by the artist in creating his masterpiece. Decisions like how the light source illuminates the subject, the arrangement of all the characters in the frame, and how the colors create a mood.
I’m sharing with you my own process in shooting portraits for a recent project. It’s the first time I said yes for an engagement session so I thought it would be great to document it and share with you my learnings. I haven’t figured out the process that works for me yet, so this is my way of helping myself identify it and it can be a useful tool for future projects. It won’t cover the basics of photography but rather just my personal step-by-step guide to creating a set from scratch. You would later notice how much time was spent on planning compared to the execution. I give so much value for preparation because it is where you’ll get to establish the direction that you’re going for the project. I’m not a technical person and some of these steps might be different from the norm, so I welcome any suggestions that could improve my workflow.

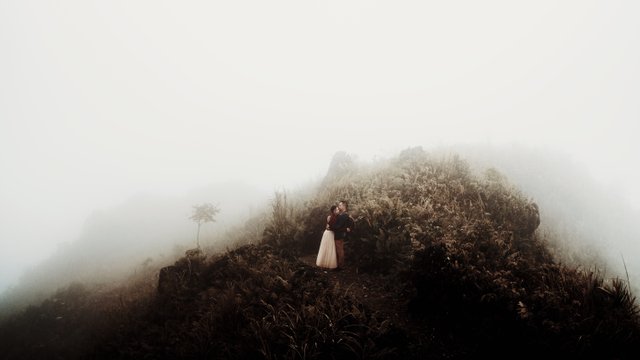
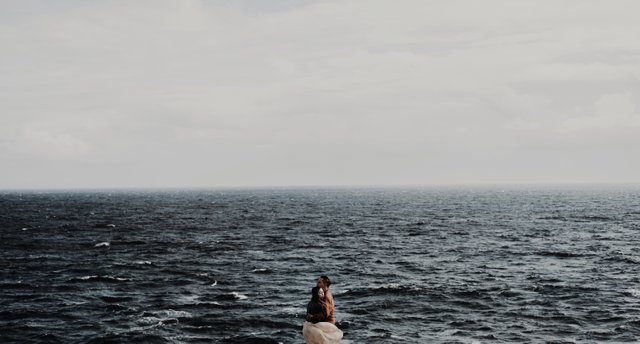
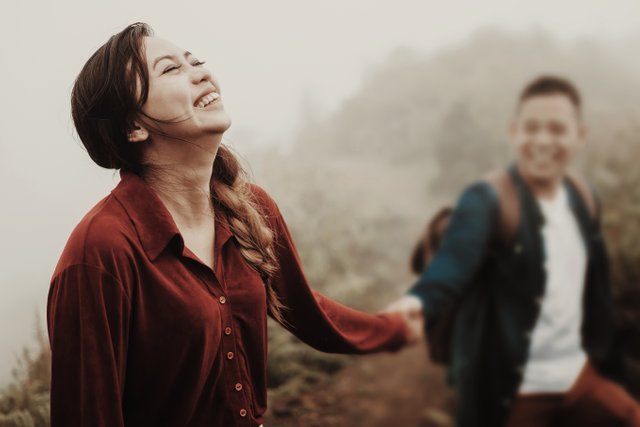
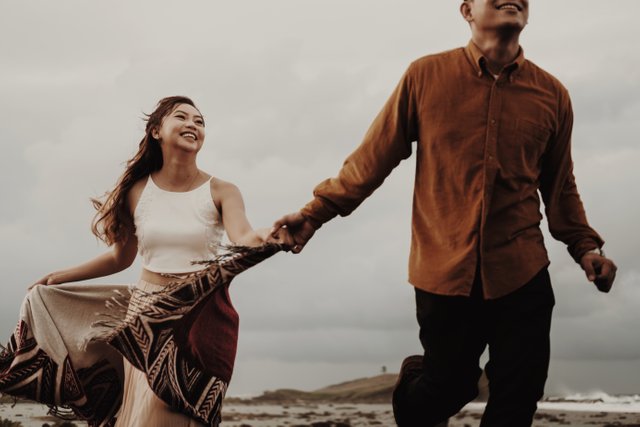
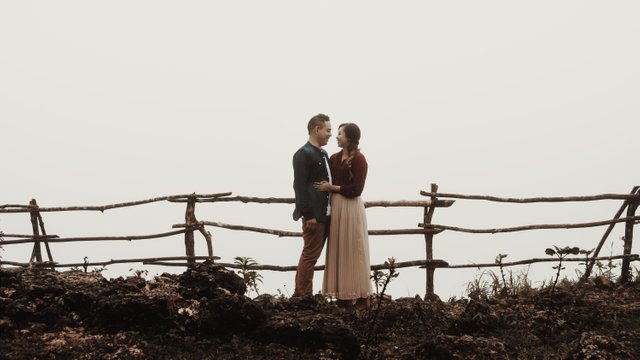
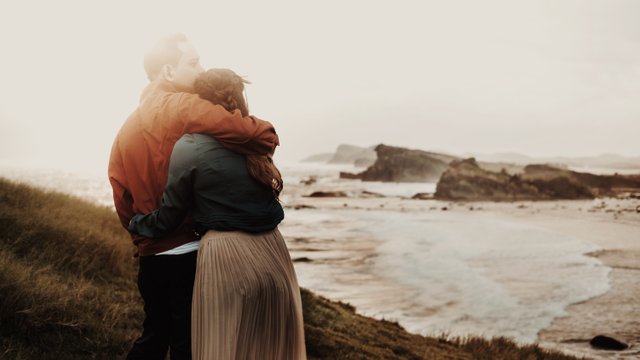
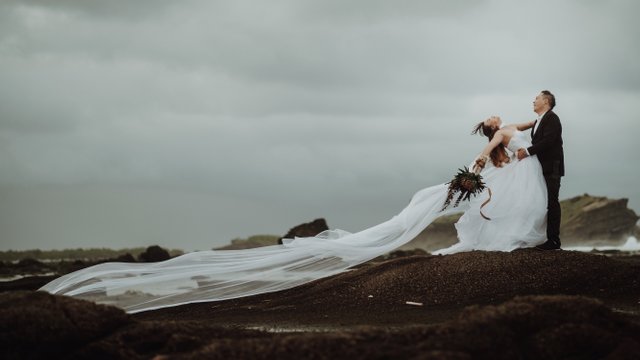
The project is an adventure-themed engagement session. I’m not really into shooting portraits of couples but I can’t say no to a friend of more than 20 years who’s willing to travel to any destination for the shoot and fully trusts my creative vision. I was never comfortable with posing my subjects and this is the very reason why I always try to veer away from projects like these. To make this work, I knew I had to apply the discipline I’ve learned from Street and Travel Photography and try to capture real emotions.

I always try to get myself inspired before jumping into a new project. We can find inspiration everywhere. On the internet alone, there are sites that can give you daily dose of inspiring artworks. I always make sure that I save a copy of those and review it every once in a while. It’s my cure for creative blocks. Surround yourself with like-minded individuals and share ideas. Go to art galleries and learn about the works of the masters. You'll never run out of things to inspire you.

Treat the project as a collaboration between you and the subjects of your story. Hear their stories and preferences but at the same time prepare to share ideas. The last thing you want to happen is having an output that totally disconnects from the couple and their story. I took our first meeting as an opportunity to know more about their personalities. What I’ve seen and felt should reflect on the photographs. I asked these common questions to establish the theme:
How did you meet?
What are your professions?
Hobbies and Interests?
What are the things you love to do as a couple?
Any interesting stories to share?
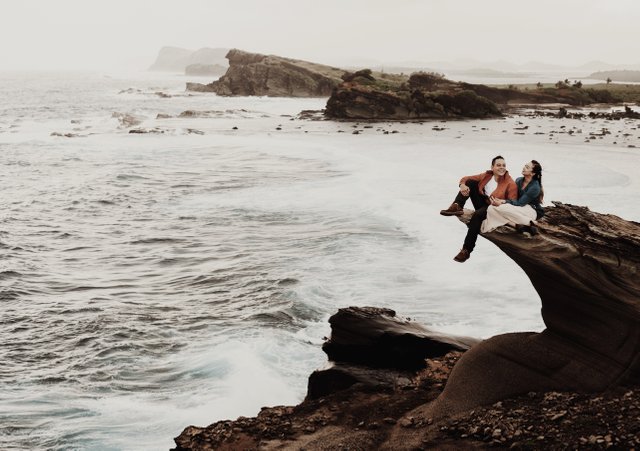
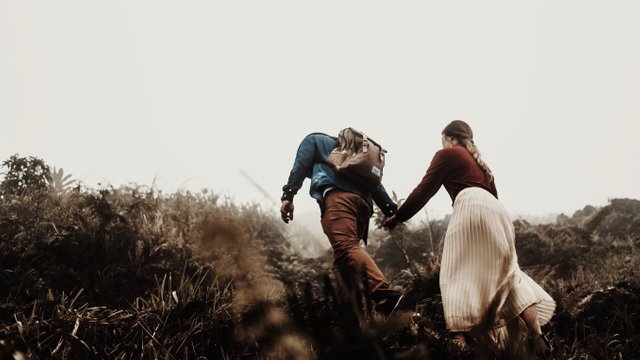
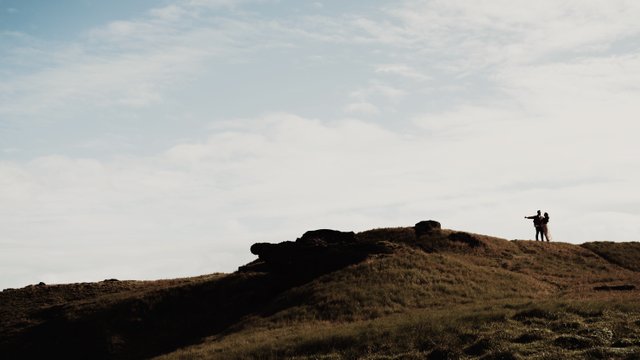
For this shoot, the couple and I agreed on having adventure as the theme. It’s something that they love doing and it best represents the journey they’ll be taking soon as husband and wife.

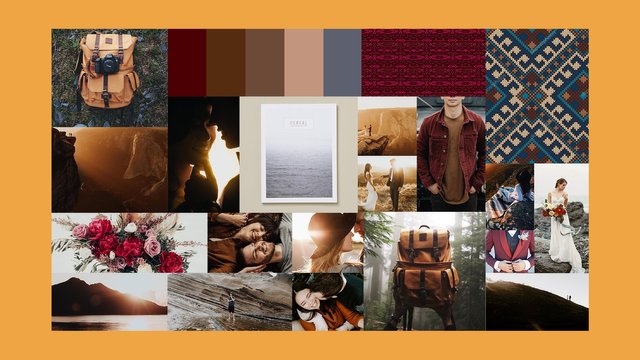
All the information I got from the first meeting helped me come up with a mood board. I reviewed my files and searched online for anything that I feel can represent my vision for the project. It can be anything. Make a collage of photographs, objects, textures, or color combinations. This visual representation of the concept will help your client understand the direction that you’re heading before actually starting the project.

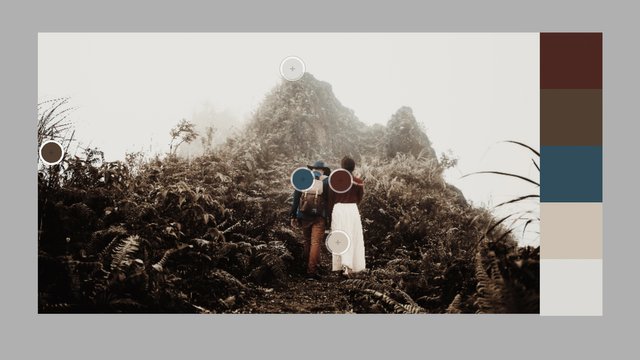
From the mood board, choose the Color Palette that would dictate your choices for styling, location and post-processing. I usually choose two colors with good contrast and add neutral tones. One helpful resource is the Adobe Color website where you can upload a photo and generate color palettes based on your chosen mood.

A prepared shot list can maximize your time and organize everything on set. It can save you from regrets later for missing an important shot. Don’t feel restricted to the list you prepared. I always start the shoot with complete freedom and only review my list before moving on to the next scene.

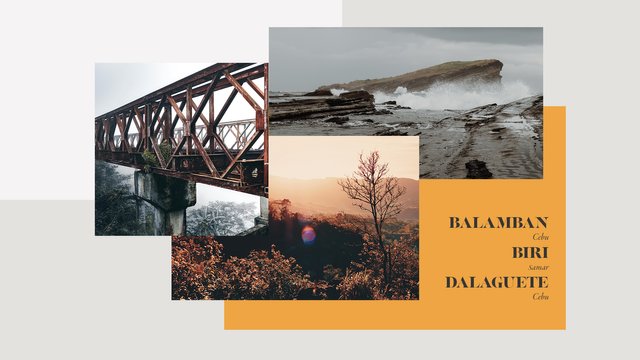
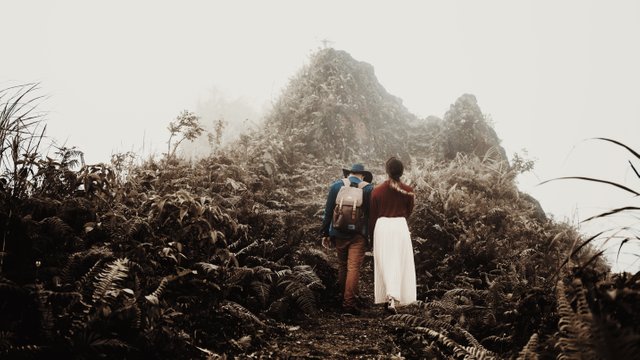
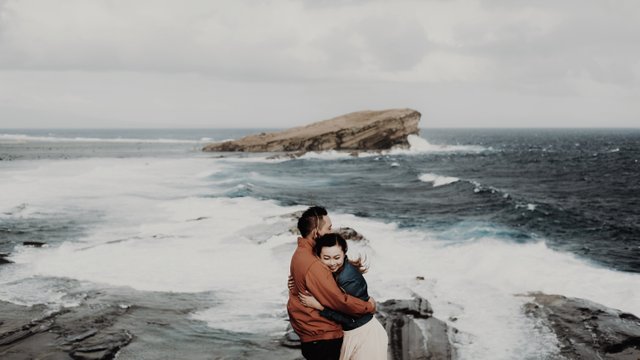
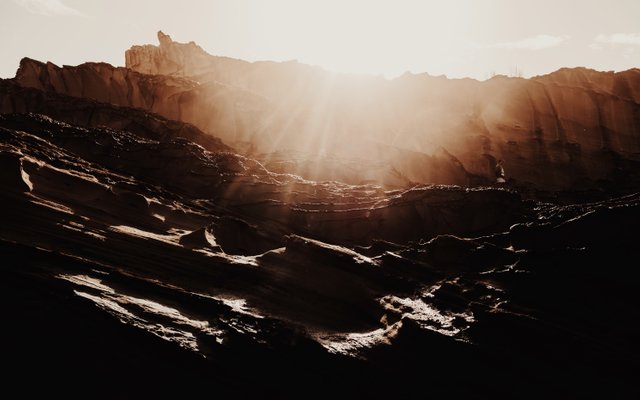
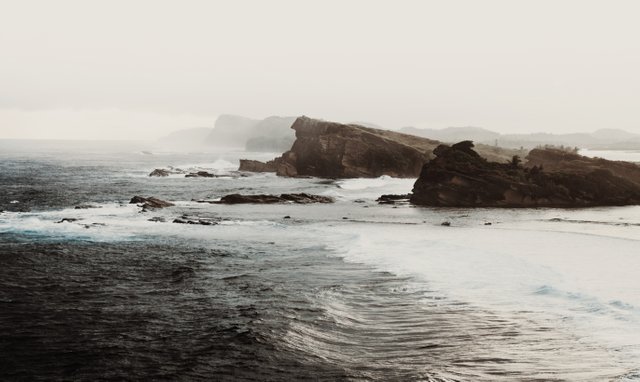
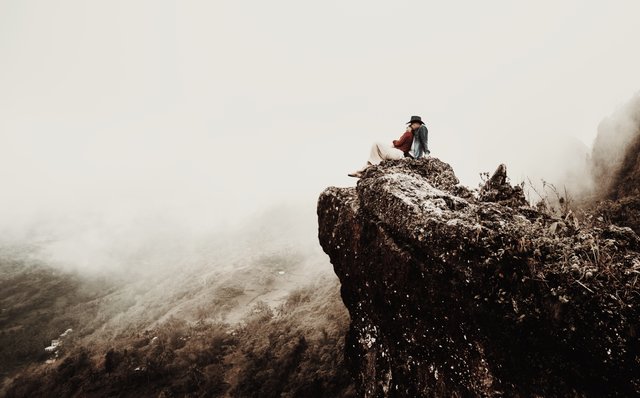
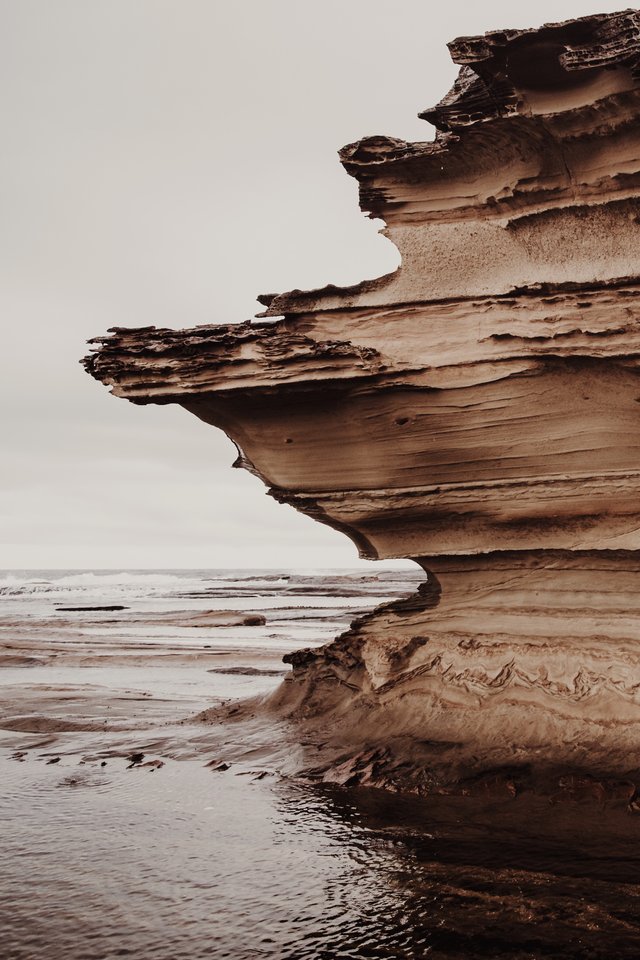
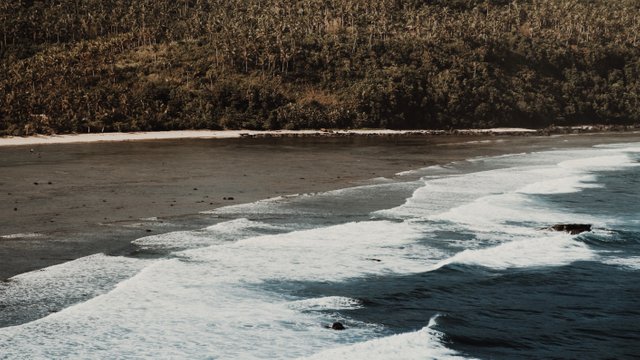
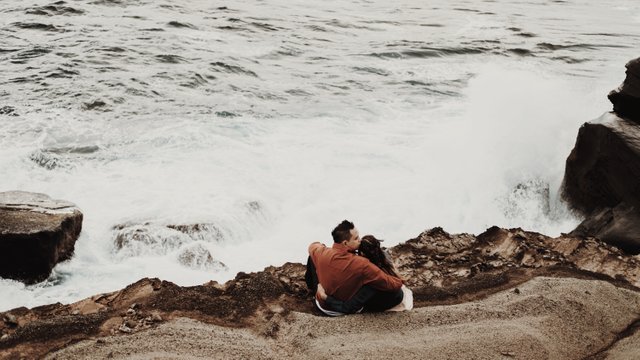
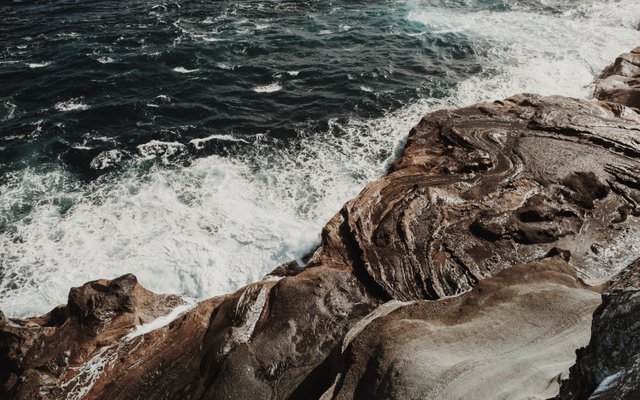
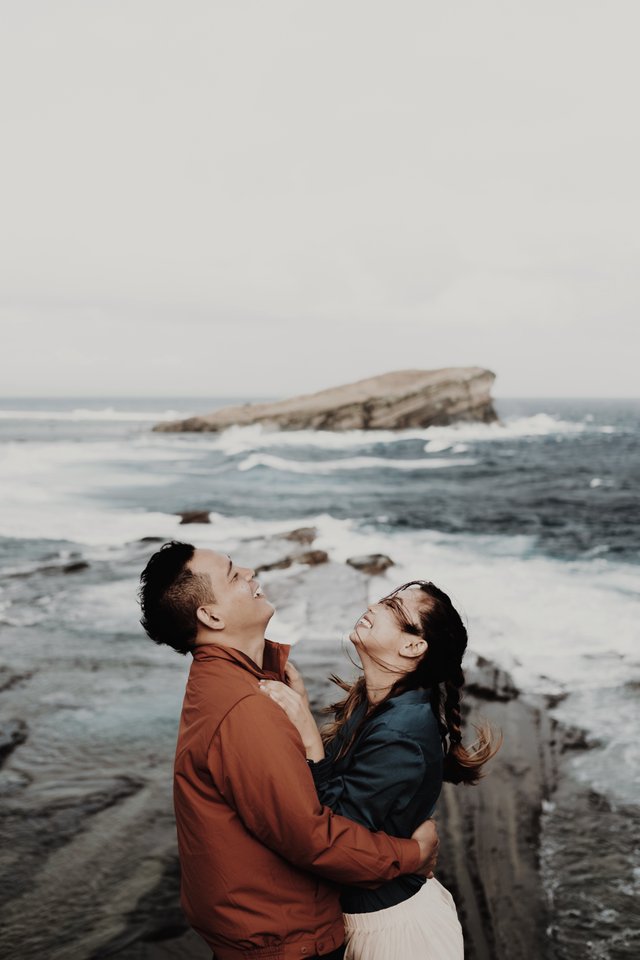
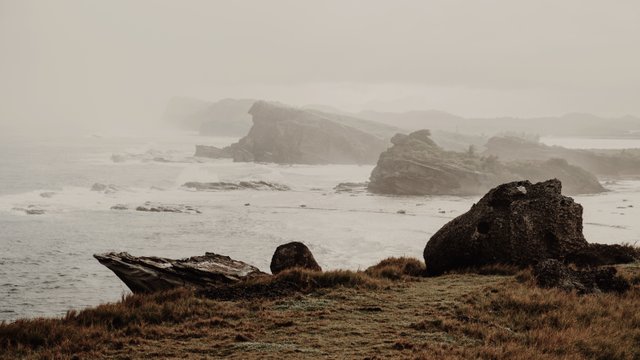
Choose locations based not only on how good it looks but more on how it can contribute to the story. I wanted to cover mountains, seas, and bridges to complement the adventure theme. Months before the shoot, I visited potential locations and did some test shots. Take note of possible dominating background colors of the scene at different time frames to help you later choose the right colors for the styling.

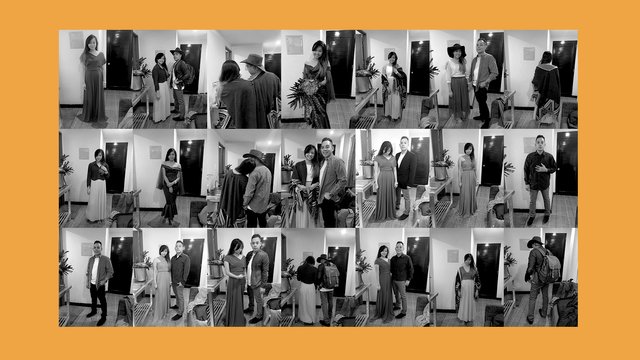
Styling can make or break your shoot. I reached out to a friend who’s studying Fashion Design to collaborate. I was lucky enough to have a friend who can style my subjects and at the same time, work on the hair and make-up. I explained my ideas to her and we started pulling out clothes and accessories that we think would go well with our theme. Apart from the gowns and coats, all the other outfits were bought from thrift shops at very cheap prices. With the palette and colors of locations in mind, we then mixed and matched the outfits and assigned each set to specific scenes.

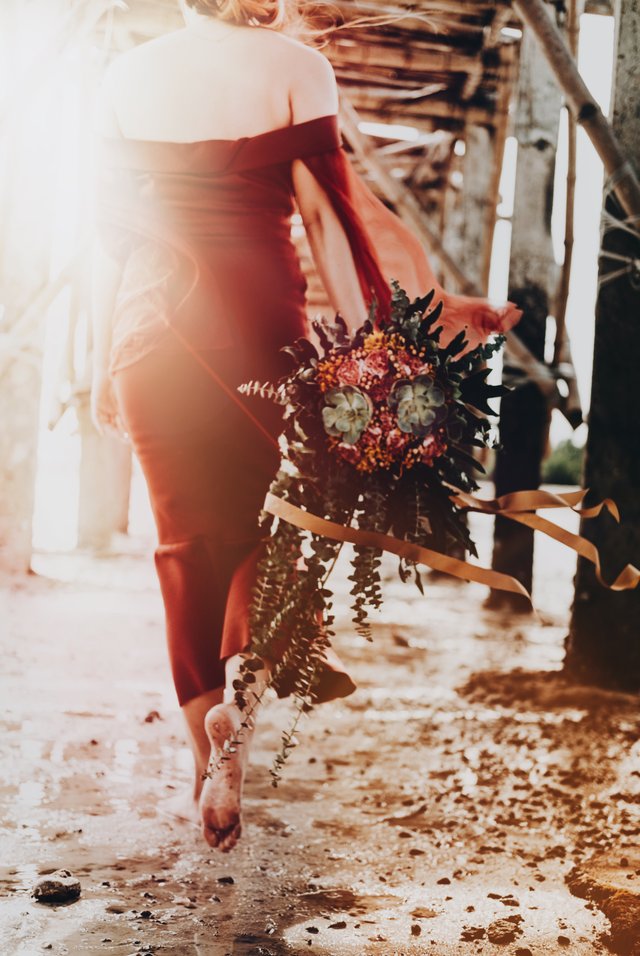
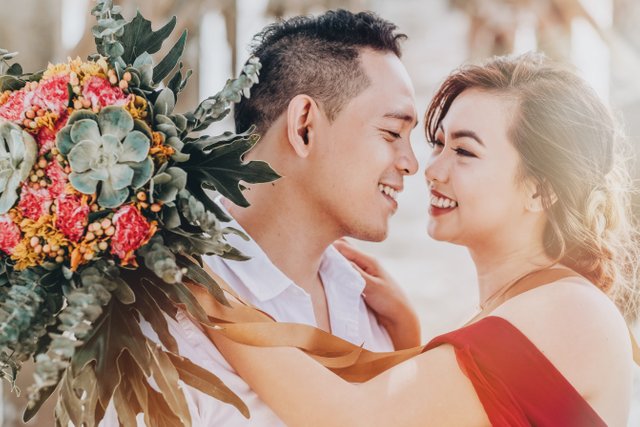
We only had few props for the shoot - a bouquet, an engagement ring, and tulle. The ring and tulle were brought by the couple and the designer. For the bouquet, I personally went to the public market to choose flowers that I think would match the styling and location. Showing pictures to the shops made the whole process a lot easier. It was quite an unusual choice of flowers but it turned out great. The challenge for us then was how to make it last for a week.


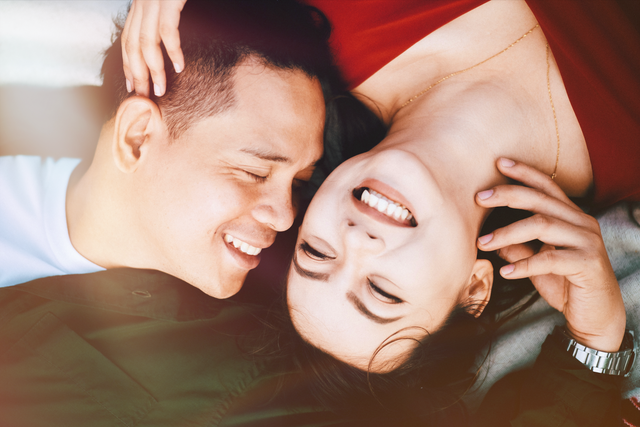
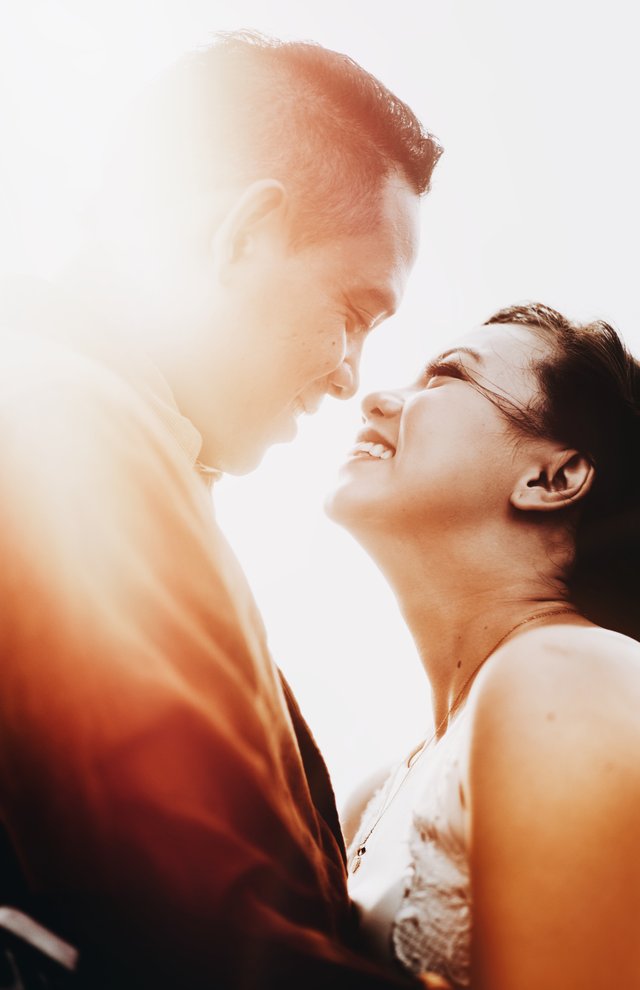
Shooting in various locations can benefit from strategic scheduling. I had to carefully assign locations to each of the seven shooting days to maximize our time. To give you an idea on how crazy our schedule was, one of the locations took almost 18 hours of travel time by bus and one whole night in a ship. I scheduled our first few days for glamour and close-up shots on an island. This proved to be a really good idea because it served as a trial shoot for us to learn about each other’s dynamics and note the things that we should avoid for the next sets that will be shot in more challenging locations.

I brought gears that would give me good coverage of everything that’s happening. Lenses that can capture wide and close-up moments. Here’s the full list of the gears I used for the shoot:
Fujifilm X-T20
Fujinon XF 35mm f/2
Samyang 12mm f/2.8
Samyang 50mm f/1.2

Not everything will go as planned. Prepare yourself for worst-case scenarios and think of all possible solutions. The first problem we had was the Bridge in Balamban that was supposed to be our first location. Good thing I checked on the area days before the shoot because I found out that it was demolished just a few weeks earlier. It could’ve been a waste of time for us had we not known. We went instead to Olanggo Island for our first day.
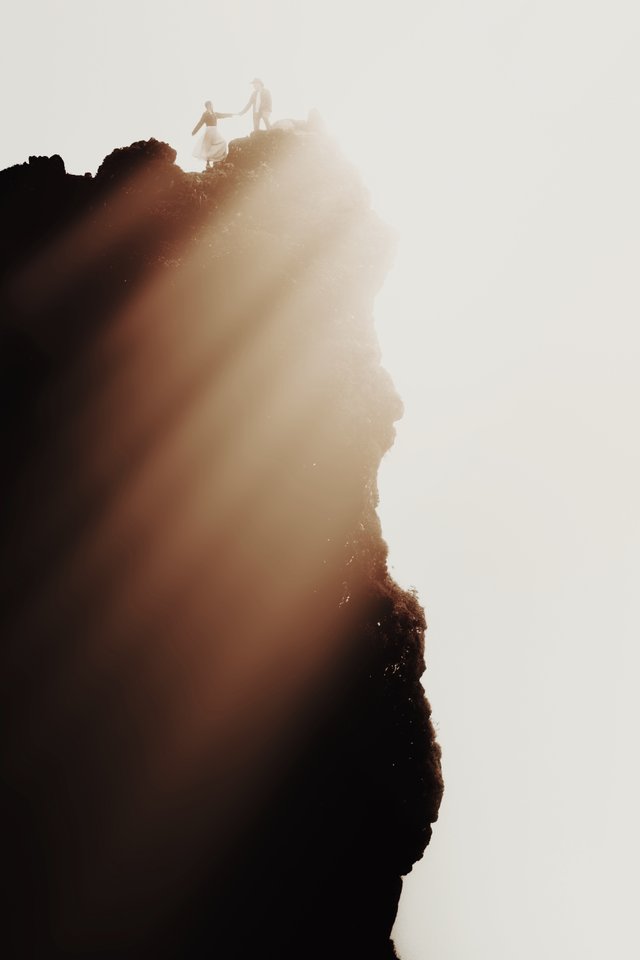
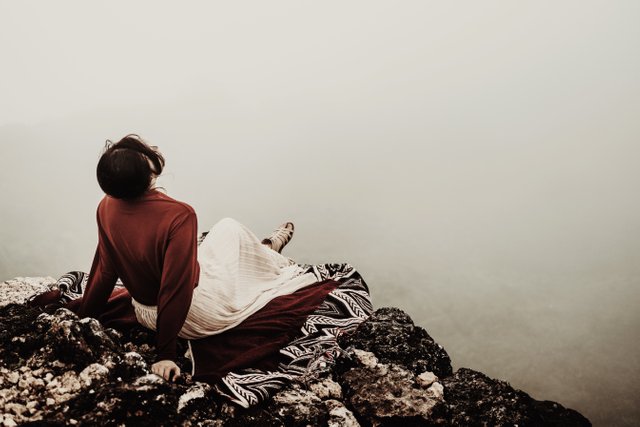
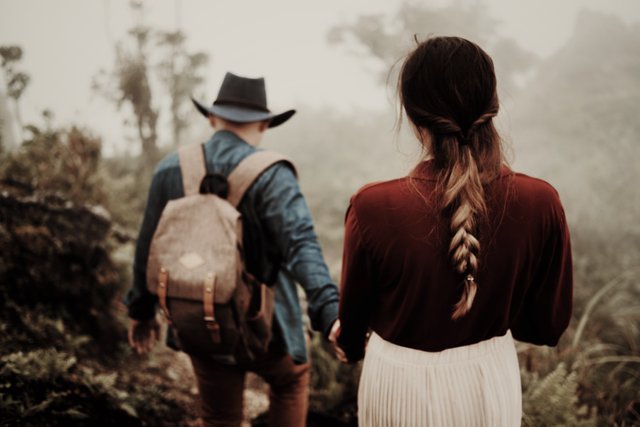
Another problem was the weather. The shoot was supposed to be set at sunrise and sunset but we instead got heavy rains that got us stranded for hours. The weather changed the mood of the set but we still managed to take advantage of it and use the fog to add a sense of depth to the photos.

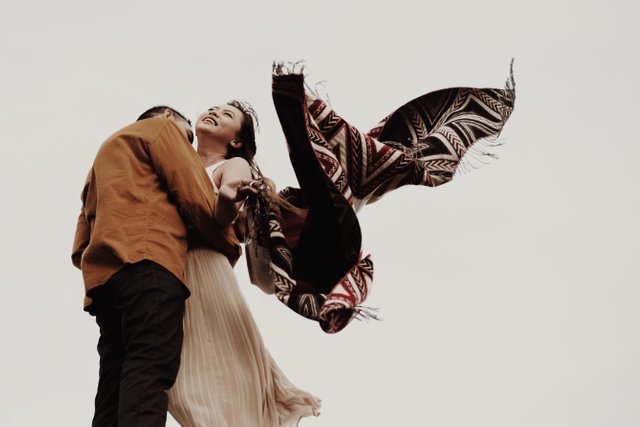
One tip I can share with you is to bring speakers and set up a playlist of romantic songs. Play these songs while shooting and observe how it can greatly affect the movements and emotions of your subjects. Make them move to the rhythm and feel the songs. You’d be surprise to see the impact of this minor addition to the scene. I got more natural movements and candid emotions by using this strategy. My camera was set in burst mode to prevent myself from missing precious unguarded moments of the couple.

The Selection Process can be harder than the actual post-processing itself. We sometimes feel like we’re disregarding a lot of potentially good photos. Always try to avoid duplicates. Two photos that share the same function can lessen the impact of the whole set to the viewer. When dealing with a large number of photos in Lightroom, rating the photos in multiple passes before doing the adjustments works best for me.
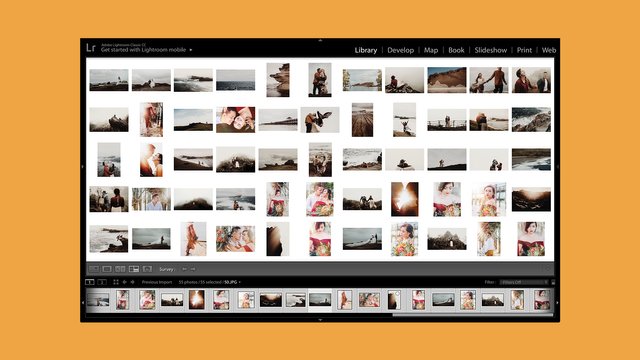

I’ll discuss more about post-processing on my next Creative Process post but for now, I'll share one important factor to keep in mind during this stage - consistency. Checking back my mood board and palette before working on the color grading helped me stay consistent with the style I was going for. Viewing all the photos side by side would help you spot inconsistencies. For each photo, I would usually zoom it out to check if the light in the scene is leading the viewer’s eyes to the focal point or if the colors fit the desired tones.

This for me is an essential part of the process. After spending a lot of time editing, rest your eyes and check back on your work later with a fresh perspective. We tend to forget about our desired output and focus instead on making better adjustments to previous edits. Much of the time is spent getting caught up in the details. Move away from your desk and relax. It’s when we step back that we clearly see the whole picture.

Review your work after your well-deserved rest. Having a clear mind allows us to give better judgments. Go over the whole set and ask yourself if the story you intended to share is successfully communicated. Revise your work and apply the changes you wish to make but it’s important to know when to stop this cycle. This is a problem common to all artists - not knowing when an artwork is finished. Accepting the fact that an artwork can never reach perfection in the eyes of the artist allowed me to establish an endpoint.
This whole process is far from perfect but it works for me and I know it'll evolve as I create more projects. I hope you also find the process that works for you. Noting patterns in your workflow can get you off to a good start.
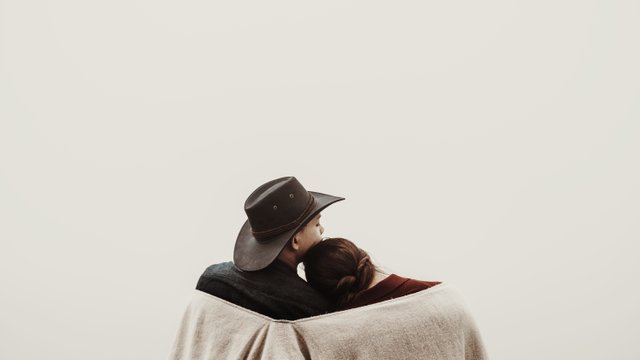
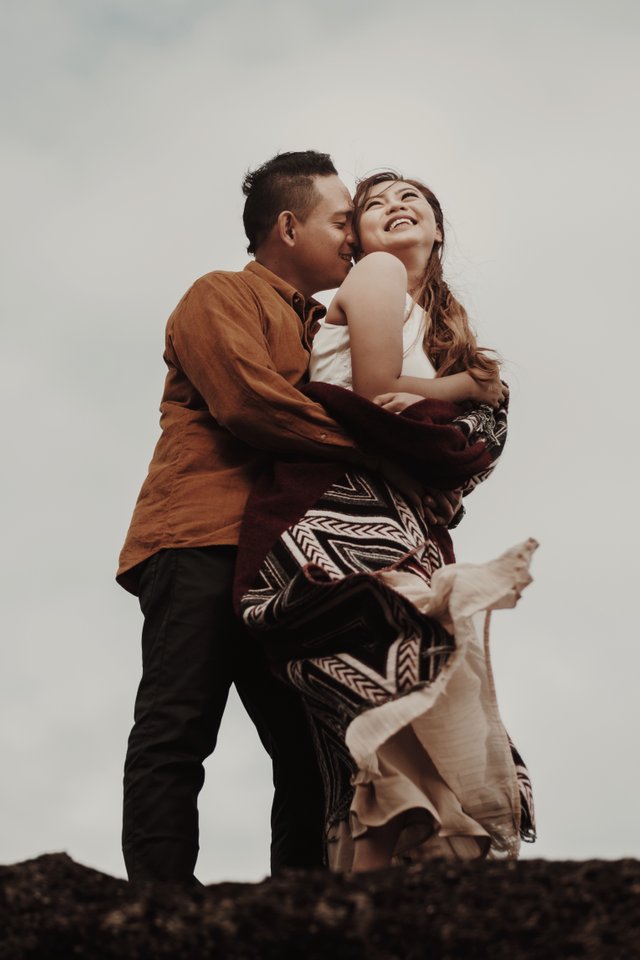
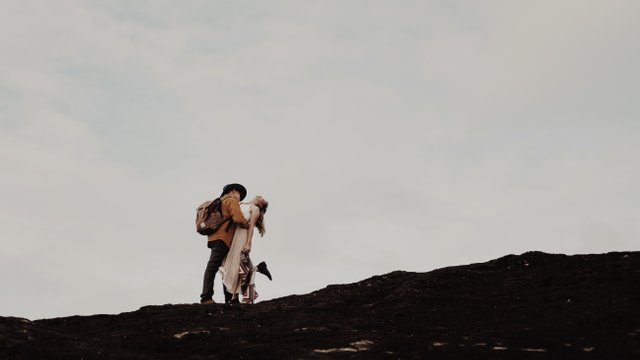
Here’s the output of the Creative Process that I shared:


Thank you for reading! Let me know what you think of my Creative Process.
Warmest regards,
@legendarryll
More from @legendarryll:
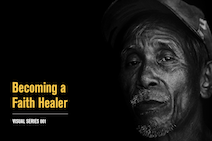
Becoming a Faith Healer
March 2018
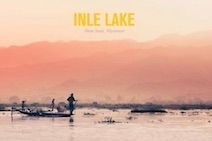
Inle: Living on Stilts
March 2018
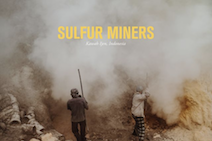
Sulfur Miners
December 2017
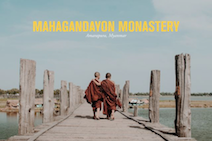
Inside Mahagandayon Monastery
January 2018
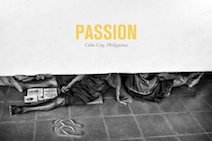
Stories of Passion
January 2018
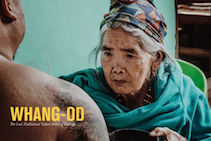
The Last Traditional Tattoo Artist of Kalinga
January 2018

Singapore Art Scene
January 2018

Unmasked
January 2018
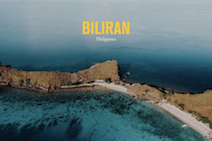
Biliran
January 2018
Guide Dogs of Maligcong
January 2018
▶️ DTube
▶️ IPFS
Thanks for sharing your creative process. I've always been wondering how do professionals work and this post answers a lot of my questions. I'm totally pumped right now to try the tips that you have just shared and hopefully, I can also create my own creative process. This is so inspiring!
Thanks @panoramicview! You should. I’m pretty sure it would be great based alone on the great stuff you’ve been sharing so far.
Yeah, this will definitely help me a lot to improve my creative skills. Thanks!
Ahhh my favorite set! You da best! <3
Amazing! Ari nya ko pa prenup nimo dar!
Wow this would have been impressive enough just with the short video :) Really detailed guide with lots of great suggestions/tips on how to make sure a portrait photography session is successful. The video presentation is great. And of course, the photos you got are just phenomenal, really wonderful job of showing two people in love, and integrating the feeling of the power of nature with the power of that love. Cheers - Carl
Thank you so much, Carl! I really appreciate this positive review. I feel proud knowing I succeed in translating through photographs the love that the couole shared.
Hi legendarryll,
LEARN MORE: Join Curie on Discord chat and check the pinned notes (pushpin icon, upper right) for Curie Whitepaper, FAQ and most recent guidelines.
Dar! Grabe najud ni full package!
The best ka po talaga kuya idol 😍 @legendarryll
Salamat @carlitojoshua! Congrats sa imo winning entry. :)
Yieeee haha ni reply gyud akong idol 😍 salamat 😊
Congratulations @legendarryll! You have completed the following achievement on the Steem blockchain and have been rewarded with new badge(s) :
Click here to view your Board of Honor
If you no longer want to receive notifications, reply to this comment with the word
STOPCongratulations @legendarryll! You received a personal award!
You can view your badges on your Steem Board and compare to others on the Steem Ranking
Do not miss the last post from @steemitboard:
Vote for @Steemitboard as a witness to get one more award and increased upvotes!