BLAZE -MAKING OF
Lately I have experimented with liquid acrylic paint. The first two attempts of doing a dirty pour did not come out as expected which determined me to try it once more. The previous failed attempts were not quite a disaster, nor a total waste of acrylic paint. It's just that they turned out differently than what I had in mind when I decided I wanted to give it a try.
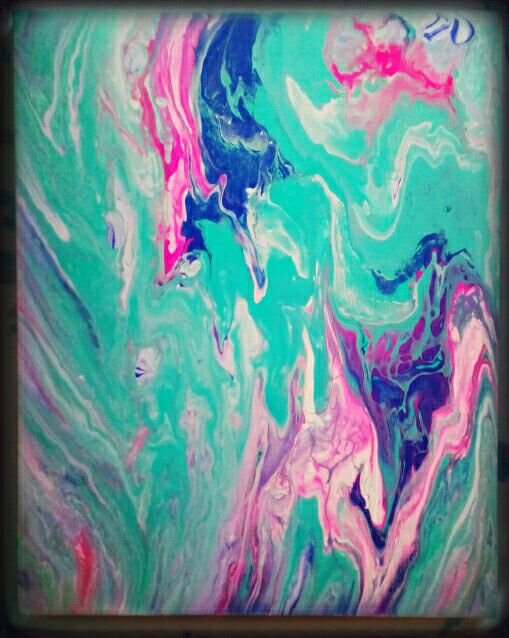
Here's my first attempt of doing a dirty pour:
.jpg)
I learnt that I needed to:
- add a layer of medium all over the canvas prior to the dirty pour in order to have the paint sliding easily
- ensure the paint is liquid and there are no blobs of paint left inside the cups
- prepare enough mix of paint and medium to cover the whole surface of the canvas
- use good quality acrylic paint which is not older than a few months
- cover the working area with a big disposable plastic sheet
- be ready to save some paint from the pour and use it on other smaller canvases as a background
- add at first colour that I want to see on top of the painting (the colour at the bottom of the container will be the on surface after the pour)
- split the mix (paint and medium) in two or more different cups depending on the size of the canvas.
- make sure any excess of paint is removed to prevent cracks
- have an idea on how and where I want to have the paint flowing
- use silicon to obtain the cells
- avoid having too many colours merging
- ensure all sides of the canvas are covered by paint
- have around a lot of tissues around to clean up the drops of paint
Here's the second attempt of a dirty pour:
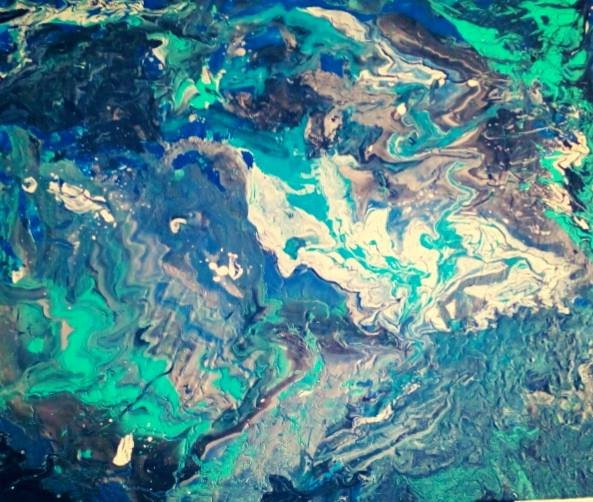
Materials used for the diptych
6-8 small plastic cups
2 plastic bowls to prepare the pour(s)
2 canvases (100cm x 30cm)
2 bottle of Pouring Medium (500ml each)
Acrylic Paint (I used Maimeri brand)
- Titanium White
- Permanent Violett Reddish
- Cadmium Yellow Deep Hue
- Crimson Red
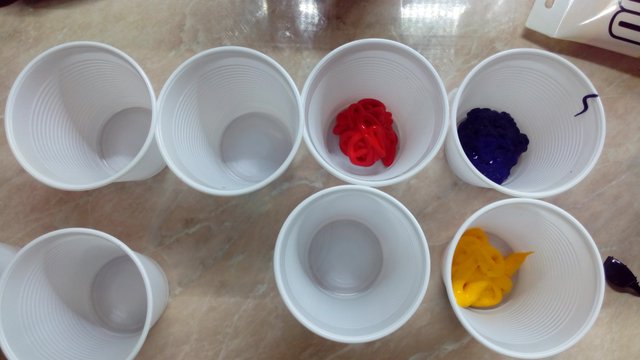
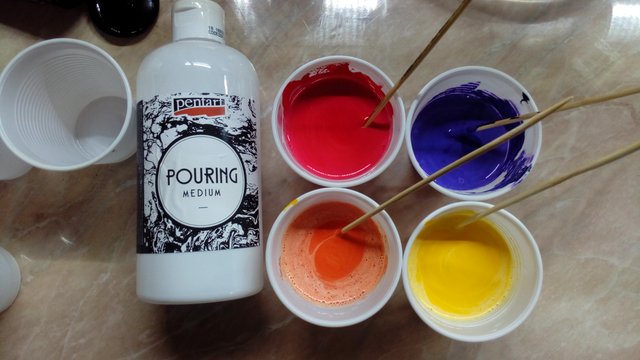
I started by squeezing some colours into the plastic cups and adding small quantities of the pouring medium. I mixed them gently until I obtained a fluid paint.
I also used orange, a lighter shade of violet and two tones of red and yellow by mixing the colours. I did not wish to have only dark colours on the canvas.
Once I had all the colours prepared in the small plastic cups, I added them one by one into the bigger plastic bowls. Then I flipped them over and placed them on the canvas. I kept them in place for half of minute, allowing the paint to slide off the cup into the canvas, then I removed the cups.
That's where the fun part began. I tried to control the flow of the paint by tilting the canvas gently in different directions until the whole surface was covered in paint. Then I placed the canvas on a small box which allowed the paint to drip off and dry slowly without getting glued or stuck into anything.
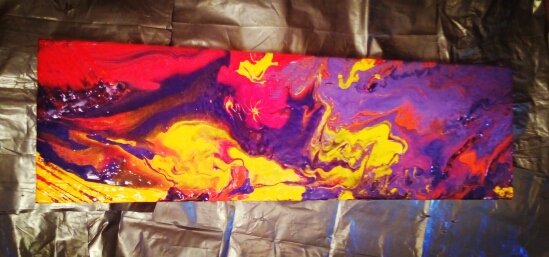
It's a really messy process because you are wasting a lot of paint. Though I can tell you that is totally worth it! I loved how the colours looked like while they were still wet, as they were a bit more intense.
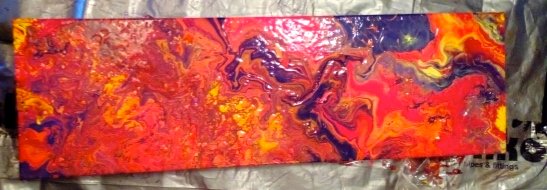
It took about 3-4 days to have the paintings fully dried. Let's have a look at the final result:
BLAZE
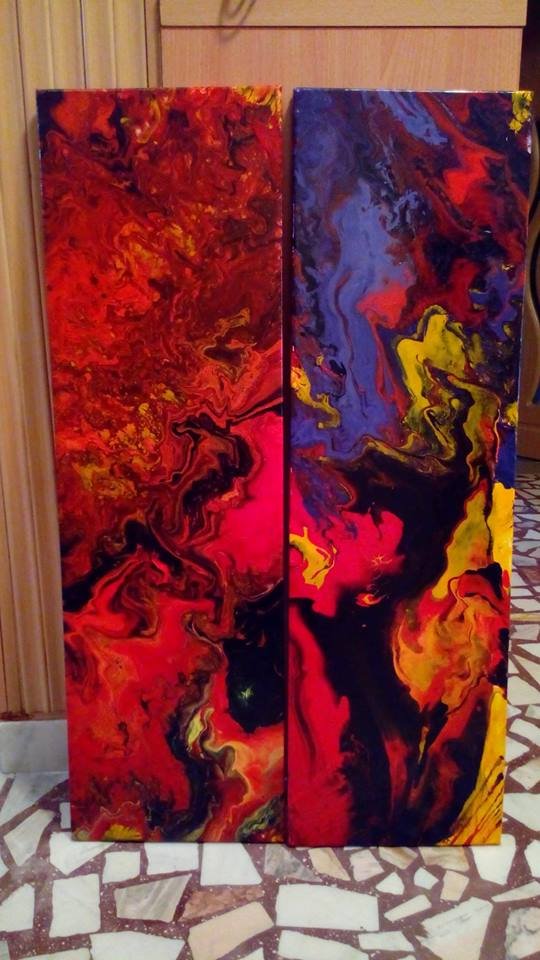
Did you note that the darker shade of violet got closer to black? I was contented I had added a lighter shade, otherwise I would have had too much black on it.
I am happy with the final result and so is its new owner who commissioned me!
Here are some of my art related posts:
UNDER THE BLUE -MAKING OF
DRAGON - MAKING OF
ART THERAPY, WHAT THE HECK IS THAT?
FUN WITH ACRYLICS
MAGICAL UNICORN- MAKING OF
MUSHROOM TABLE- DIY
WHAT SPARKS YOUR CREATIVITY?
LET YOUR INNER CHILD IGNITE YOUR CREATIVITY

Unless stated otherwise, all photos used in this posts are taken and owned by myself. If you wish to use any of my images, please contact me!
Thank you for reading, I hope you enjoyed it! Please leave your feedback in the comments, I would love to hear your thoughts!


I wonder why I see a sea of primordial Steemit logos in your image?
Maybe it's the colors?
Or maybe it's because lately, I've spending a better part of my days on Steemit! Lol!
Namaste, JaiChai
Premordial Steemit logos? Wow! That's what I call dedication! Have a great day!
@lymepoet hope if i come for art lecture,i will be accepted
Art lecture? Hahahah You are funny!
WOW I love that are so vibrant and alive
Hi there! I just upvoted you, I am a semibot that sometimes vote on great content or sometimes just Create useful content. I am helping @cheetah , @FollowForUpvotes , @minnowSupport , @steemgigs , @dropahead #bots and other users right now for making the steem more helpful to new users. Contact me if you want me to follow on your content or comments. If you have any query then please contact me. You can always send me SP or SBD so i can keep helping you indirectly by helping these awesome bots.
Do not forget to Follow @jeevanot, I actually create content as HUMAN. />
They looked more alive when the paint was wet.
That is beautiful and I especially love the fiery red one. I can't say if I'm looking at a supernova or a fiery lava. I'm loving art more each day.
The inside of a volcano, that's what I had in mind. Lava, gas and fire ;0)
These are right up my street!
Such a great job @lymepoet, I loved how you listed out the things to consider for the next time. The third attempt was spectacular!
Thanks! There's lots to learn from the mistakes ;0)
I love this! It really makes me want to get out my acrylics which I bought ages ago and do something with them... I have the problem though of fearing to waste paint, not least because it is quite expensive here.
May I ask how much you charged for the commission? And what are the dimensions of the canvases?
I get what you are saying regarding the cost of paint. You do waste a lot of it when you do a dirty pour. As for the size of the canvases, they were 40 x 11 inches (100 x 30 cm). I charged only for the materials because it was for a friend.
These turned out beautifully! I'm so glad you shared your process. Tell me, how long did you sit and stare at it while it transformed? That would be addictive.
Hahahhahah! You got me here! I did spend quite some time looking at it. Until it was fully dried, I must have checked at it least 4-5 per day. Since I left them in the hallway, each time I pass by, I had a good look at them , trying to find new shapes.
wow these are great @lymepoet they really turned out beautifully thank you for sharing the process with us xx
Thanks! Glad you like them!
All of them look pretty good to me! I like the bluish one, it has a calming ocean like feel to it! What do you mean by a dirty pour? I'm not sure I found what it meant in the post...
A dirty pour is a painting technique where all colors are added in a container and then poured into a canvas to create a fluid effect. You can also flip the cup and gravity does the work. It is a relatively slow drying painting.
Thanks for the explanation!
Beautiful work, I am glad you were chosen for Artist of the Day by the team at @eye4art
Thank you! I wasn't aware of it. GinaBot was a bit late to send the notification. I appreciate your support!