MUSHROOM TABLE - A do-it-yourself project I worked on
Last autumn I found a wooden cable spool on the street. Since it looked in good shape, I thought I could find a use for it. I'm a creative person who hates wasting things. One man's trash is another man's treasure! Thus I took it and placed it in the garage. It stayed there for a few months.
One morning, I woke up thinking that it was about time to do something with that wire spool. I knew it would turn to be a table, but I was not sure what type of look it will have. The do-it-yourself ideas on Pinterest were not quite on my taste. Then inspiration hit me and I decided to convert it into a table for my son.
Here is how the final result looked like:
Now let's see the steps!
First, I wiped out the dust and removed the few nails and heavy duty staples sticking out through the surface of the wood. I chose the end that had less paint on it as the top. Then I sand it until it the surface was smooth. A few minutes later I saw that I needed to sand the whole thing. I was not too thrilled about this step.
Since the edges were still rough and small pieces were chipping off despite the sanding, I covered it with some fabric and glued it to the surface. That trick did the work!
The next step was to attach a wooden round top cover over the middle and cover the hole. Once everything was in place, I attached a white thin cotton rope around the top, to make the transition smoother. I liked the idea of different textures being put together.
This is how the table looked before I applied the paint.

Next I had to put three layers of paint before I started painting the details. Then the real fun part came: painting the table!
I had to wait two days for the paint to dry before applying a new layer.
As instructed by my son, I painted it as a mushroom. I used acrylic colours. I started with the bottom which I painted in blue and continued my way up to the top of the mushroom. It looked cute, but it felt like it was missing something.
To make it come to life, I added couple of the characters (kangouroo, mouse and frog) from the bedtime stories I had written for my son. I painted them directly on the spool, no sketch or pencil used.
Since I was painting a story, I added some of the background details as well: the mushroom house, the pond and the frog's house.

I used a plastic bottle cap as a door in order to cover one of the holes in the wire spool.

After I was done painting the details, I waited another two days before I applied the first layer of varnish. I applied two layers of clear varnish for wood.
The whole process took almost a week. You can imagine my son's excitement when the table was ready. His first reaction was priceless. He started to jump up and down, then he went to the table, hugged it and kissed it.
Now that you read about my little DIY project, tell me what are your hobbies? What do you do for fun?
#teamgirlpowa #thealliance #teamcanada #steemsugars
Thank you for reading, I hope you enjoyed it! Feel free to resteemit or upvote it!
Please leave your feedback in the comments, I would love to hear your thoughts!
@2018 LaviPicu aka The Lyme Poet. All rights reserved.
![]()
artistic and cute.
Thank you for stopping by and commenting.
Your creativity is so amazing what a cute table
Thanks! It was one of the many DIY projects I did. When I feel good, I like to keep myself busy by doing things that I like.
Its a good thing to do and looks so so cool
This is so adorable, I can understand why your son wanted to hug it. Such a clever way to make use of an old cable reel as well. My partner is always creating lots of different things for my boys school projects - he helps out of course! Her current long term project is a castle fort type play structure she's building in the back garden :-
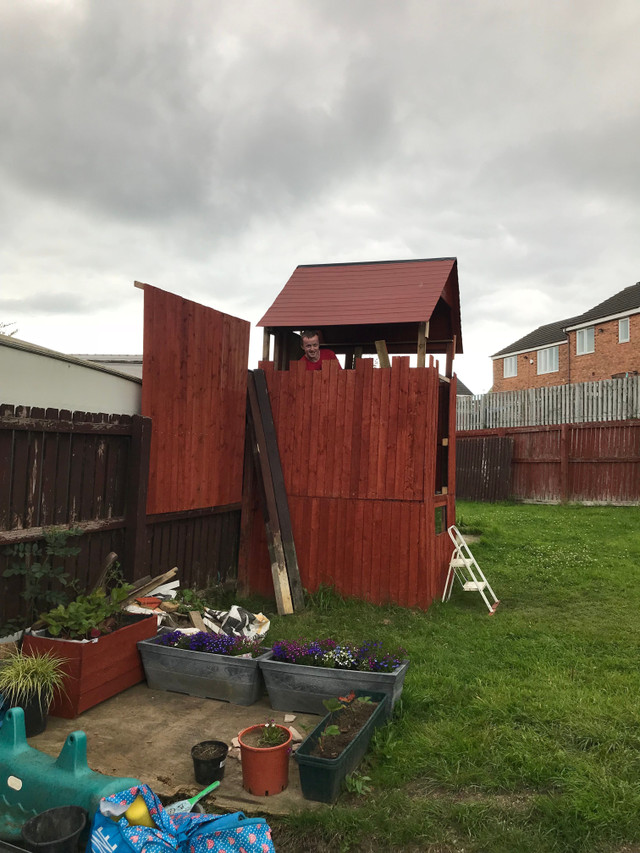
That fort looks so neat! I'm sure the kids must have lots of fun in there!
It really looks nice, but what's the best about it is the reaction from your son! That's what is priceless. Great post as well, describing every detail of your process!
Thanks! It was priceless indeed. He was trying to hug it and snuggle with it. That was just adorable!
Wow
This is awesome! I can see it in a child's room, or outside in a garden. One of my friend's moms is obsessed with Gnomes and they seem to love these red and white dot mushrooms. I can see a few well placed garden gnomes standing on it.
Well done! I'm impressed by the artistry and the effort it took to sand, clean, and paint this.
Thank you! It was quite fun to do it, except for the sanding part. One of neighbours like gnomes as well. During summer she has over twenty of them in her little garden.
I have a feeling one will magically show up either under your mushroom or perched on top of it =)
Anything is possible!
OMG, it looks so cute! Was it your son idea to make it a mushroom? That's very creative and with your amazing skills you took his idea to another level. I enjoyed watching the process because I also like to do these kind of stuff for my nieces and nephews. The smile in their faces makes all the work worth it.
Yes, it was his idea to convert the cable reel into a mushroom. I always get him involved in most of my projects. He's very creative and it's a fun way to bond.