DAZ Studio / Unity / Simple LOD - Experimentations in optimizing the crazy DAZ Studio hair polygon count so it is not as bad for game engines

The polygon/triangle count of DAZ 3D characters HAIR is rather extreme. This of course is bad for games if you plan on having more than a few characters on the screen at the same time. This is my first optimization tutorial that I am going to experiment with Simple LOD inside of Unity to try to merge and simplify meshes as well as create LODs. I am doing this post and tutorial on the fly so I don't know how these results are going to turn out. Let's find out together...
Inside of DAZ Studio
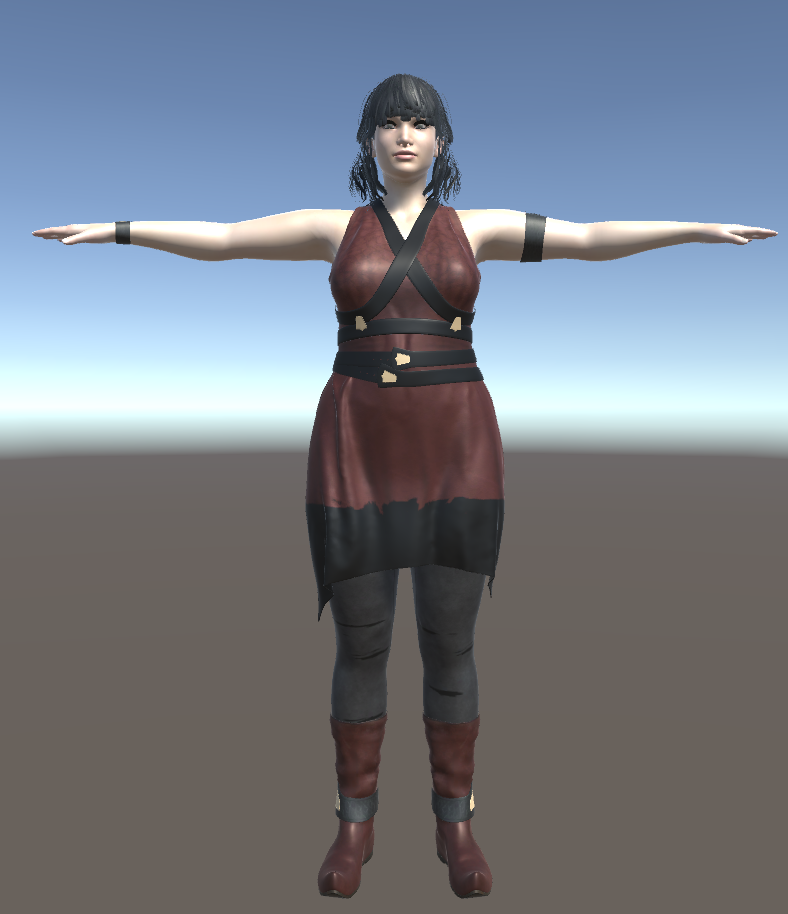
For this tutorial I am going to use the Bethany 7 female model, Paisley Hair, and the Sand Serpent Outfit for Genesis 3 Females.


Make sure everything is selected.

Then export the character under the File menu and Export.
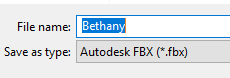
Unlike the PBR example before I am telling it to Embed Textures into the exported FBX to speed up the material setup inside of Unity.

Also make note the Paisley hair is listed as 131,925 vertices, and 97,707 Polygons. This means it is 195,414 Triangles. Getting all of that lower is the goal of this particular tutorial.
I will also not be going through the full PBR setup as was done in the previous tutorial. This tutorial is focusing exclusively on optimizing hair using Simple LOD. I may also try some other optimization techniques. We shall see. I am writing this tutorial as I try it out.
Inside of Unity
In unity I created a Bethany folder under the Assets section.

I dragged the exported Bethany FBX onto that folder.

I set the Bethany model to Humanoid and applied those settings.

I dragged the Bethany model into the Hierarchy and rotated her 180 degrees on the Y axis so she is facing the camera. I also moved the camera in closer so I could see it in the game view as close as possible with better lighting and such.

For the quick fix to the eyes I simply dragged the eye texture onto the EyeMoisture material. This is not ideal, but at least it get's rid of the white ghostly eyes look.
It looks like this imported with three different meshes for the hair.


There appear to be two materials for the hair. Ideally we will want these set to Fade, but we'll worry about that later.

I need to import Simple LOD into the project so I can try using it's numerous features to improve this.

The first thing I am going to do is "Merge child meshes".


At this point they all seem to be using the same materials and such still.
Now I am going to try the "Simplify Mesh" option.


BEFORE: 65,534 Triangles

AFTER: 34,871 Triangles

I am going to repeat the steps for the other two hair parts.
BEFORE: 65,534 Triangles, AFTER: 40,027 Triangles
BEFORE: 64,346 Triangles, AFTER: 47,023 Triangles
That reduced it some... we still need more work. The hair still looks the same in game.


Next I'm going to go ahead and tell it to Create LOD levels and use LODGroup (which is the Unity built in LOD system).


Now there are three LOD groups which will swap in different models depending upon distance from the camera. At the moment visually the hair looks identical to what it did before.
I am going to go ahead and set the 12_PaisleyScalp material to FADE instead of OPAQUE. You can't really see it in this case but that makes the scalp line more natural and removes the black skull cap like look if you look at where the hair meets the flesh.

Let's take a look at what these LOD groups did.
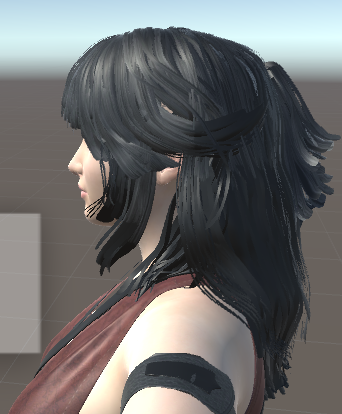
LOD 0 is the default setting. I am going to zoom in close for this part. Keep in mind the hair is not perfect, for it to look really correct we need a double sided shader. Without a double sided shader when you are at different angles parts of the hair are invisible. I may look into that at the end of this tutorial. For now I want to focus on optimizing for performance.

that shows how unity will swap the LOD meshes depending upon distance the object is from the camera. This way when it is really close up it'll show you good detail and as you get further away it will swap in less and less detailed meshes to improve performance.
BEFORE ANY OPTIMIZATION: (65,534 + 65,534 + 64346) = 195,414 Triangles
LOD 0: Total Triangles for All 3 hair meshes (47,023 + 40,027 + 34,871) = 121,921 Triangles = 62% the original size

LOD 1: (33,473 + 39,009 + 45,890) = 118, 372 Triangles = 60.5% the original size


LOD 2: (24,287 + 28,263 + 34,600) = 87,150 Triangles = 44.5% the original size


LOD 3: (7,912 + 7,202 + 11,635) = 26,749 = 13.6% the original size


Conclusions
Looking at this I suspect I could have been far more aggressive with the LOD settings and had it reduce these groups a lot more. The meshes are complex enough that I could have likely improved this a lot.
Optimizing is not an exact science/technique. It requires a lot of trial and error. Hopefully this at least gave you some tips on how to begin. I will be revisiting this a lot myself and will likely do follow up tutorials that might make this better as I find some steps that I believe work best. I also have other tools besides Simple LOD that I'd like to experiment with.
Dealing with the Double Sided Shader
I found a double sided shader that is FREE as follows:
Polygonmaker Shaders
Here is before applying the Double Sided Shader:


I am now going to apply the Double Sided Shader to that material.


From the front there is a dramatic change.
Now just for completeness I'll also apply it to the Scalp material though that may not have a visible impact here.


Past Daz 3D/Daz Studio Tutorials
- DAZ 3d Studio - Genesis 3 to Unity PBR Setup (Blender for AO Maps) [Graz'zt]- How to get a character into Unity and set it up with full Physically Based Shading
- Daz Studio - Different types of Export data Michael 5/Genesis, Michael 6/Genesis 2, Michael 7/Genesis 3, and Michael 8
- DAZ3D-DAZ Studio - Genesis 8 Male/Michael 8 figure released today... first look [3D Character Models]
- DAZ3D-DAZ Studio Genesis 8 Male/Michael 8 - NSFW version includes male Genitalia
- Importing Daz Studio Characters into Unity - Use them in your game... Unoptimized version
- DAZ 3D: Releases new version called Genesis 8, and Victoria 8...
- DAZ3D - Introductory Post - Use it for still images, videos, and even game development...
- Game Development - My Journey To Daz Studio - and how I plan to use it in Unity
- Daz 3D - Figures - Different figure appearances - nude also will show anatomical add-ons NSFW
