How I make custom @freedompoint knives step 6: Finishing touches
I have had such a good time with these little neck knives. I have taken you through the different steps I take from start to finish. These aren't technical manuals, but should keep a future knife maker moving forward. There are some very detailed parts that would require more learning before jumping in. If someone was thinking about trying to create a knife I encourage safety. You can NOT over do safety. So for this post I am going to finsih them up. I am going to put my makers mark on the blades. Check the final edge, and try to get some finished pictures.
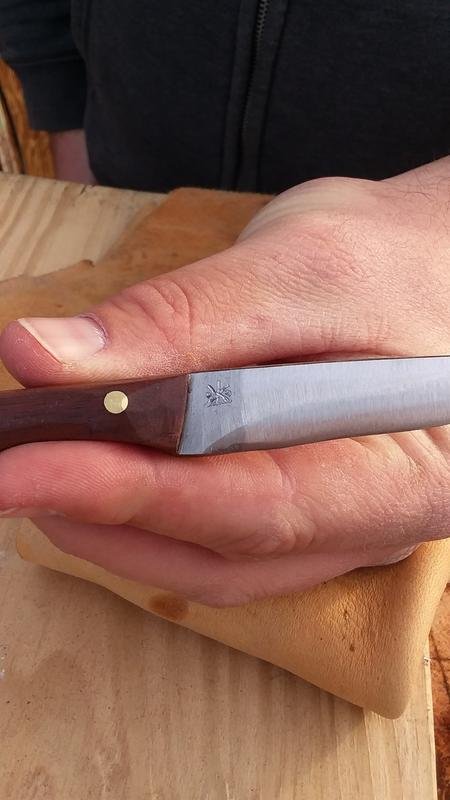
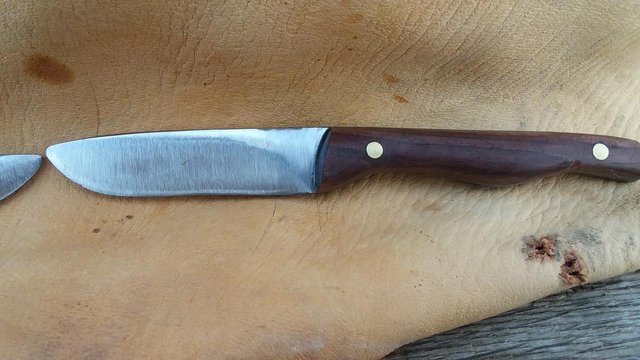
Adding My Makers Marker
This is one of the most important parts of the entire build. This is what says that you made it. It shows pride in your work and lets people know where to come for another knife. This mark should be something unique to you. For me, I use our family symbol. This goes on everything that I create. From knives and axes to pottery.
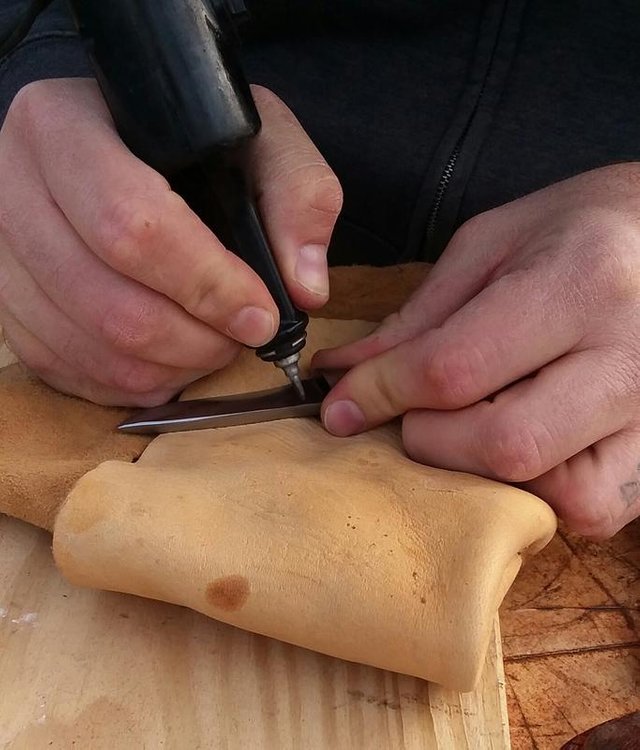
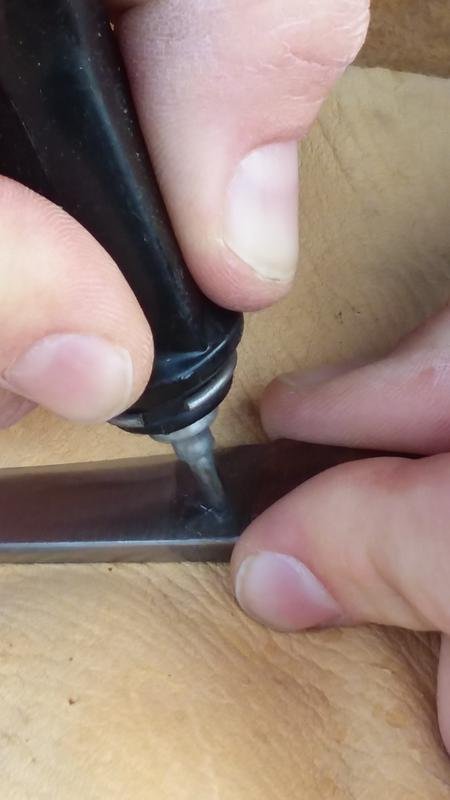
For the mark I use an etcher. It is small and portable but it does need to be plugged in. It vibrates and digs into the metal. It is very important to practice before you do it like this. You could end up making something that doesn't look anything like you intended...Yeti looks around wondering if people know he is talking about himself 🙃
Finishing the cutting edge
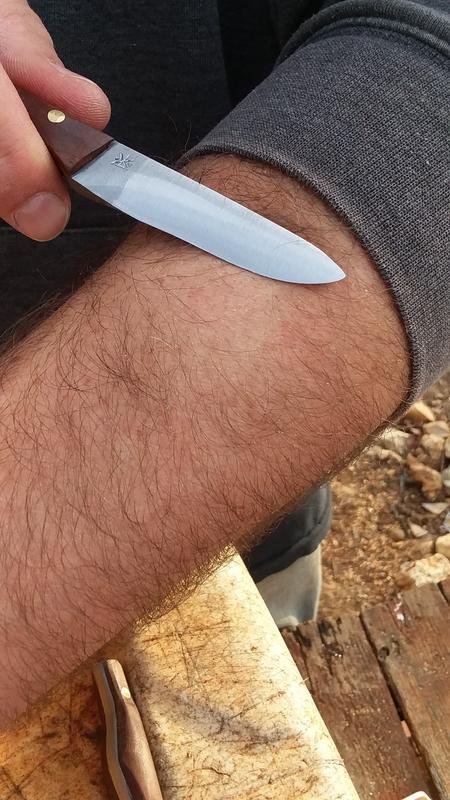
As each of us have a preference of how we like our edges, I try to get the knives how I like them. This makes sure they are generally sharp, but could still be sharper with a bit more work. I like it to shave hair but not split hair.
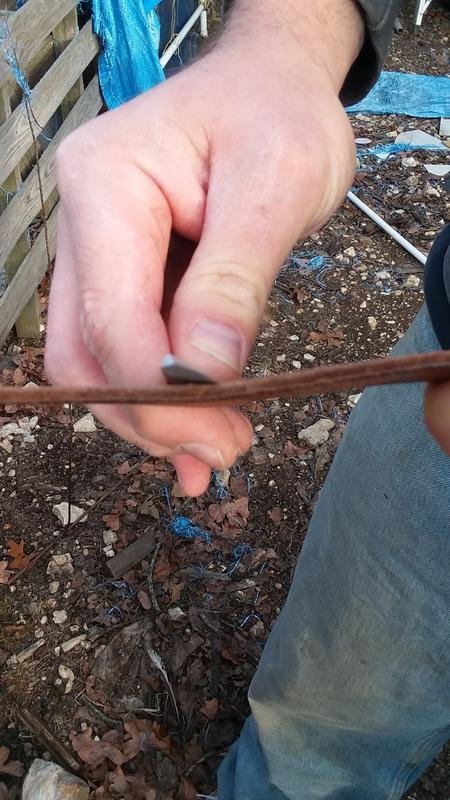
I use my belt, yep my everyday belt. I take it off and strap it to something like my grill, a tree or my fence. I work the blade back and forth to clean up the edge. When a knife is sharpened it creates a very fine burr on the cutting edge. It rolls back and forth from side to side as you make passes. The smaller this burr is, the sharper the blade. If you use mild steel for your knife...the burr never goes away and can't hold an edge.

Gif courtesy of @freedomtowrite
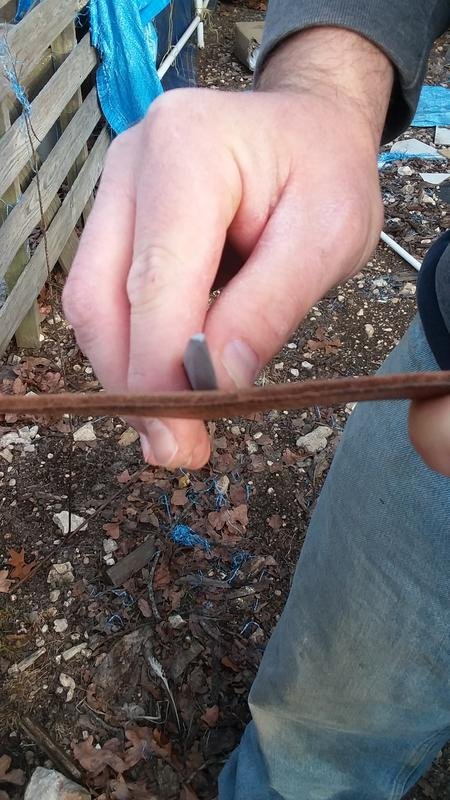
Watch the angle of the knife on the belt. You want to hold the knife at the same angle as the bevel. This will help to best remove the burr.
Like this:
Not like this:
And then check the edge:
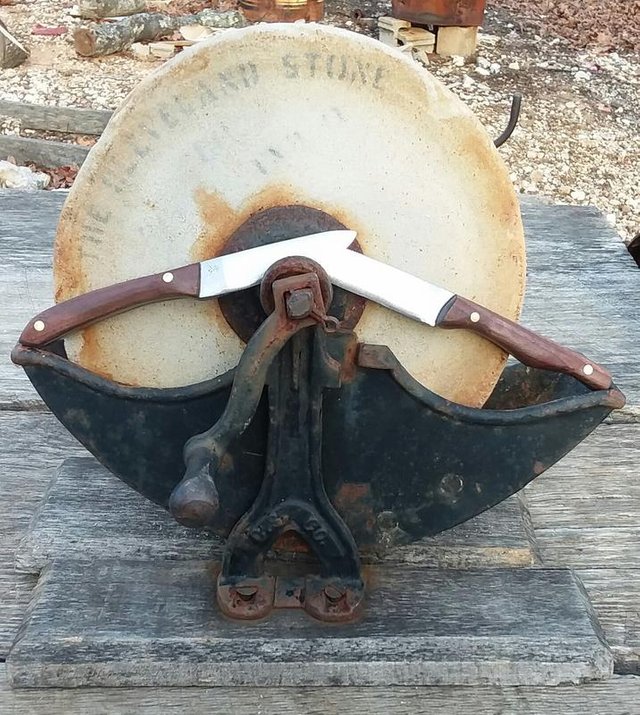
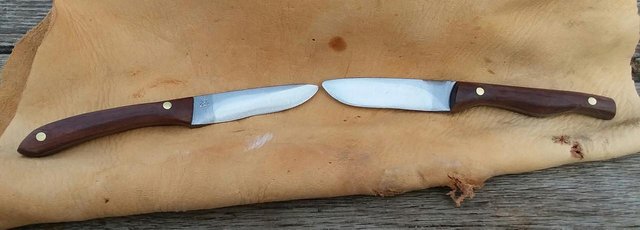
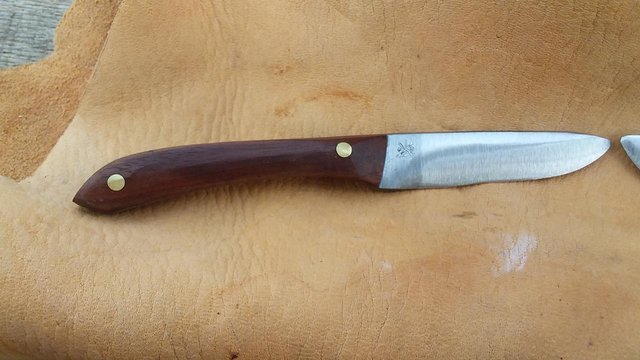
The show
When these last two steps are done it is time to wipe it off and take some pictures.

If you enjoyed this post, please check out the rest of the build. Stay tuned for the next step, leather sheath.

Ok so this could be a stupid question...but do you make kitchen knives? Like could I use that to cut fruit? 😬
There are no stupid questions! I do, and yes. It is a matter of how it is treated when you are done. It couldn't soak in a sink of water because the wood would swell. If I made the knife with laminate scales it would be fine in any condition. I am looking to upgrade my equipment and trying making mire high polish kitchen ware.
Very nice. One day I will place my order. Just need steemit to make me alittle more money;)
I'm helping one .01 at a time! 😉
Yes! I sold these for Steem dollars!
You are helping a lot. That's awesome that you got them sold. Keep it up
Its been nice to see the process. I've had many sneak peeks, but the story of the process gives them a home to be cataloged in.
Nice gif!
I am glad you are enjoying it! The gif was all Stacie D. She surprised me with it!
I love how this blog turned out! You make some beautiful knives!
Thanks woman! I couldn't do it without your support!
I never knew him very well, but the man I'm told is my father was a blacksmith. I met him a couple of times, but I was an ungrateful teenager. He has since past.
So, you have some great knife making skills!
Good to see another person from Missouri on Steemit. I have you on follow now.
JGV
Wow, this is so cool!