How I make custom @freedompoint knives step 5: finishing the handle
Welcome back! We are just about to jump into my favorite part of the build...finishing the handle. I hope you have been enjoying it so far. Lets get into it.
Finishing the handle
Shaping
I love shaping out the handle. This is the part where two pieces of wood become a handle. For this step I start with my 1x30 belt sand. It is nothing fancy, but seems to do the job. I use a 50 grit belt to tear into the wood. I make sure to just sand the wood and the metal that is connected to the handle but not the blade. The rough belt will undo whatever you have already done on the blade.
I try to contour the handle so it is a comfortable handle. This is subjective and we all have a different idea of what we like. That's why it is very much art.
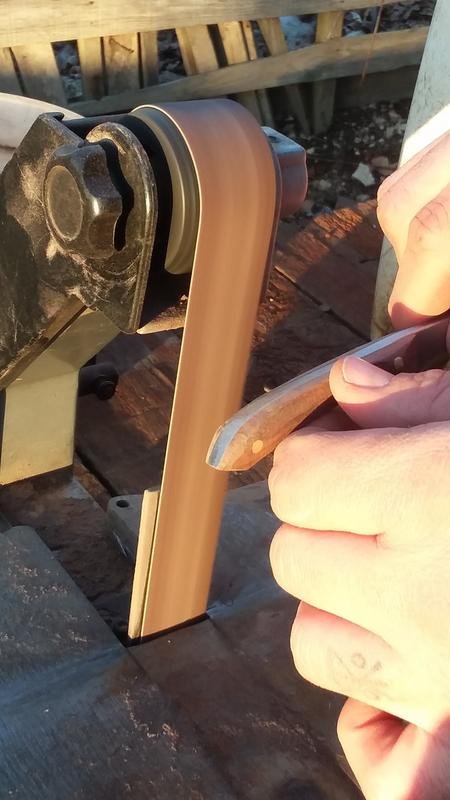

Smoother belts
I follow this roughing out with the use of higher grit belts. You can step up your belt as high as you would like. I usually step up to 120 grit and then hand sand. While sanding the handle with the higher grit belt I will also sand the blade. This will make the blade and hand become one. The metal exposed on the spine of the handle will now look like the finish on the blade.
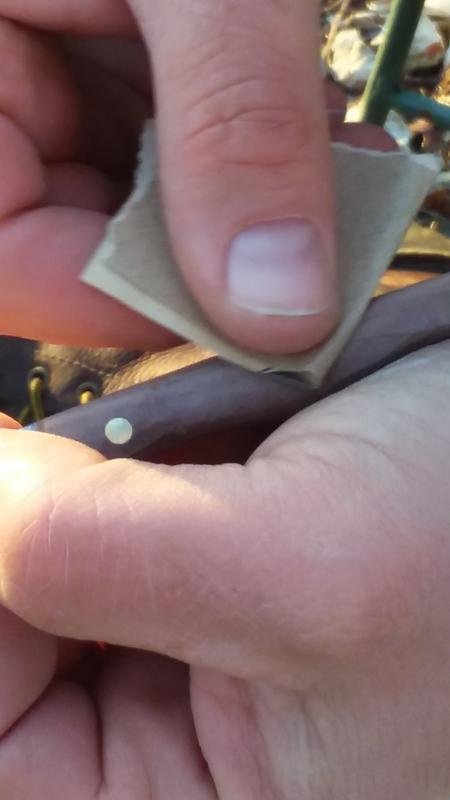
Hand sand
Once I finish up with the machine I begin hand sanding. I use high grit paper to smooth out rough spots and finish contouring. This process is very relaxing. I sit and enjoy the sun and sand away. For these knives I stepped up to 220 grit paper.

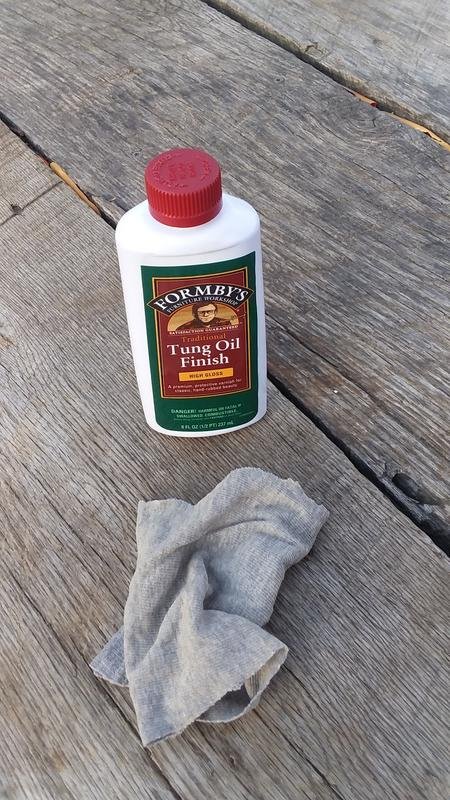
Handle Oil
For this build I am trying something new. I typically used Boiled Linseed Oil, but for these I am trying Tung oil. I start by wrapping the blade with some sort of plastic cling wrap. This will help to keep my dirty fingers off of the blade and protect the blade when I clamp it up.
I use this Tung oil with a smooth and clean rag made from a T shirt. I repeated this step three times. I got the nice,deep finished look. This should harden and have a reasonably shiny finish.
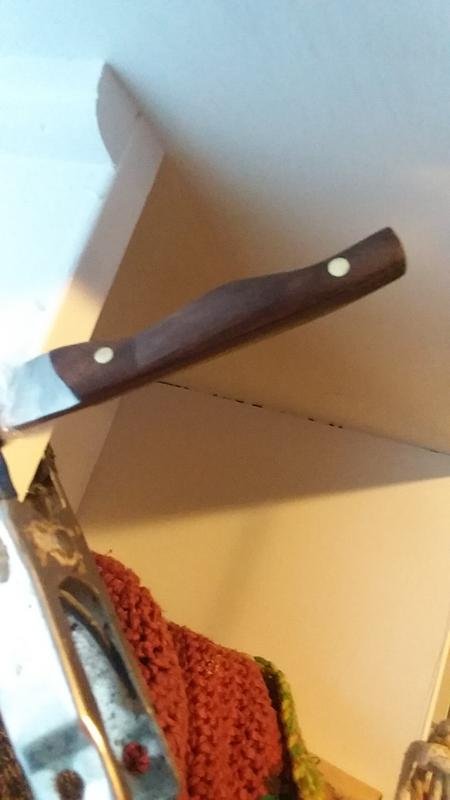
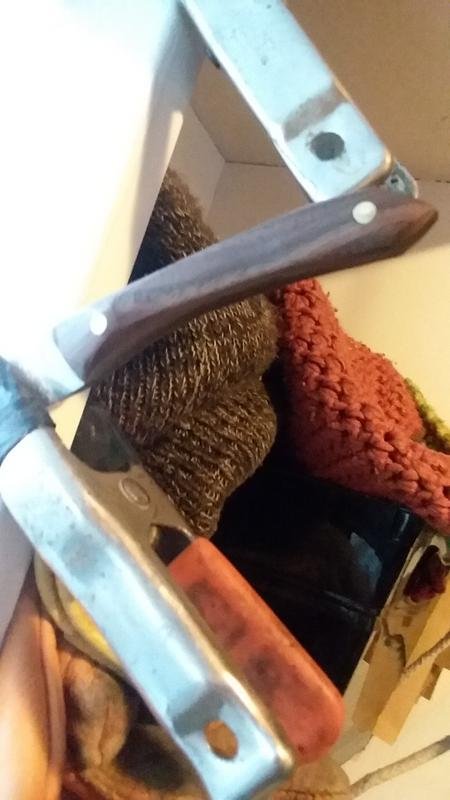
In between the coats I "hang" them up. I use the same pony clips from before, and attach them to my kitchen shelves. Being that we live in a tiny home Stacie D doesn't mind my knives hanging around.

I hope you enjoyed this step in the build. Next will be the last step of the build. After that is the leather sheath build! The project was alot of fun and I think the new owner really liked them.
If you would like to check out the previous steps, take a look at these out.


Very cool @freedompoint. I didn't realize you made knives too!
They look good. A friend of mine was using for his wood work a mixture of polyurethane, teak oil and bee's wax, heat it up slowly in a pot, till the wax melted and he would rub the mixture onto the wood with a rag... looked so smooth and it made the grain stand out so much.
Donno maybe something lile it could work on a knife handle too.
Thanks for sharing
That sounds great! I admit, the metal is my skill, the wood work is still very new. It sounds like mixture would look good and that wax would seal right?
I guess it would yes, but I believe the oil does that as well right? It was just a really pretty finish on his art work and furniture he made. I can't wait to move on our property in June...I can finally have a metal shop again!
This reminded me of the "challenge over fire" program. I had to look at the old entrances to observe more carefully this good work, and there is nothing better than manual work.
Thank you. I really enjoy knife making.
Super Cool :) Nice work!
Thank you! I love knife making!
Hey, I have also nominated you...if you are interested Check this out
I love the look of the handle. The tung oil made a nice job. Can't wait for the sheath.
Thank you! Tomorrow is the finish and holefully Monday is the sheath post! Hopefully
You and Patrick Rohrman of Mt knives would get along great.
I bet! I love that each one is different. There is sure a wrong way to make a knife, but there are so many right ways. They are ultimately a piece of art that cuts. Haha I guess as long as it cuts you nailed it.
@Bluerthangreen commented on this post... do you think he knows yet?
I know nothing. What should I know?
Nothing... You're doing fine.
~Yeti looks around with shifty eyes~
Interesting that you commented on this post....
What an amazing process. You have a real gift. Thanks for sharing it with us.
Thanks man! I have just a couple of steps left.
I think you might enjoy the comments on my chaos video from earlier. Just more bible perspective back and forth
I just got to the computer. I will check it out
Good post, I am a photographer, it passes for my blog and sees my content, I hope that it should be of your taste :D greetings
There is you requested photo dump!
Thank you haha. Freedom posts to come!