How I make custom @freedompoint knives step 4: Handles
So, I have been working my way through a knife build with you. My tools are aged and my methods are unorthodox. My style and vision are my own. I wish I could personally build with each of you so I could fill in the details. Since that isn't possible you will have to settle for a brief overview and my attempt at humor.
ADDING THE HANDLE
Each knife maker has their own way to put on handles. Some use 5 minute epoxy and some you 24 hour epoxy. Some use pins, some not. Some use all laminate/resin handles, some like wood. We all have our own material and process that we like. For me I love wooden handles. I like a fun shape and some good oil. I currently use a 5 minute epoxy. It works great, but sets up very fast.
For this build I am trying a couple of new things. I am going to try epoxying both scales at once. I am also going to try using tung oil. Knife handles are referred to as scales. So it is a set of scales per knife. I typically attach one scale at a time, but this time I did both.
DRILL HOLES
For this I use a hand drill. It is nothing fancy, and sometimes gives me crooked holes. This is something I have come to terms with. So for these knives I am using a 5/32 drill bit. I use a tape measure, my eye, and soap stone to mark where I want holes. I put an additional piece of wood under the knife and then go for it.
CUT THE SCALES
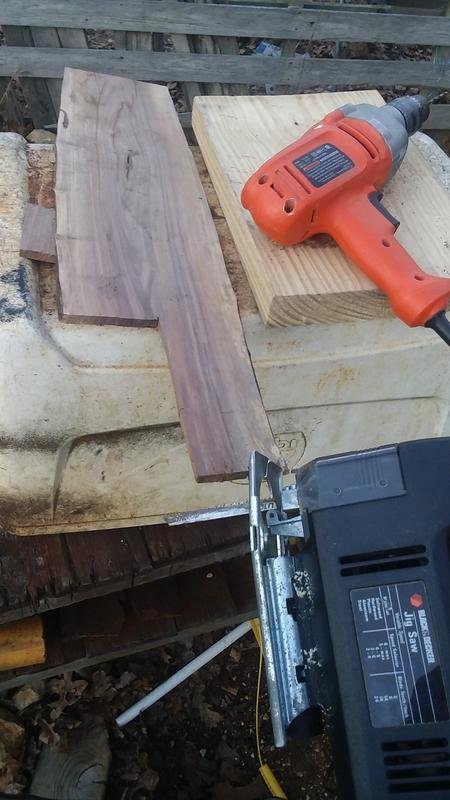
For this build I am using black walnut. I harvested this tree myself a few years ago after a storm knocked over a giant white oak that in turn knocked over the Black Walnut. I used my chainsaw to cut "boards" , and then a friend of mine planed them down to scale thickness.
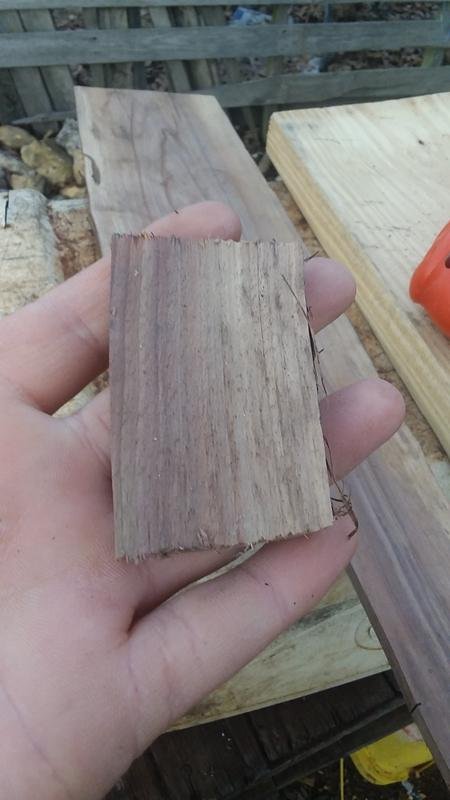
I lay the knife on the large piece and outline it with pencil. This will help me have a good idea of where to cut, but not exact. I use a jigsaw with a sharp wood blade to cut these out. I end up with rough scales that look more like blocks. I make another cut to divide the big piece into two scales. If I use wood from the same place on the board it will let me line up the grains in the wood for a nice look.
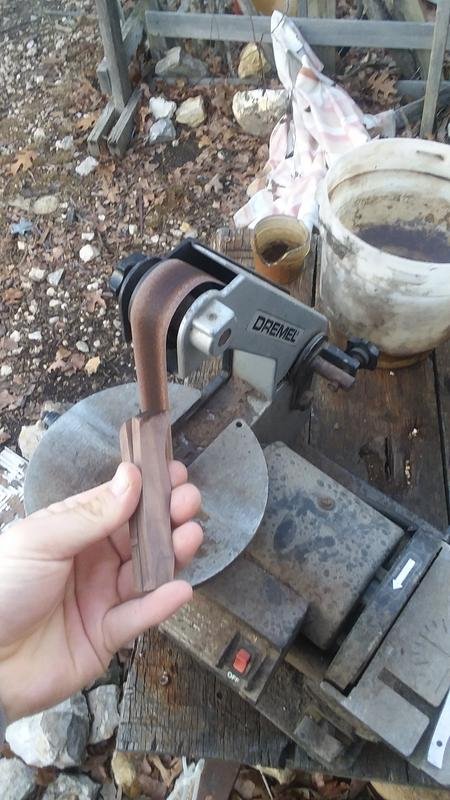
SHAPING AND ALIGNING THE SCALES
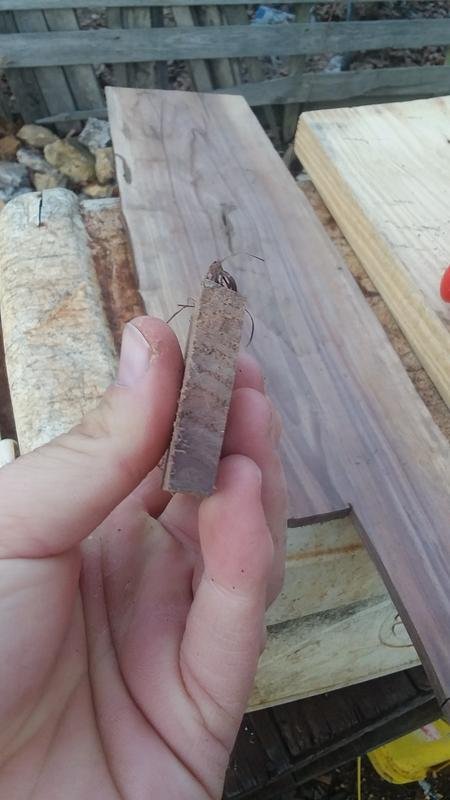
After I have the two scales all cut out I need to shape the end. This means that I am going to make the end closest to the blade finished. It is going to be shaped out how I would like it to look when it is all done. I do this so once the scales are attached I won't have to mess with this part and accidentally hit the blade .
I line them up about as close as I can and shape them with a 50 grit belt on my belt sander. I often use an old belt to over heat and give the end a smooth burnt look.
If the end is "finished" it helps me to ensure I can line up the scales when I put them on. There is nothing worse than your scales not lining up. Well, maybe a couple things, but it is still terrible. 🙃

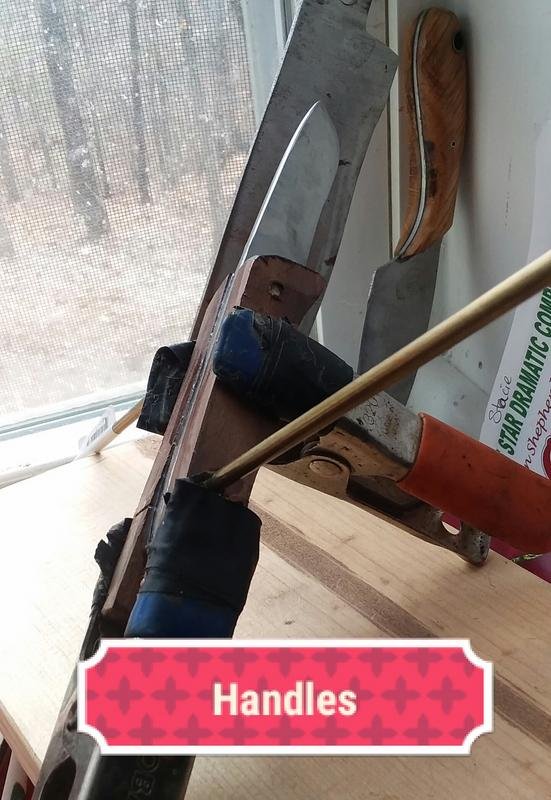
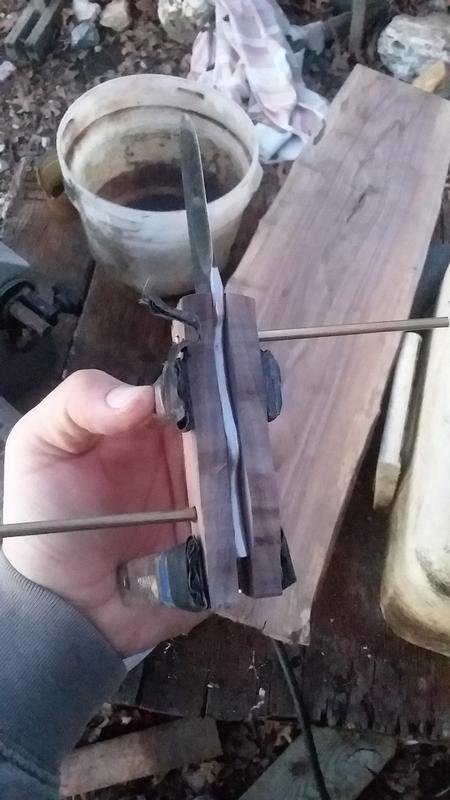
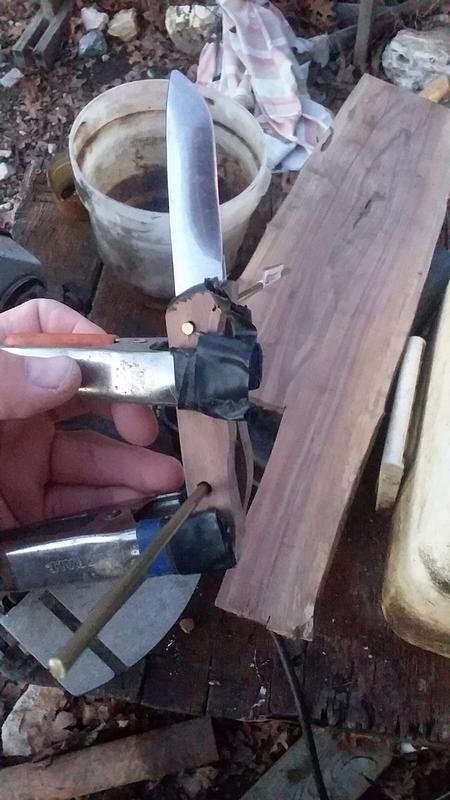
ATTACHING SCALES
Now it is time to attach the scales. I attach the scales onto the knife one at a time using pony clips and then drill the holes. Once everything is sorted out and lined up it is time to epoxy. I mix the epoxy on a board and apply it using pieces of leather that I have laying around. I apply the epoxy directly to the blade and then put the scale on. I do this to both and ensure that they are lined up. I roll the brass pin material in epoxy and put them in. I did this with one pushing in from each side. I use my finger to smooth the epoxy down at the top near the blade. I smooth it down where ever I can. This means that I will have less to sand off. I usually do all of this epoxy work some place that is relatively warm. So for this it was inside on the floor.
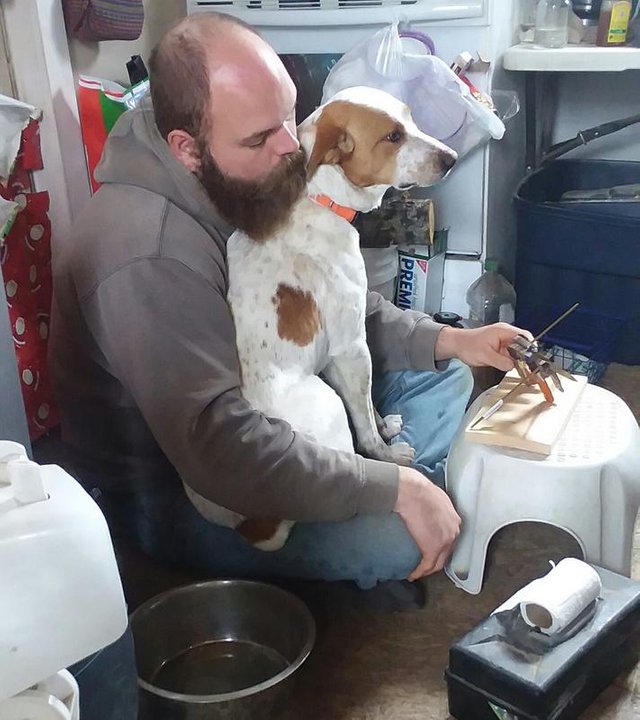
Doing all of this usually takes alot of time and patiences. Sometimes others don't have the patience and need your attention...like right now.

I hope you enjoyed this part of the build. Next up is going to be finishing the handle. If you would like to read about the other steps please check out my previous posts.

Very interesting. I think the handles would be the funnest part.
Yeah, I enjoy the next step...shaping and finishing. It really brings the whole thing to life!
I like wooden handles on almost everything! Black walnut wood brings back so many wonderful memories of my grandfather and my husband. Both like to use it to build things like furniture and photo frames. I have beautiful frames made by my husband and a fretwork clock made bt my grandfather that are very special to me.
Yes! Those sound amazing. I love the deep color and wonderful smell.
I see you also have a helper! My helper is an 18 month old Great Dane, named Fergie who thinks he's a lap dog!
Nice! Old George is not quite the size of a great dane haha
Hey I nominated you if you are interested!
Post here
They look really sharp :D
I like your work :) Make sure to also follow me, I post my Original Photo-Story Series everyday :D
Just a heads up, I appreciate your compliment. If you want to gain attention don't ask for anything and be sure to be thoughtful with your interactions. Be well!