Learn how to design your own HTML tutorial web page #6 drop-down menu

A pleasure to greet my dear readers for me is a pleasure to bring you the 6th part of the web design course.
I was a little away from these tutorials because it is something that requires a little time and dedication, but I was working on other projects of my university studies.
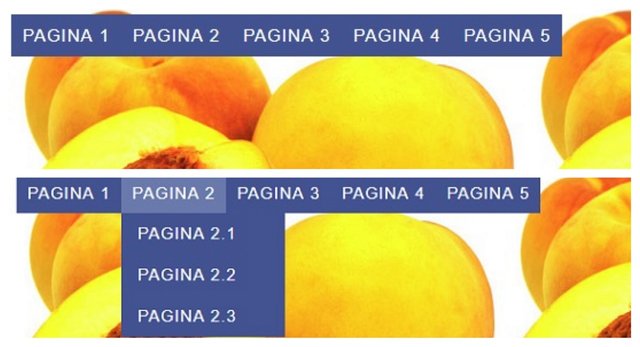
Without further ado let's start, today I will show you a drop-down menu with css and html.
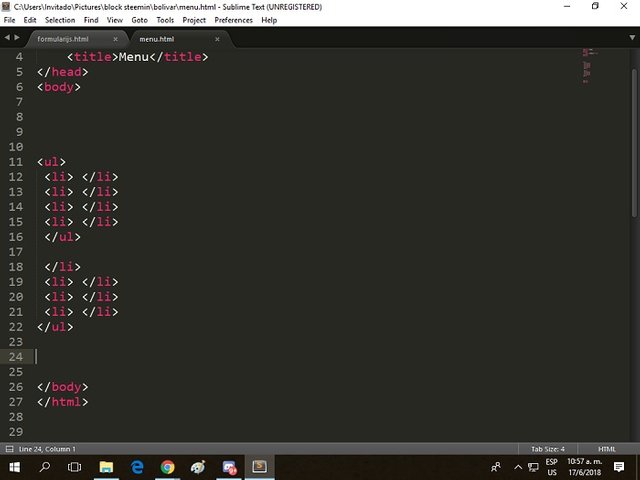
Step 1
If you do not know how to create a list visit my post in the following link List
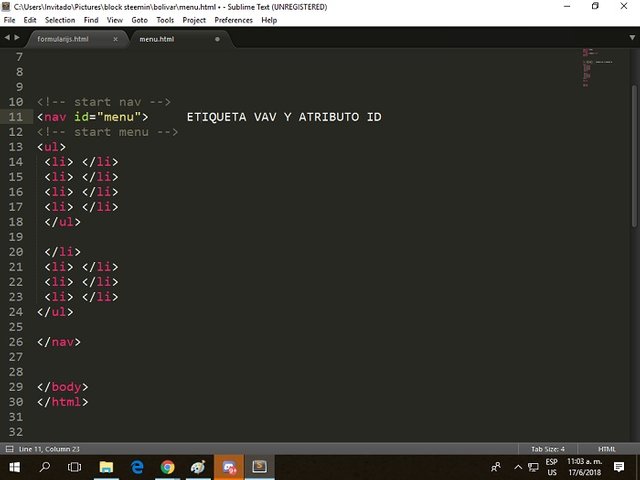
Step 2
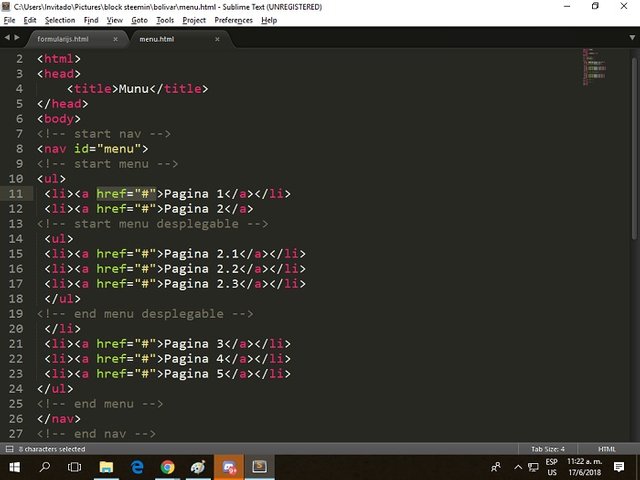
We put the nav tag with an id attribute to identify the menu.
Step 3
Step 4
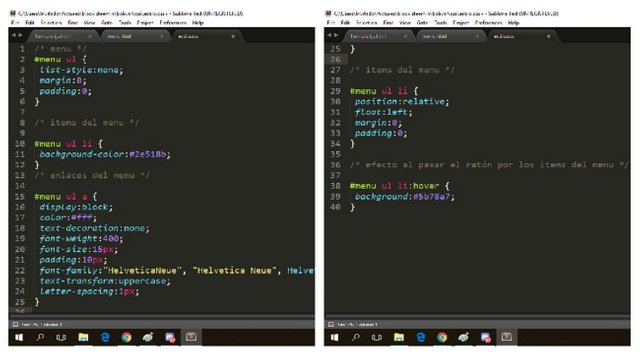
The properties are placed in the css document to give the style to the menu since there are many types of properties, you can try them all you like here a page of css properties explained each one of them.
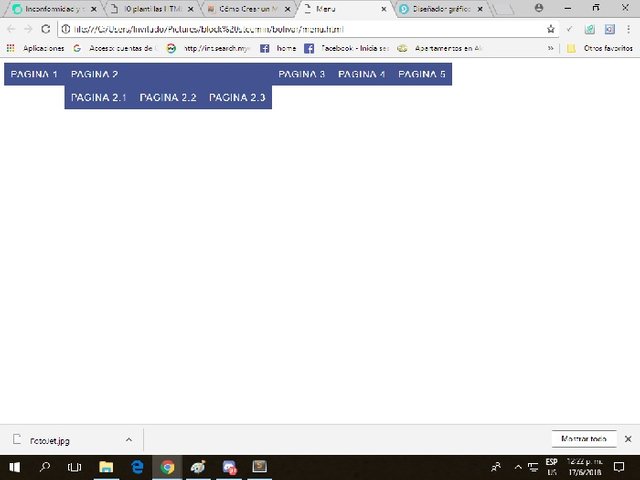
Here we can visualize how our menu is showing a better style
Step 5
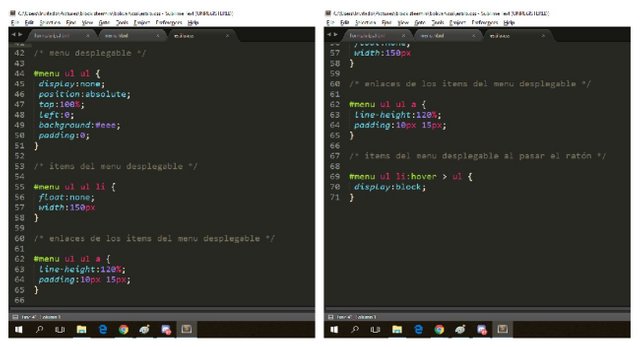
PD: If you notice, by default we hide the links of the submenu with display: none and then we show them by applying the display: block with the selector :hover
In addition, for our links to appear vertically and not horizontally as in the main menu, we will apply the CSS rule of
float: none
Our result
PD: We put a background picture for a better look of our menu
This has been all for today, I hope you have learned something from this tutorial any questions leave me in the comments that will gladly respond.

Follow me on my social networks


Previous Tutorials
| Tutorial 1 | Tutorial 2 | Tutorial 3 | Tutorial 4 | Tutorial 5 |
|---|---|---|---|---|
| Introduction | Paragraphs, titles and labels | Tables and lists | Forms | Link a css document with html |
Hello! Your post has been resteemed and upvoted by @ilovecoding because we love coding! Keep up good work! Consider upvoting this comment to support the @ilovecoding and increase your future rewards! ^_^ Steem On!

Reply !stop to disable the comment. Thanks!