My Christmas Ornaments Artwork - Watercolour Painting Step by Step Tutorial
Hello Steemians! I hope that everyone had a wonderful Christmas! I would like to share an artwork I painted around Christmas. It is a painting of Christmas ornaments, the Christmas ornament balls in particular. The most challenging part in creating this artwork was to figure out the shadows and highlights. I tried not to stress too much about that and went with the flow. Apart from that, it was a fun artwork process and I enjoyed making it.
Tools and Materials
- A good quality artblock that can absorb water
- Buncho water colours
- Paint brushes
- 2 containers of water (one to mix paint and one to clean brush)
- A tissue paper - for lifting technique and to absorb excess paint / water
Step by Step Tutorial
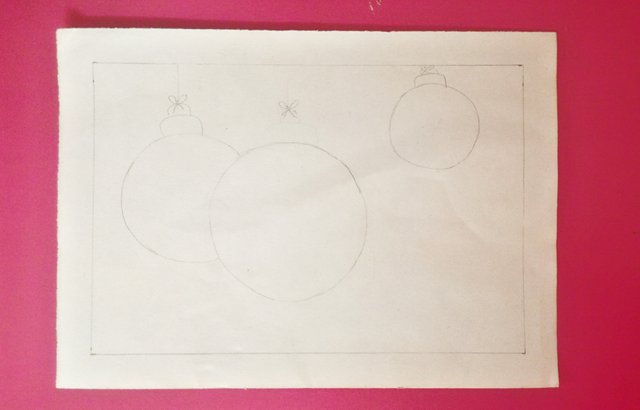
First of all, I drew the Christmas ornament balls using a 2B pencil. It is just a simple sketch and I drew it by freehand. If you would yours to look perfect or you find difficulties in drawing freehand, then I suggest you to use a round object to trace the shape. Some of the round objects that might be handy are a cellophane tape, a bottle and even a chunky bangle.
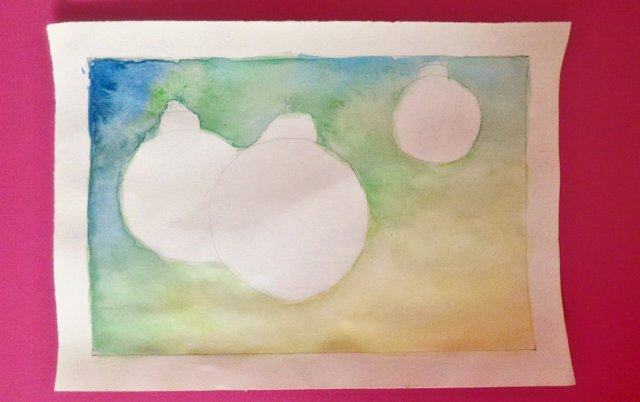
Then, I painted the background. I used the wet on wet technique by applying a thin layer of water on the paper using a round brush. After that, I picked up some paint and let my water colour do its magic with the water. In case you have applied too much of water that your paper looks drenched, don't panic. Just use some tissue papers and absorb the excess water. I used a few colours such as dark blue, sky blue, light green and yellow. Another tip is in case your paint has dried before you were able to blend all the colours well, just pick up some water and paint over the dried areas. That will activate the paint again and you can now continue blending them.
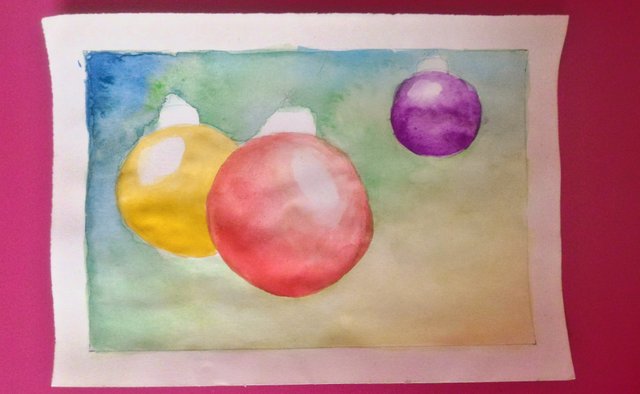
I let the background to dry for a short period of time. One of the main reasons for that is because I tend to rest my hand on the paper while painting. I was afraid that I might end up messing the painting in case I get carried away, forgetting that the background hasn't dried yet. Hence, instead of risking that, I let the paint dry off completely before moving on to my ornaments. Once it was ready for me to continue, I selected the colours that I was going to use for the next layer. Before I began painting, I identified the shadows and highlights first so that I don't get confused later on. Then, painted the ornaments using the most dominant colour of each of them. That is why you see only a single colour on each ornament ball. I used the colours golden brown, yellow, red and purple for my ornaments. As you can see, I did mix the golden brown with some yellow. I painted them by focusing more on the shadowy areas and left the highlights clean with no paint at all.
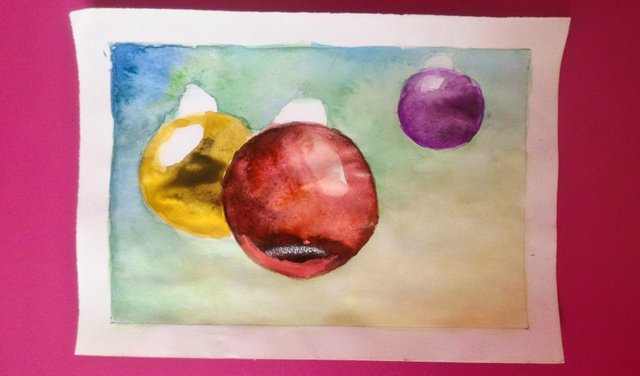
After the previous layer dried, I continued painting. This time, I added more colours to further emphasize on the shadows. I used black and chose to only use a tinge of the dominant colours to make it look less harsh. For instance, while colouring the red ornament ball, instead of using pure black I mixed a tinge of red here and there to give the image more dimension. That way, it will not look too flat and the black will not dull away the life of the painting. I also painted over the highlights with dilute paint. The image you see above was snapped in the midst of drying.
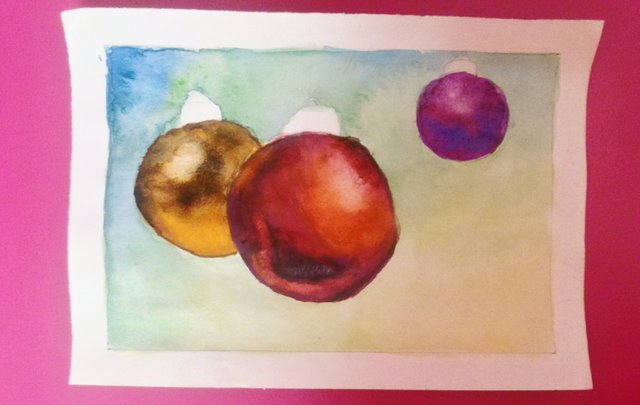
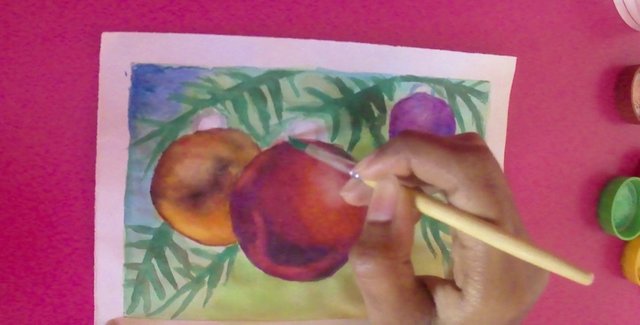
For the next layer, I did not wait until the painting was completely dry. I continued painting while it was halfway drying. I added more colours such as orange to the red ornament ball and blue to the purple ornament ball and golden brown to the yellow ornament. I also drew around all of them to create a more defining shape. In case you are wondering why certain darker parts look lighter on this image, it is because water colour dries lighter. The black that I painted earlier was semi-dilute which is why it looks light on this image. Another tip that I would like to share is, in the event where you have accidentally painted too much on the highlights and prefer it to be lighter, let the area where you want your highlight to be to completely dry first. Then, use a clean wet round brush and paint it on the area where you want to create your highlight and use a tissue to absorb the paint. Repeat until you are happy with your painting.
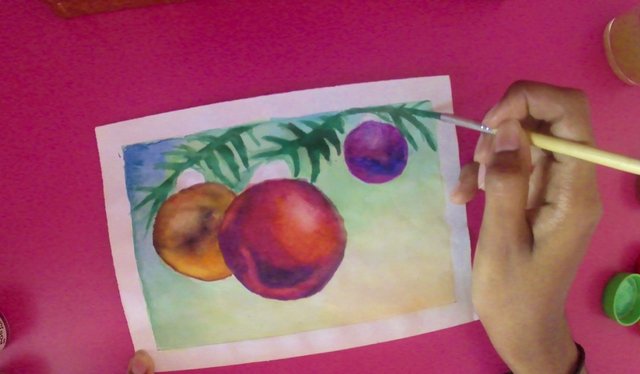
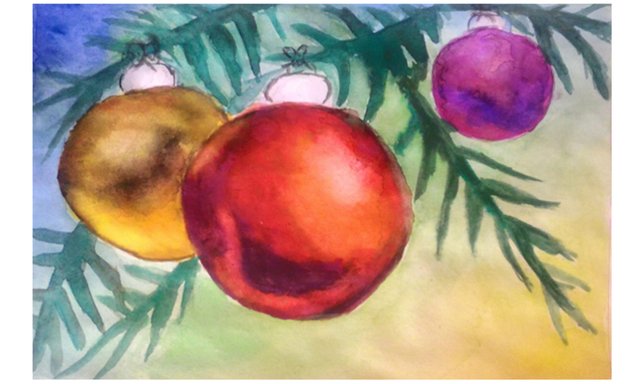
After the previous layer dry, I used some dilute black to make the red ornament ball rounder and better. Then, I started to paint some Christmas tree leaves. I mixed up a few colours for this to create different shades of green. I used some sap green, light green, dark blue and brown as well as black. By the way, the picture looks duller because this is a screenshot of my video and not a still picture which was snapped.
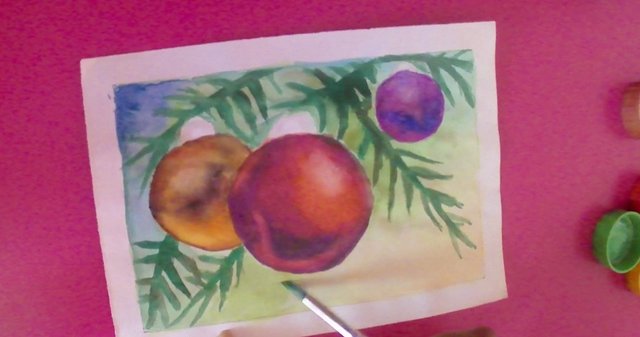
I also painted the background a little to make it more vibrant.
I painted the crown parts of the ornament balls with some diluted black. Then, I painted some ribbon shaped strings as well to show that they are hanging on the tree.
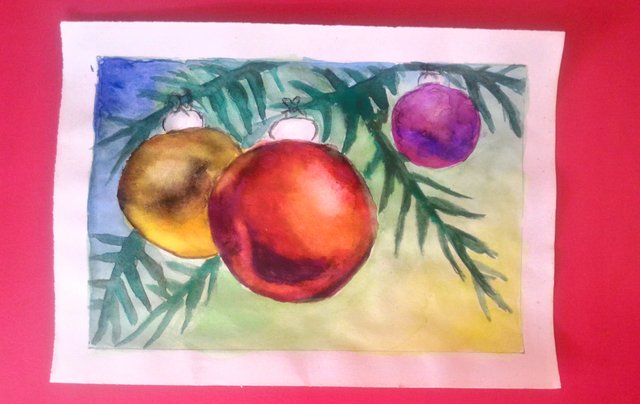
This is the completed painting. As you can see, I have added the strings and also painted around the crown parts of the ornaments to define them.
I hope that you enjoyed reading this post and wish you happy holidays! Thank you for checking my post out and have a great day/night.

If you like this post, please upvote and leave your feedback below.
If you would like to see more posts from me, follow me.
Stay tuned! xx

Click the Images to View My Recent Posts:
Woods, Meadow and Lake | Step by Step Tutorial | Water Colour Painting
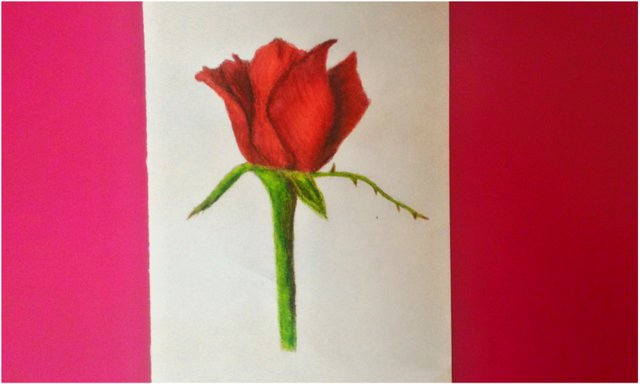
How to Paint a Rose | Step by Step Tutorial | Water Colour Pencils
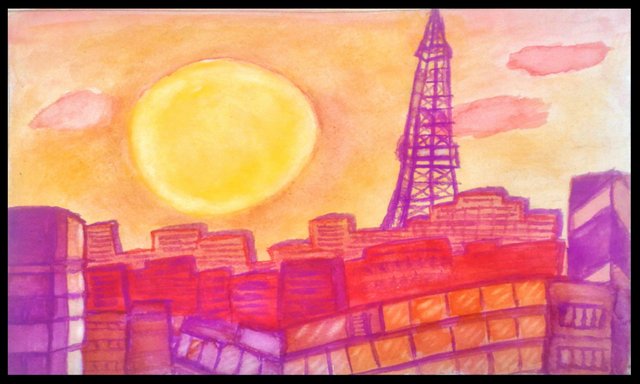
How to Paint Tokyo City Skyline | Step by Step Tutorial | Water Colour Painting
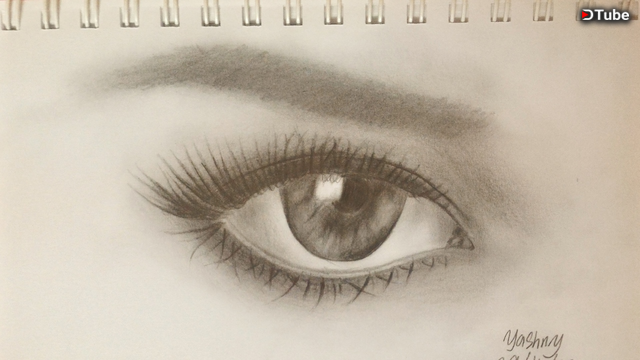
How to Draw a Realistic Eye | Step by Step Details | Time Lapse Video
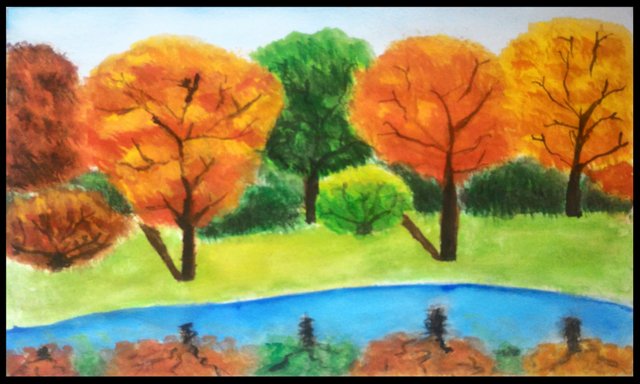
How to Paint Fall Trees | Step by Step Tutorial | Water Colour Painting
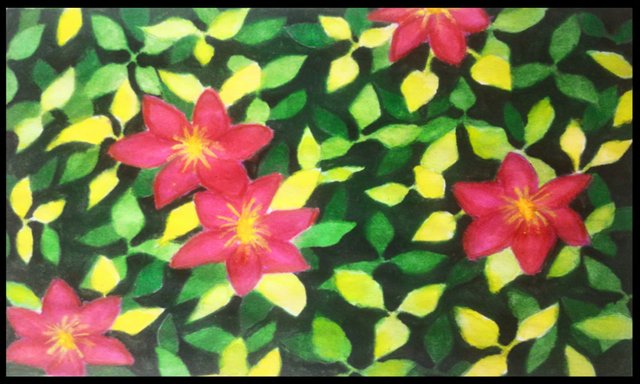
How to Paint Clematis Flowers | Step by Step Tutorial | Water Colour Painting
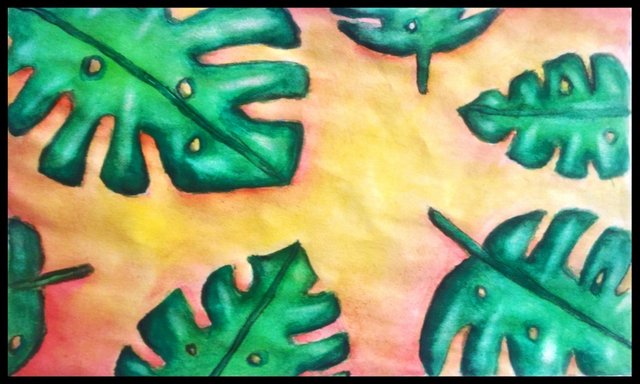
How to Paint Monstera Leaves | Step by Step Tutorial | Water Colour Painting

Follow me: @yashny
My Dtube Channel: Yashny
About me:
I'm a chill, happy go lucky person. I am a feminist. I love food, art, books, numbers, psychology and occult science. I am in the process of healing and diving into spirituality. I think life is a gift and we should appreciate the little things of life more. Everything that I post is a little piece of my life. I believe that everyone is carrying their own cross, so don't judge anyone and be kind!
♥♥♥♥♥♥♥♥♥♥♥♥♥♥♥♥♥♥♥♥♥♥♥♥♥♥♥♥♥♥♥♥♥♥♥
Thank you for your support and encouragement
♥♥♥♥♥♥♥♥♥♥♥♥♥♥♥♥♥♥♥♥♥♥♥♥♥♥♥♥♥♥♥♥♥♥♥
If you would like to see more posts from me, follow me.
Stay tuned! xx
Click the Images to View My Recent Posts:
Woods, Meadow and Lake | Step by Step Tutorial | Water Colour Painting
How to Paint a Rose | Step by Step Tutorial | Water Colour Pencils
How to Paint Tokyo City Skyline | Step by Step Tutorial | Water Colour Painting
How to Draw a Realistic Eye | Step by Step Details | Time Lapse Video
How to Paint Fall Trees | Step by Step Tutorial | Water Colour Painting
How to Paint Clematis Flowers | Step by Step Tutorial | Water Colour Painting
How to Paint Monstera Leaves | Step by Step Tutorial | Water Colour Painting
Follow me: @yashny
My Dtube Channel: Yashny
About me:
I'm a chill, happy go lucky person. I am a feminist. I love food, art, books, numbers, psychology and occult science. I am in the process of healing and diving into spirituality. I think life is a gift and we should appreciate the little things of life more. Everything that I post is a little piece of my life. I believe that everyone is carrying their own cross, so don't judge anyone and be kind!
♥♥♥♥♥♥♥♥♥♥♥♥♥♥♥♥♥♥♥♥♥♥♥♥♥♥♥♥♥♥♥♥♥♥♥
Thank you for your support and encouragement
♥♥♥♥♥♥♥♥♥♥♥♥♥♥♥♥♥♥♥♥♥♥♥♥♥♥♥♥♥♥♥♥♥♥♥
Thank you for your support and encouragement
♥♥♥♥♥♥♥♥♥♥♥♥♥♥♥♥♥♥♥♥♥♥♥♥♥♥♥♥♥♥♥♥♥♥♥