How to Draw a Realistic Eye | Step by Step Details | Time Lapse Video
Hi dear Steemians! This is the time lapse video of my realistic eye drawing. This artwork is my third attempt and it turned out alright and gave me a sense of satisfaction.
Tools and Materials
- An art block
- A normal 2B Pencil
- A mechanical pencil with 2B lead
- A small flat brush
- A dust free eraser (to correct mistakes)
- A putty eraser (I did not use this but I highly recommend it)
Method
As you can see in the video, I started my drawing by outlining the basic shape of the eye first. Then, I outlined the eyebrow. This is to give a basic idea and to ensure that I don't make any major mistakes in the proportions of the eye or the eyebrow. Then, I started adding more details on the eyeball. I shaded the pupil which is the darkest part of the eyeball with a 2B lead pencil. Then, I shaded the iris which is the rest of the dark part of the eyeball vaguely and added little specks of details using a mechanical pencil with a 2B lead. The reason why I switched to a mechanical pencil is because I needed the details to be sharp and precise, hence I can't afford to have any blunt looking details.
Then, I switched back to a normal 2B pencil to add other details along with some shading on the sclera which is the white part of the eye. As I added more details, I used a small flat brush to make them look smoother and less harsh. That way, the drawing will turn out looking flawless. Then I applied some light shading on the part that covers the skin around the eyebrow and moved on to add details for eyebrows. I made little hair like strokes. I took my time to smoothen it up with the same brush and switched between adding details and brushing over it.
Then, I added my eyelid using my 2B mechanical pencil and proceeded to draw some basic short eyelashes. Then, I added more shading on the skin parts using the normal 2B pencil and brushed over it. When I was happy with it, I drew longer lashes using my mechanical pencil. I made a crescent like shape using my palm and used that as a guide on how long I want the lashes to be. That is just my personal method of getting it close to the way I wanted it to be.
At this stage, the artwork was almost done. I just made little touch ups wherever I thought were necessary. For instance, I used my eraser to softly erase some of the shading on the sclera on the parts closest to the iris. This is because I wanted to create some depth and preferred that part to be lighter. I used the corner of my eraser to ease that process but it is best if you use a putty eraser because it is easier to erase small parts as we can shape the eraser in the way we like for convenience.
I did the same thing in the middle part of the iris to create some highlights and therefore, depth. The creation of depth is the key to make an artwork look real. I did add a small amount of shading at the edges of the lighter parts after that and brushed over them. I also added some small details at the corner of they eye using my mechanical pencil. Most of the parts I touched up were the on skin area. Finally, the artwork came together and I was done.
Check out my realistic eye artwork that I did before this artwork if you like here.
I wasn't very satisfied with the previous artwork. I felt that the eyebrows were a little too harsh and I could have done a little more touch up. So, I attempted the drawing again. After some time, I have finally edited the video on how I made the artwork. I hope that you enjoyed watching and reading my post, and it is even better if you find it helpful. Thank you for watching and blessings x
If you like this post, please upvote and leave your feedback below.
If you would like to see more posts from me, follow me.
Stay tuned! xx

Click the Images to View My Recent Posts:
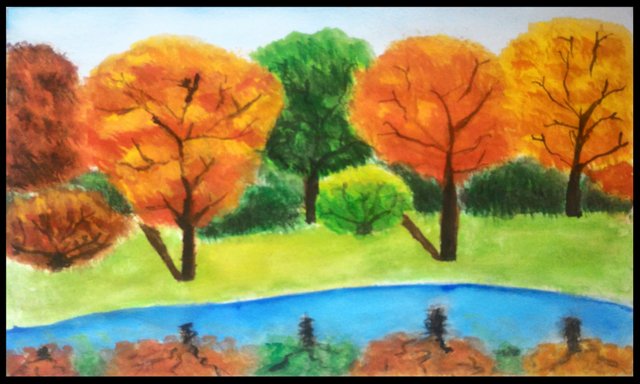
How to Paint Fall Trees | Step by Step Tutorial | Water Colour Painting
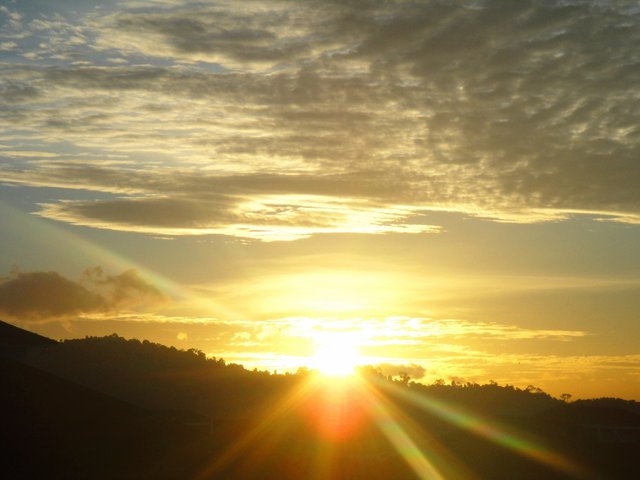
ColorChallenge : Wednesday Yellow Sunrise
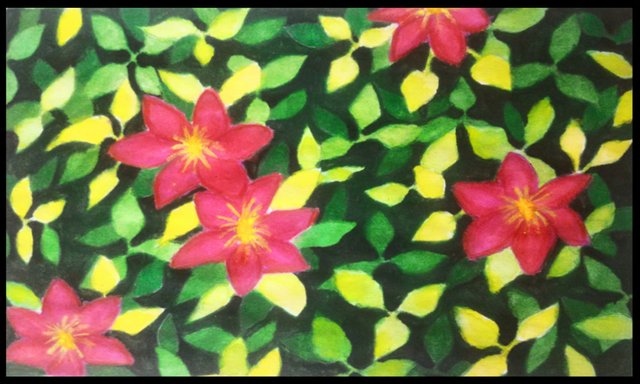
How to Paint Clematis Flowers | Step by Step Tutorial | Water Colour Painting
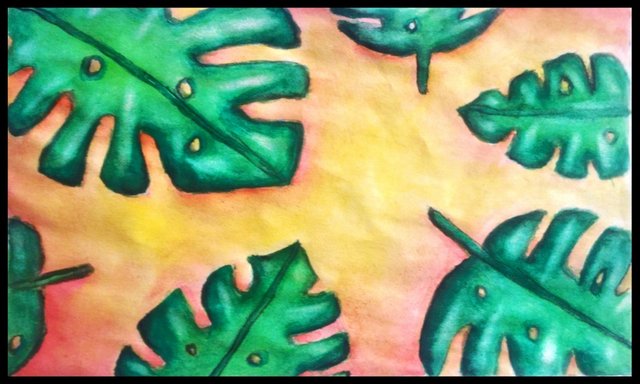
How to Paint Monstera Leaves | Step by Step Tutorial | Water Colour Painting
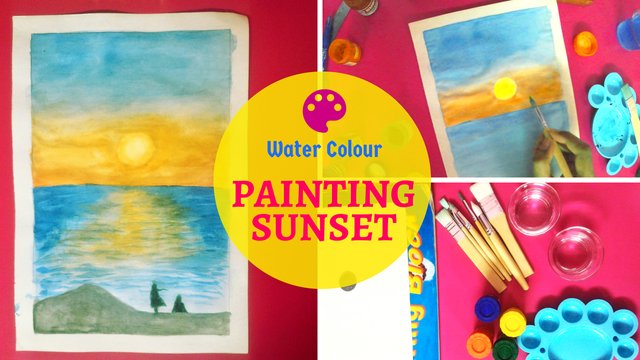
Sunset Painting | Step-by-Step Tutorial | Water Colour Painting
Follow me: @yashny
My Dtube Channel: Yashny
About me:
I'm a chill, happy go lucky person. I am a feminist. I love food, art, books, numbers, psychology and occult science. I am in the process of healing and diving into spirituality. I think life is a gift and we should appreciate the little things of life more. Everything that I post is a little piece of my life. I believe that everyone is carrying their own cross, so don't judge anyone and be kind!
♥♥♥♥♥♥♥♥♥♥♥♥♥♥♥♥♥♥♥♥♥♥♥♥♥♥♥♥♥♥♥♥♥♥♥
Thank you for your support and encouragement
♥♥♥♥♥♥♥♥♥♥♥♥♥♥♥♥♥♥♥♥♥♥♥♥♥♥♥♥♥♥♥♥♥♥♥
▶️ DTube
▶️ IPFS
If you would like to see more posts from me, follow me.
Stay tuned! xx
Click the Images to View My Recent Posts:
How to Paint Fall Trees | Step by Step Tutorial | Water Colour Painting
ColorChallenge : Wednesday Yellow Sunrise
How to Paint Clematis Flowers | Step by Step Tutorial | Water Colour Painting
How to Paint Monstera Leaves | Step by Step Tutorial | Water Colour Painting
Sunset Painting | Step-by-Step Tutorial | Water Colour Painting
Follow me: @yashny
My Dtube Channel: Yashny
About me:
I'm a chill, happy go lucky person. I am a feminist. I love food, art, books, numbers, psychology and occult science. I am in the process of healing and diving into spirituality. I think life is a gift and we should appreciate the little things of life more. Everything that I post is a little piece of my life. I believe that everyone is carrying their own cross, so don't judge anyone and be kind!
♥♥♥♥♥♥♥♥♥♥♥♥♥♥♥♥♥♥♥♥♥♥♥♥♥♥♥♥♥♥♥♥♥♥♥
Thank you for your support and encouragement
♥♥♥♥♥♥♥♥♥♥♥♥♥♥♥♥♥♥♥♥♥♥♥♥♥♥♥♥♥♥♥♥♥♥♥
▶️ DTube
▶️ IPFS
Thank you for your support and encouragement
♥♥♥♥♥♥♥♥♥♥♥♥♥♥♥♥♥♥♥♥♥♥♥♥♥♥♥♥♥♥♥♥♥♥♥
▶️ DTube
▶️ IPFS
I upvoted your post.
Keep steeming for a better tomorrow.
@Acknowledgement - God Bless
Posted using https://Steeming.com condenser site.
Thank you so much for your support
Dear Artzonian, thanks for using the #ArtzOne hashtag. Your work is valuable to the @ArtzOne community. Quote of the week: Art, freedom and creativity will change society faster than politics. -Victor Pinchuk