How to Paint a Rose | Step by Step Tutorial | Water Colour Pencils
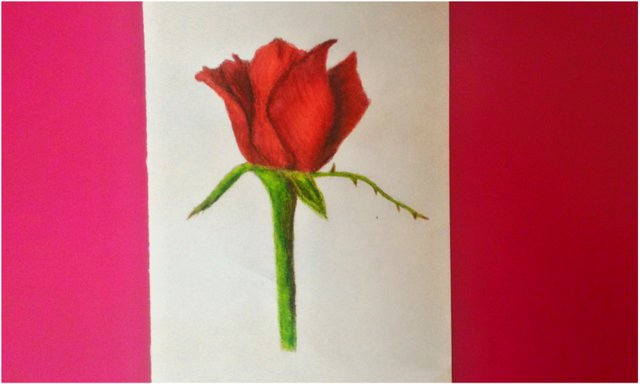
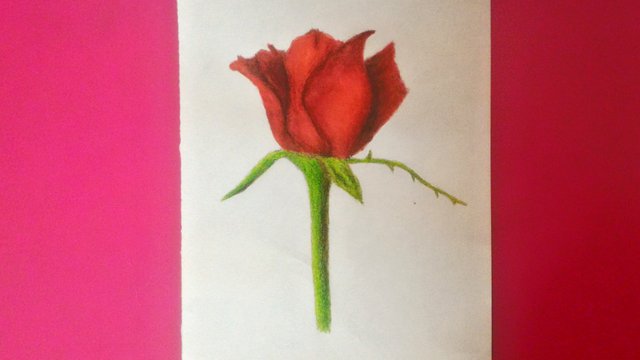
Hello Steemians! Today I am going to share a tutorial on how I painted the rose in the picture above using water colour pencils. I didn't expect the outcome to look vibrant so I was taken by a surprise when I was done. I learned this through a YouTuber called Cassandra Hanley. If you are interested, you may check her tutorial here. My rose turned out more vibrant and brighter compared to her's. I was going for a lighter rose while she went for a darker rose. Do take note that I used water based colour pencils, hence water was my medium of choice to blend. If you are going to use oil based or wax based colour pencils, then you need to use a different medium such as thinner, rubbing alcohol or mineral spirits to blend your colours.
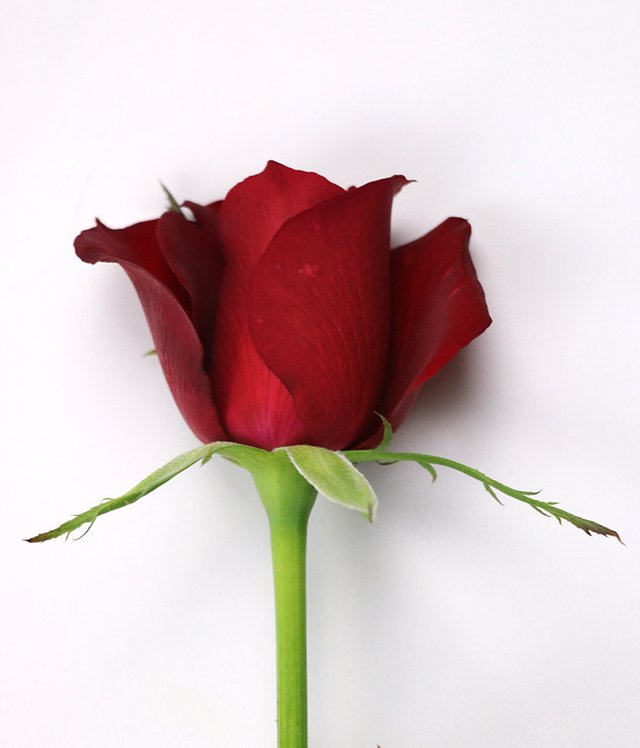
The picture above is my reference photo which is the same picture that was used by Cassandra. She captured it in a florist. I don't have the exact colours as we can see on the rose above but I have selected a few colours that I liked. I wanted my rose to look a little brighter and vibrant compared to the one above. The colours that I have chosen to paint my rose are red, carmine (dark pink), bordeaux (dark red), van dyke brown (dark brown), willow green (light green), sap green (dark green) and black.
Tools and Materials
- A good quality artblock that can absorb water
- A 2B pencil to draw
- Water soluble colour pencils (I used Staedler Luna)
- A small paint brush
- A container of water
- A rough/scrap paper - important to remove excess water
Step by Step Tutorial
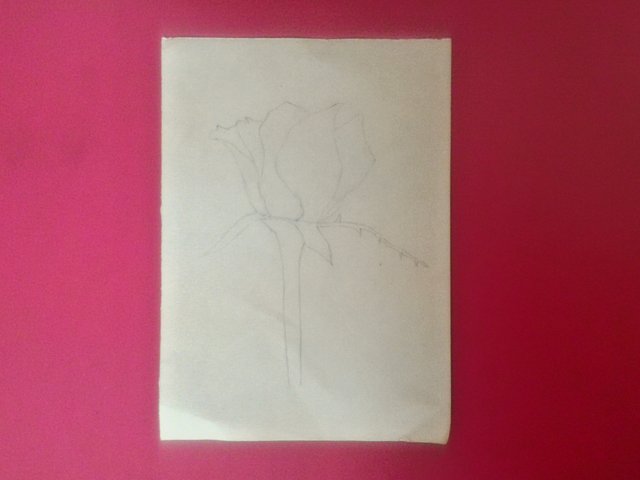
FIrst of all, I drew a rose using a 2B pencil. I didnt draw any details and it was just a rough outline of my artwork.
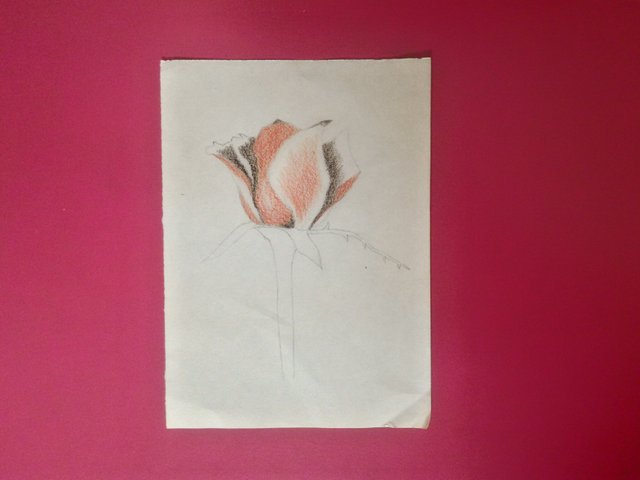
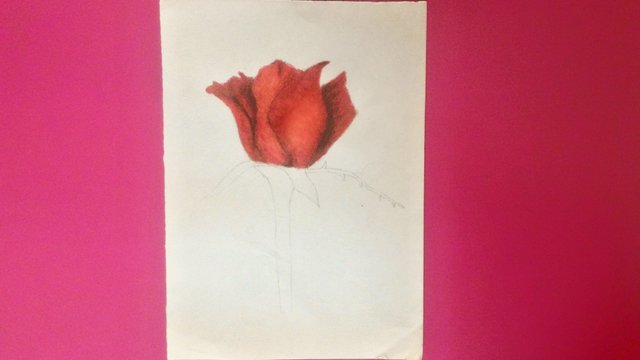
Then, I identified the lights and darks of the rose. I coloured the lightest parts in the lightest red that I have and the darkest parts in van dyke brown. I did not use black at this point because black is a strong colour and chances are it will kill all of the life in the artwork since I am just beginning to add my colours and might as well steal the vibrance of the red. I will be using it later on for creating some contrast on the darkest areas of my artwork.
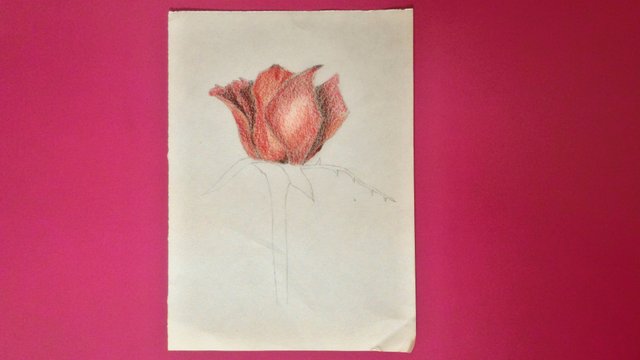
I coloured the entire rose flower with bordeaux which is the dark red except on the parts where I wanted my highlights to be. I did add some of the red around the highlights and more dark brown on the darker parts and mixed it with the dark red.
I used my brush and wet it with some water. Then, I used a scrap paper and painted it on that to drain some of the water off. Less is more when it comes to using our medium to blend the colours. It is best to not use too much of water because in case we do that we might start lifting our colours up instead of blending them together. After removing some of the water from the brush, I started blending the colours on the rose by gently patting and making tiny strokes. I didn't want to mix up the colours too much so I used a small brush and made tiny strokes instead of larger ones.
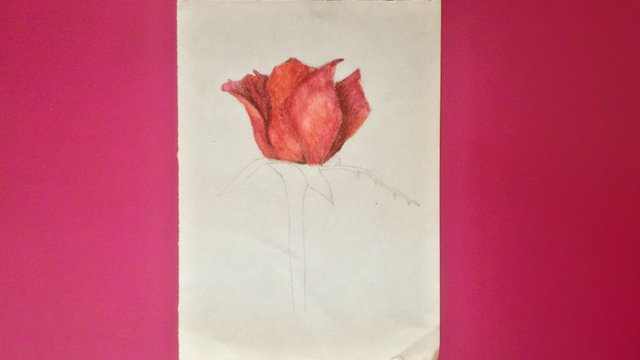
Once the first layer was dry, I took my colour pencils again to add a second layer. The key is to build up the colours gradually. I took carmine which is the dark pink colour and coloured at the bottom of the rose flower slightly to give a shadowy tone. Then, I took all of the colours that I used before which are the dark brown, red and bordeaux and coloured on top of the previous layer. I made the shadows darker and the highlights more vibrant.
I blended it again like I did earlier with as little water as possible and let it dry.
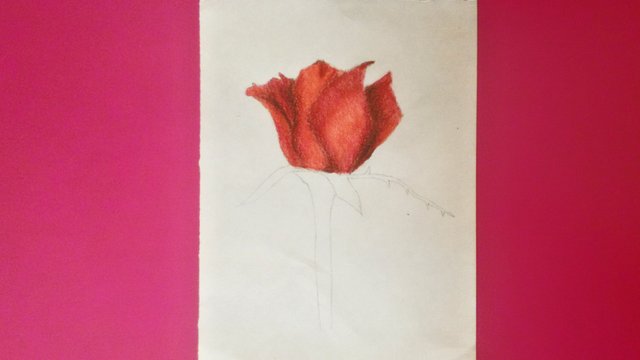
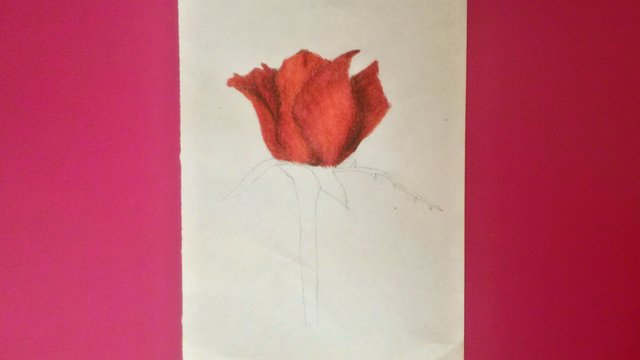
Now for the third layer, it is time to use black. I added black to my rose but I was very careful not to add too much because anything too much of this colour might take away all of the impact and dynamics of the other colours. I added black only on the darkest of the dark shadows like the edges of certain parts. Then, I added my van dyke brown, bordeaux and red.
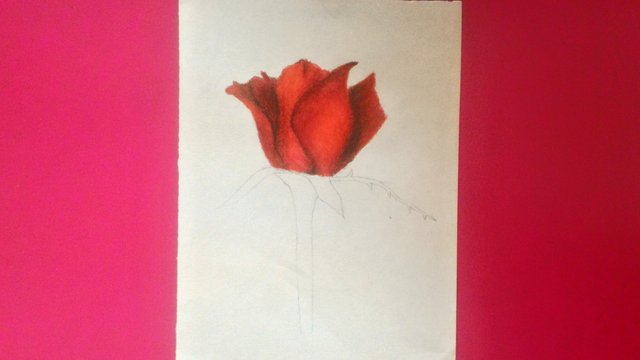
Then, I blended the colours again in the same way as I did previously. I made sure that it didn't look too contrasting or harsh as I used black for this layer by blending it well into the brown.
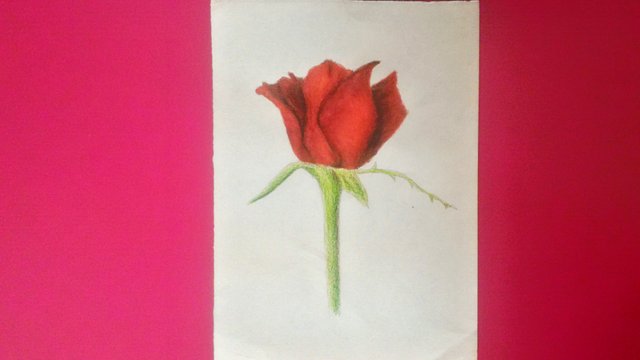
I moved on to paint the stem and leaves of my rose. I used the willow green to colour all of the areas covering the stem and leaves. Then, I added the sap green to the shadowy and darker parts.
I blended the greens out using my brush and a small amount of water.
Then, I added some van dyke brown at the darkest parts to further emphasize on the shadows, followed by the sap green and willow green for the rest of the stem and leaves.

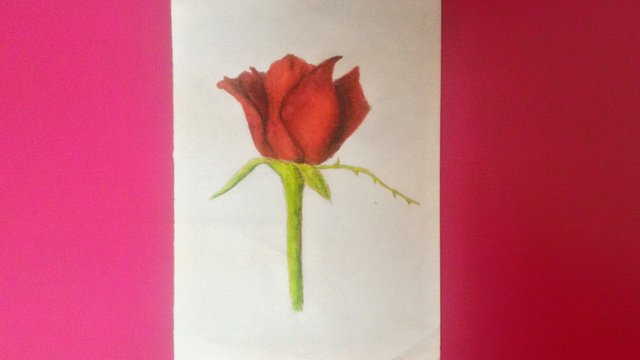
I used the same brush and a tiny amount of water to blend the clours. When I blend them, I try my best to follow the way I have coloured the artwork so that I will be able to maintain the details without mixing the colours up too much. Then, I coloured some red at the edges of the spikes on the stem of the rose. I also used the colour bordeaux to add some vein like details on the rose flower. The rose painting is done. I hope that you enjoyed reading my post and if you have any questions do leave them down below. Thank you for reading and have a great day/evening! Blessings x

If you like this post, please upvote and leave your feedback below.
If you would like to see more posts from me, follow me.
Stay tuned! xx
Click the Images to View My Recent Posts:
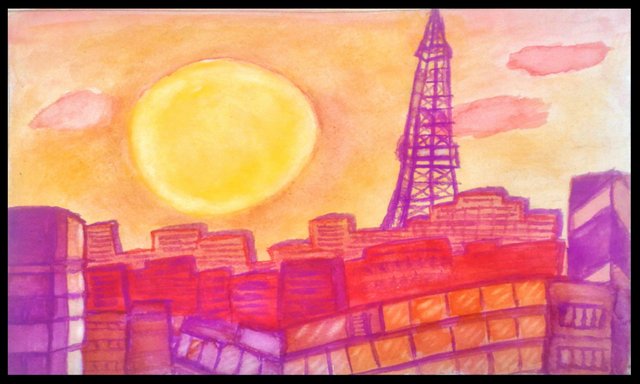
How to Paint Tokyo City Skyline | Step by Step Tutorial | Water Colour Painting
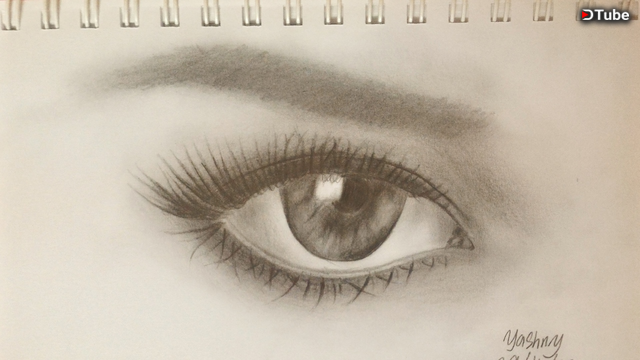
How to Draw a Realistic Eye | Step by Step Details | Time Lapse Video
How to Paint Fall Trees | Step by Step Tutorial | Water Colour Painting
How to Paint Clematis Flowers | Step by Step Tutorial | Water Colour Painting
How to Paint Monstera Leaves | Step by Step Tutorial | Water Colour Painting
Sunset Painting | Step-by-Step Tutorial | Water Colour Painting

Follow me: @yashny
My Dtube Channel: Yashny
About me:
I'm a chill, happy go lucky person. I am a feminist. I love food, art, books, numbers, psychology and occult science. I am in the process of healing and diving into spirituality. I think life is a gift and we should appreciate the little things of life more. Everything that I post is a little piece of my life. I believe that everyone is carrying their own cross, so don't judge anyone and be kind!
♥♥♥♥♥♥♥♥♥♥♥♥♥♥♥♥♥♥♥♥♥♥♥♥♥♥♥♥♥♥♥♥♥♥♥
Thank you for your support and encouragement
♥♥♥♥♥♥♥♥♥♥♥♥♥♥♥♥♥♥♥♥♥♥♥♥♥♥♥♥♥♥♥♥♥♥♥
If you would like to see more posts from me, follow me.
Stay tuned! xx
Click the Images to View My Recent Posts:
How to Paint Tokyo City Skyline | Step by Step Tutorial | Water Colour Painting
How to Draw a Realistic Eye | Step by Step Details | Time Lapse Video
How to Paint Fall Trees | Step by Step Tutorial | Water Colour Painting
How to Paint Clematis Flowers | Step by Step Tutorial | Water Colour Painting
How to Paint Monstera Leaves | Step by Step Tutorial | Water Colour Painting
Sunset Painting | Step-by-Step Tutorial | Water Colour Painting
Follow me: @yashny
My Dtube Channel: Yashny
About me:
I'm a chill, happy go lucky person. I am a feminist. I love food, art, books, numbers, psychology and occult science. I am in the process of healing and diving into spirituality. I think life is a gift and we should appreciate the little things of life more. Everything that I post is a little piece of my life. I believe that everyone is carrying their own cross, so don't judge anyone and be kind!
♥♥♥♥♥♥♥♥♥♥♥♥♥♥♥♥♥♥♥♥♥♥♥♥♥♥♥♥♥♥♥♥♥♥♥
Thank you for your support and encouragement
♥♥♥♥♥♥♥♥♥♥♥♥♥♥♥♥♥♥♥♥♥♥♥♥♥♥♥♥♥♥♥♥♥♥♥
Thank you for your support and encouragement
♥♥♥♥♥♥♥♥♥♥♥♥♥♥♥♥♥♥♥♥♥♥♥♥♥♥♥♥♥♥♥♥♥♥♥
Dear Artzonian, thanks for using the #ArtzOne hashtag. Your work is valuable to the @ArtzOne community. Quote of the week: Art, freedom and creativity will change society faster than politics. -Victor Pinchuk