We are continuing with our series on how to make a beehive out of pallet wood today. We do apologize that there is so much time in between each of these posts, but we are actually building five complete hives out of nothing but pallet wood, and want to show you each piece as we complete it. The project does take time, but the money we are saving and the fact that we are getting a higher quality item is completely worth it. We are coming close to completing the hives, and will do a full wrap up post to show you the finished product. It has been such an amazing experience taking items that would normally end up in a landfill and turning them into beautiful, high quality beehives. We can’t wait to show you the finished hive!
We have covered how to make the frames, boxes, and an in hive feeder in previous posts (links below), and today we will show you how to make the base of your hive or the hive bottom board. It might seem like a pretty easy concept, but there are some important details to consider; stability of the hive, ventilation, easy accessibility for bees etc. This is a design that my husband came up with is for a 10 frame style hive.
The Plans
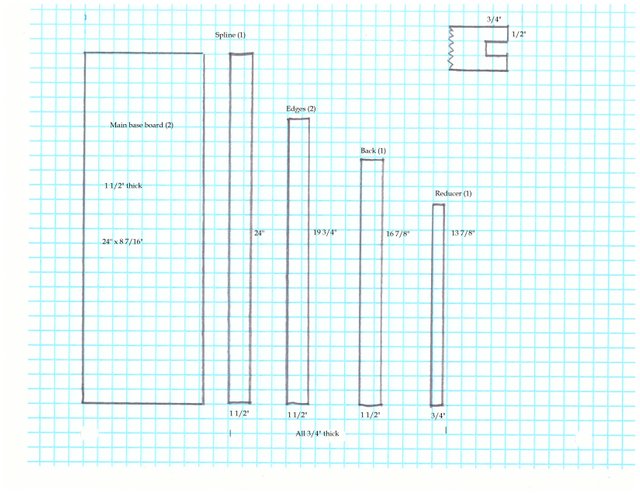
- Base x 2 (24” x 8 7/16” x 1 ½”)
- Spline x 1 (24” x 1 ½” x 1/2”)
- Perimeter Side x 2 (19 ¾” x 1 ½” x ¾”)
- Perimeter Back x 1 (16 7/8” x 1 ½” x ¾”)
- Entrance Reducer x 1 (13 7/8” X ¾” x ¾”)
The Process
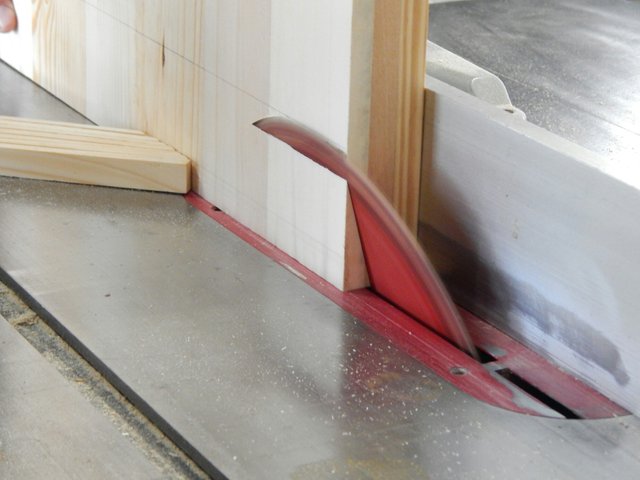
*****NOTICE TABLE SAW BLADE GUARD HAS BEEN REMOVED FOR DEMONSTRATION PURPOSES, WE DO NOT ADVISE USING YOUR TABLE SAW WITHOUT PROPER SAFETY ATTACHMENTS AND EQUIPMENT.****
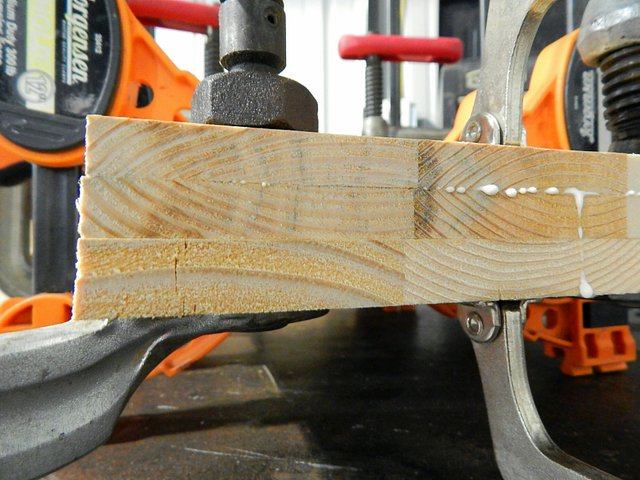
If you have been following along in the series, you’ll know that we first take apart the pallets and then run the boards through a planer to get a smooth surface and remove any residue that may be present. We are going to use these boards to make a sturdy piece of lumber by gluing and clamping the individual boards together side by side first and then stacking them three high.
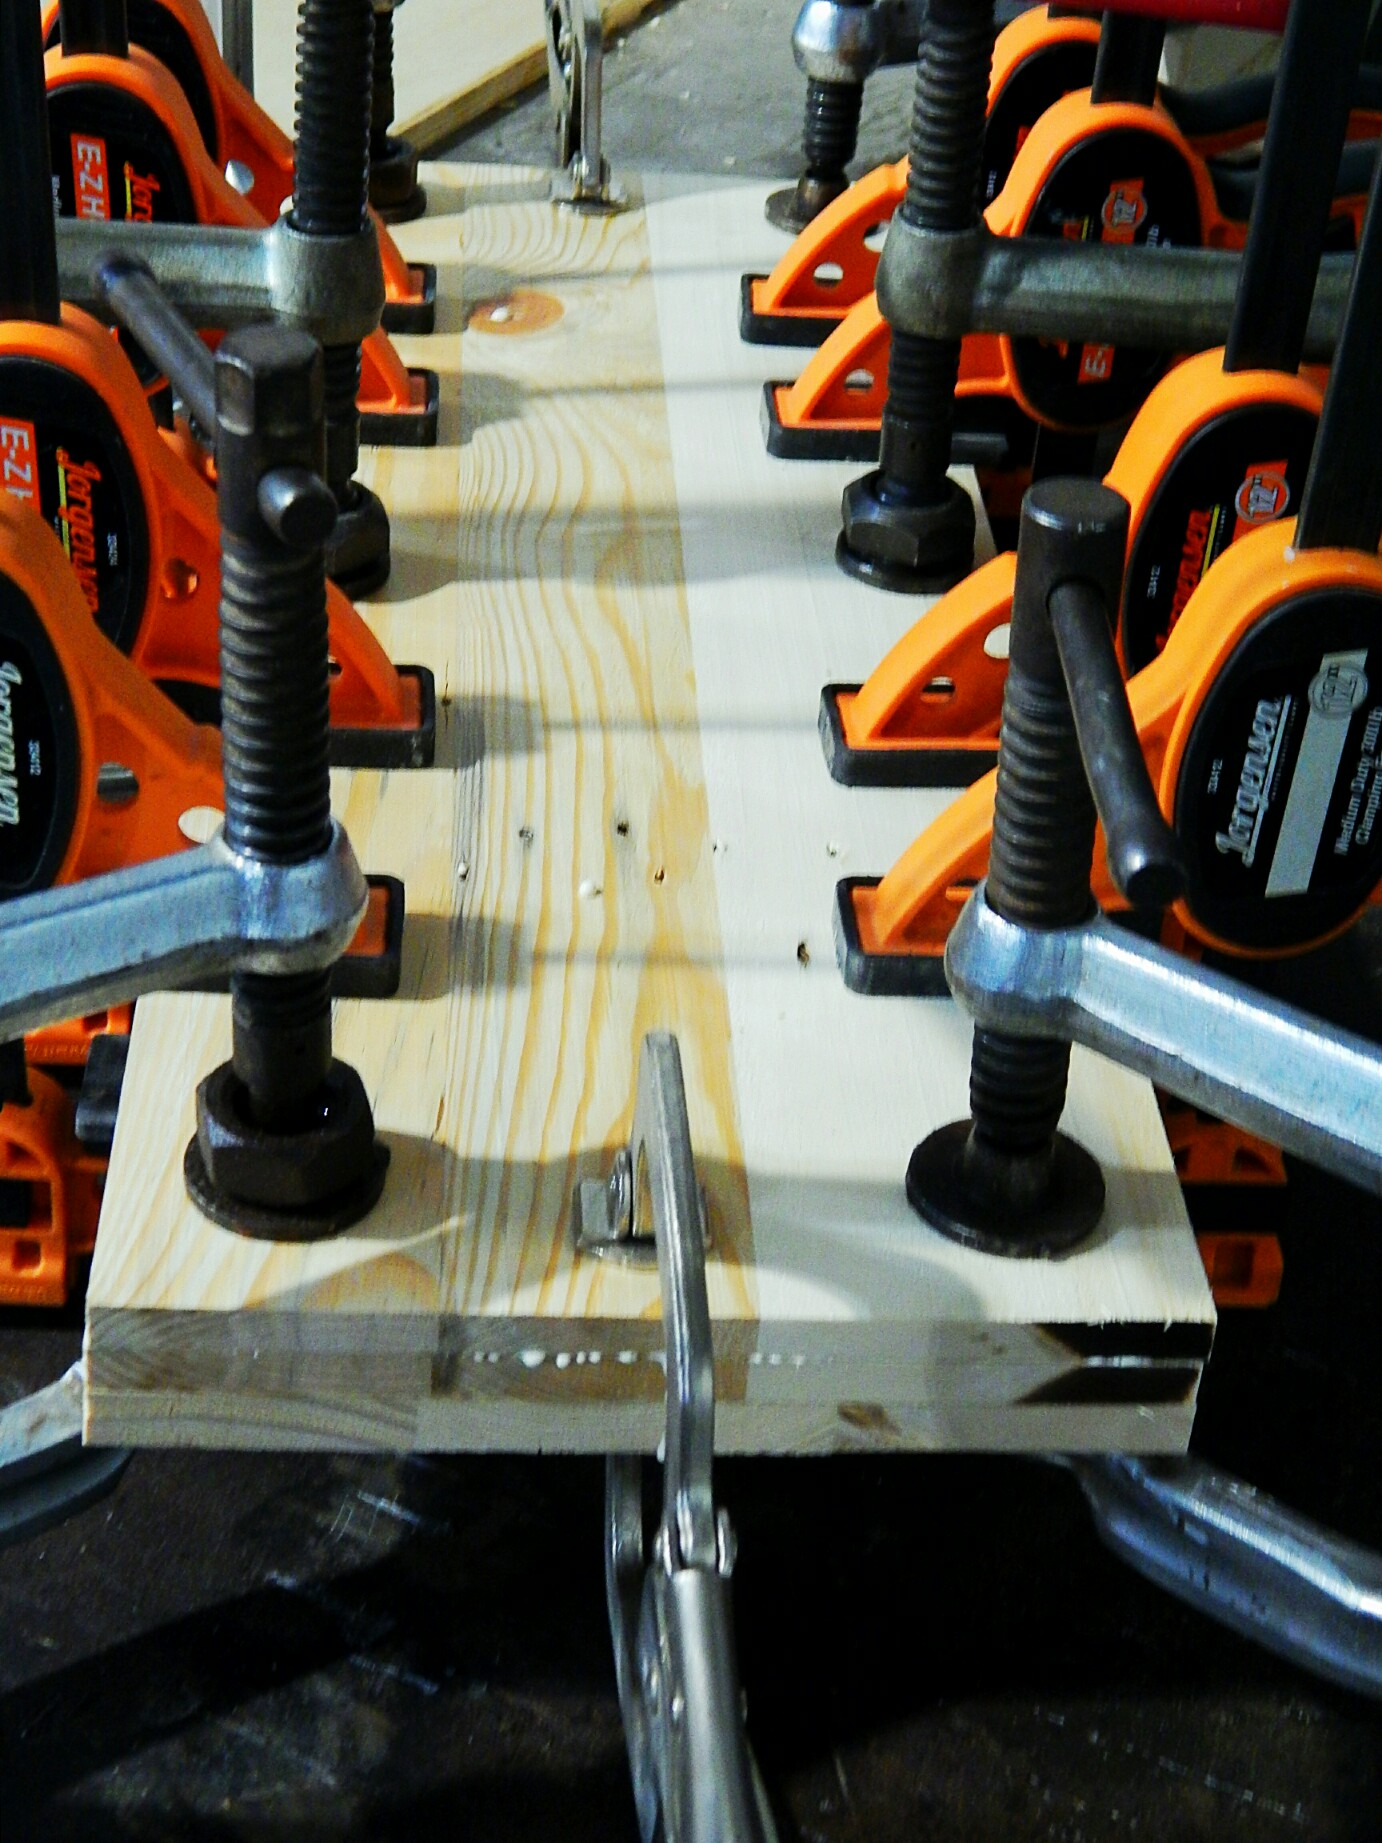
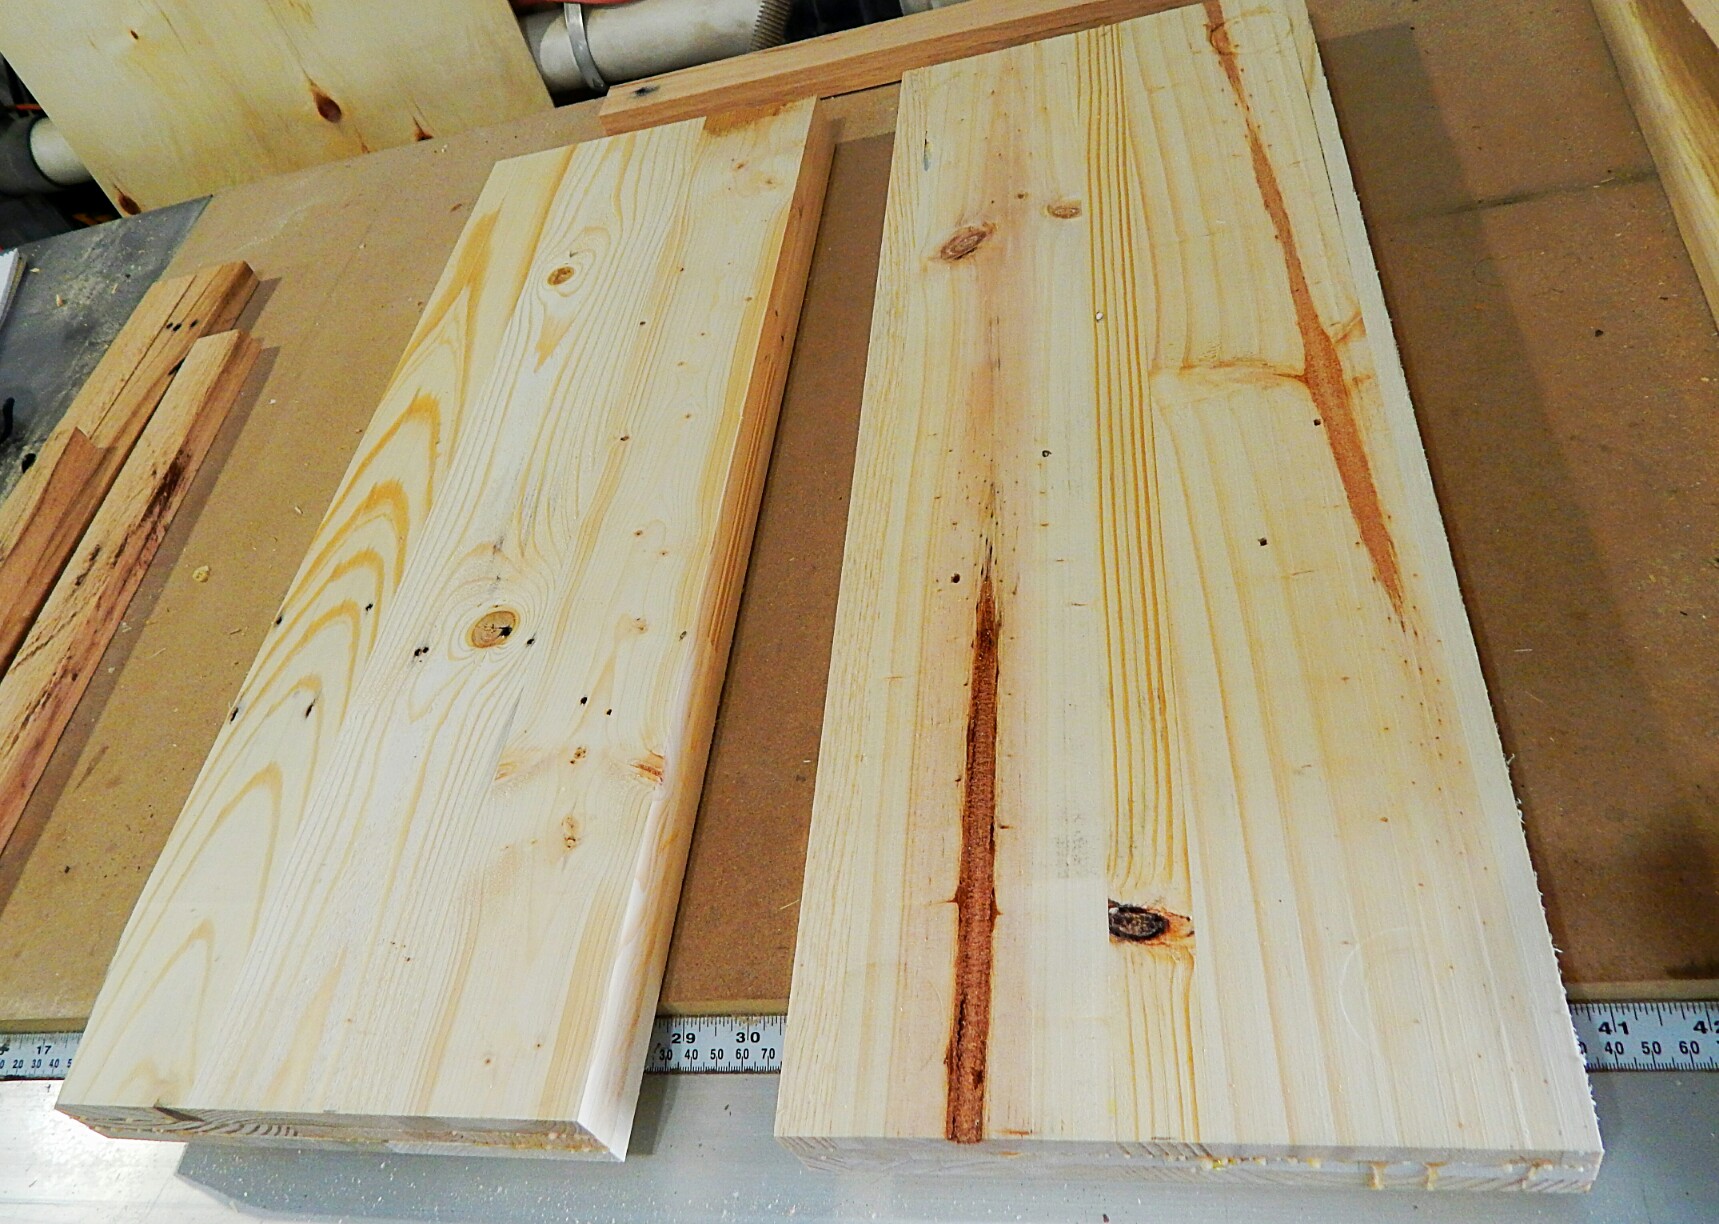
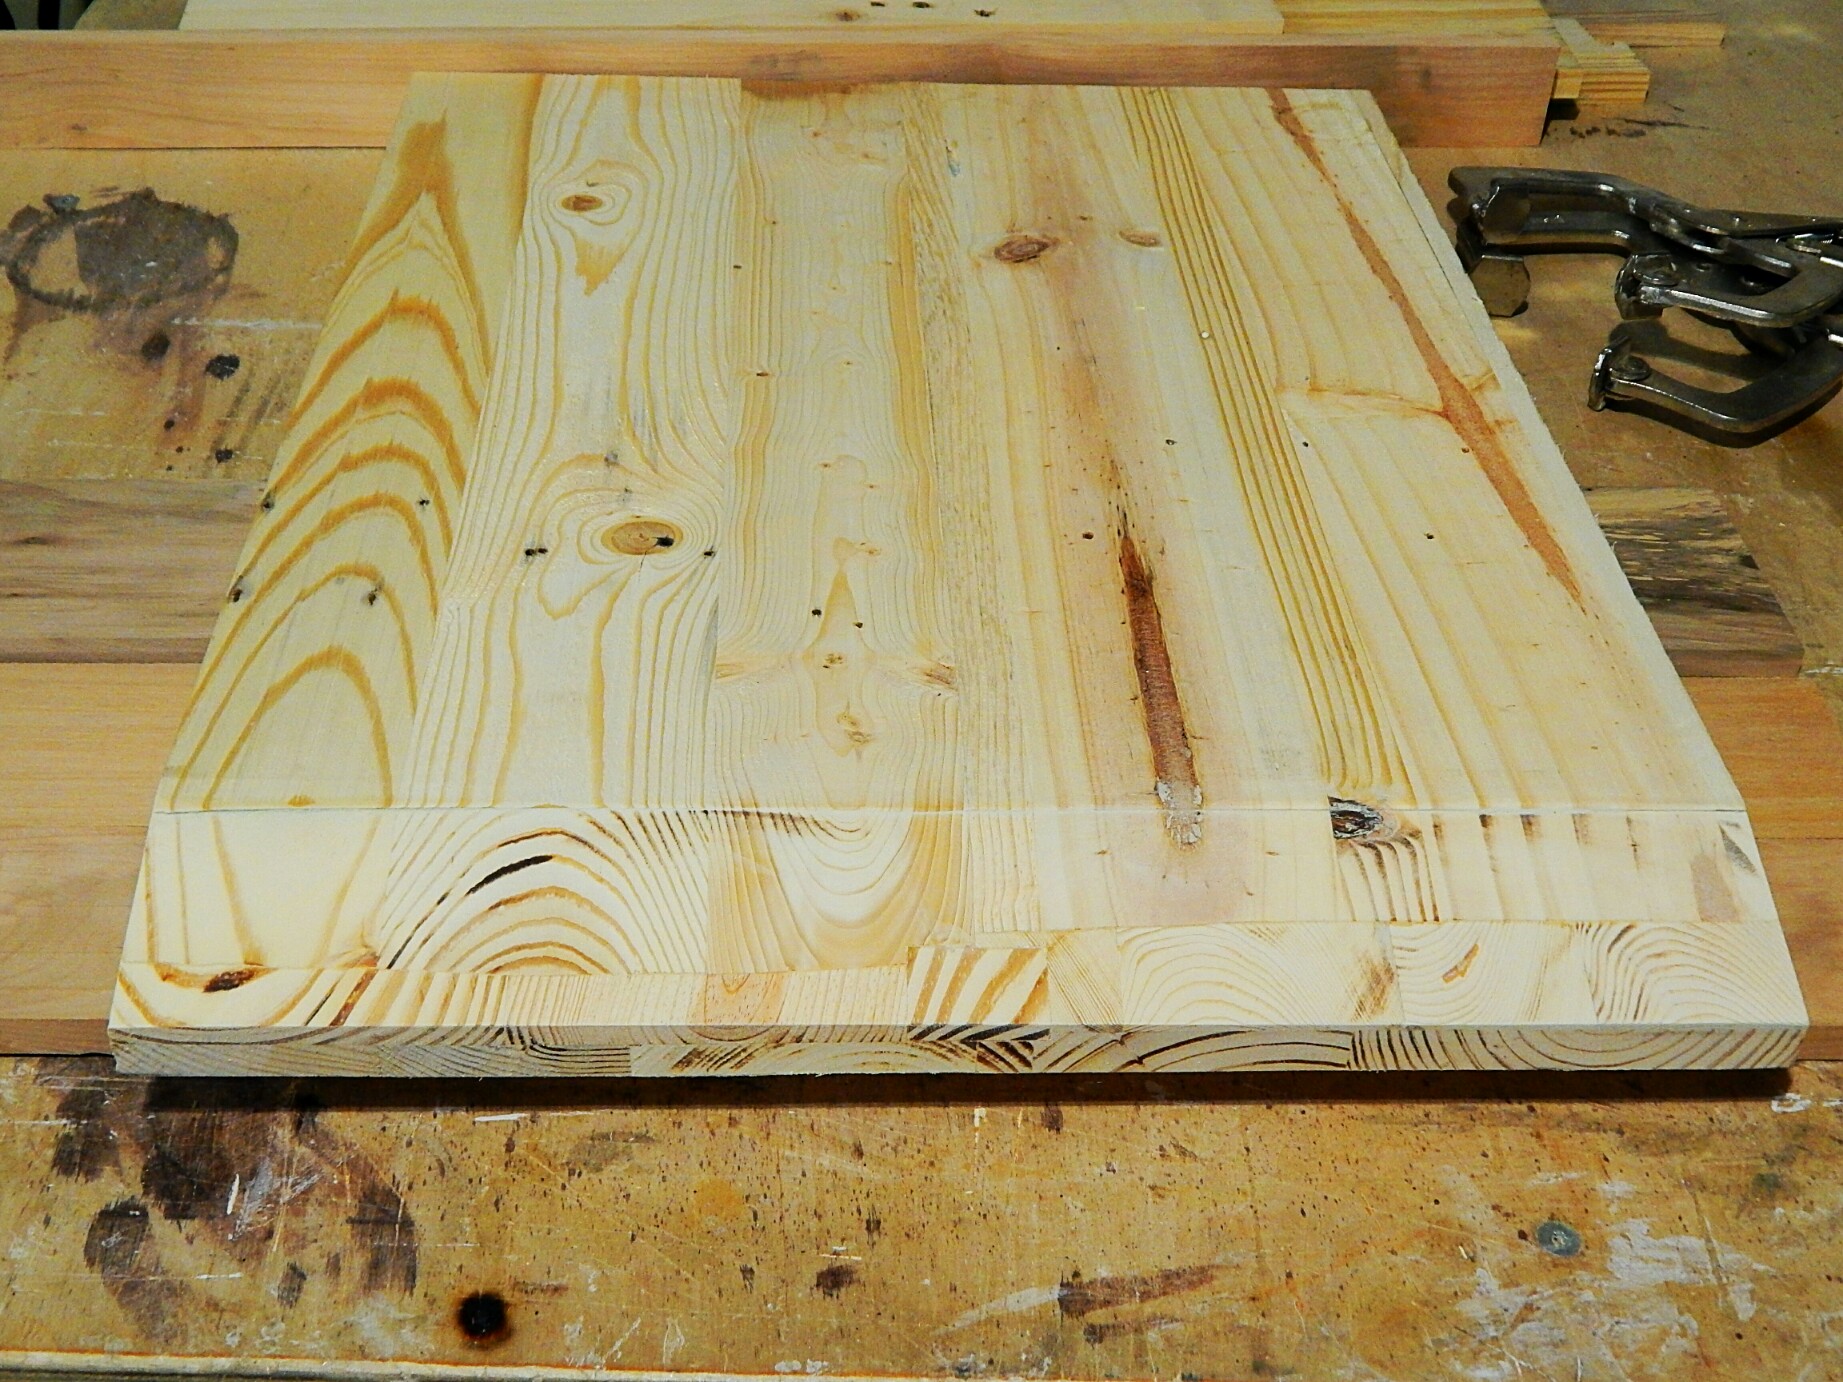
Once you have glued them together and they have had time to dry, run them through the table saw to get a straight edge. This should leave you with (2) 24” x 8 7/16” x 1 ½” base pieces.
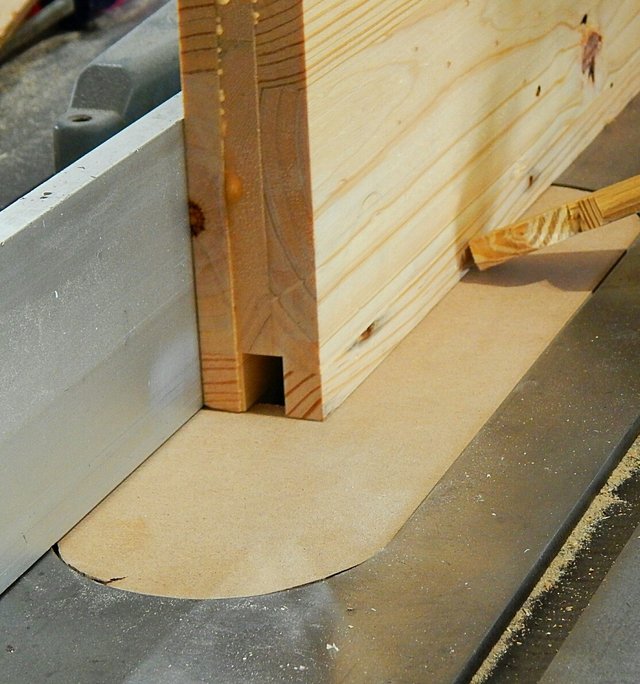
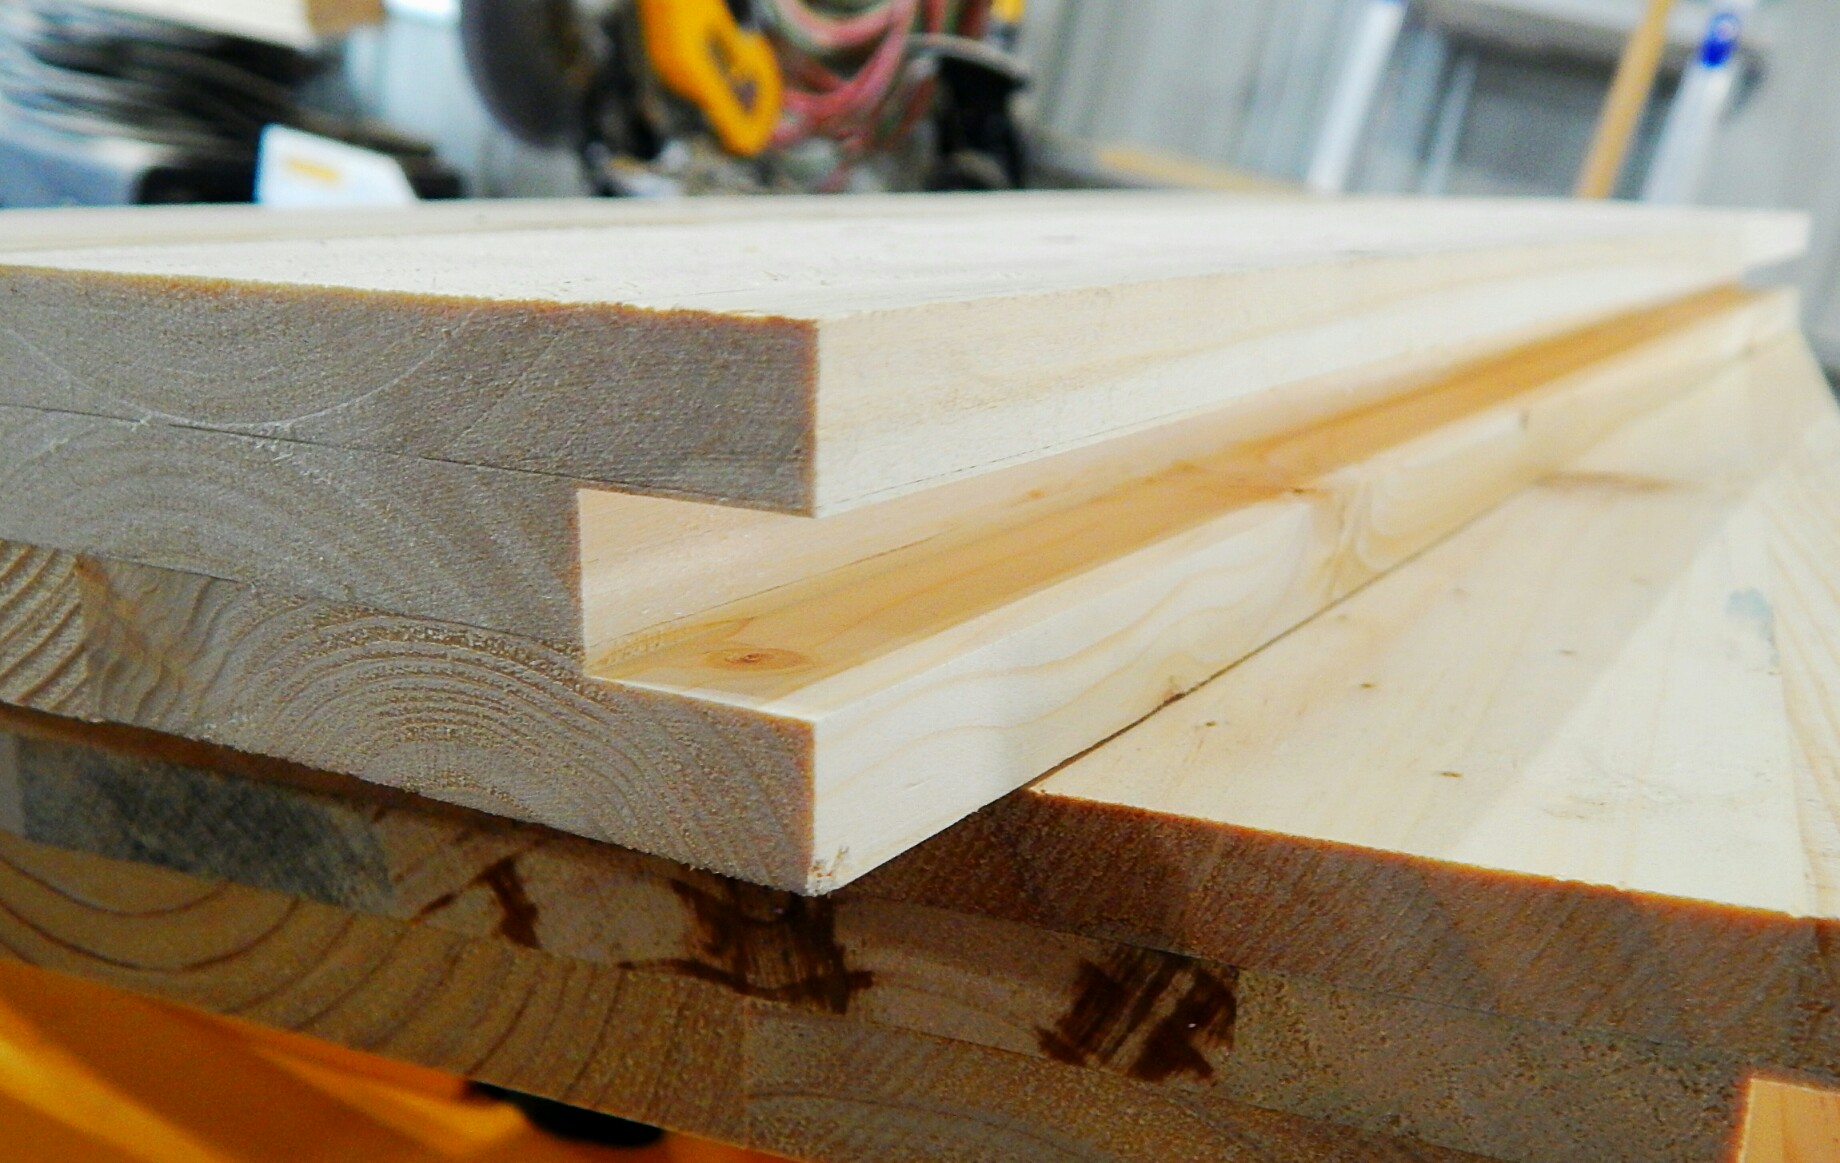
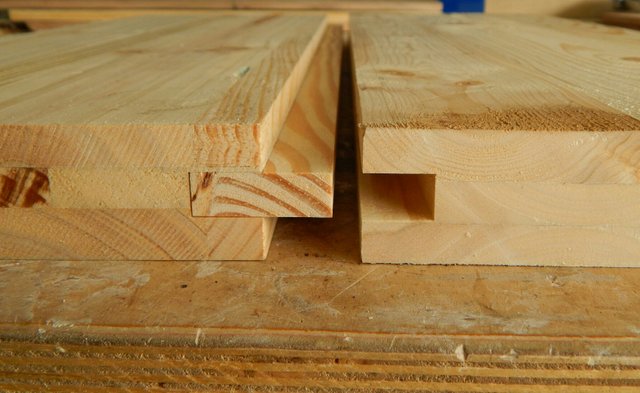
Then we are going to use a spline to connect the two pieces of lumber together, making our base. We do so by using a ½” Dado blade set to ¾” up and ½” off the fence. Run each board through on one side, leaving a perfect spacing for our spline piece to fit in snuggly. Glue and clamp.

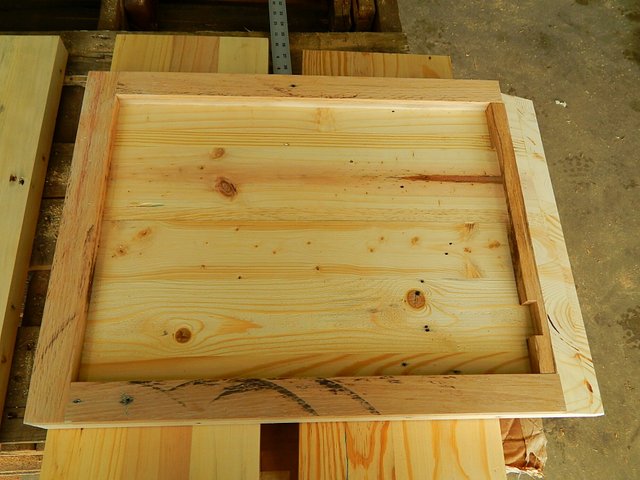
When the piece is dry (about 24hrs) we can run it through the table saw at a 15 degree angle to make the ramp for the entrance of the hive. Make sure to leave the base measurements at 21 ¼” x 16 7/8” not including the ramp.
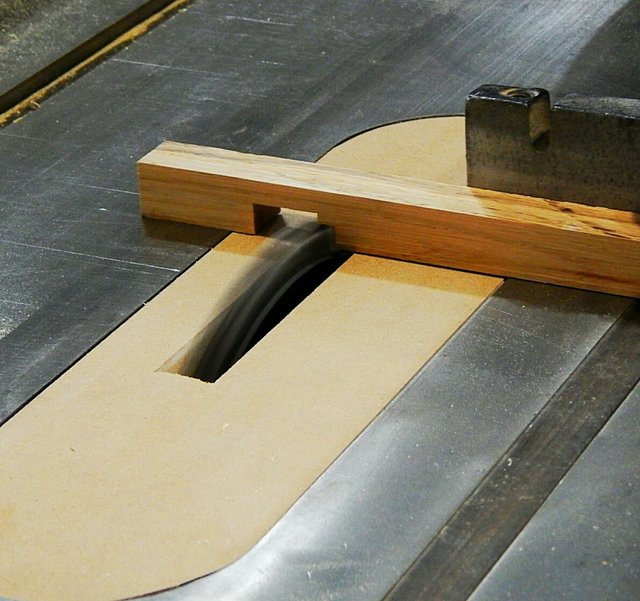
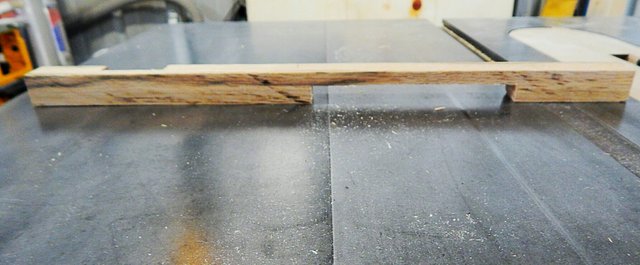
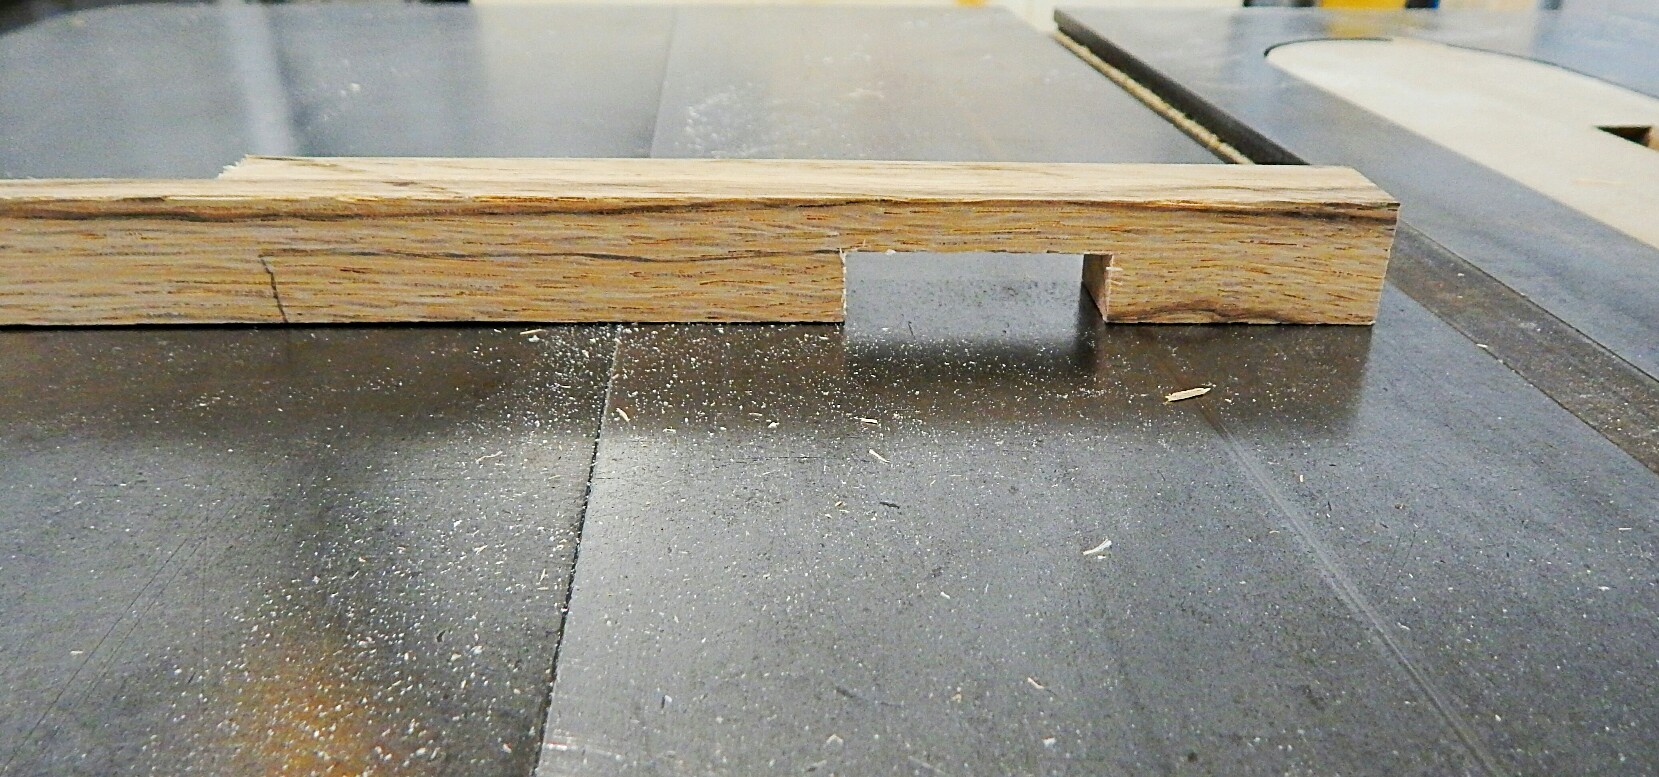
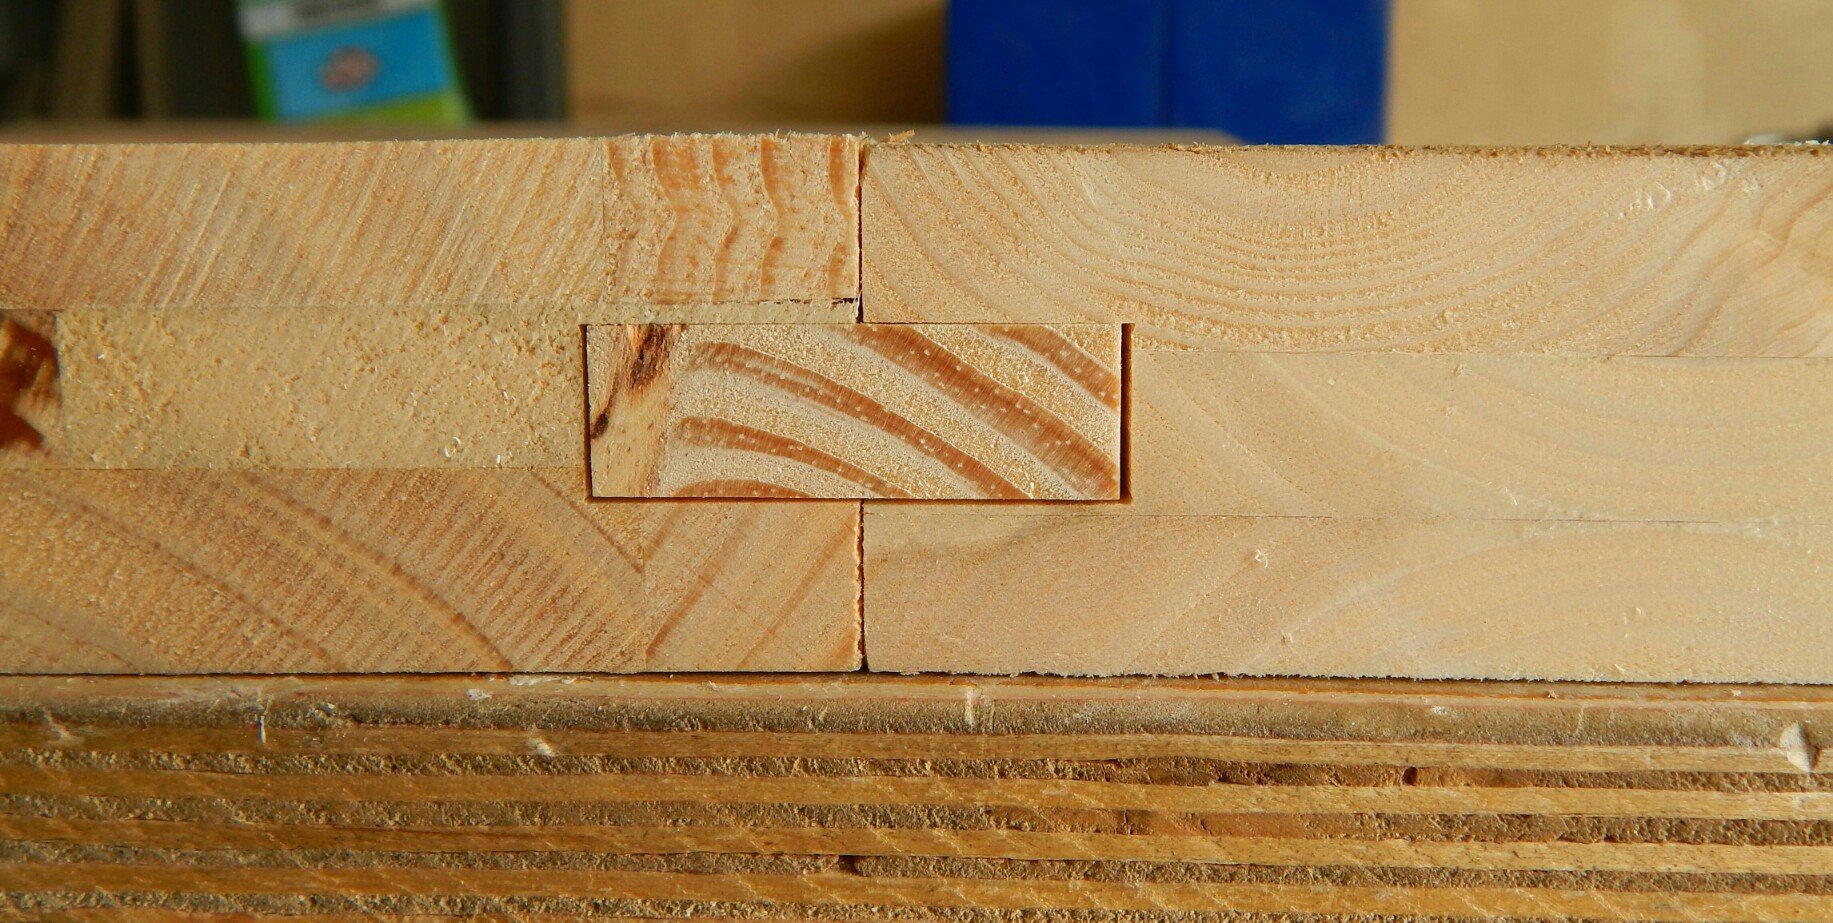
For the entrance reducer, we are trying something a bit different. Because we want to be able to control the air flow depending on the weather, we are using the dado blade to cut two different sized holes on different sides that we can flip to allow more or less air to enter the hive, removing it completely in the summer to allow more air circulation. This way the bees are spending less time trying to cool the hive and more time making honey. The measurements here are up to you depending on your weather and needs.

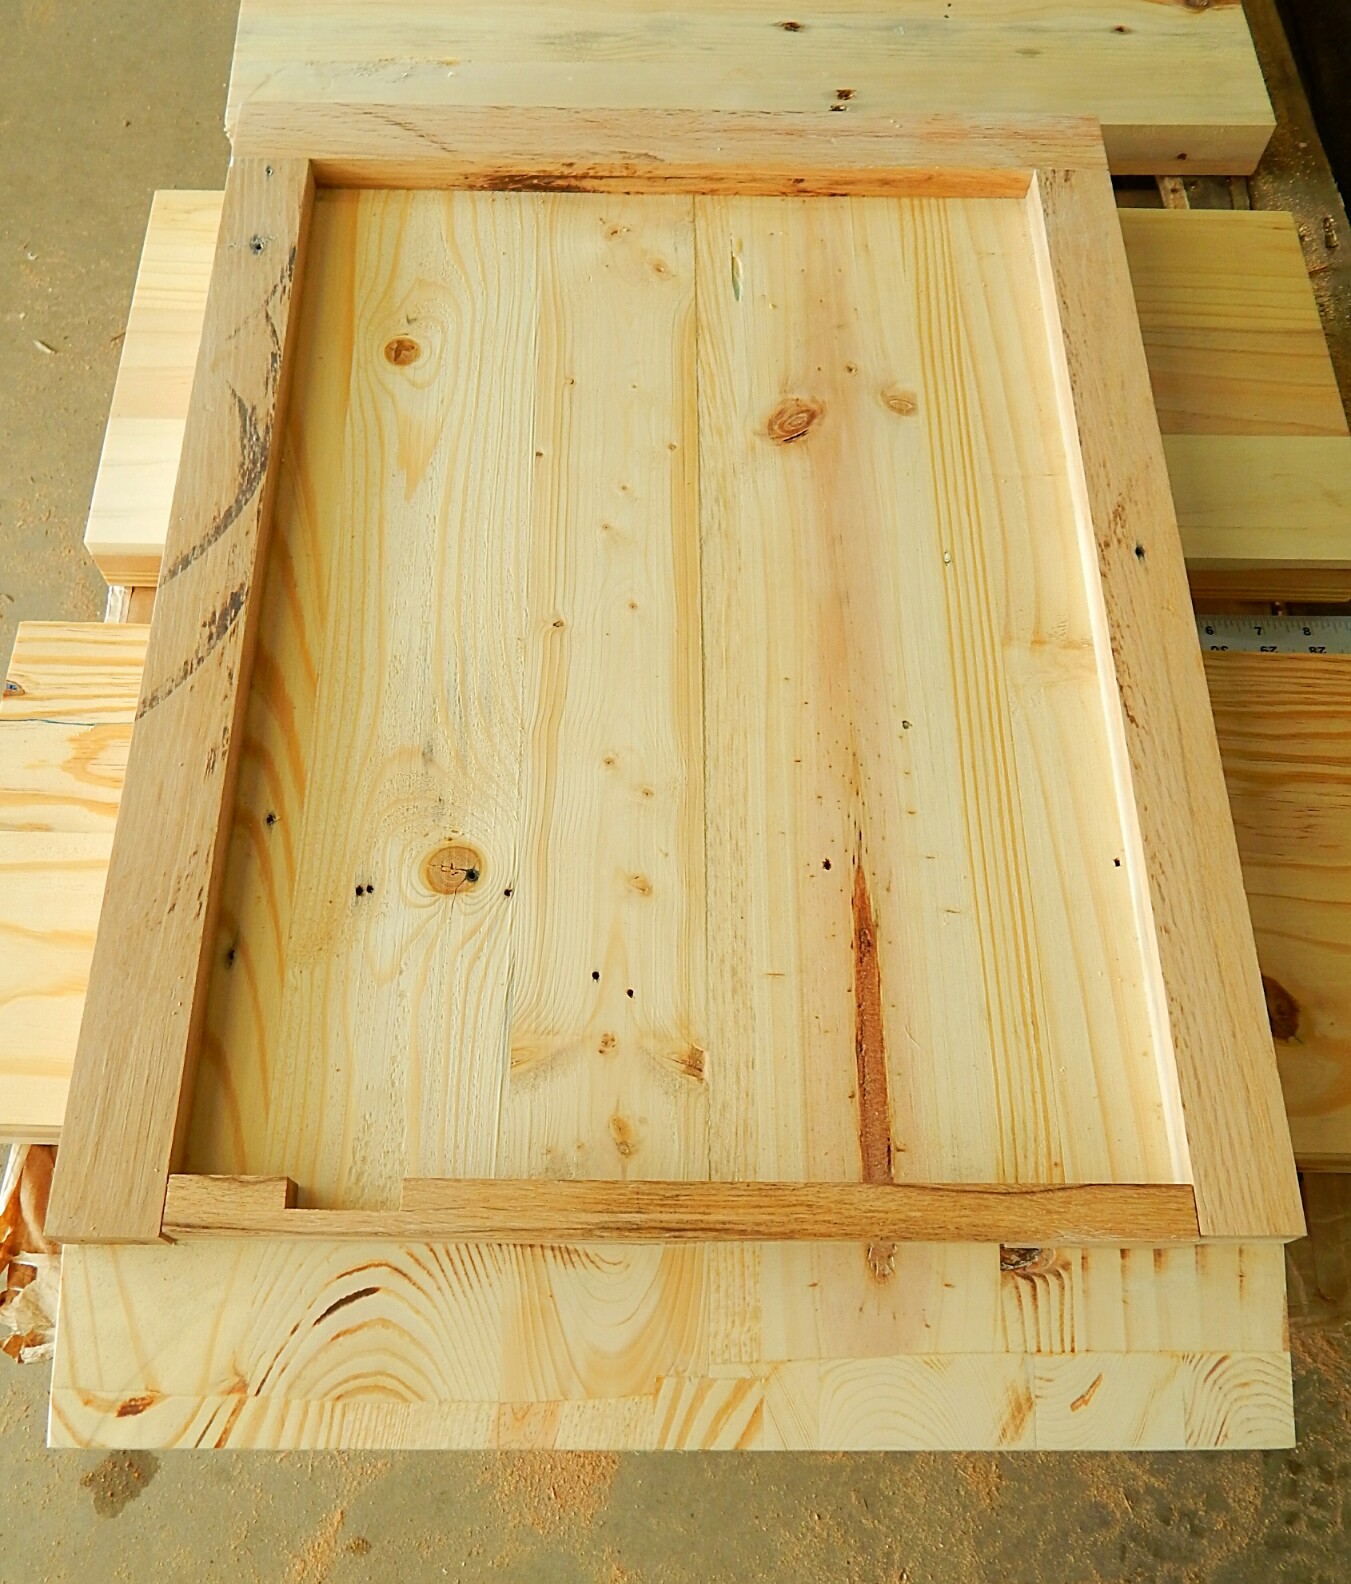
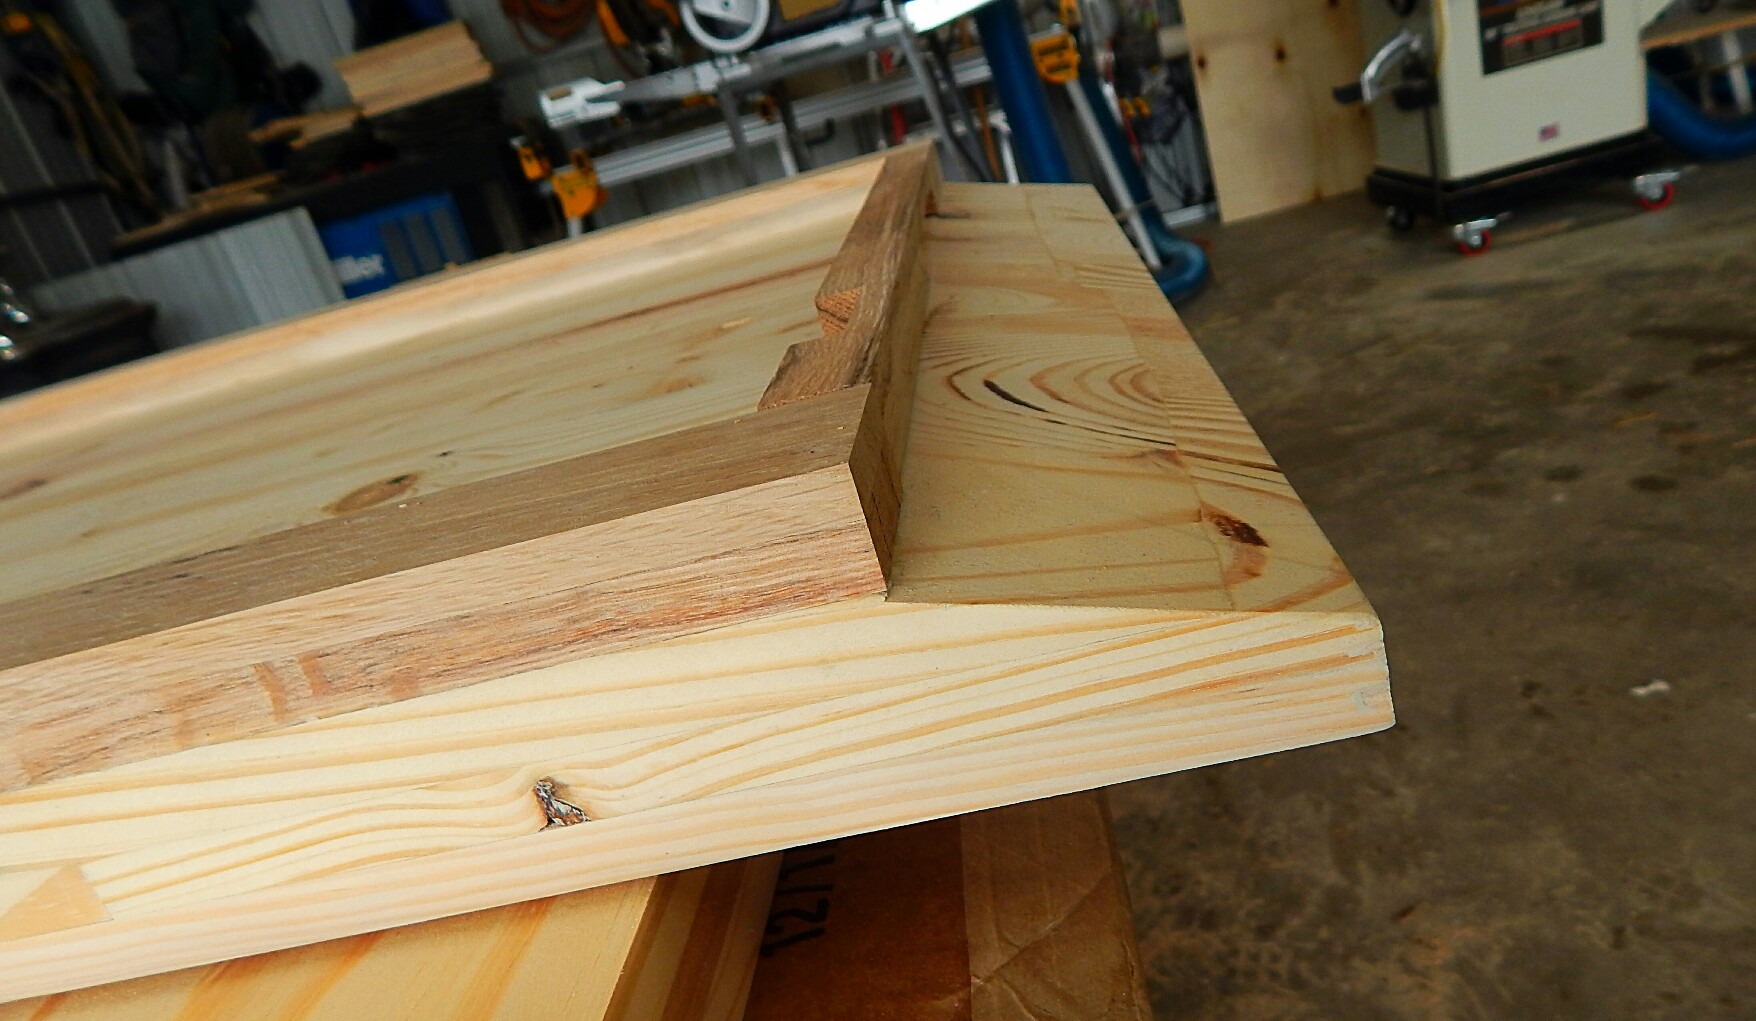
Next we just glue and clamp the perimeter pieces in place and it is ready for the hive box.
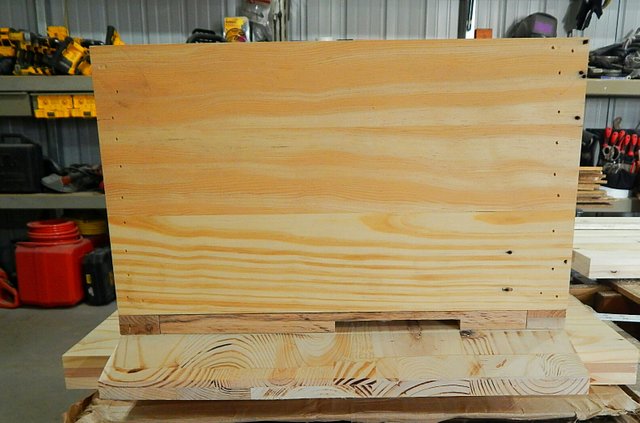
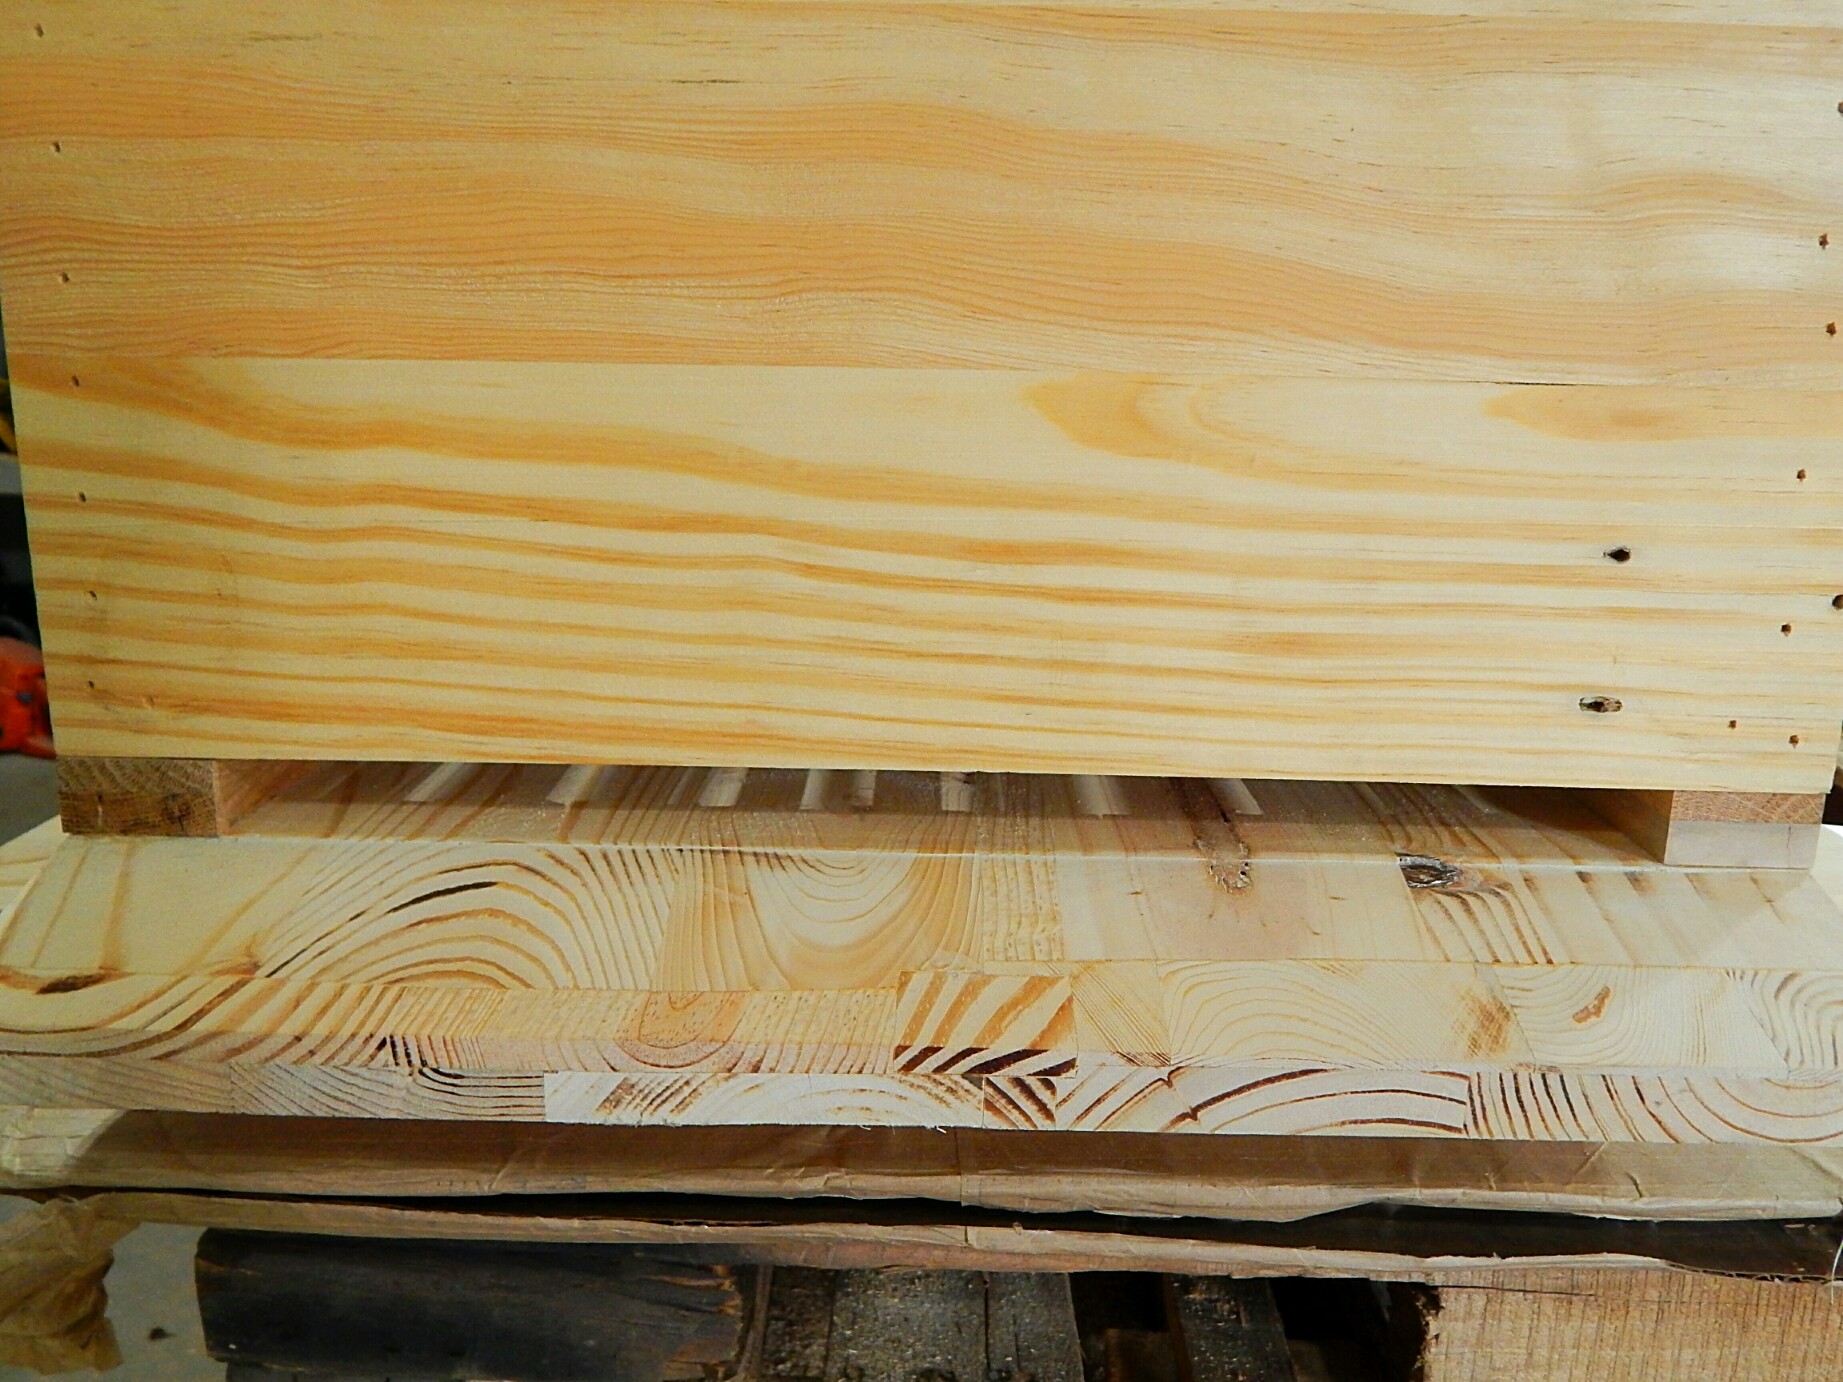
The base with hive box on top
The entrance reducer removed for warmer months
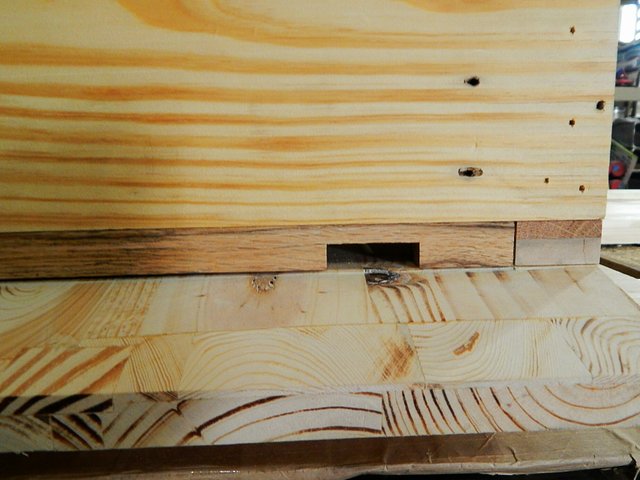
Entrance reducer just slides into place
Finished Bee Hive Bottom Board
Stay tuned for super boxes, the warre top and the finished beehive!
Pallet Wood Beehive Series
Thank you so much for reading,
Happy Homesteading.
All photos and content are our own. Please do not use any part of this post without our expressed permission. Thank you.


Great tutorial. I really need a dado blade on my table saw. I've never even taken the original blade off mine in 15 years of use.
Thank you! We love the dado blade, it has saved so much time. It's better than a loud router too! We have the dial-a-width by Freud and have been really pleased with it. We tried the shim sets previously, and like this much better.
Such detailed wood working. I often wish I had all these tools. Then I realize that I would if I didn't keep buying music gear.
Musical gear is good but honey might be sweeter!
Daaawww <3
I've heard your music @asonintrigue, I think you made the right decision! ❤ Thank you!
Daaawww <3
Heard you on the MSP Waves Broadcast.... Good Job man...
Ive always been interested in getting a Beehive. Thats a nice build you did there, good skills.
Thank you for posting this series! We're a couple years away from beekeeping, I think, but this is going to be great when we do tackle it. :)
You're so welcome, and thank you for the amazing support. I can't wait to post it all completed...it's turing out really well. And yes when you are ready, you will love keeping bees! They are so amazing.
I sent the post to the Husband via email, and he wants to know why the base is so thick? I apologize if you covered that and we missed it.
No you're fine! So we live at 6000ft elevation and our winters can get cold. In fact many people have not been able to keep bees alive through the winter. So last year my husband started to experiment with thicker wood for insulation purposes (to increase the R value) and our bees did really well. So we are continuing with that same idea this year improving the design where we can. So....long story short the thickness is to increase the R value to help insulate the hive.
Thank you for explaining that! It makes a lot of sense...I guess the same principle would hold true for really hot weather in the summer too, right?
Yes! Keeps the heat out in summer and the cold out in winter. We really are happy with it so far and have been impressed with the results.
I'm so much looking forward to getting bees one day. It's in the "5 Year Plan" somewhere TBD :))) This year will be for prepping and laying groundwork in the form of planting perennial flowers and herbs so they'll hopefully be well established by the time we can add beehives into the equation. So I'm glad to be soaking in all this good info from the established beekeepers!!!
Today I learned something new. Thank you very much
You're so welcome and thank you for the support!
I have a lot of pallets in my back yard, usually using them for barbecue fire . Now I will think twice before drop them in the fire :) Thanks for sharing!
You're welcome! We have a lot of other pallet projects coming up that we will share as well. We also use the scraps in the bonfire too...dual purpose 😉
We have a woodworking community here on steemit and would welcome you. We have a discord channel, link here: Woodworking on Steem Discord Channel