Making A Complete Beehive From Scrap Pallets - How To Series; Part Two - Hive Box
When making your own beehive out of pallet wood here are a few things to consider:
You will need access to a table saw, 12" jointer or planer and several clamps to complete this project.
Avoid hardwood for this project due to its low R value and for the additional weight that it adds.
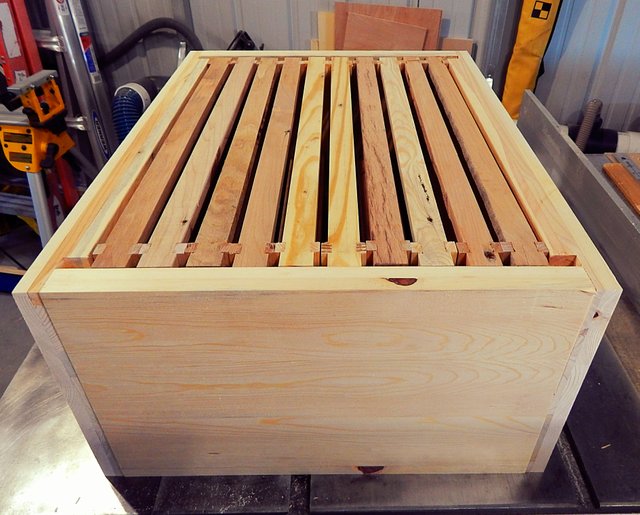
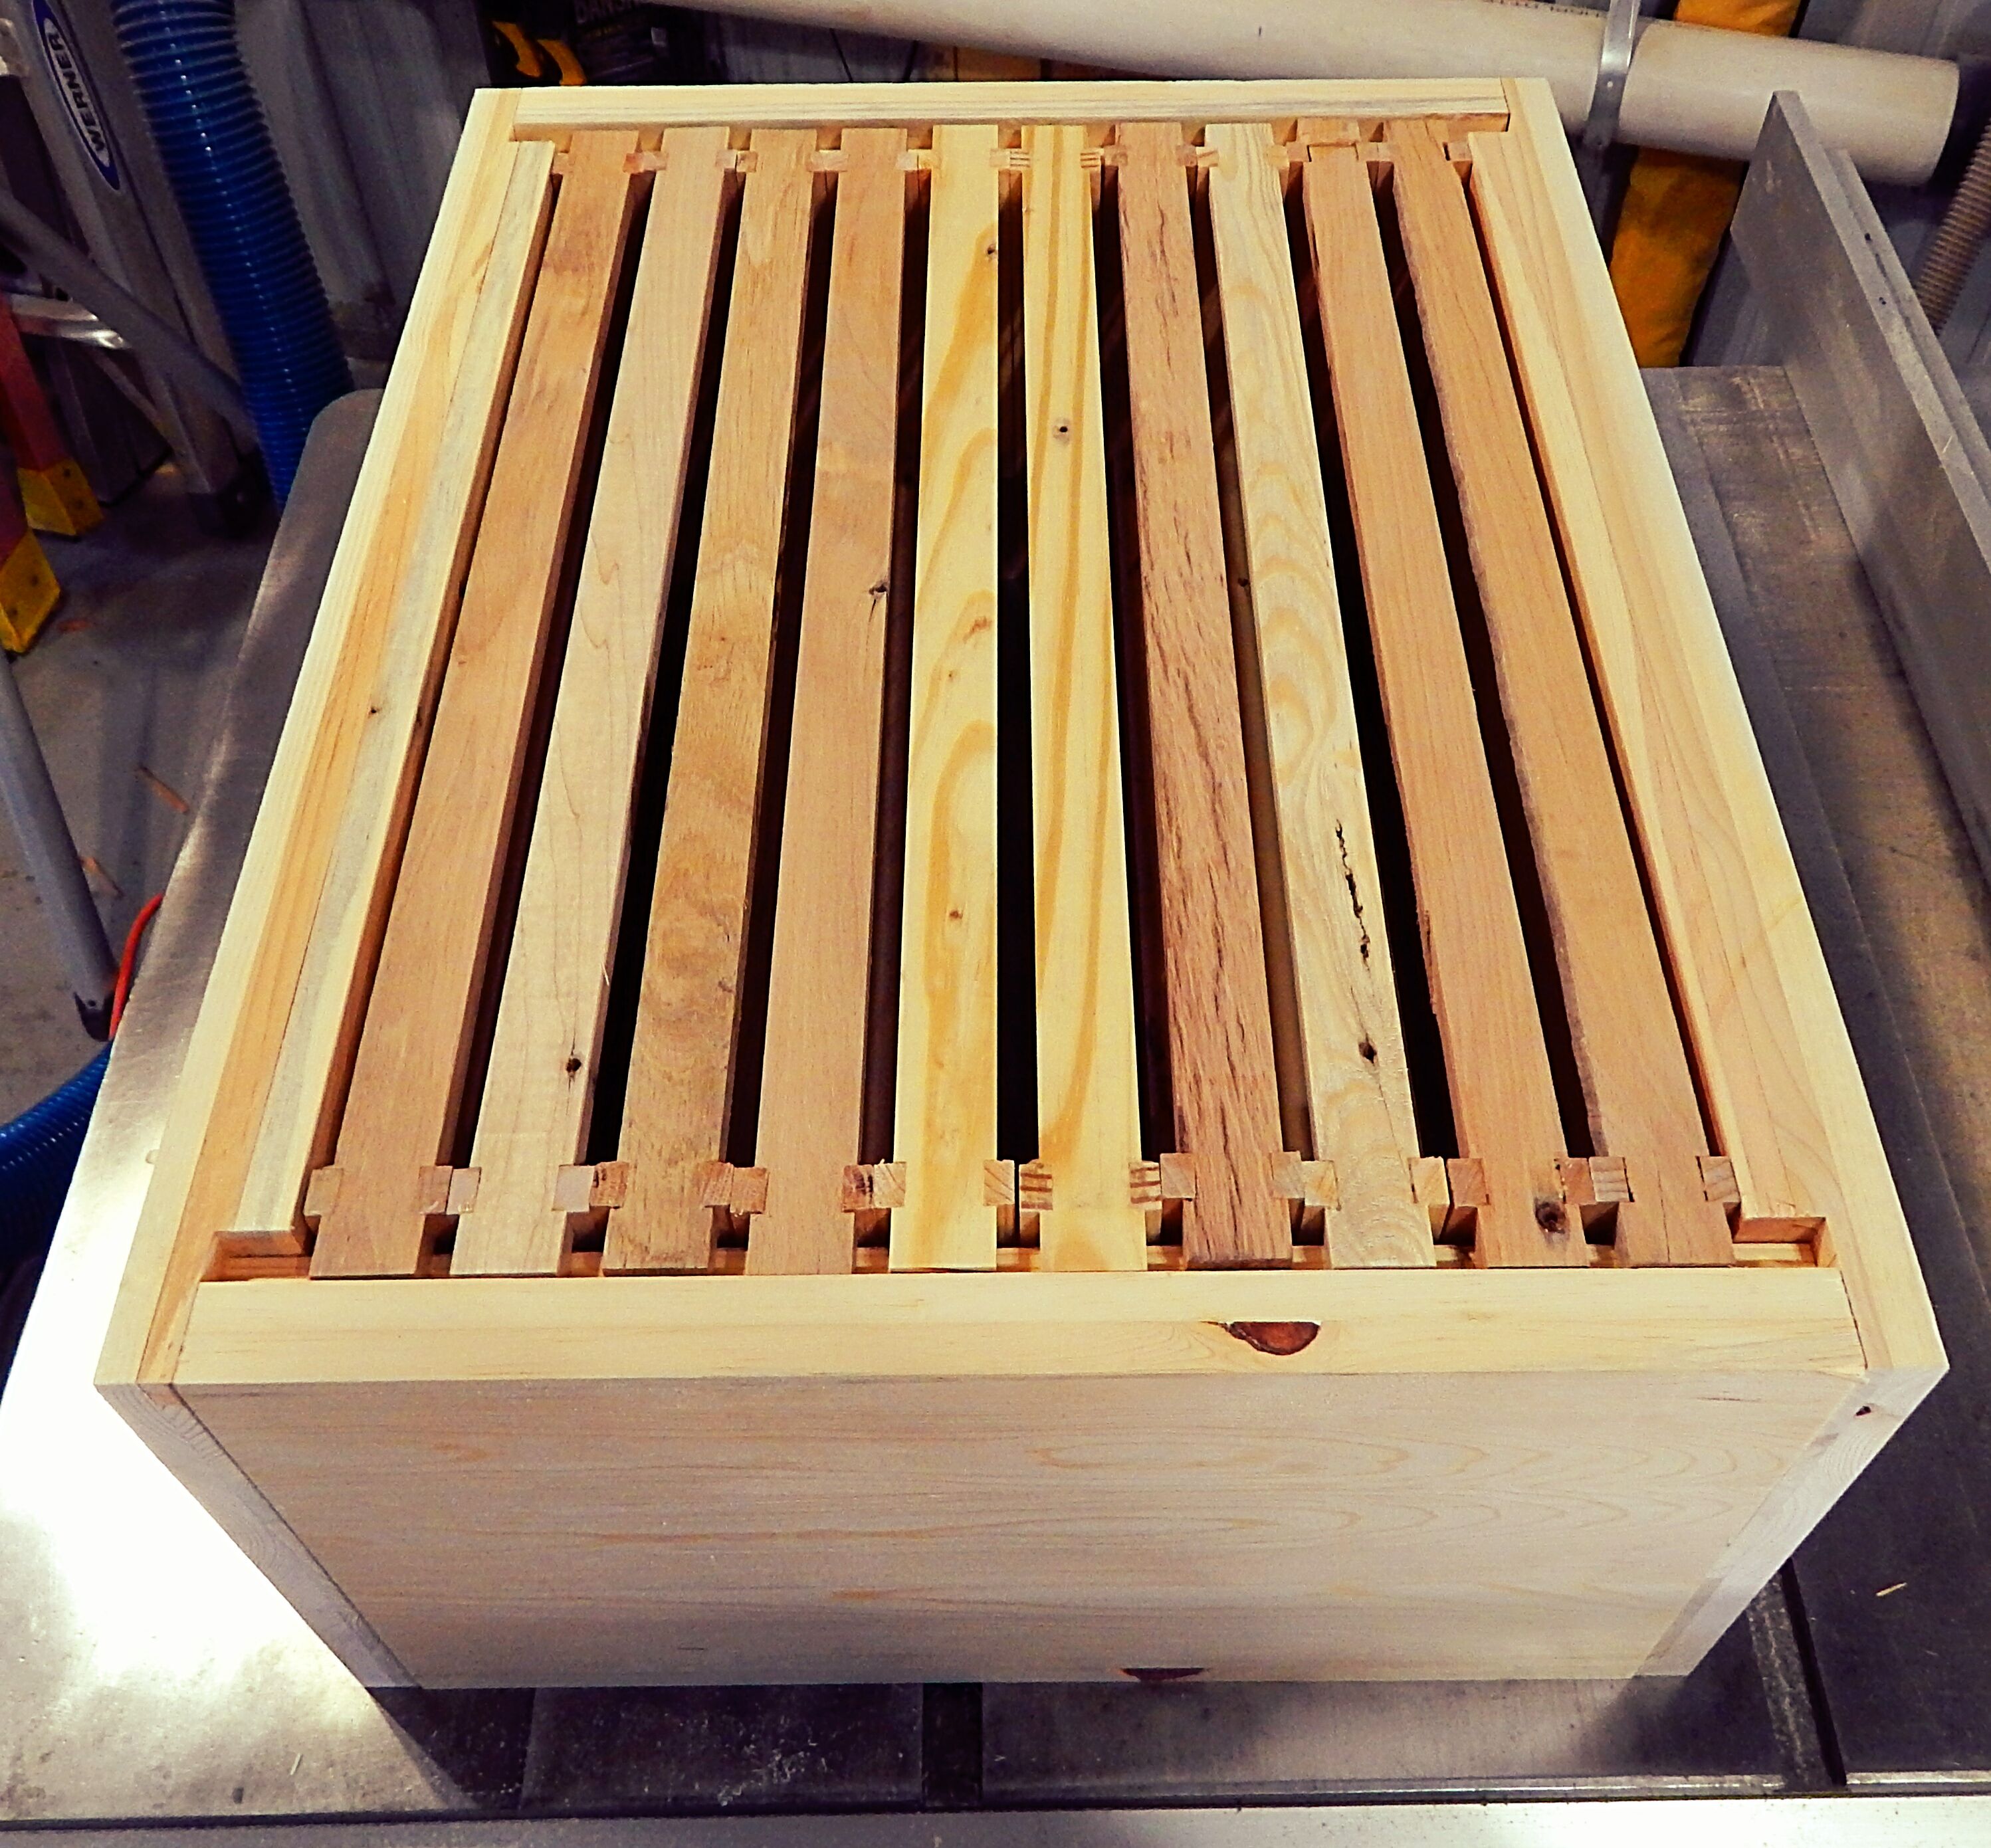
This hive will fit standard langstroth frames, but the exterior dimensions will be larger due to increased wall thickness for insulation purposes.
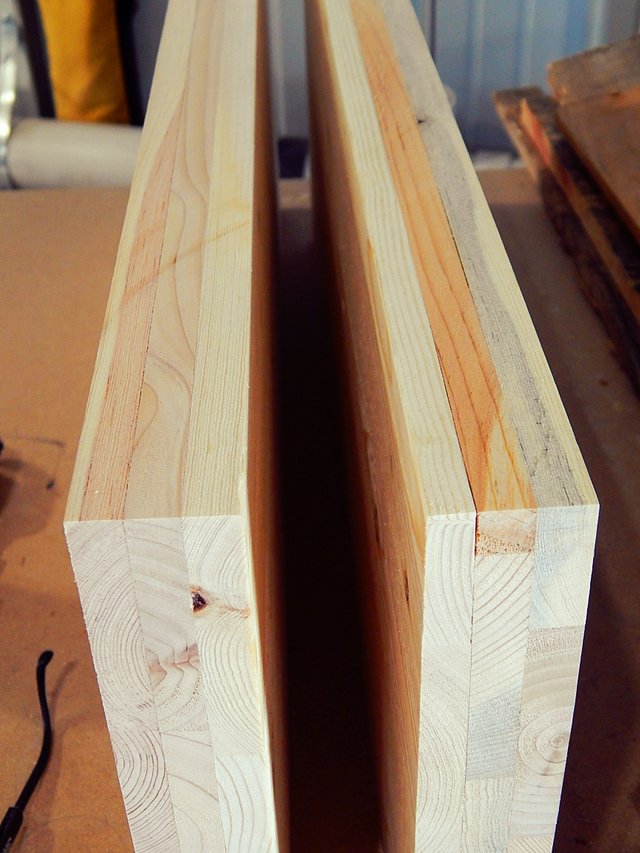
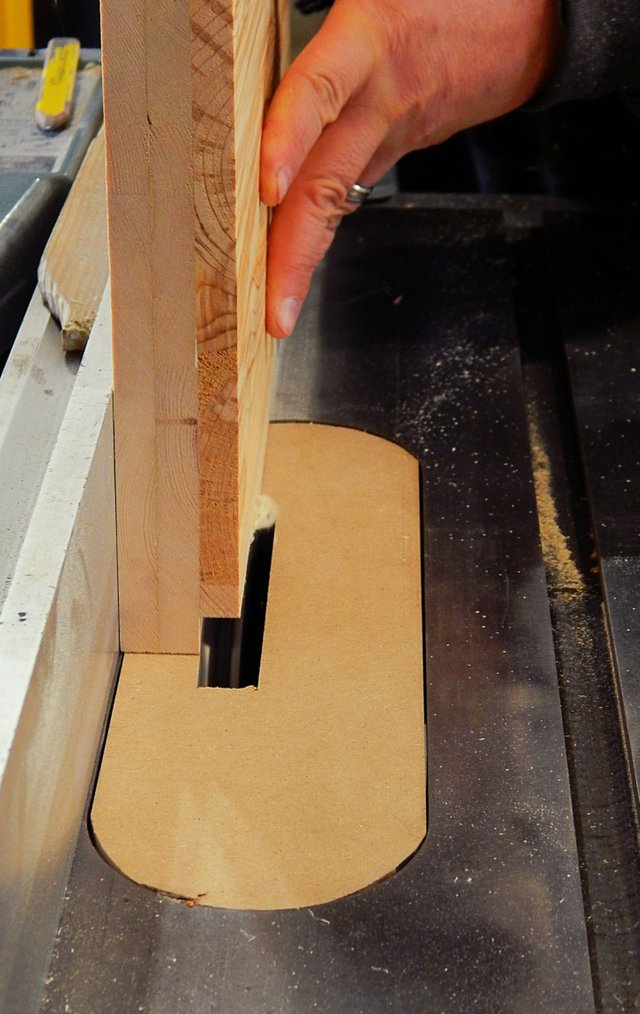
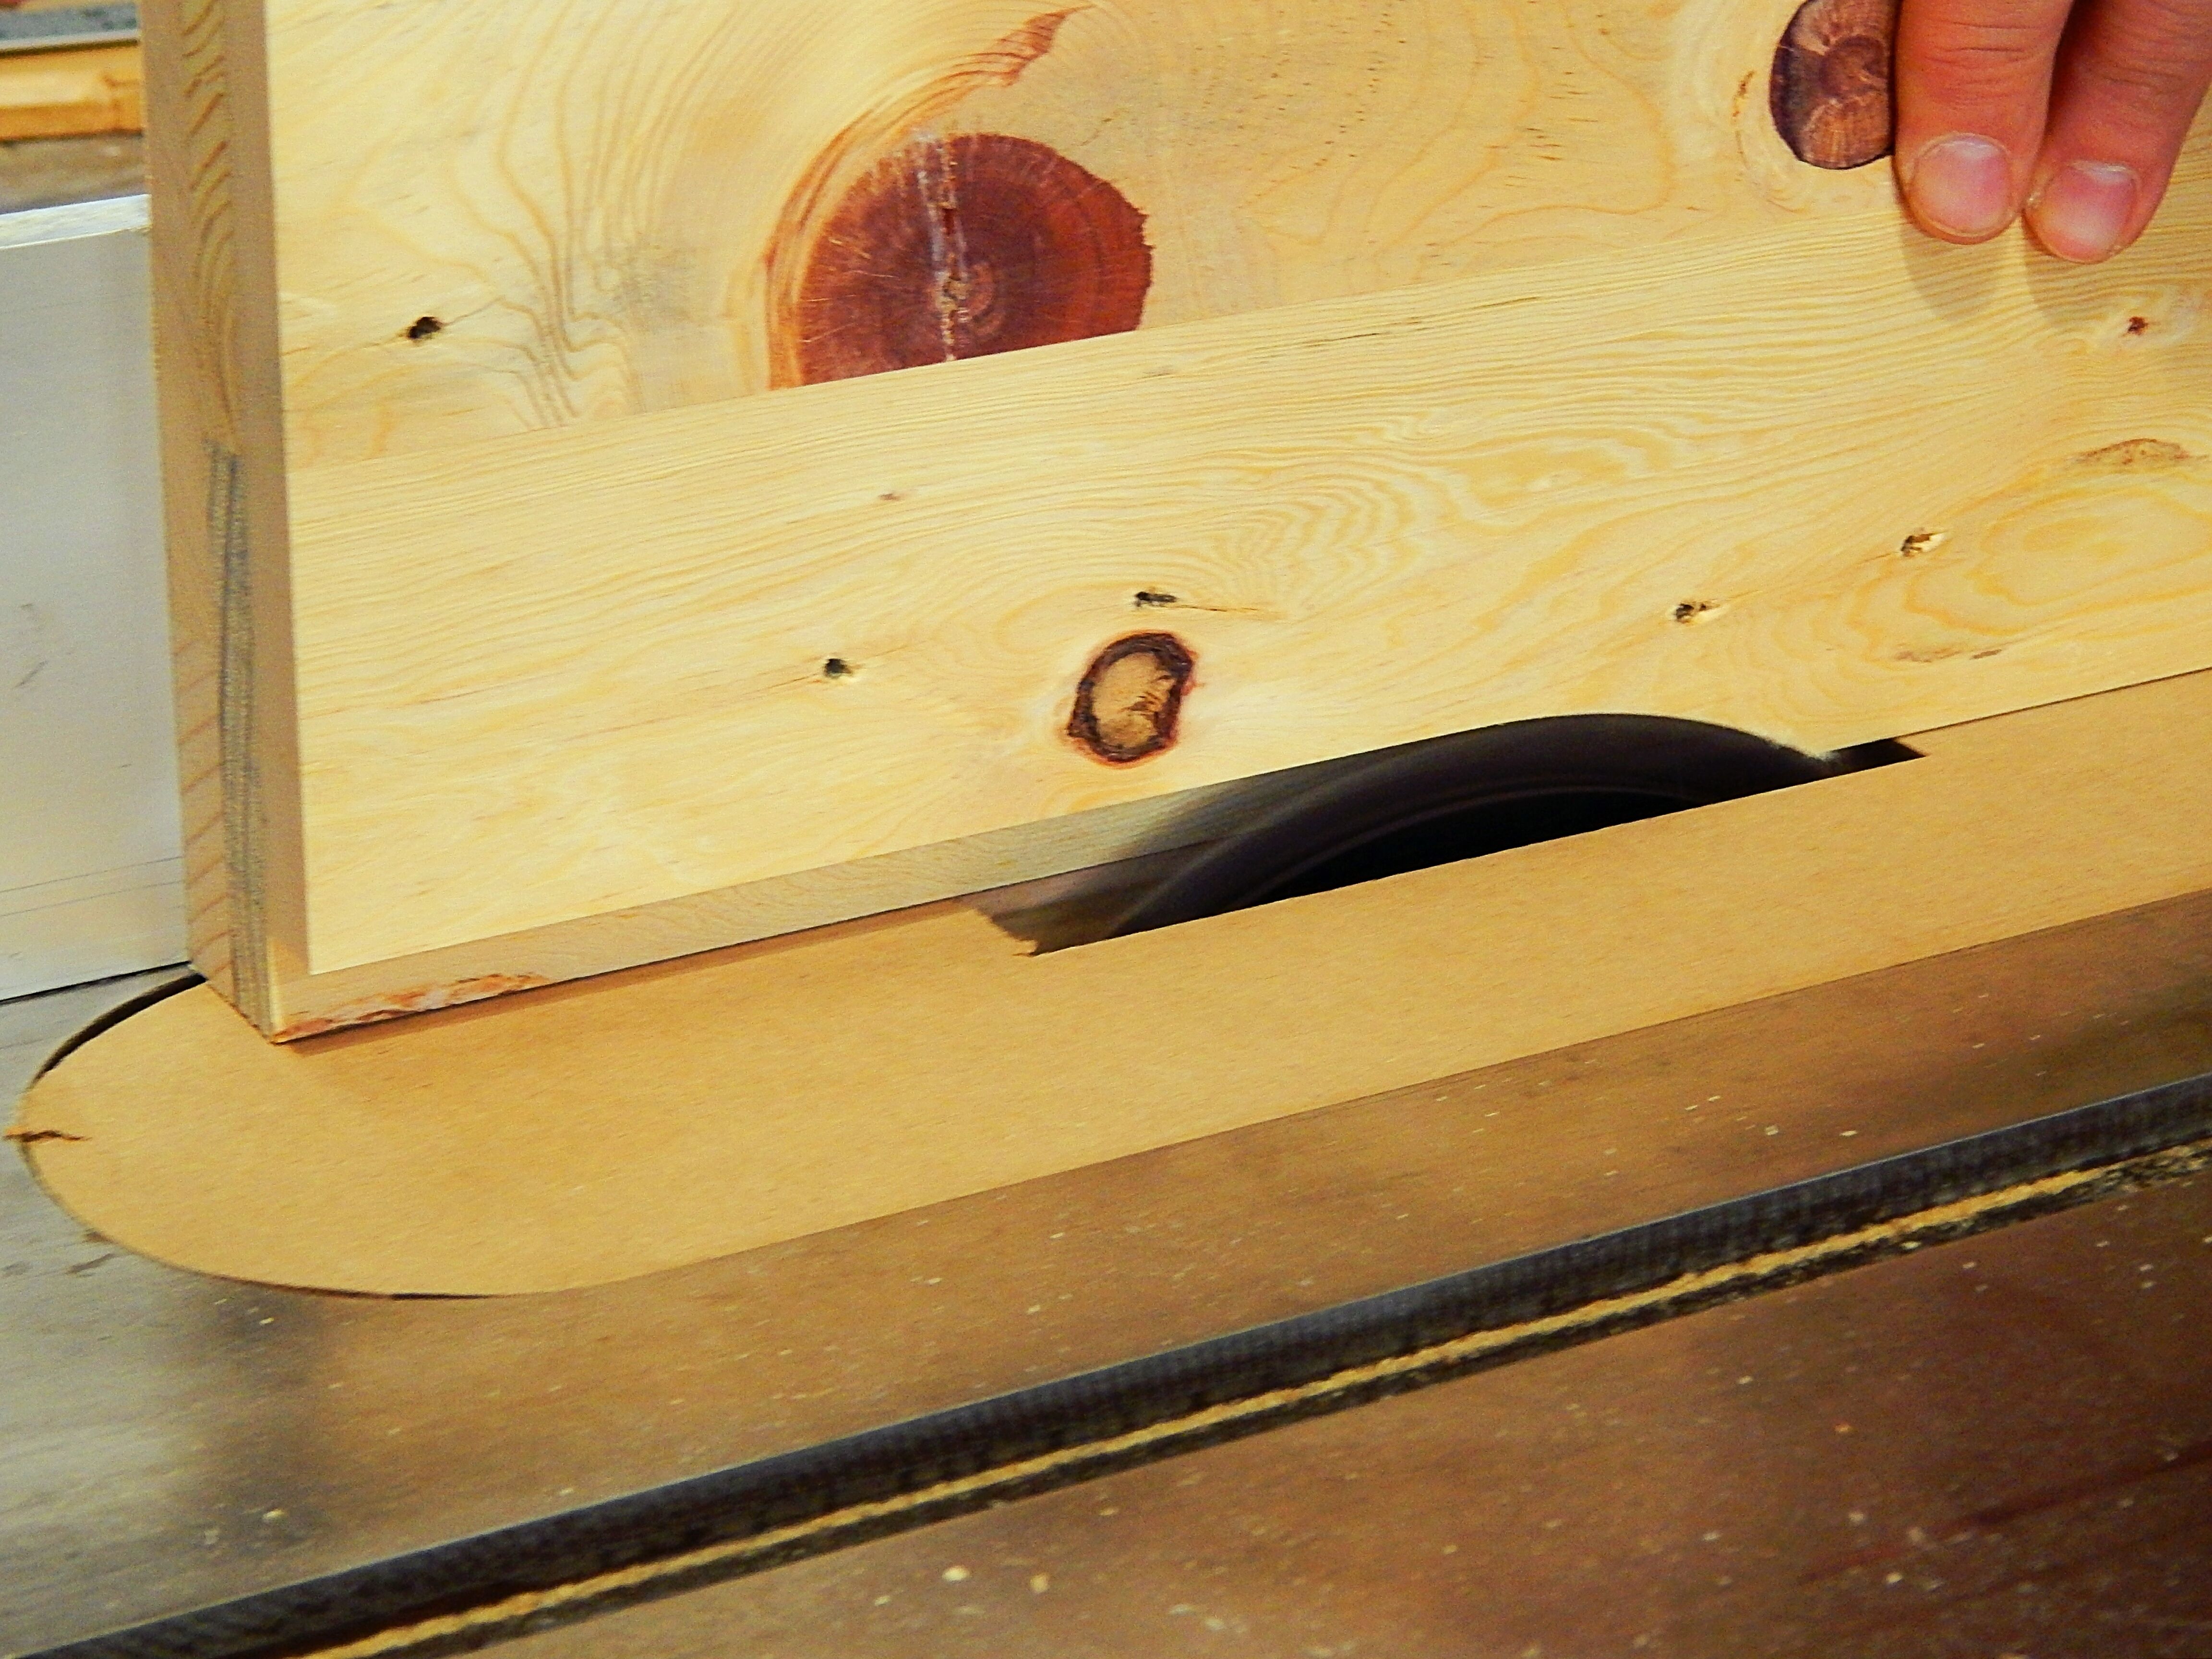
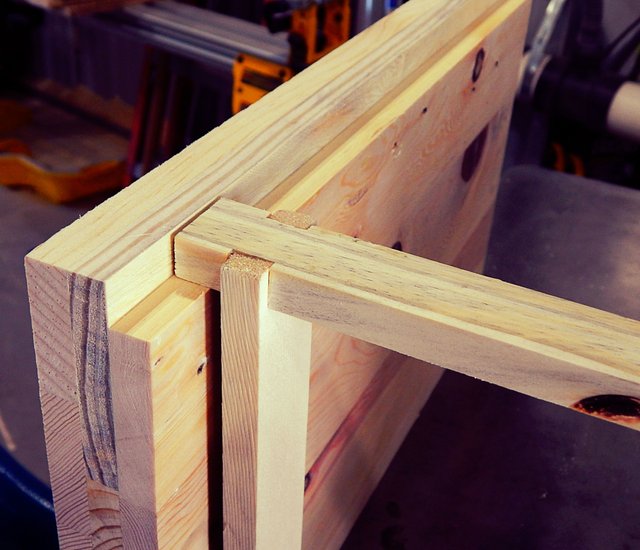
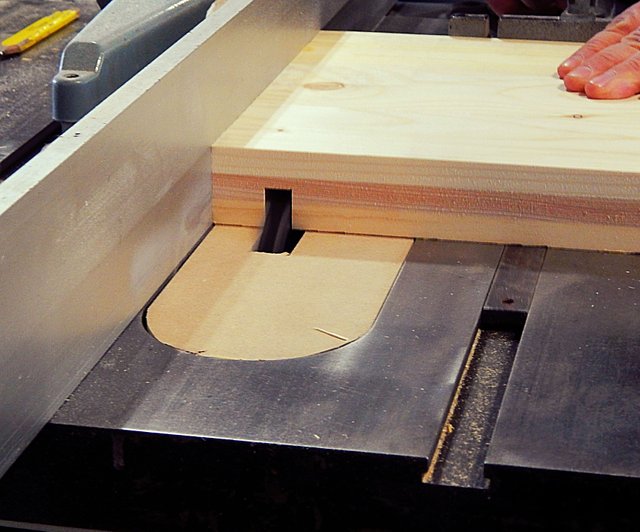
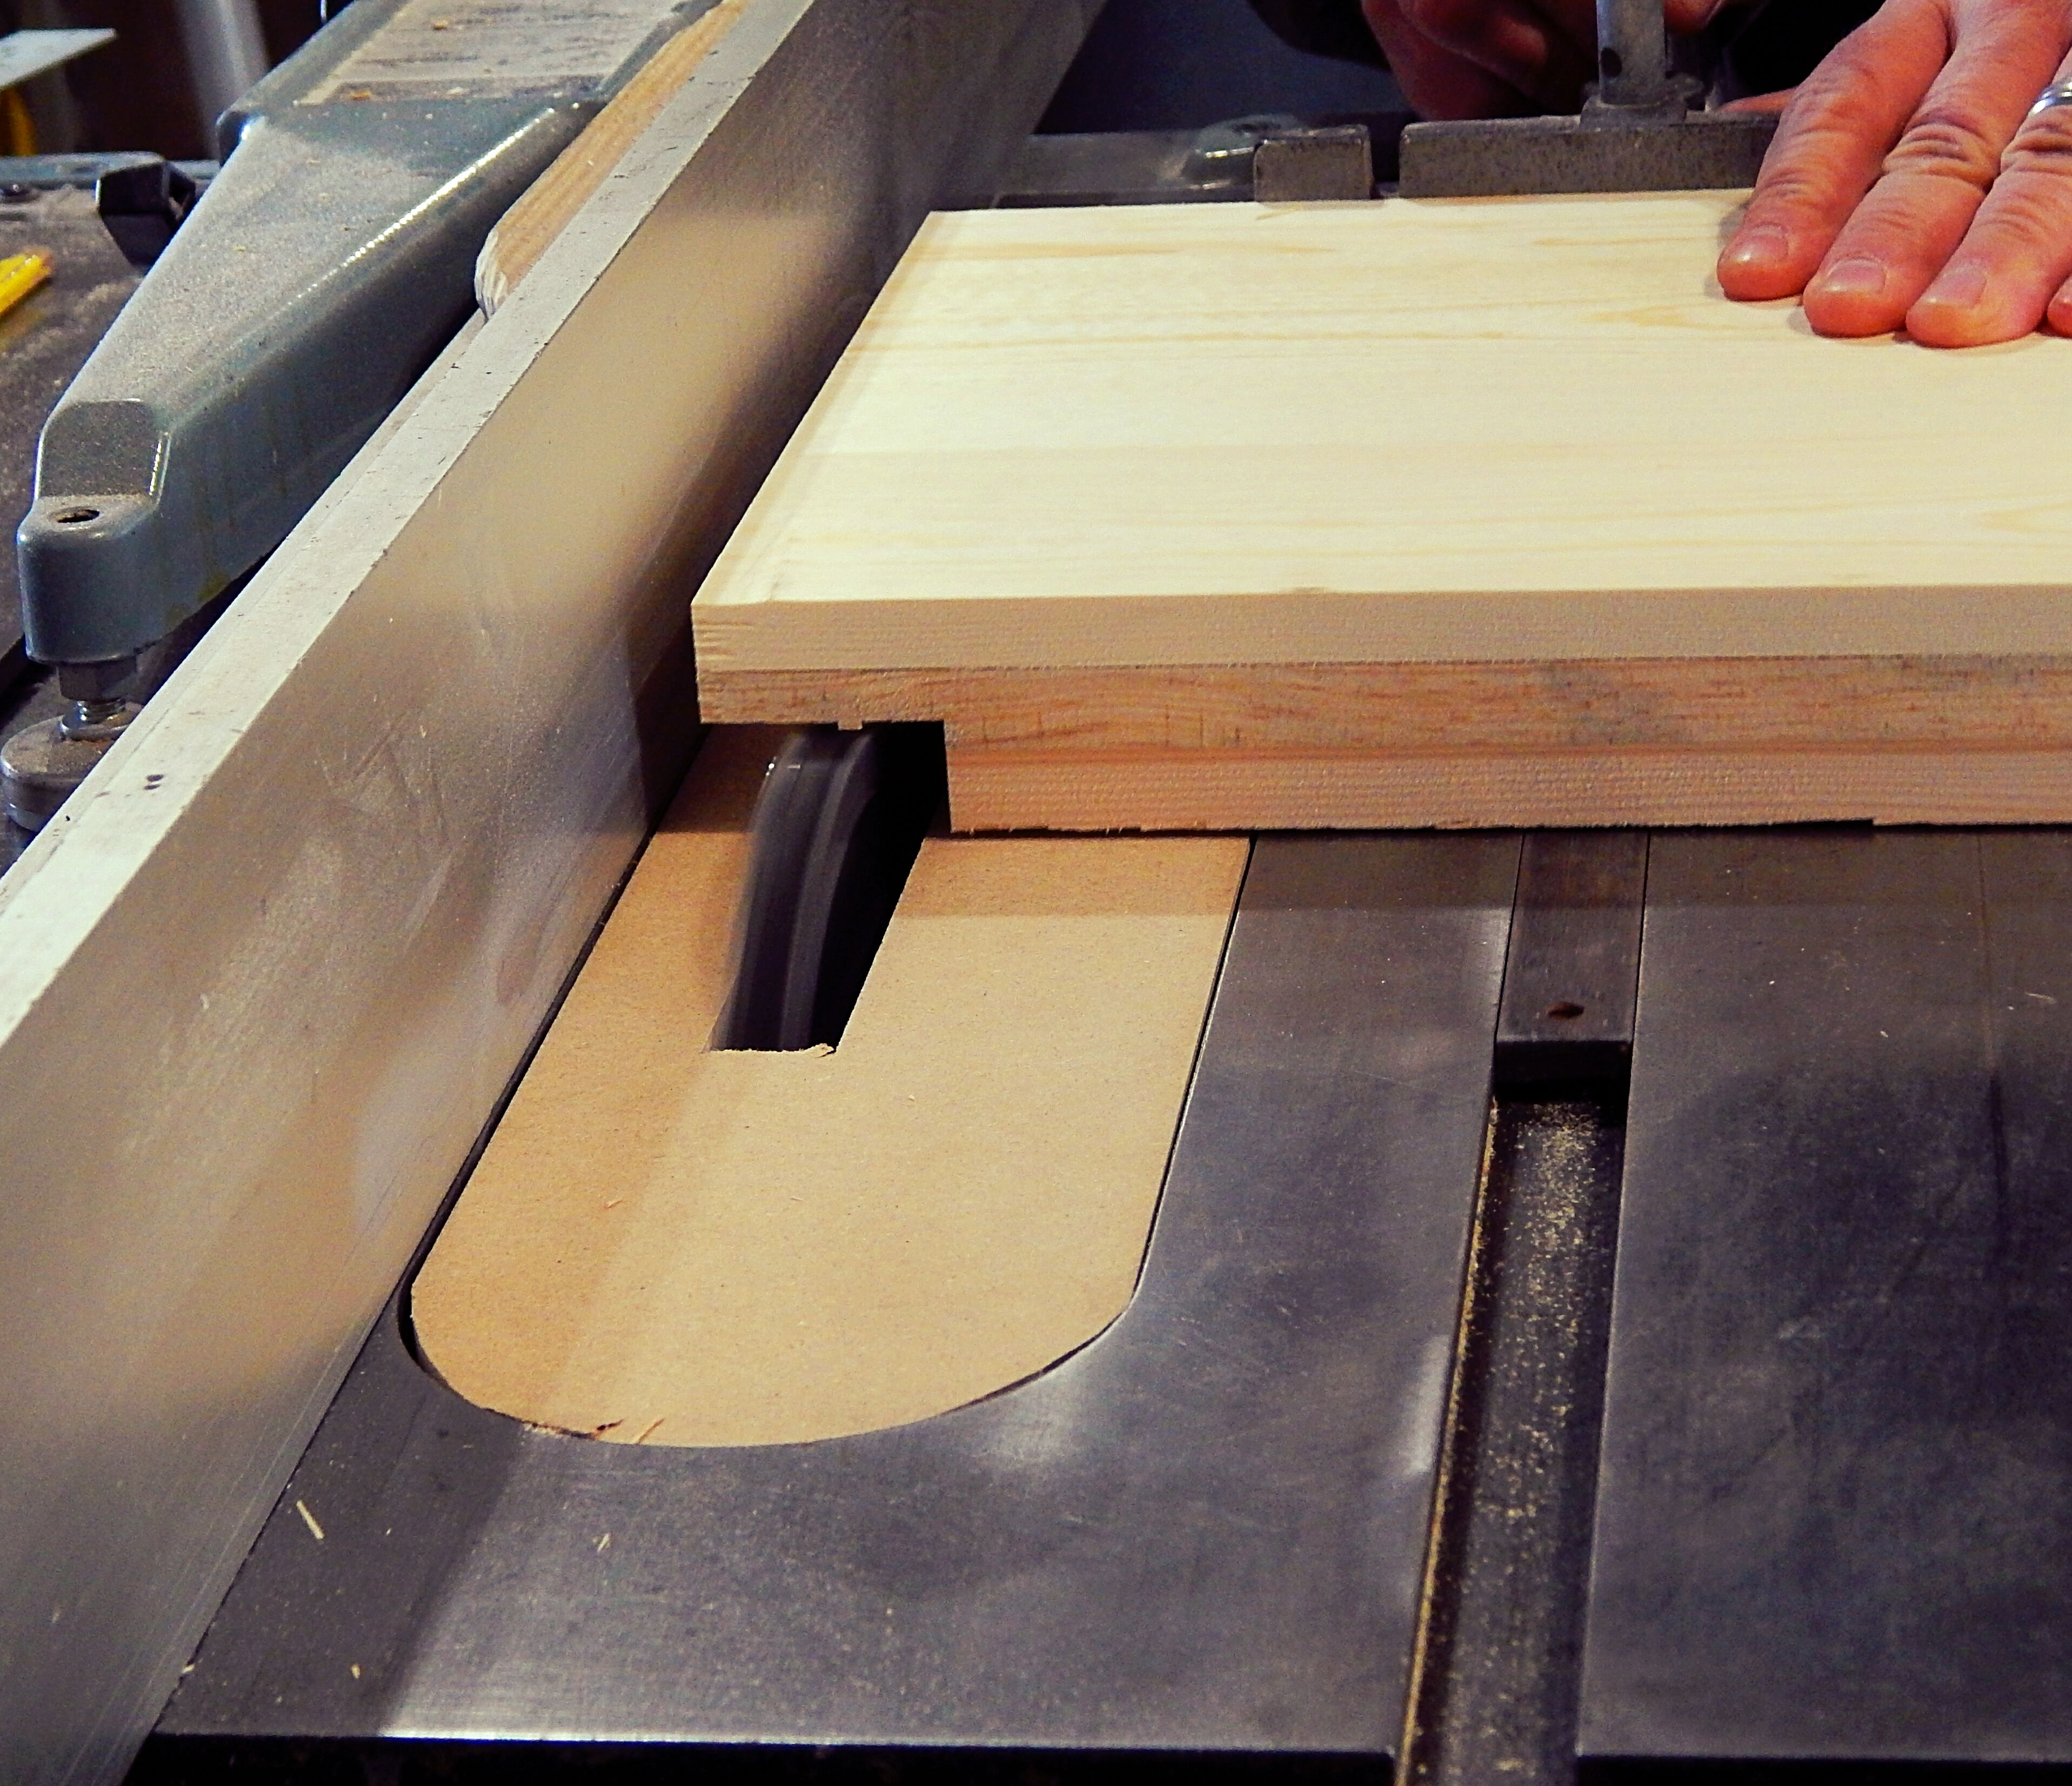
Langstroth hives are typically made with finger joints but because of the added thickness rabbet joints work perfectly for this project and make it a bit easier.
We are choosing to make our hives out of pallets for many reasons. If you don't want to use pallets, you can simply skip to Step Four and use 2"x 12" material instead to build this hive.
Typical beehives are made of 3/4" softwood which has an R value of roughly 1 (1.4 R value per inch), this hive measures out to be 1 1/2" thick giving you an R value of 2.1
The Process
Step One
Step Two
Step Three
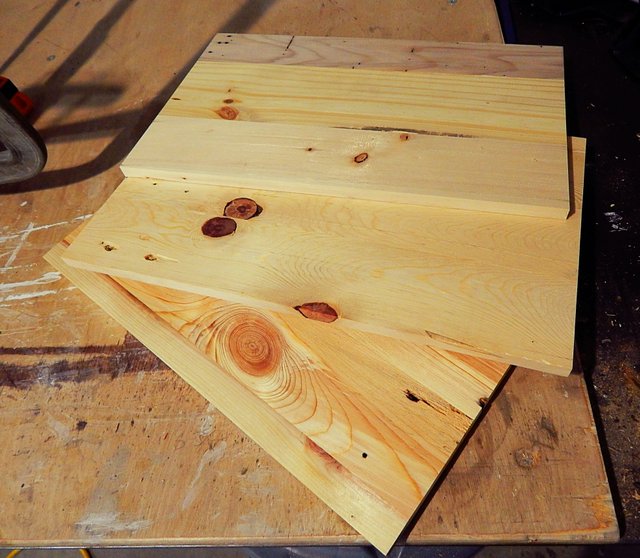
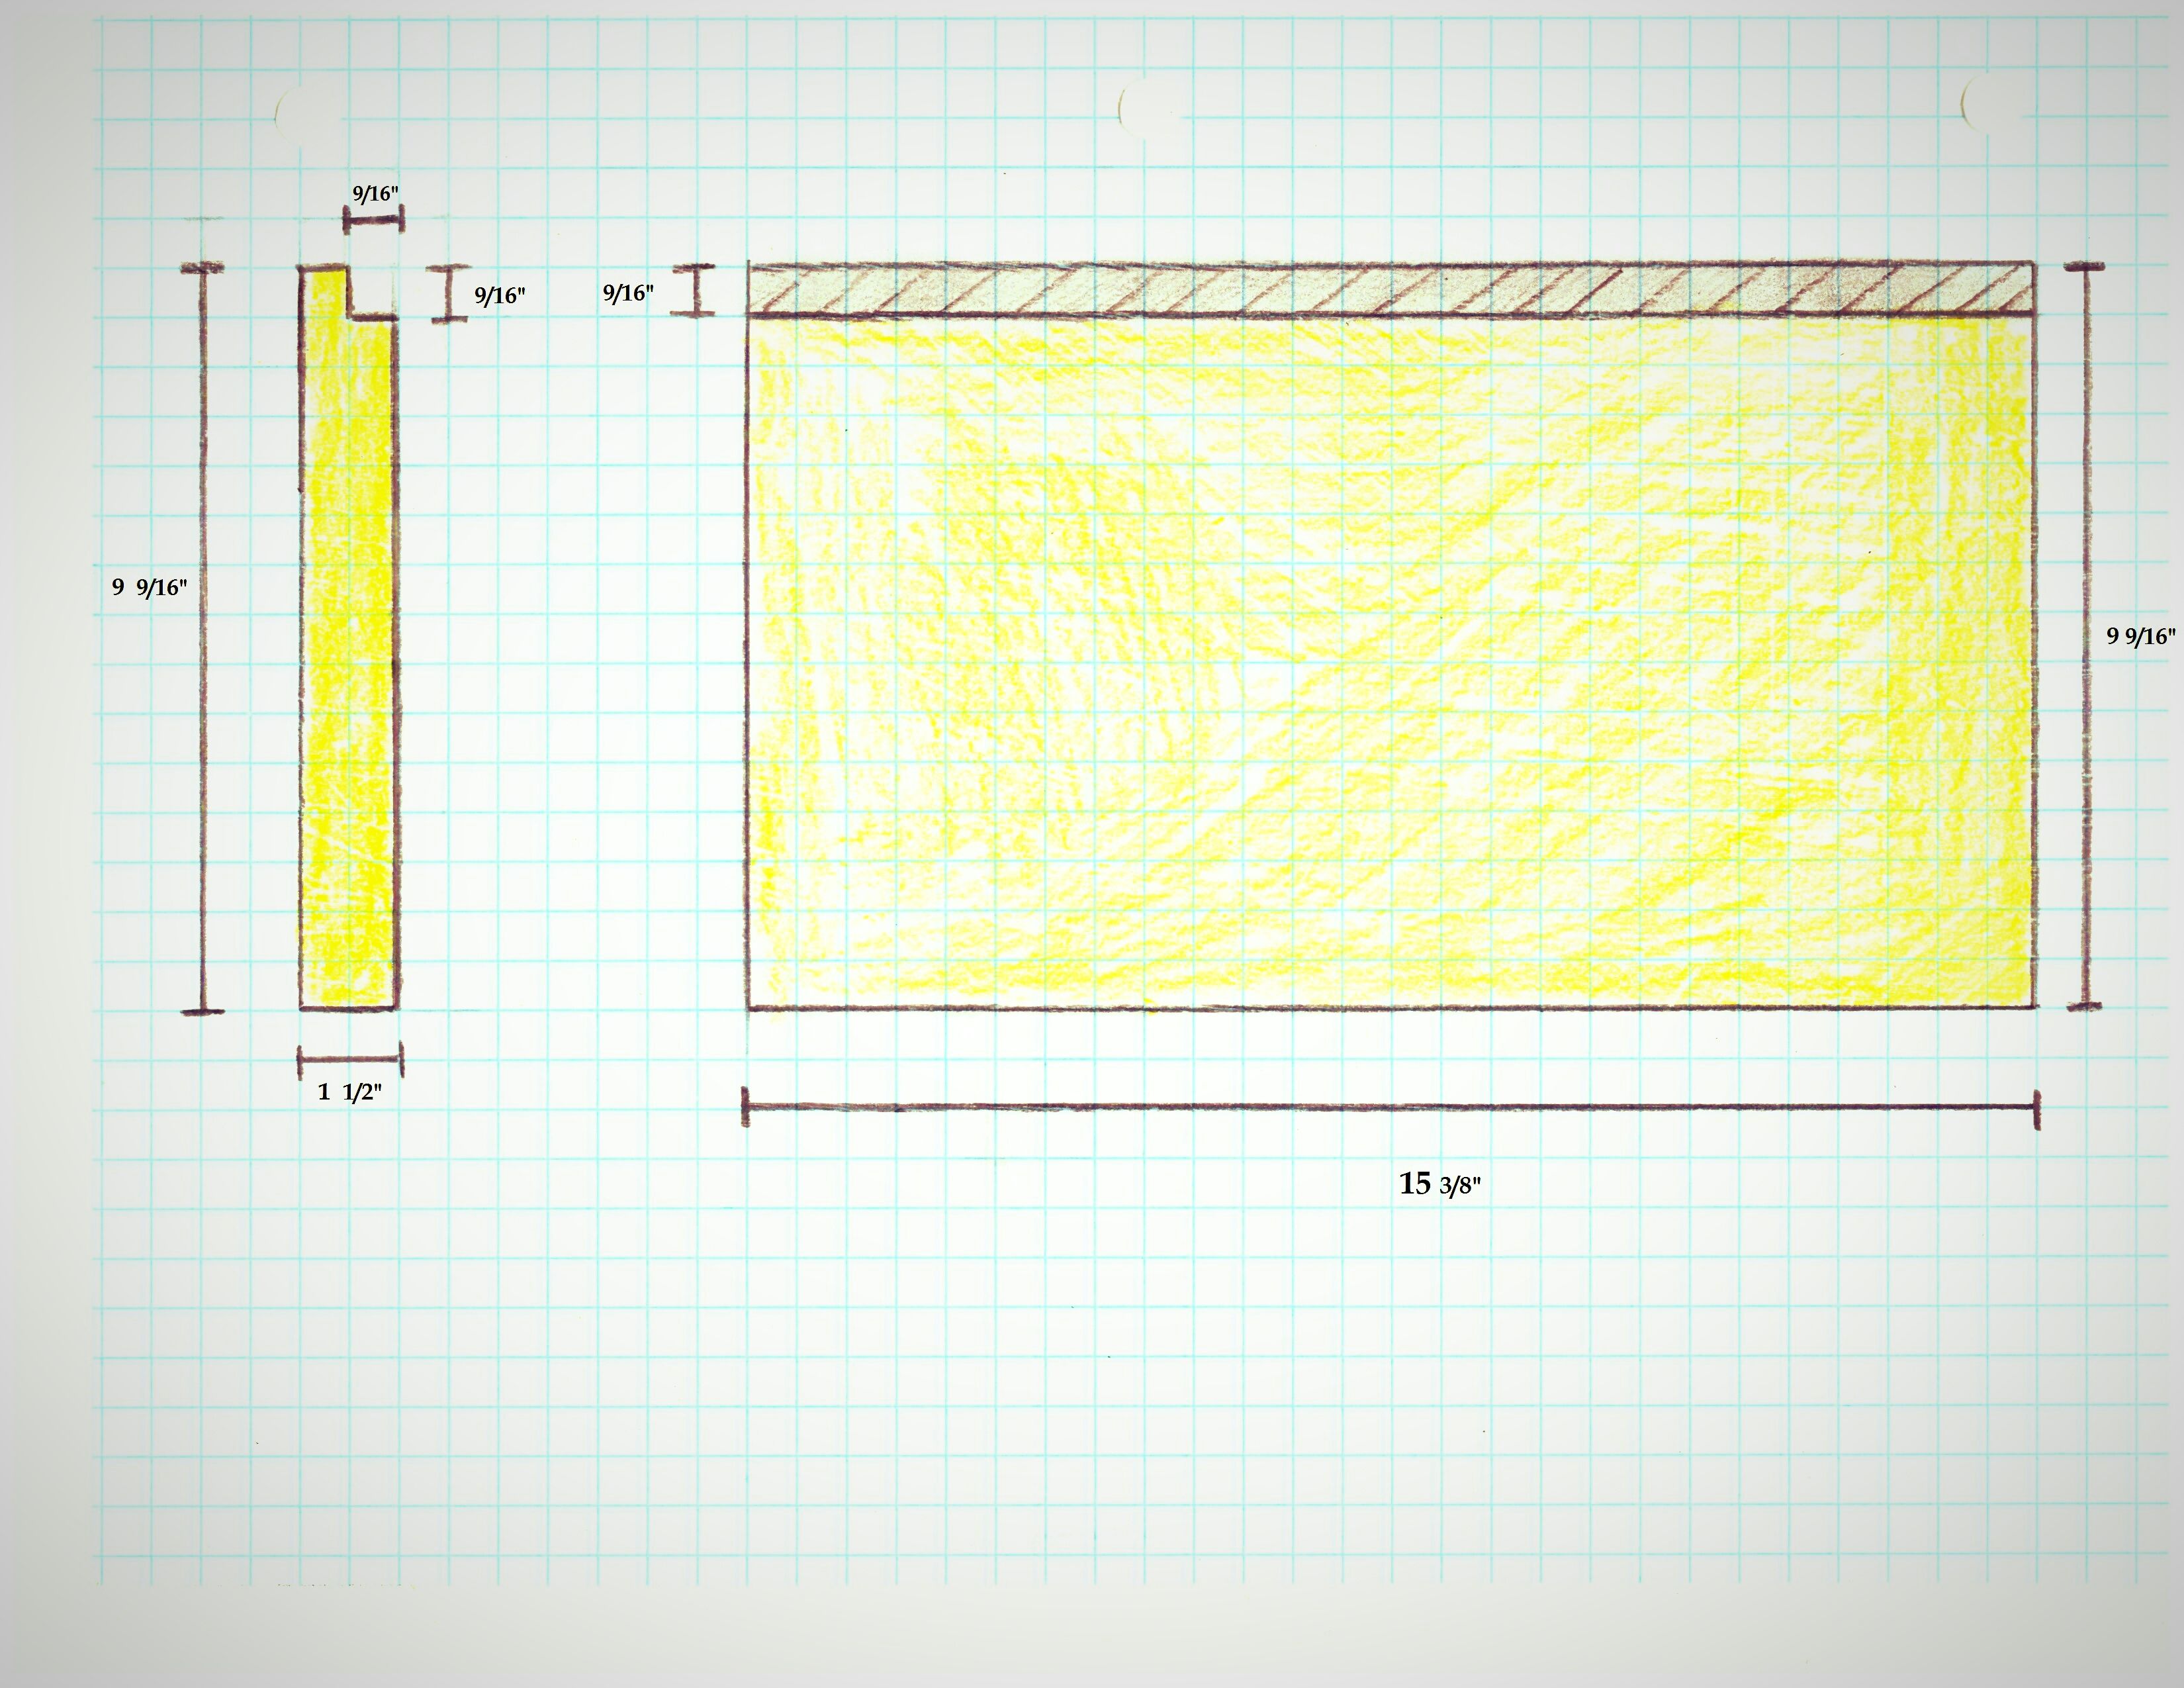
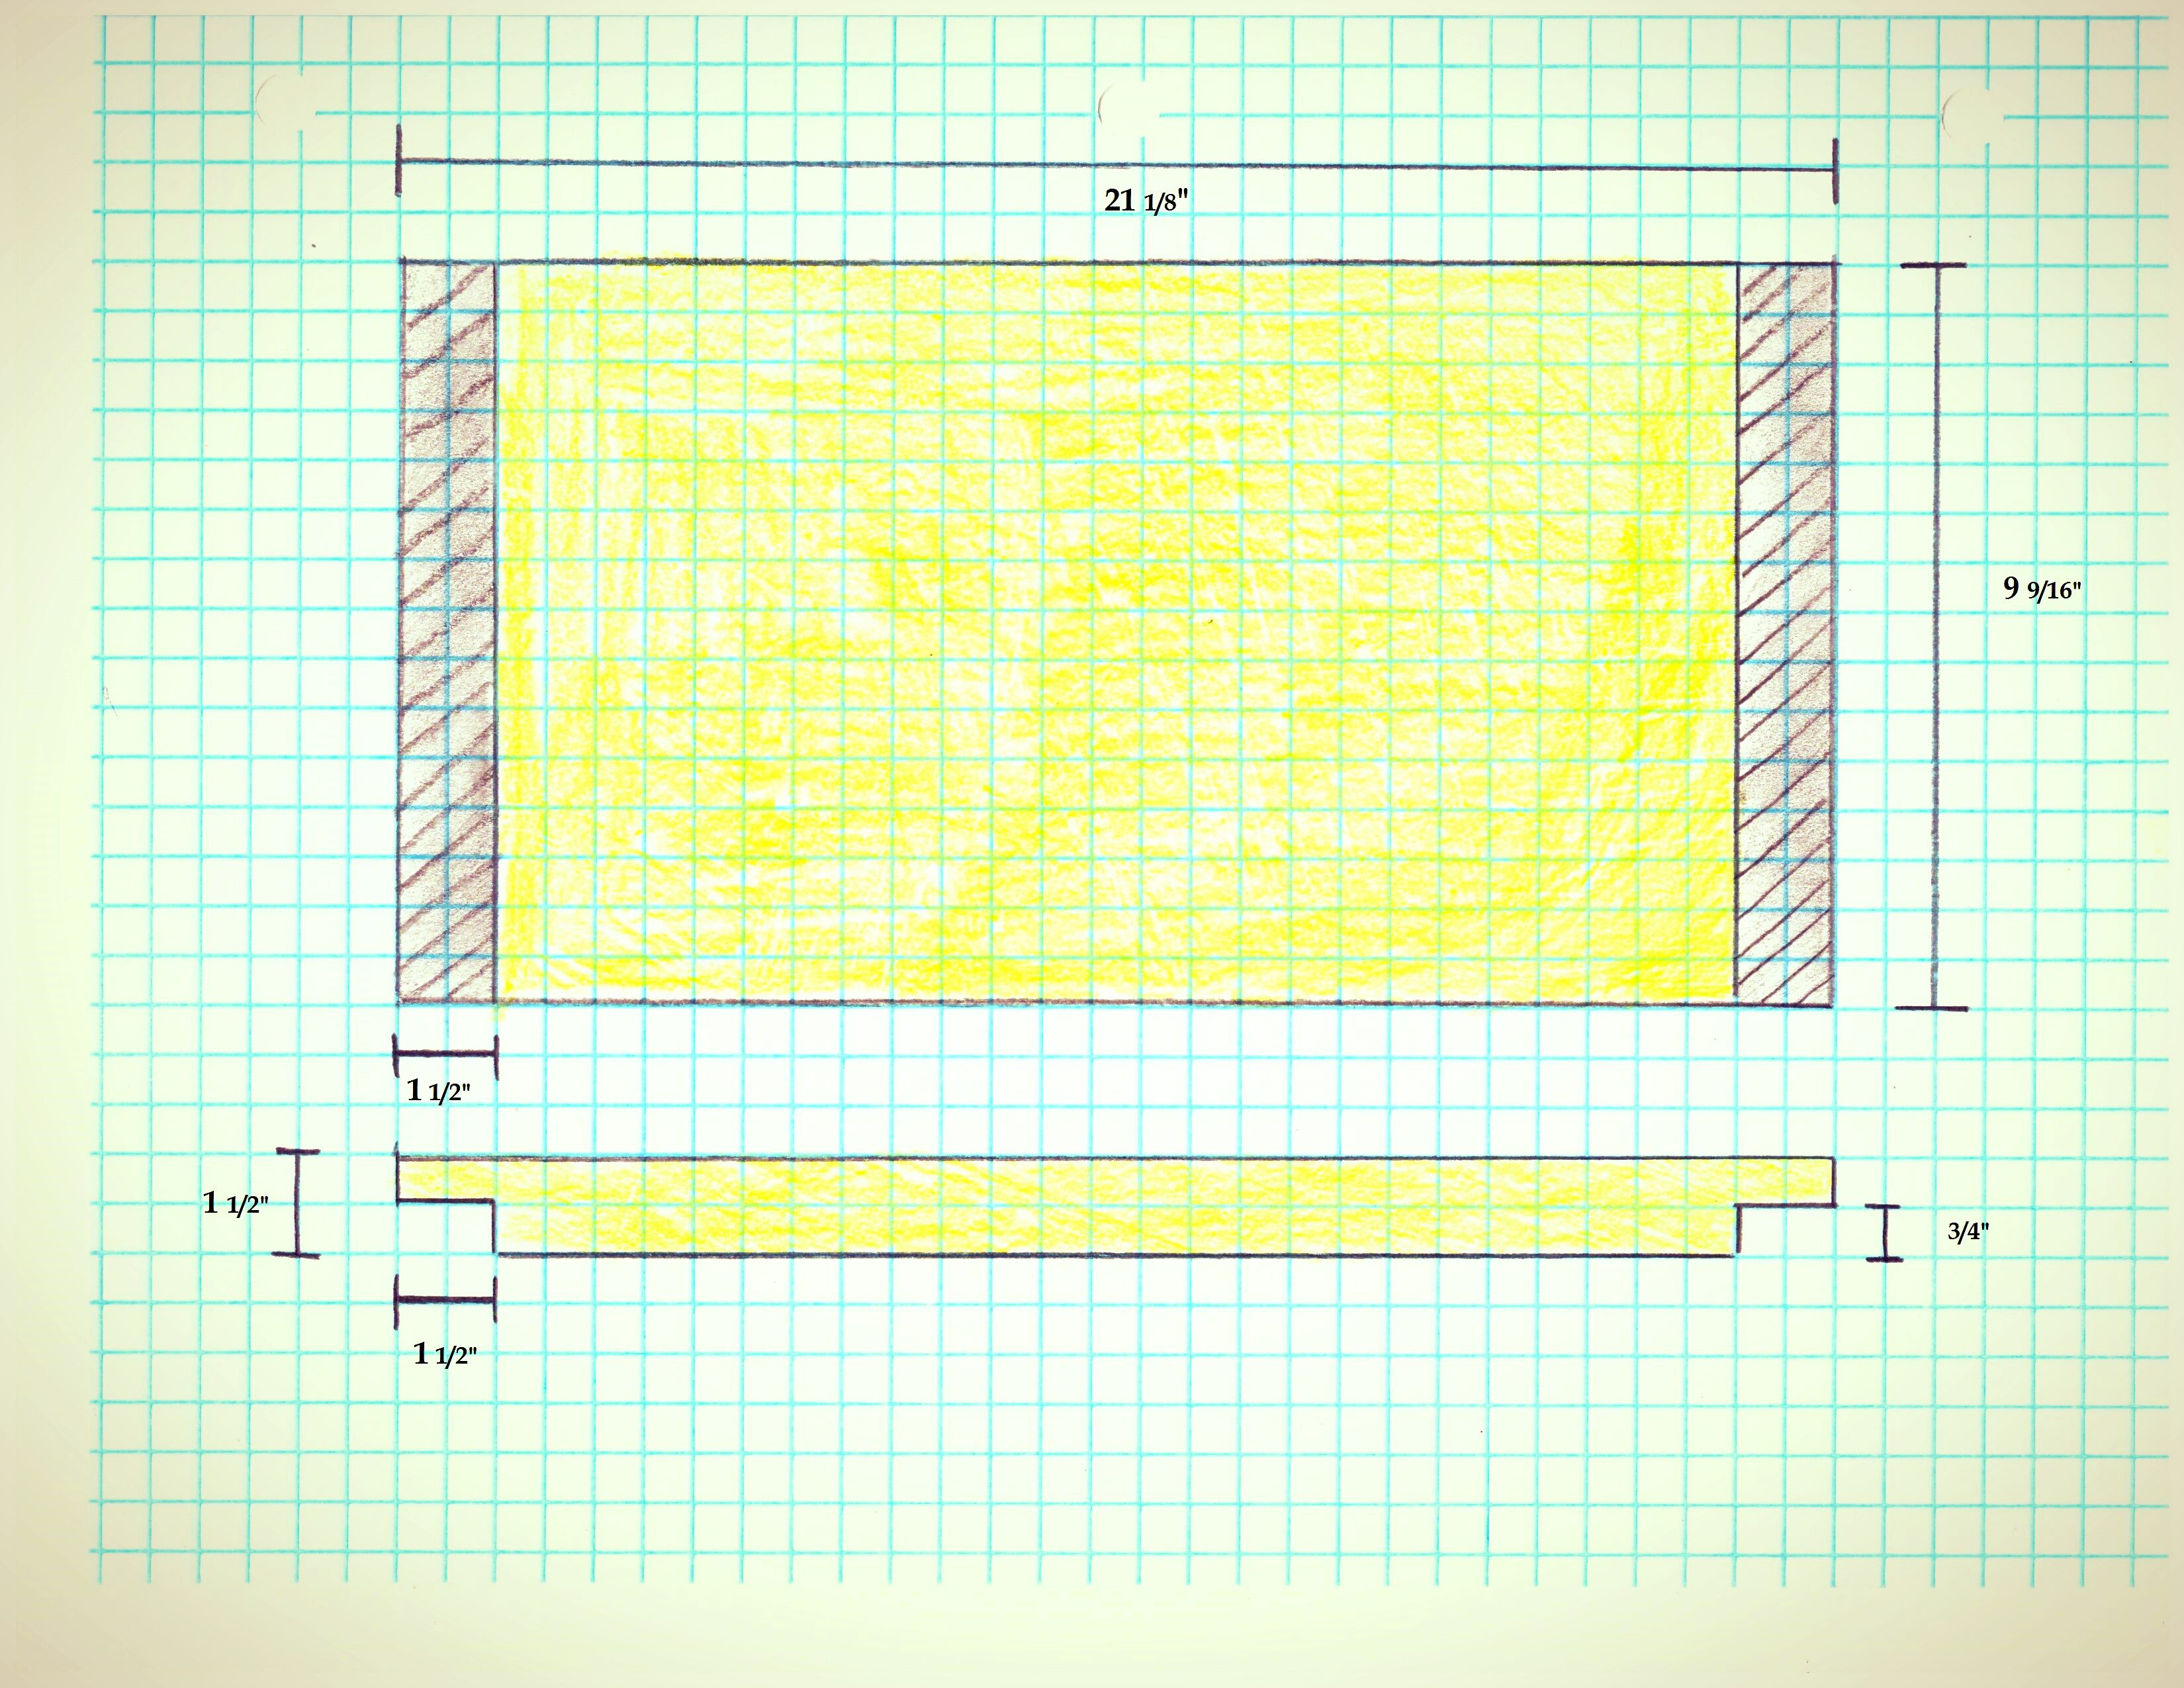
This will leave you with;
(2) - 9 9/16" x 1 1/2" x 15 3/8"
(2) - 9 9/16" x 1 1/2" x 21 1/8"
Step Four
Step Five
Step Six
Pallet Wood Hive Series
Happy Homesteading!


Great job with the beehive tutorial. It looks really nice and the fact that it was made with pallets makes it even more impressive. Maybe soon you can capture some slow motion bee videos like this one...
Wow! It never occured to me to make beehives out of pallets! Cool!
Does it worry you that there may be chemicals on the wood itself? Either wood treatment or spills of whatever was stacked on them?
Or do you have a good supply of clean pallets?
Either way, great work! Looking at the end result, you would never guess those were made of pallets! ♥
Thank you! We have a great local supply of pallets that are extremely clean. There are some pallets that may be pressure treated but because you are removing so much of surface area here, anything that was on it is likely gone. Plus, bees naturally coat the inside with a wax/ propolis combination that will seal anything that would have possibly remained. So, from our research, there seems to be no reason for concern for the use of pallets. Thanks so much for reading!
I was going to ask this same question, and the answer totally makes sense. Bees build hives just about anywhere in real life, not much stops them
Good points!
Yes I have heard they sometimes spray them with dihydrogen oxide.
How amazing to build your own hives! Thank you for posting this wonderful tutorial!
I love seeing this all come together. I always have grand plans in my head to make different looking hives! Haha. Not just the plain boxes. But maybe hexagons or something! Haha. Thanks so much for sharing the process! I can't wait to see more!
Muy buenas fotos y buen tutorial
Congratulations! This post has been upvoted from the communal account, @minnowsupport, by L & L Farms from the Minnow Support Project. It's a witness project run by aggroed, ausbitbank, teamsteem, theprophet0, someguy123, neoxian, followbtcnews, and netuoso. The goal is to help Steemit grow by supporting Minnows. Please find us at the Peace, Abundance, and Liberty Network (PALnet) Discord Channel. It's a completely public and open space to all members of the Steemit community who voluntarily choose to be there.
If you would like to delegate to the Minnow Support Project you can do so by clicking on the following links: 50SP, 100SP, 250SP, 500SP, 1000SP, 5000SP.
Be sure to leave at least 50SP undelegated on your account.
Great post thanks upvoted
This is great @llfarms! May I link this article and feature your username in the next issue of the Weekly Homesteading Newsletter? Let me know, thanks!
Wow, this is excellent work. I'm awed by how great the finish is. All from humble pallets. It definitely takes skill to do this kind of work, but I totally support using local material and labour, doing it yourself than simply buying something from a store. It also seems a lot of things today aren't meant to last. There's always something special about hand done work. Great job on the beehive!
Congratulations @llfarms! You have completed some achievement on Steemit and have been rewarded with new badge(s) :
Click on any badge to view your own Board of Honor on SteemitBoard.
To support your work, I also upvoted your post!
For more information about SteemitBoard, click here
If you no longer want to receive notifications, reply to this comment with the word
STOP