How to Paint a Wolf Howling in the Moonlight | Step by Step Tutorial | Oil Pastels Artwork
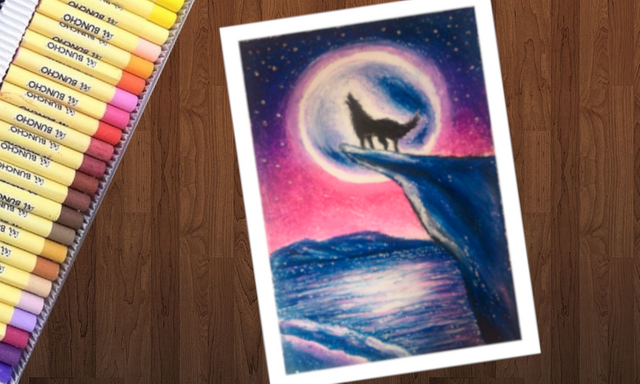
Hello dear Steemians! Today, I would like to share a detailed tutorial on how to create a painting of a wolf howling in the moonlight. The medium that I used is mainly oil pastels.
Tools and Materials
- Buncho oil pastels
- Staedler Luna colour pencils
- A good quality artblock that is durable
- Tissue to clean your fingers after smudging
- A mechanical pencil with 2B lead (to draw only so choose based on personal preference)
- A round object to trace a circle (size is based on your preference)
Step by Step Tutorial
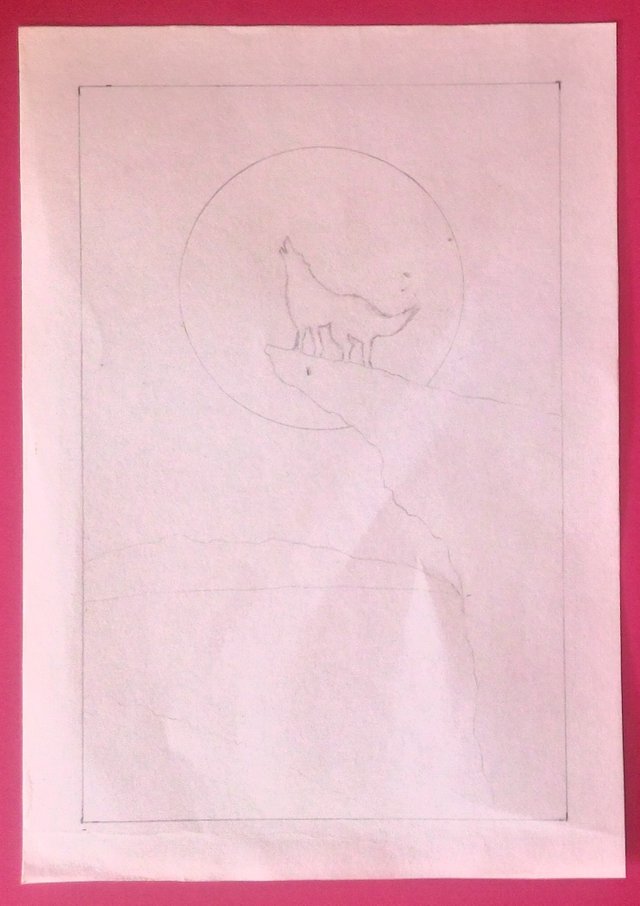
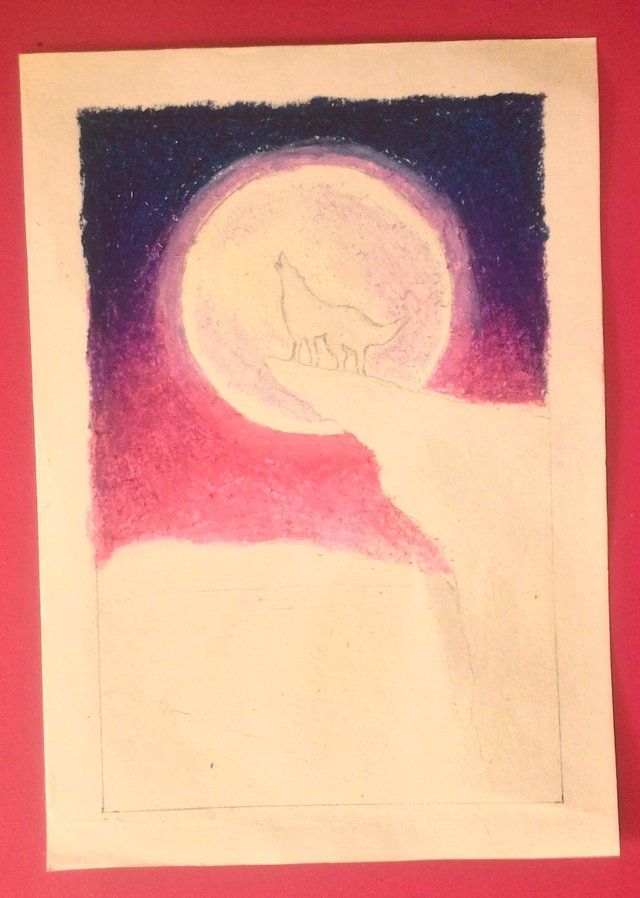
This is my basic drawing. I didn't draw much details. I used a round glass container to draw the circle to paint the moon. You can see it in my video tutorial.
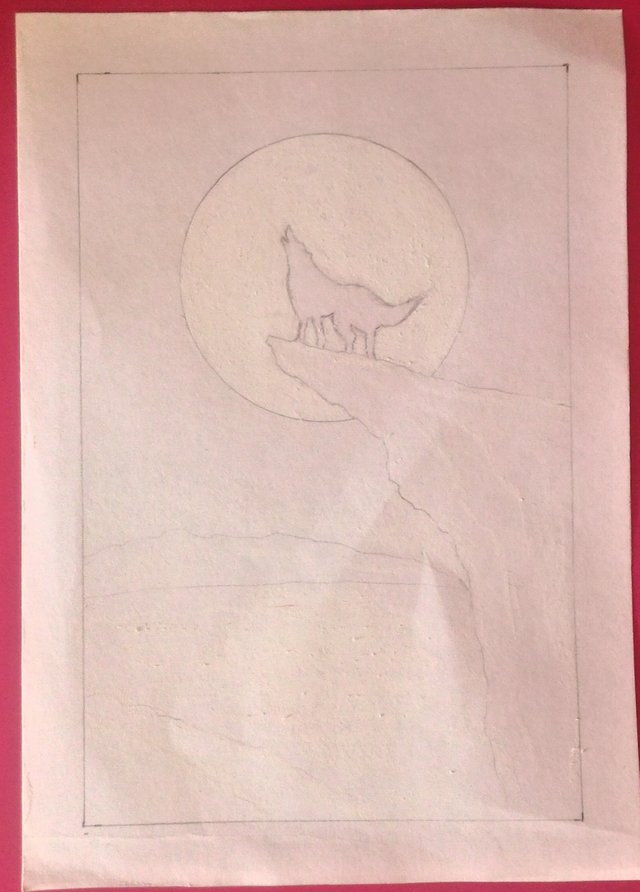
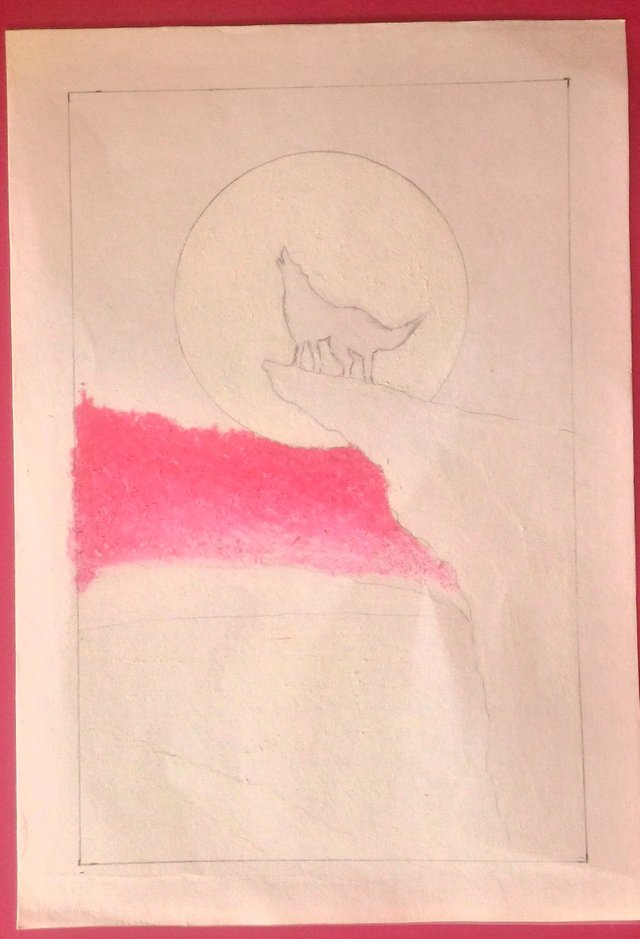
I began my painting with the lightest colour I have picked to use which is white. I painted the moon first. Then, I painted the shadow of the moon that falls on the surface of water. There is no precision needed for this and you can just paint it roughly. Apart from that, I drew some horizontal lines on the water and on another area where I planned to paint a few waves. I also painted some highlights on a few areas on the distant hills and the rocky mountain. Lastly, I painted some white on the lowest part of the sky in the background because I prefer to keep this area light. I hope that the colour white is visible on the picture above.
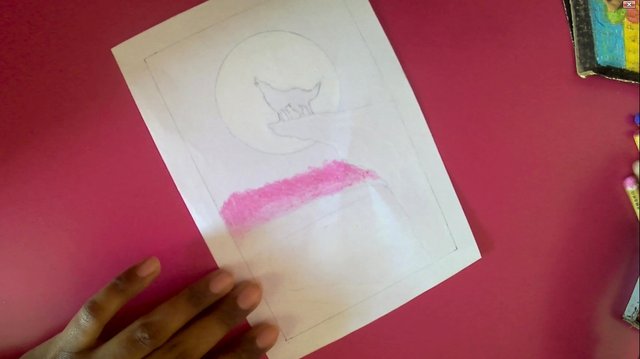
The next colour I used was the lightest pink that I have. I painted it over the white I painted earlier on the lowest part of the background. Then, I painted more towards the area above the part painted with the white pastel. This creates a gradient effect and also helps me to create a lighter shade of pink because the lightest pink that I have was not light enough for my liking. By the way, the picture above looks different than the rest because I forgot to snap a picture right after painting the first shade of pink. However, I recorded a video of my entire artwork process so I got a screenshot from the video =)
I continued to paint the background with a rose pink colour which is a few shades darker than the previous shade of pink. When you get to this part of the artwork, be careful not to accidentally paint or smudge on the moon. It is not hard to scrape the paint off since you would have painted white on it earlier but it will still cost you your time.
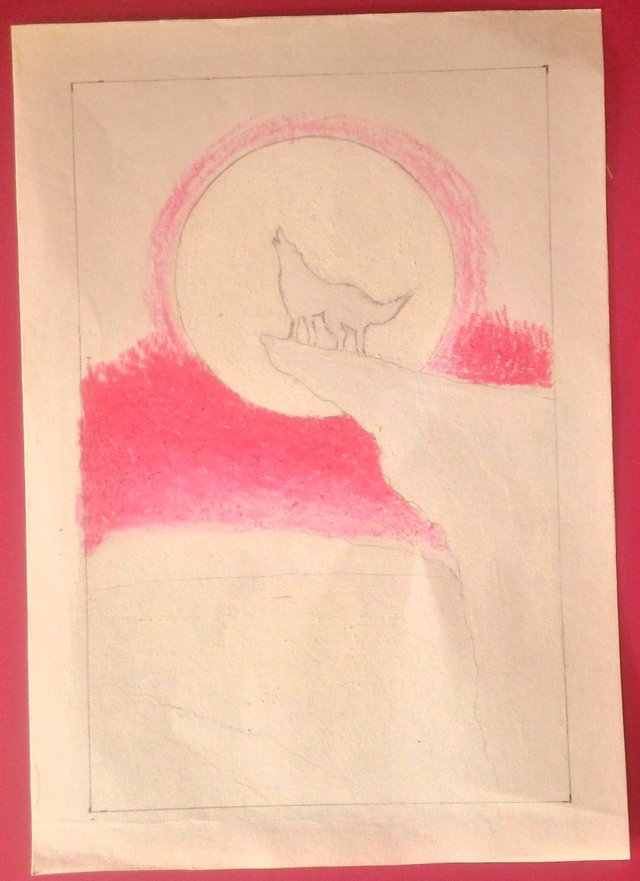
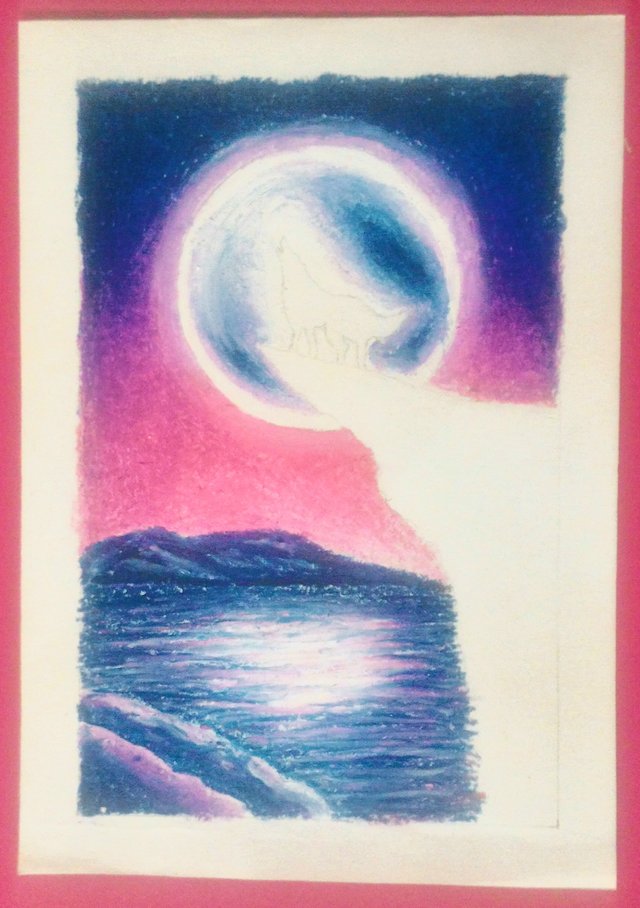
Before proceeding to complete the background, I painted some light pink around the moon to create some light around it. Since it is a full moon, there must be some light around the brightly lit moon.
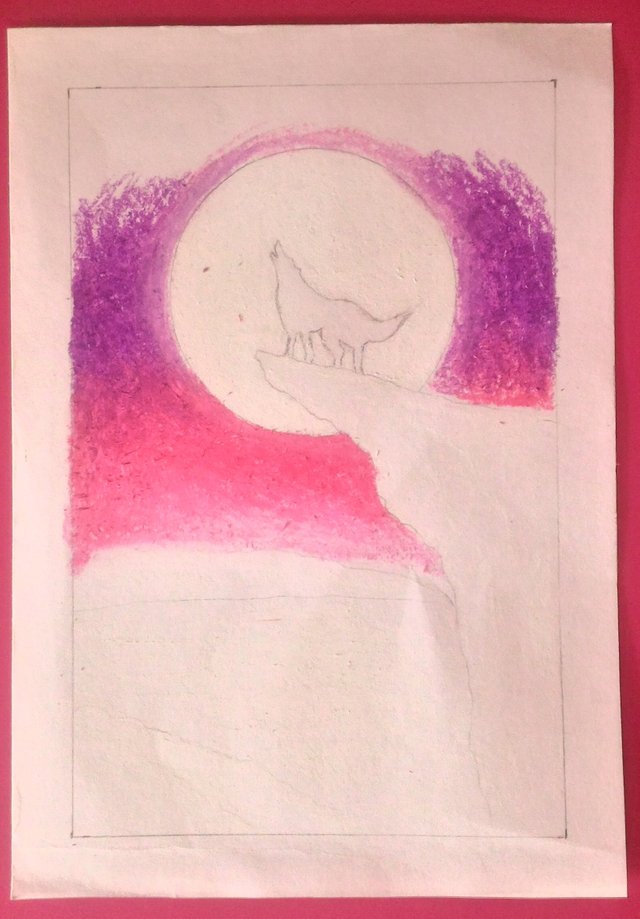
I continued to paint the background with some purple and blended it with the pink. For blending, you can either smudge it with your fingers or just use both the colours and paint until you blend them. If you prefer to smudge, it is best to clean your fingers with a piece of tissue before colouring a new area with a different colour so that you don't end up mixing the wrong colours up. Do take note that I also painted some light purple around the moon on the areas near the purple background. I did this so that the moon light is more in sync with the background. I left the bottom part of the area surrounding the moon, in pink, as the background is also pink.
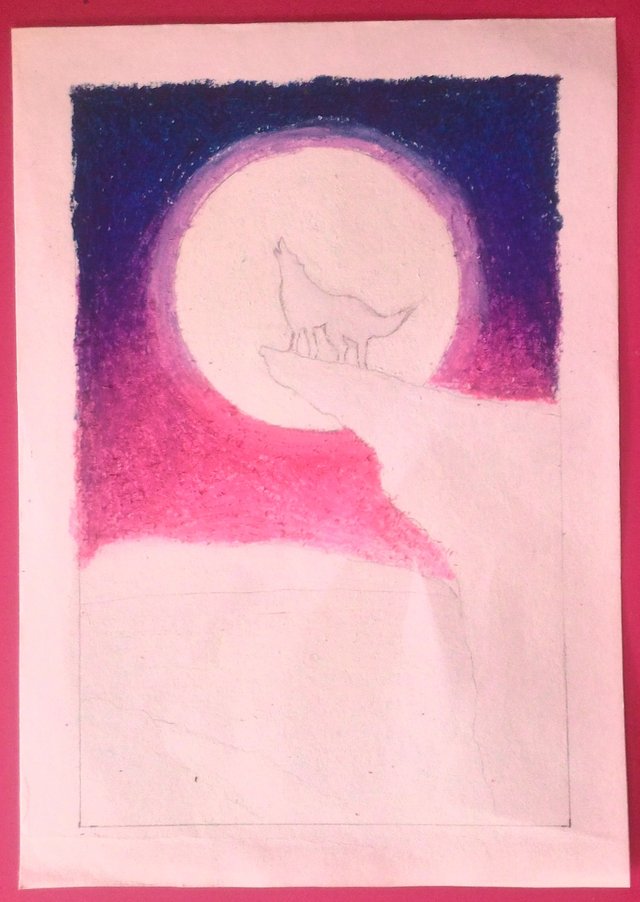
I painted the rest of the sky with the darkest blue that I have. I did not use black because it might make my artwork look too dull. You may use black but I suggest you to mix it with another shade of colour depending on the colours you have chosen for your artwork. In the case of mine, I have the option of mixing it with dark blue. I also took some time to blend all of the colours well by going back and forth with the colours I used before. Moreover, I also blended the colours surrounding the moon which are the light pink and light purple using white. White helps to blend colours especially light colours.
The next part I wanted to paint was the moon. I painted some light purple on a few areas of the moon to create some shadows. Otherwise, it will look too flat. Please take note that I left some white area on the outermost part of the moon. This is to create the illusion of a 3 dimensional moon. Had it been a normal object, I would have made the edges darker. In contrast to that, this is a full moon so the outermost area will be bright as the moon reflects maximum light from the sun.
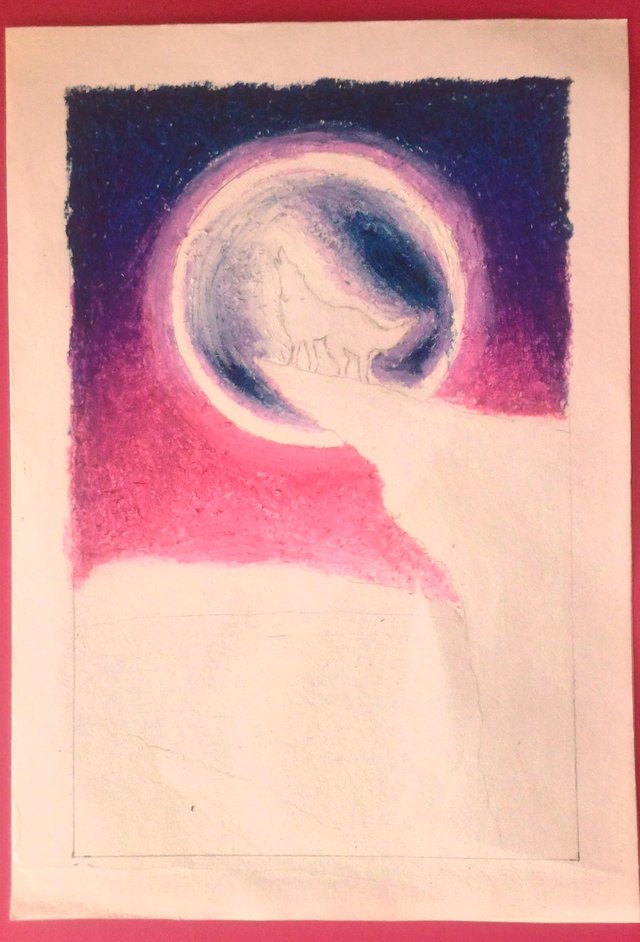
I painted some dark blue in the middle parts of the light purple. I blended the colours slightly by painting the light purple again and some white as well.
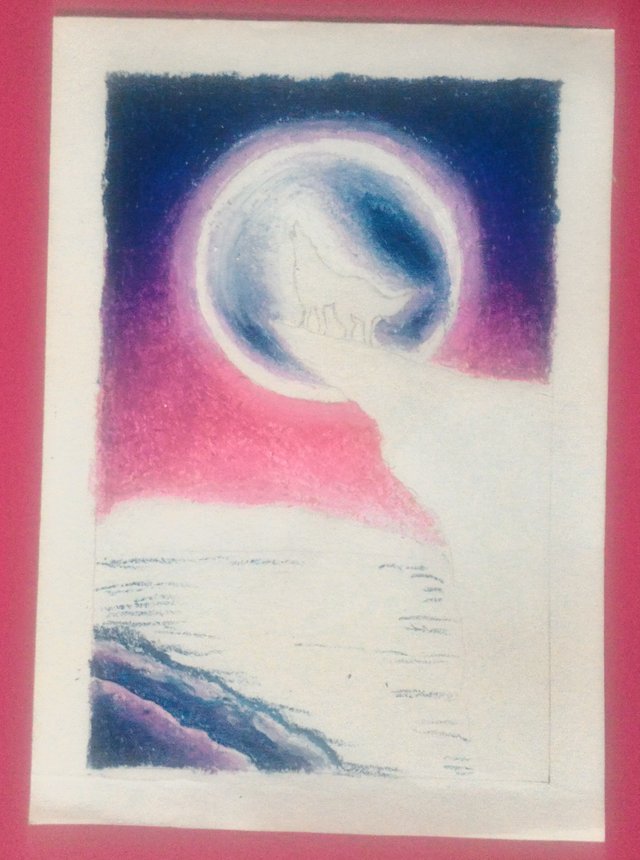
Next, I painted the some waves using the same group of colours except pink. I also painted some horizontal lines on the water using the dark blue.
I finished painting the water by drawing lots of horizontal lines of all the colours I have used in the painting because I wanted to paint moving water and not still water. It is best to paint it this way instead of painting flat right away because only then it gives the illusion that there is some water current present. I also drew some light purple and light pink lines on the middle area where the shadow of the moon falls.
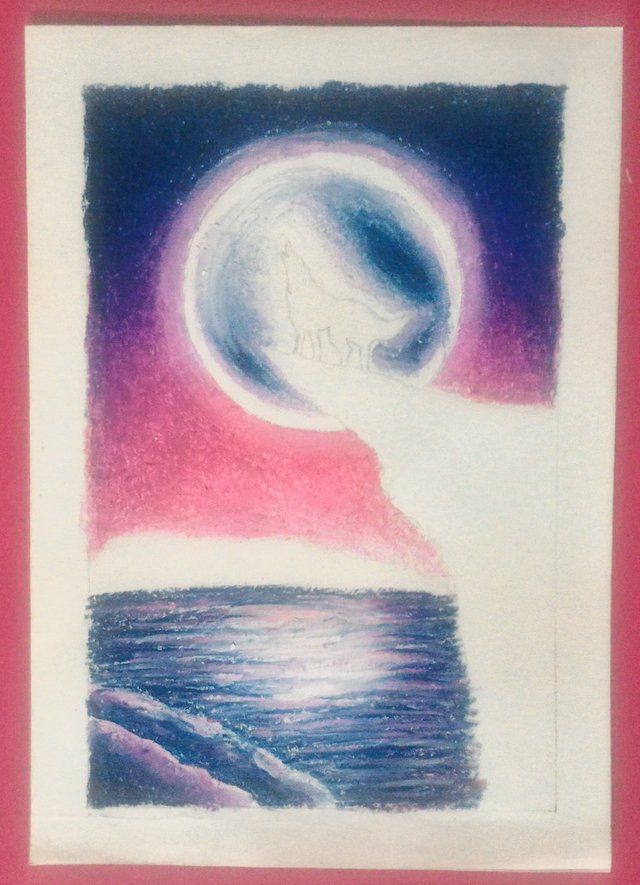
The next area that I painted was the distant hills. I used the dark blue and mixed some white and purple to create some shape on them. I also added a small amount of black to create darker shadows. Then, I made some adjustment on the water because the shadow of the hills is supposed to fall on the water. So, I added more dark blue on the areas close to the hills.
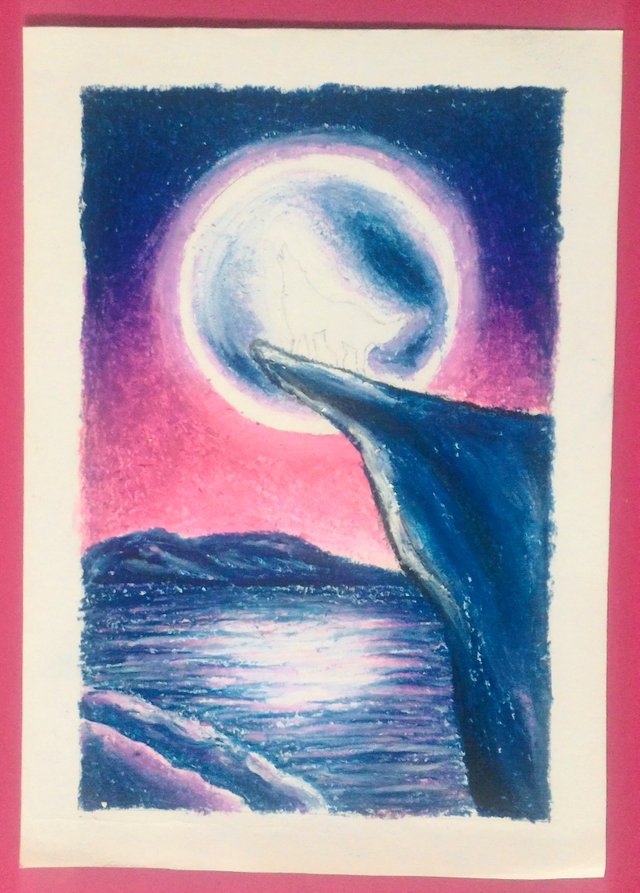
After that, I painted the large rocky mountain on which the wolf is standing. I used the dark colours mostly especially the dark blue. I also added some black on certain areas, besides some white for highlights. This gives the mountain a shape and emphasizes on the rocky edges. When you paint hard looking surfaces like this, one thing to remember is to not blend the colours too much. It is good to keep some lights and darks although they look contrasting to each other.
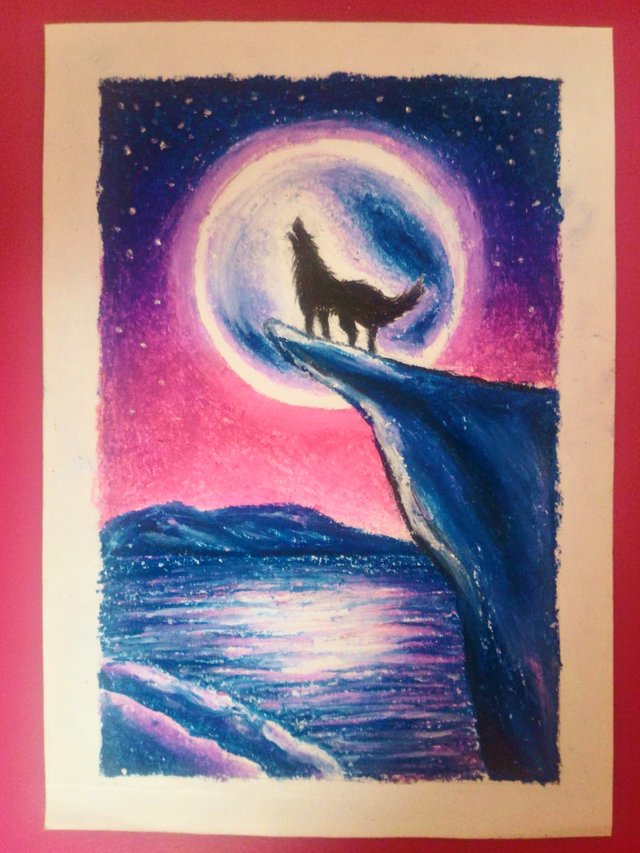
Finally, I painted the wolf in black. I used a black oil pastel to paint the middle area of the wolf first. Then, I switched to a black colour pencil for a better precision. Precision was not just important for the shape of the wolf, it was needed because I added little details like some mane on the wolf's body and tail. I also added some stars in the sky using a white oil pastel. The artwork is complete.

This is the completed artwork in landscape form so you will be able to see the whole painting better.
This is my video tutorial with my voiceover. Please check it out if you would like to watch me paint while listening to my voiceover guide. I hope that you enjoyed reading my post and find this tutorial helpful. Thank you for reading my long post almost all the way until the end and have a great day/evening ahead.

If you like this post, please upvote and leave your feedback below.
If you would like to see more posts from me, follow me.
Stay tuned! xx
Click the Images to View My Recent Posts:
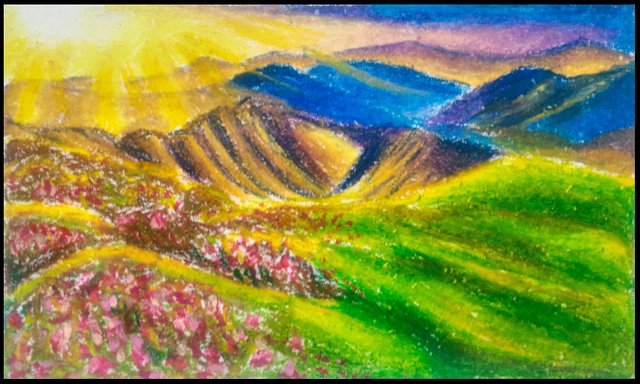
How to Paint a Mountain Scenery | Step by Step Tutorial | Oil Pastels Artwork
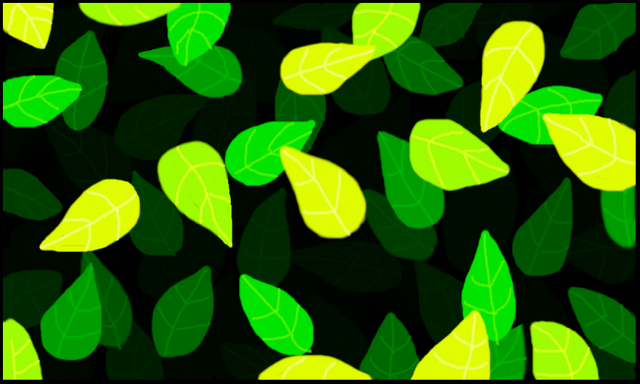
Layered Leaves Digital Painting | My First Digital Artwork from Scratch | GIMP
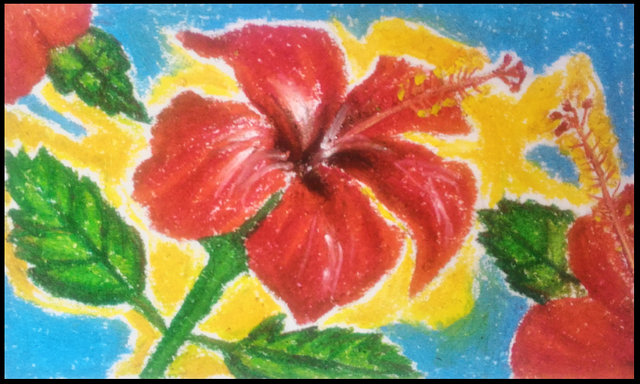
How to Paint Hibiscus | Step by Step Tutorial | Oil Pastels Artwork
.png)
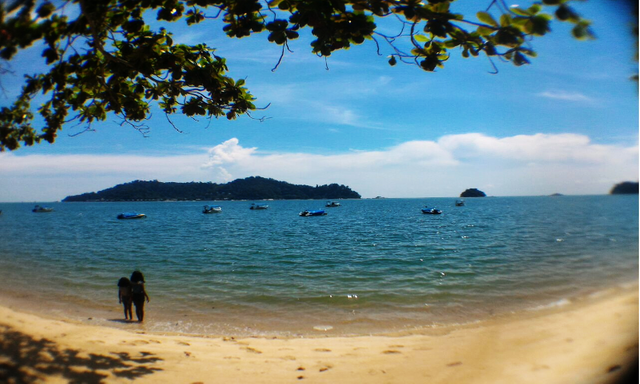
Sandy Beach Resort Review | Room and Resort Tour | Pulau Pangkor (Pangkor Island), Malaysia
My Vacation in Pulau Pangkor (Pangkor Island), Malaysia
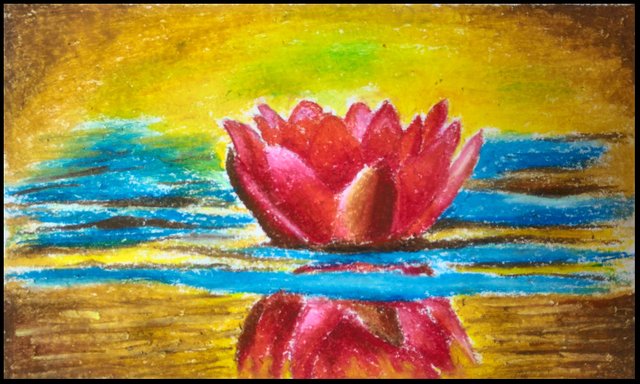
How to Paint Water Lily | Step by Step Tutorial | Oil Pastels Artwork


Follow me: @yashny
My Dtube Channel: Yashny
About me:
I'm a chill, happy go lucky person. I am a feminist. I love food, art, books, numbers, psychology and occult science. I am in the process of healing and diving into spirituality. I think life is a gift and we should appreciate the little things of life more. Everything that I post is a little piece of my life. I believe that everyone is carrying their own cross, so don't judge anyone and be kind!
♥♥♥♥♥♥♥♥♥♥♥♥♥♥♥♥♥♥♥♥♥♥♥♥♥♥♥♥♥♥♥♥♥♥♥
Thank you for your support and encouragement
♥♥♥♥♥♥♥♥♥♥♥♥♥♥♥♥♥♥♥♥♥♥♥♥♥♥♥♥♥♥♥♥♥♥♥
If you would like to see more posts from me, follow me.
Stay tuned! xx
Click the Images to View My Recent Posts:
How to Paint a Mountain Scenery | Step by Step Tutorial | Oil Pastels Artwork
Layered Leaves Digital Painting | My First Digital Artwork from Scratch | GIMP
How to Paint Hibiscus | Step by Step Tutorial | Oil Pastels Artwork
Sandy Beach Resort Review | Room and Resort Tour | Pulau Pangkor (Pangkor Island), Malaysia
My Vacation in Pulau Pangkor (Pangkor Island), Malaysia
How to Paint Water Lily | Step by Step Tutorial | Oil Pastels Artwork
Follow me: @yashny
My Dtube Channel: Yashny
About me:
I'm a chill, happy go lucky person. I am a feminist. I love food, art, books, numbers, psychology and occult science. I am in the process of healing and diving into spirituality. I think life is a gift and we should appreciate the little things of life more. Everything that I post is a little piece of my life. I believe that everyone is carrying their own cross, so don't judge anyone and be kind!
♥♥♥♥♥♥♥♥♥♥♥♥♥♥♥♥♥♥♥♥♥♥♥♥♥♥♥♥♥♥♥♥♥♥♥
Thank you for your support and encouragement
♥♥♥♥♥♥♥♥♥♥♥♥♥♥♥♥♥♥♥♥♥♥♥♥♥♥♥♥♥♥♥♥♥♥♥
Thank you for your support and encouragement
♥♥♥♥♥♥♥♥♥♥♥♥♥♥♥♥♥♥♥♥♥♥♥♥♥♥♥♥♥♥♥♥♥♥♥
Very nice tutorial, @yashny :) I like how you are always so thorough with your step by step ! The result is a vibrant and wonderful illustration, with a howling black wolf against a full moon night :D
Thank you so much @veryspider! ♥♥♥ At a point I thought the wolf will be disfigured lol, lucky it turned out fine :D
This post was shared in the Curation Collective Discord community for curators, and upvoted and resteemed by the @c-squared community account after manual review.
@c-squared runs a community witness. Please consider using one of your witness votes on us here
Your post was upvoted by the @art-venture account after manual review and included in Art-Venture magazine. The upvote and support of Art-venture magazine would greatly appreciated!
Thank you so much @art-venture! I have upvoted and commented on your post xx
Congratulations @yashny! You have completed the following achievement on the Steem blockchain and have been rewarded with new badge(s) :
You can view your badges on your Steem Board and compare to others on the Steem Ranking
If you no longer want to receive notifications, reply to this comment with the word
STOPTo support your work, I also upvoted your post!
Vote for @Steemitboard as a witness to get one more award and increased upvotes!