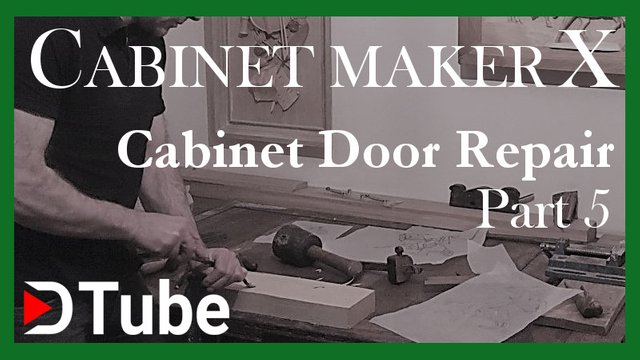
CABINET MAKER X #9 Cabinet Door Repair. Part 5

Welcome back to part 5.
This is the final stage of the door repair. Originally I had planned this to be a fairly simple
description but as I progressed I realised that it required quite a bit of explaining.
You can see the first parts here;
In this video I sand and apply the finish to the door.
All stages of any woodwork project are important but the finishing stage is where a little extra effort really pays off.
I start by showing you how I sand and flatten the door rails with a belt sander. Using a belt sander requires some practice as one wrong move can destroy all your hard work. I sand across the door first and then along the door stiles. This reduces any cross grain scratching.
I also fine tune the edges of the door with my block plane to take off the last half a millimetre.
Using the random orbital sander I sand the door up to 240 grit. The orbital sander is excellent for this but not well suited for flattening surfaces.
A good tip is to run your hands over the surface to detect and dips and to hold the wood up to the light to see any scratches.
Take time to make sure everything is perfect at this point because any blemishes will be magnified when the finish is put on.
When I am satisfied with the sanding I move on to applying the finish.
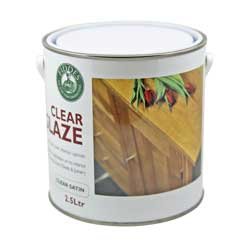
I am using Fiddes clear glaze which is my favourite finish for many reasons. It is tough, durable, easy to apply and self levelling.

I apply the first coat fairly thickly with a sponge and allow it to dry for a couple of hours.
Than after a very fine rub down I put a thin coat on as the final finish.
The colour is slightly lighter than the original but will blend after a while.
And there we have it.

Disclaimer:
Always adopt safe working practices. The way I do things are for illustrative purposes only and may not work for you so make sure you have all the relevant safety information and protective safety wear.

If you have any questions about woodwork, furniture or being self employed as a crafts person let me know.
I know my wood and I have spent years teaching myself furniture making , furniture history as well as living it as a self employed cabinet maker .
I am also in the process of writing a
'How to series: Setting up a Woodworking Business'
Which you can read here;
Part 1: Workshop
Part 2: Tools and machinery
Part 3: Finding a good timber yard
Part 4: Deciding what type of woodwork you are going to do.
Part 5: Advertising and getting customers
Part 6: Dealing with Customers.
Still I am learning every day and the journey is the point.
We have started a woodworking community here on steemit and would welcome you. We have a discord channel, link here: Woodworking on Steem Discord Channel
And a weekly woodworking post competition ,which you can read about here


Steemfollower is a great way to get more upvotes from like minded steemians.

Many thanks for reading,
Until next time,
You can read about us here