Building the Hoophouse Coop Part 3
This is the last of a series on pasture coops. Part 1 of the Hoophouse Section is here:
https://steemit.com/homesteading/@goldenoakfarm/building-the-hoophouse-coop
Part 2 of the Hoophouse Section is here:
https://steemit.com/homesteading/@goldenoakfarm/building-the-hoophouse-coop-part-2
Part 3 – Finishing
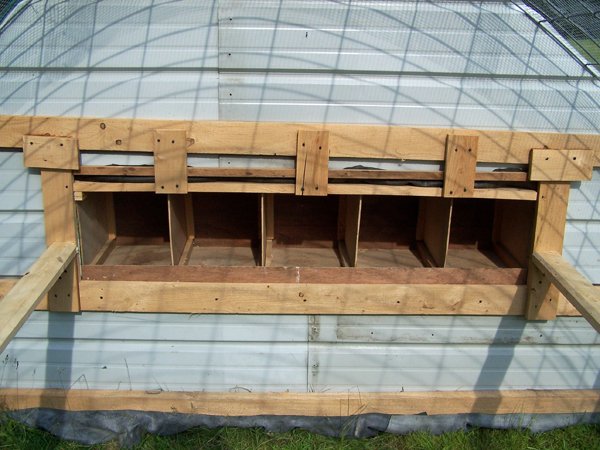
The nestboxes were put in place and then the outsides sided.
Above 2 photos: Nestbox framing
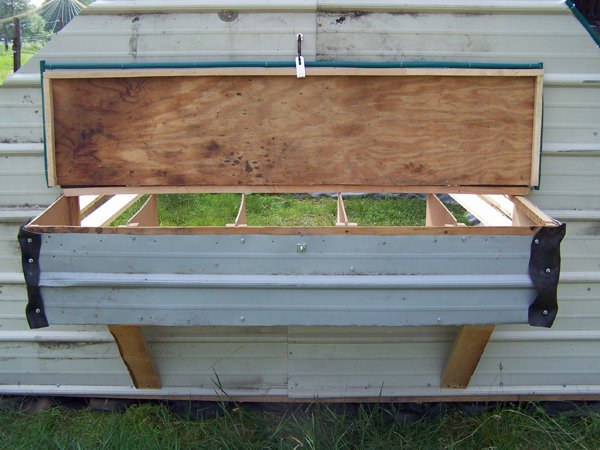
He covered the nestboxes with sheet metal, having put inner tubing along the top edge when he sided the back.
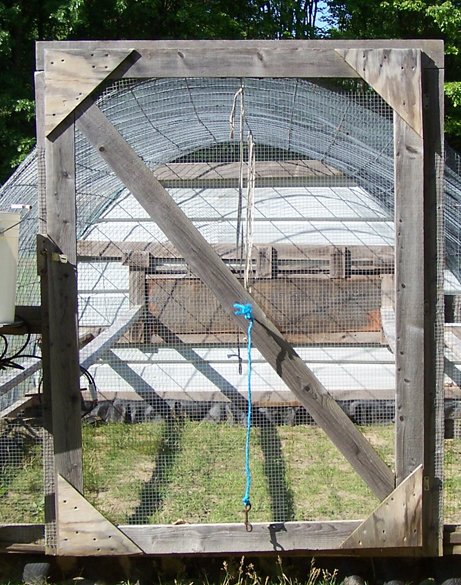
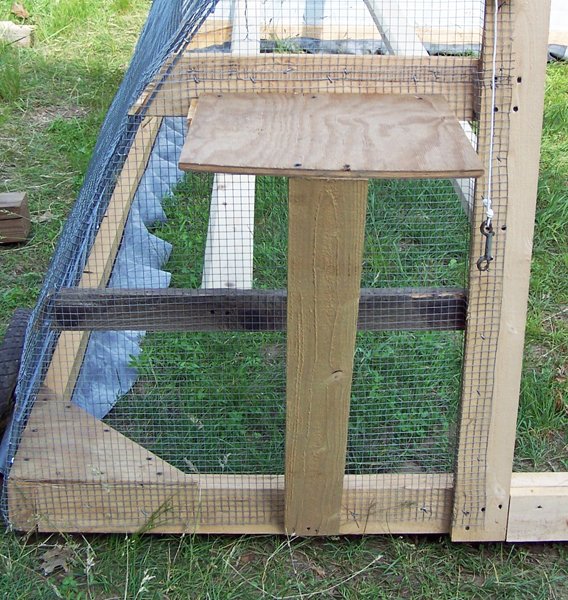
He built the door with plywood gussets. Note the direction of the door brace: upper outside corner to lower hinge corner to prevent coming out of square.
Note dark strips down the insides of door: lathe to protect birds from hardware cloth
He put lathe strips down the insides of the door over the hardware cloth edges. He couldn’t put one across the bottom, as the door wouldn’t close.
Then he built the support for the water reservoir.
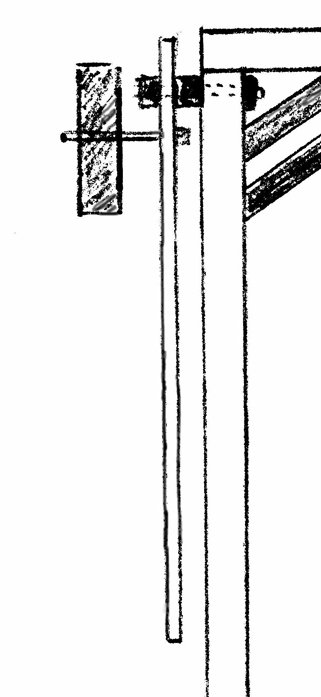
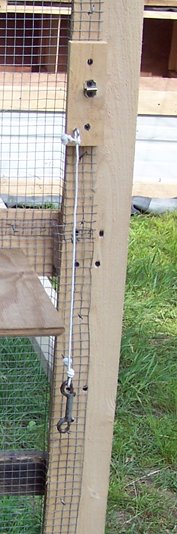
The wheel system design
The wheel system was next. This was an improved model from what we used on the Salatin pen. That had wooden levers and a weak axle support using metal strips screwed to the bottom of the frame.
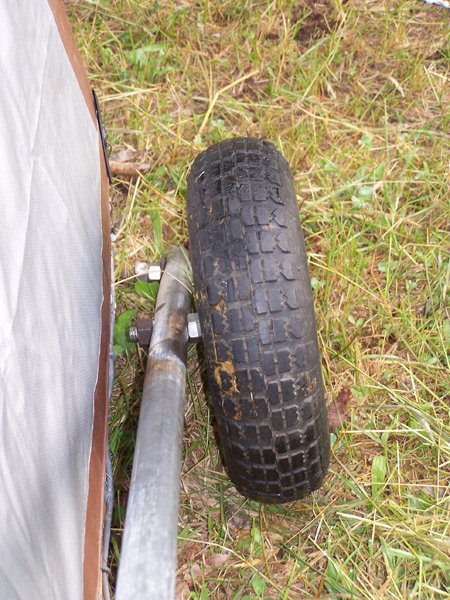
He changed out the wood for a galvanized pipe and beefed up the axle supports.
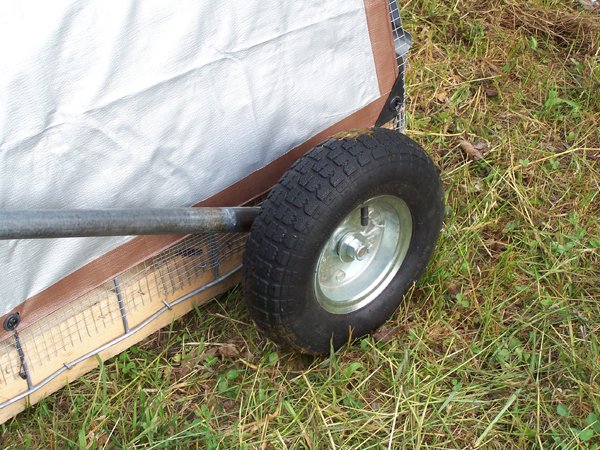
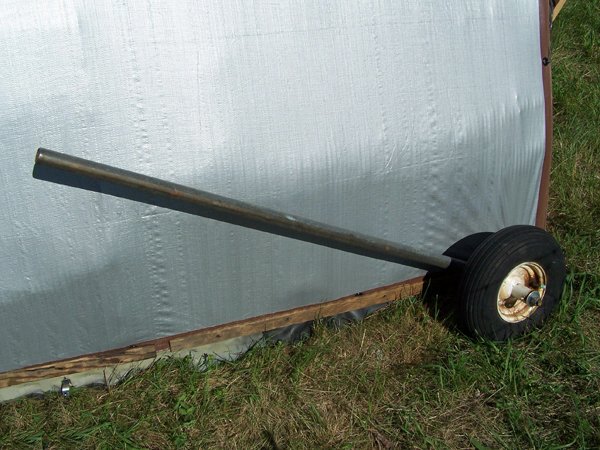
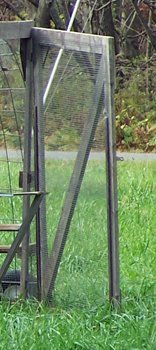
When not in use, the coop is resting on the ground
Ready to move: the lever locked down, wheels engaged, coop raised
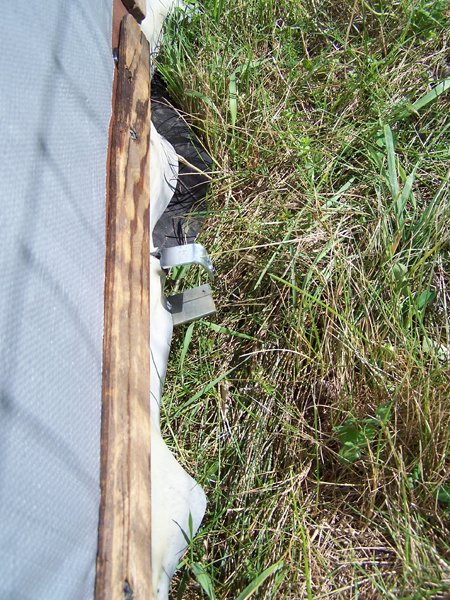
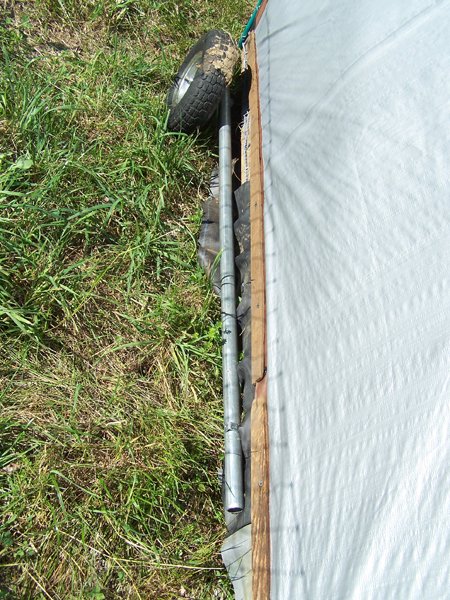
The lever locking system, hook above, sliding plates underneath

Close-up of locking system, plates slide back under the frame when not in use
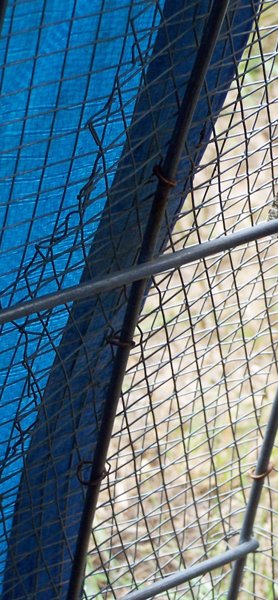
Bent under hardware cloth
We covered the hardware cloth ends or bent them away from where birds might have contact. We also tried to use uncut sides where these methods wouldn’t work.
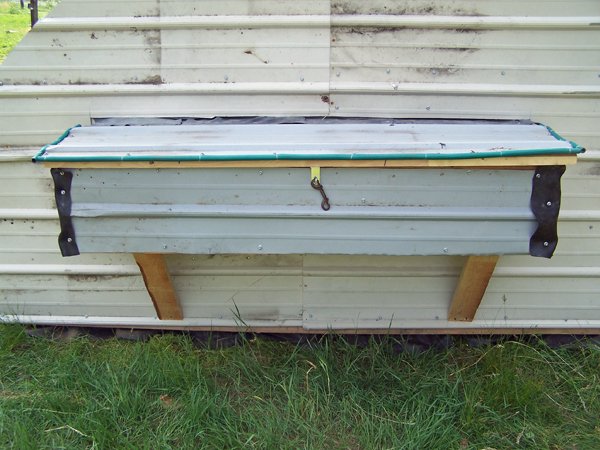
Garden hose over the edges of the sheet metal
I slit a leaky garden hose down 1 side and slid it over the sharp edges. Then I used 22 ga wire and drilled holes in the sheet metal and wired the hose into place.
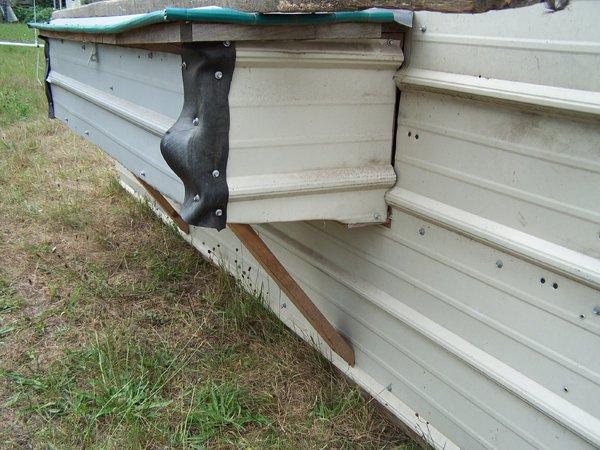
I used inner tube on the nestbox side edges and under the sheetmetal on nest box top to protect from sharp edges.
Door holder
Door latch, used with a hasp
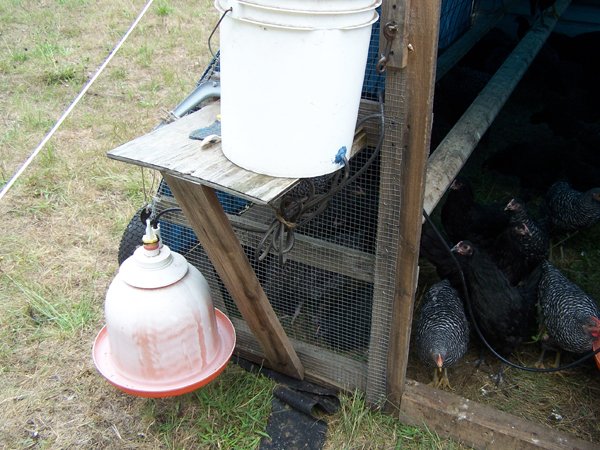
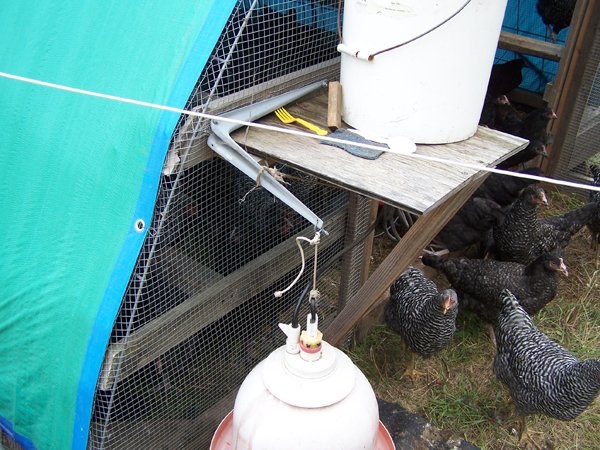
Above 2 photos: Setting-up the reservoir and the back-up waterer. We found in the heat of summer, the filters plug with algae so it is crucial to have back-up. Note the wooden handled hook on the shelf. This is for carrying the waterers. If they are lifted by the locknut, it loosens and they either leak or stop working.
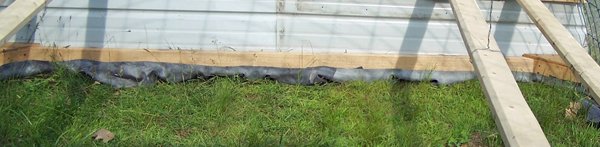
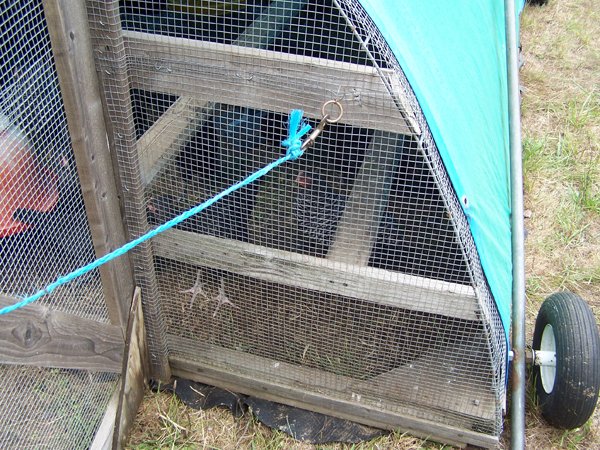
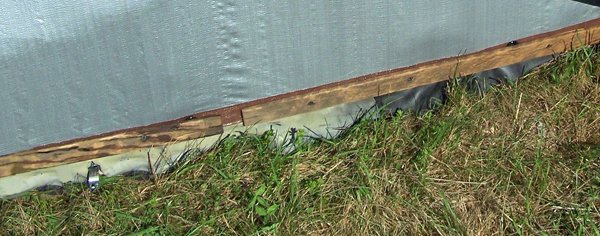
The next job was stapling the inner tube curtains to the bottom of the coop. These prevent escapees when the coop is raised on the wheels.
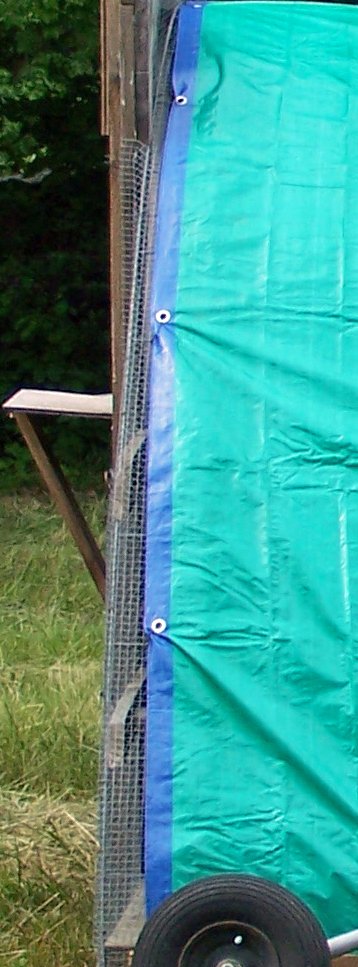
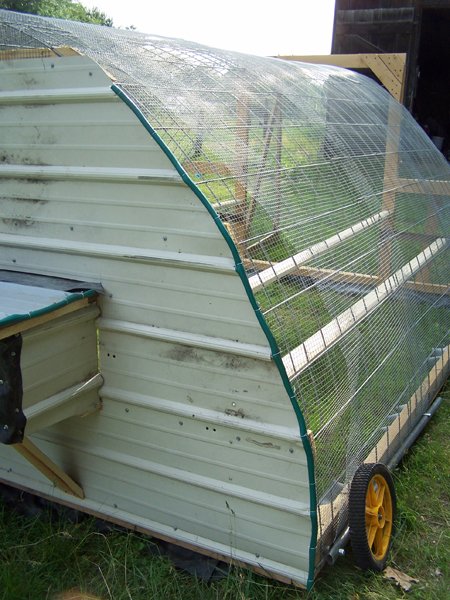
Above 2 photos: Attaching the tarp to the panels. It was wired through the grommets with 22 ga wire. One lower side was screwed on with lathes. The tarp needs to be secure because out here we have a problem with wind.
But it also needs to be easily removed. If left in place over the winter, it will disintegrate, and it’s an awful mess to clean up.
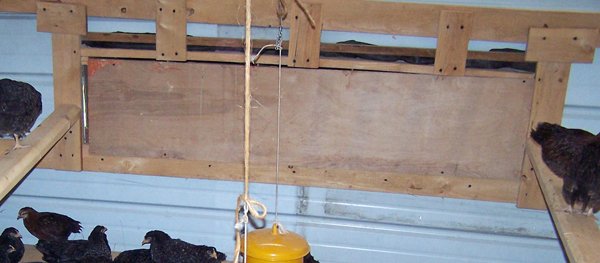
Last, we screwed a cover over the nestboxes. We do not want to encourage sleeping in them, and they will not be laying for many months.
Coop Amenities
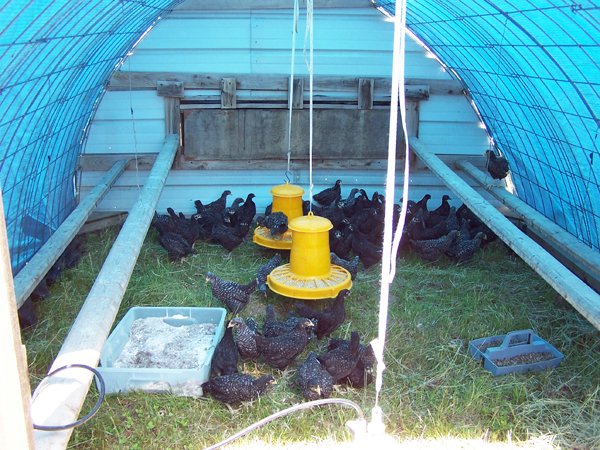
Once the tarp is on and the coop is moved into position, we set the equipment into place.
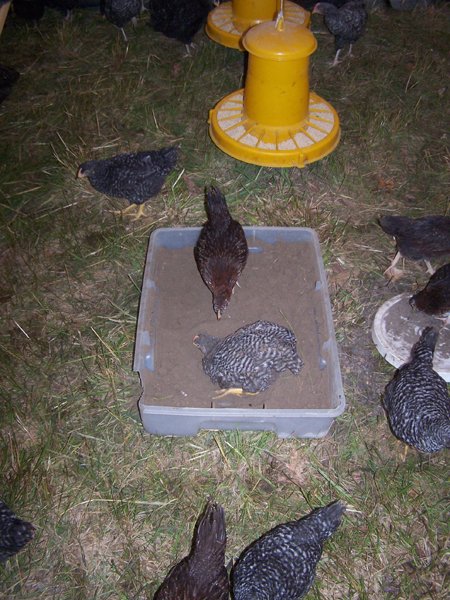
The dustbath box is a mix of diatomaceous earth, leached wood ash, and soil.
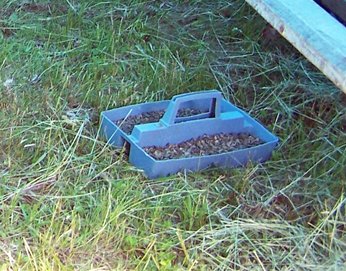
Because we literally have no stones here, we must import grit for all the birds. This tray holds a multi-size grit we get from a river on the mountain.
We use adjustable tapes for hanging the waterers and feeders. These need to be adjusted for height weekly as the birds grow. Keeping them the correct height reduces feed waste and keeps the waterers cleaner.
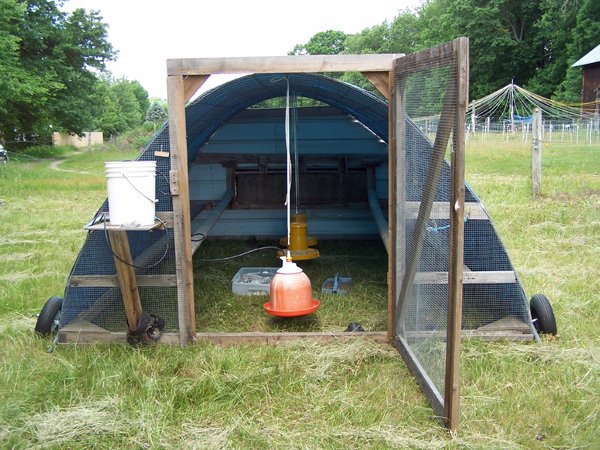
All set up and ready for birds.
There are 75 birds in there. They will stay in for a couple weeks, until they are bigger. Then we will put up the 50’ x 50’ pen and they will have that to run in every day, just being locked in at night.
This is a 5 part series on our pastured chicken infrastructure. I started with the Salatin tractor: https://steemit.com/homesteading/@goldenoakfarm/building-the-salatin-pen
Next was the Mobile Coop: https://steemit.com/homesteading/@goldenoakfarm/building-the-pasture-coop
Then the Movable Pen for the coop: https://steemit.com/homesteading/@goldenoakfarm/building-the-mobile-pen
The Circus Tent:
Part 1 - An explanation of how we came to use the tent: https://steemit.com/livesustainably/@goldenoakfarm/building-the-circus-tent-part-1
Part 2 – How to build it:
https://steemit.com/livesustainably/@goldenoakfarm/building-the-circus-tent-part-2
I read through all the post you have here. Fantastic. We also have chicken tractors and have had many similar challenges. We did make one with a peaked roof and it is by far the best we have. I think your last design is a great design. We have a friend who has that design and she has less problems with it than we do with the square box design. I hope you are successful with the new design.
This is the 3rd year using it and so far, so good...
Hi @goldenoakfarm, that is a good build you have there.
I host a radio show every Friday on MSP Waves called The Alternative Lifestyle Show. The show covers homesteading, prepping, homeschooling, tiny houses, renewable energy etc.
I wondered if you would like to come on the show as a guest sometime?
If you check my profile you will see links to recordings of previous shows if you would like to listen to one.
Host of The Alternative Lifestyle Show on MSP Waves Radio.
Editor of the Weekly Schedule of Steem Radio Shows.
Founder of the A Dollar A Day charitable giving project.
Sure, I'd like to do that. I have to plan in order to be coherent at that time of day. So if you could give me plenty of notice and an idea what we'd talk about...
Get a free Bible for your phone, tablet, and computer. bible.com