Kaisersemmeln - Kaiser rolls 2
Back to the Kaiser rolls. After a few tries I can confirm that I have found the right recipe. Come in and find out what it is!
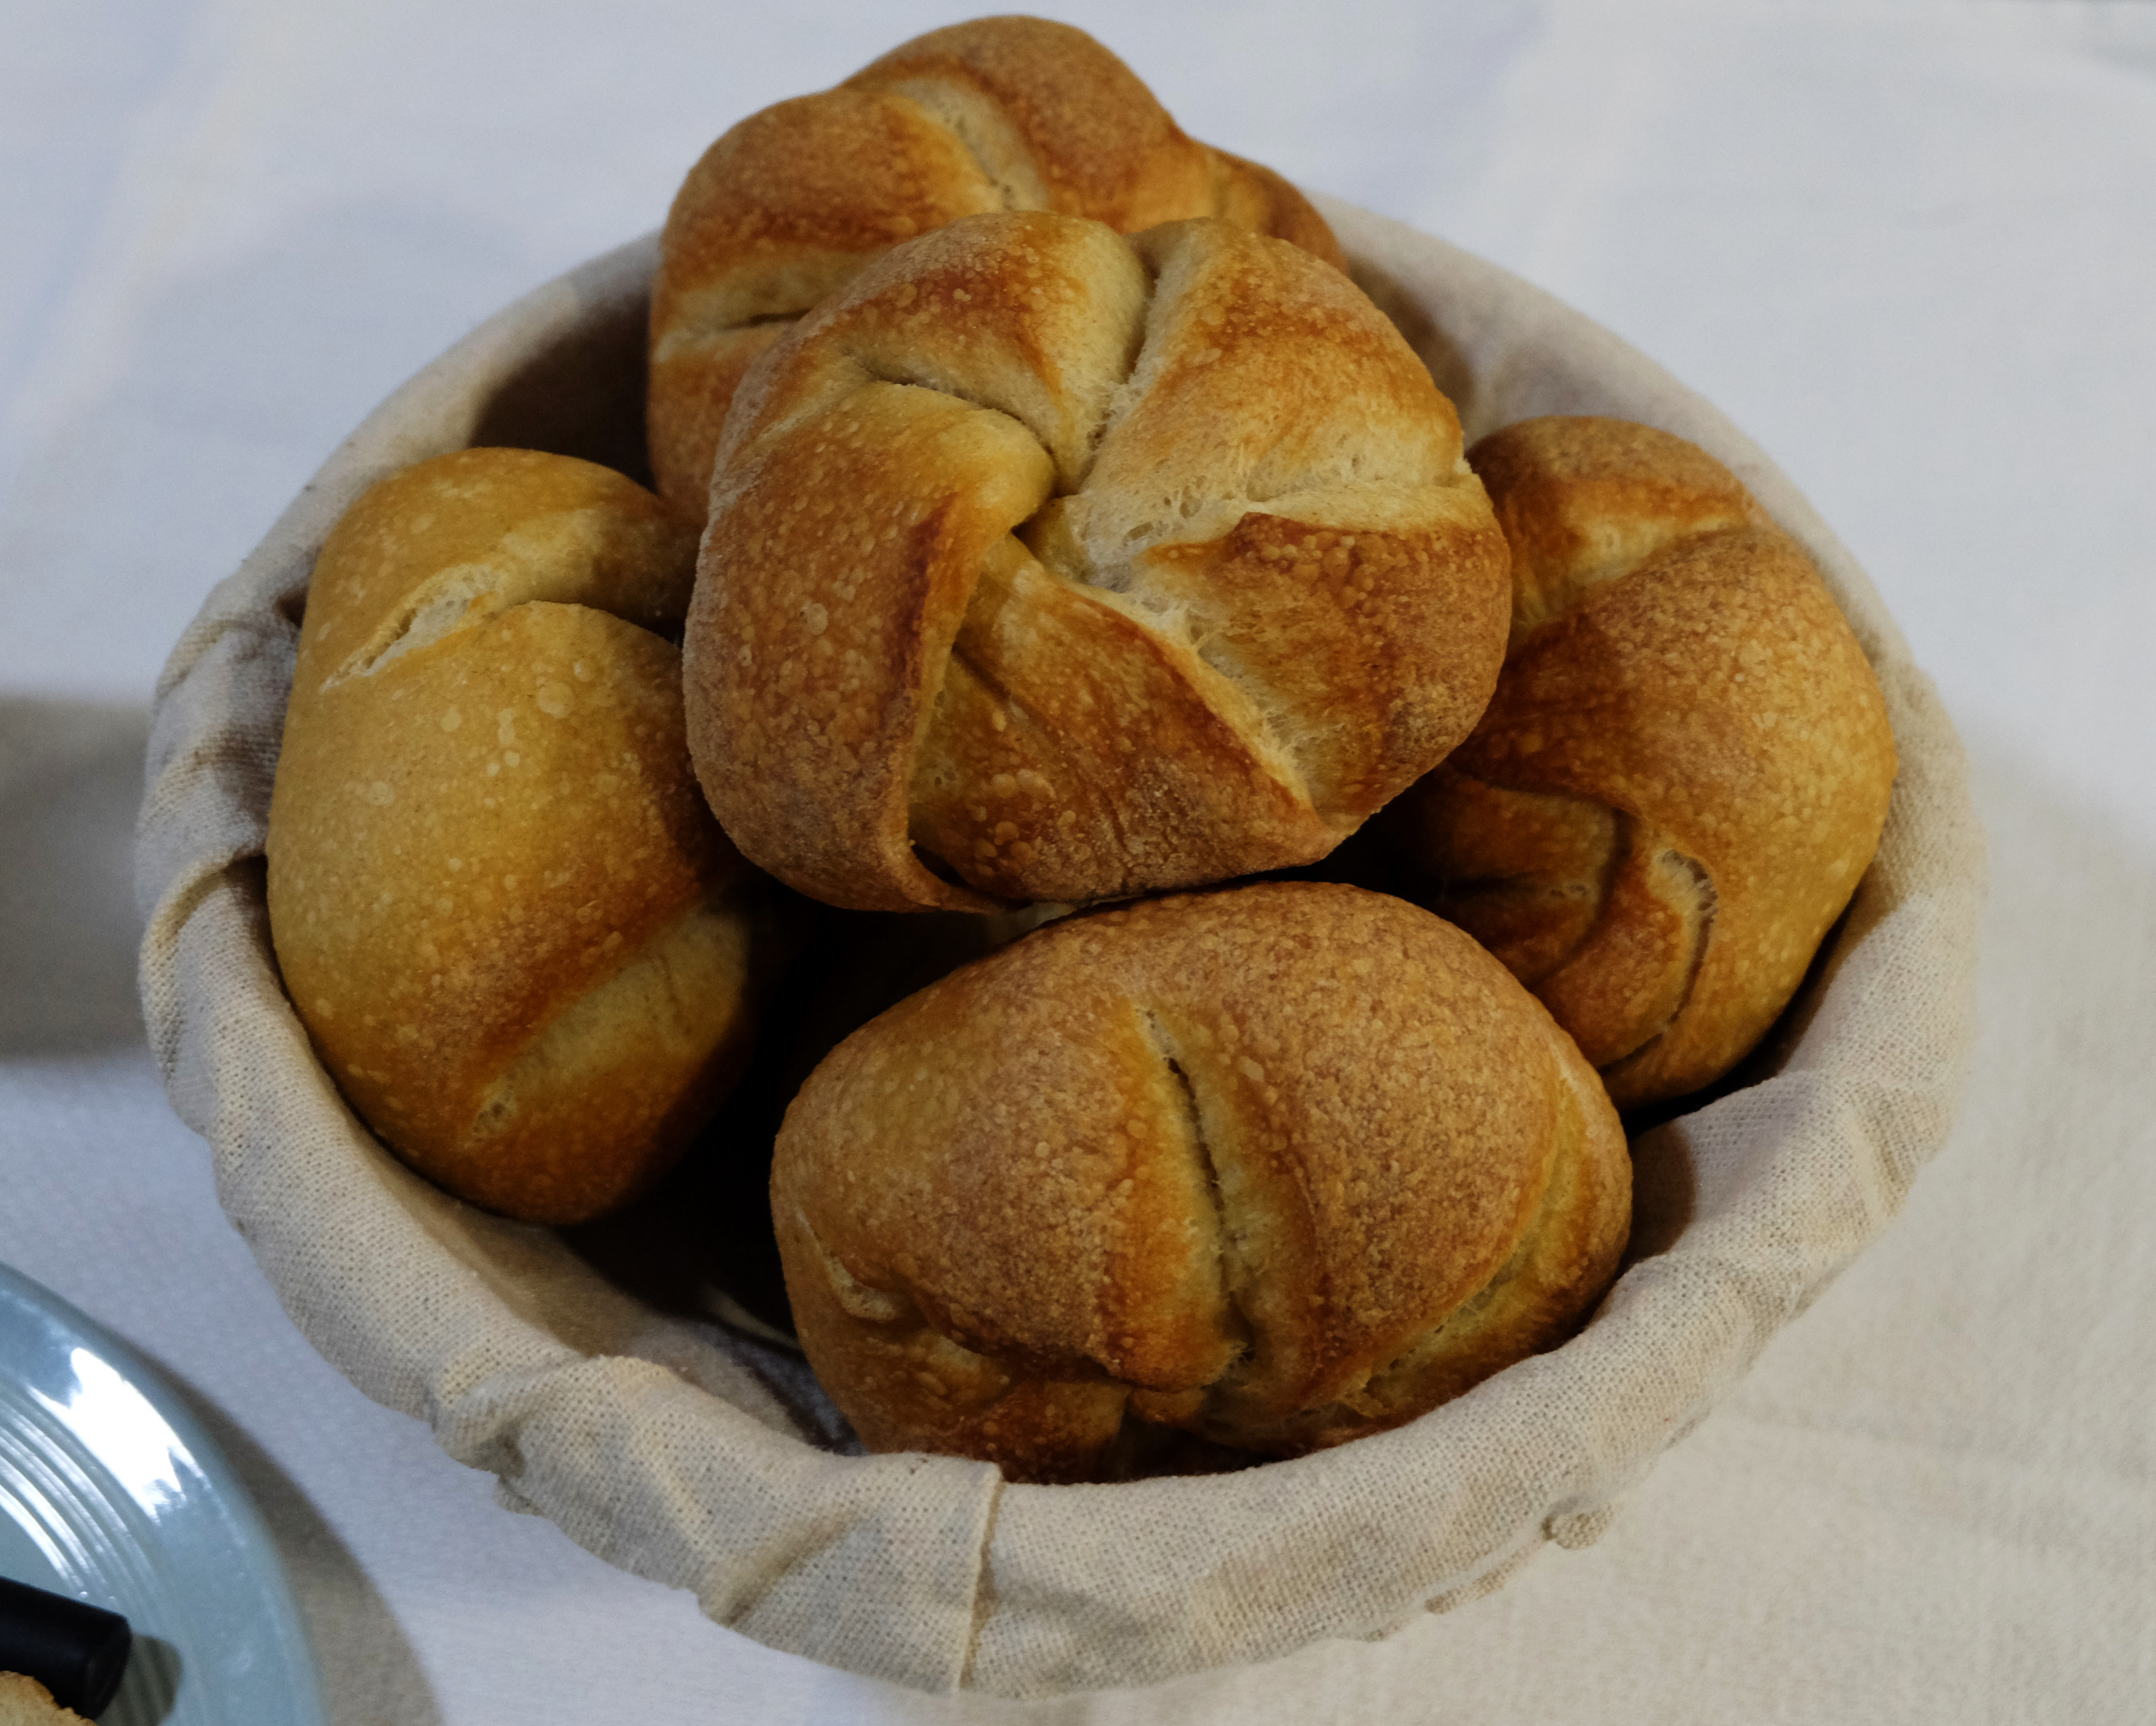
First time I presented the dough which did come out well but then it wasn't the best one ever. I knew there was a potential for something better. Out of desperation I started looking through Austrian blogs and I found this recipe. It has no eggs, takes a longer time to prepare, but it's OK as it can be incorporated into the day rythm.
Pate fermente is pretty much old dough. Unlike other levains, it contains all the ingredients of a ready dough, and with regular baking you can get it from the previous batch before the bulk rise. Such levain has a lot of aromas and yeast built up and this means the rest of the dough can have a shorter proofing time while still having quite a full flavour.
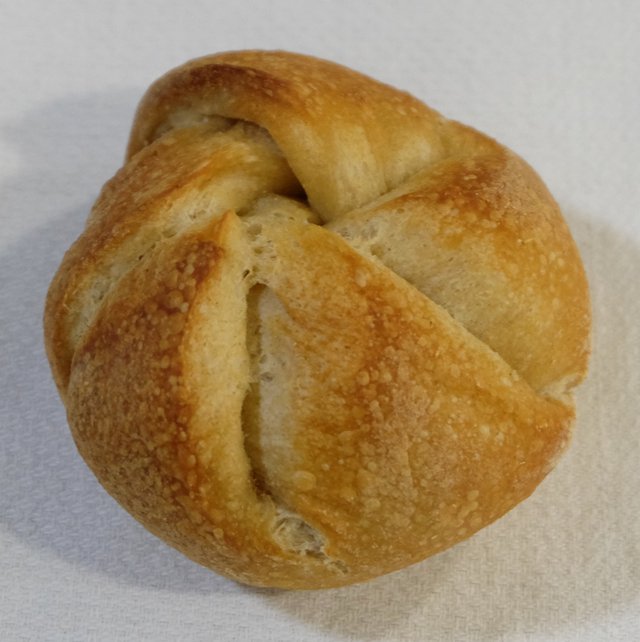
I would like to touch on the dough resting - this recipe has a couple moments when the dough is left and then worked with, and left to rest again even though it doesn't rise too much. In general the dough get's quite springy and stiff when kneaded, and left to rest will become more workable. This is because when you knead it, the gluten mesh stretches and starts resisting (and it can be torn, so you shouldn overdo the dough), whereas when leaving, the mesh slowly stretches and gets more loose (partially thanks to protease enzyme that weakens the bindings), which causes the dough to regain its plasticity.
Below the recipe there is more on shaping which still requires work in my case. Remember the rolls should be shaped in a way that will stop the dough from fully sticking together so that they can open a bit when baking and the pattern becomes even nicer. Using a weak flour or a bit of gluten free flour for dusting will help us with that when shaping.
Planning
The levain needs to be prepared 12-16 hours before baking. The dough is rather quick to prepare (30 minutes bulk proof and 45 more after dividing the dough) and it doesn't really rise much during that time (not with such a cold water), but then it will need 6-8 hours more for the final rise (make room for two trays in your fridge). Baking takes 15 minutes.
I usually bake the rolls for breakfast: In the morning the day before baking I prepare the levain, I mix the dough in the evening, then shape it and put into the fridge, and finally I bake in the morning. The rolls are ready to eat 10-15 minutes after finishing the baking.
It's worth having two baking trays that will fit your fridge and you'll need a clean tea towel for each of them, and some cling film to stop the dough from drying out too much. As usual, you'll need a scale.
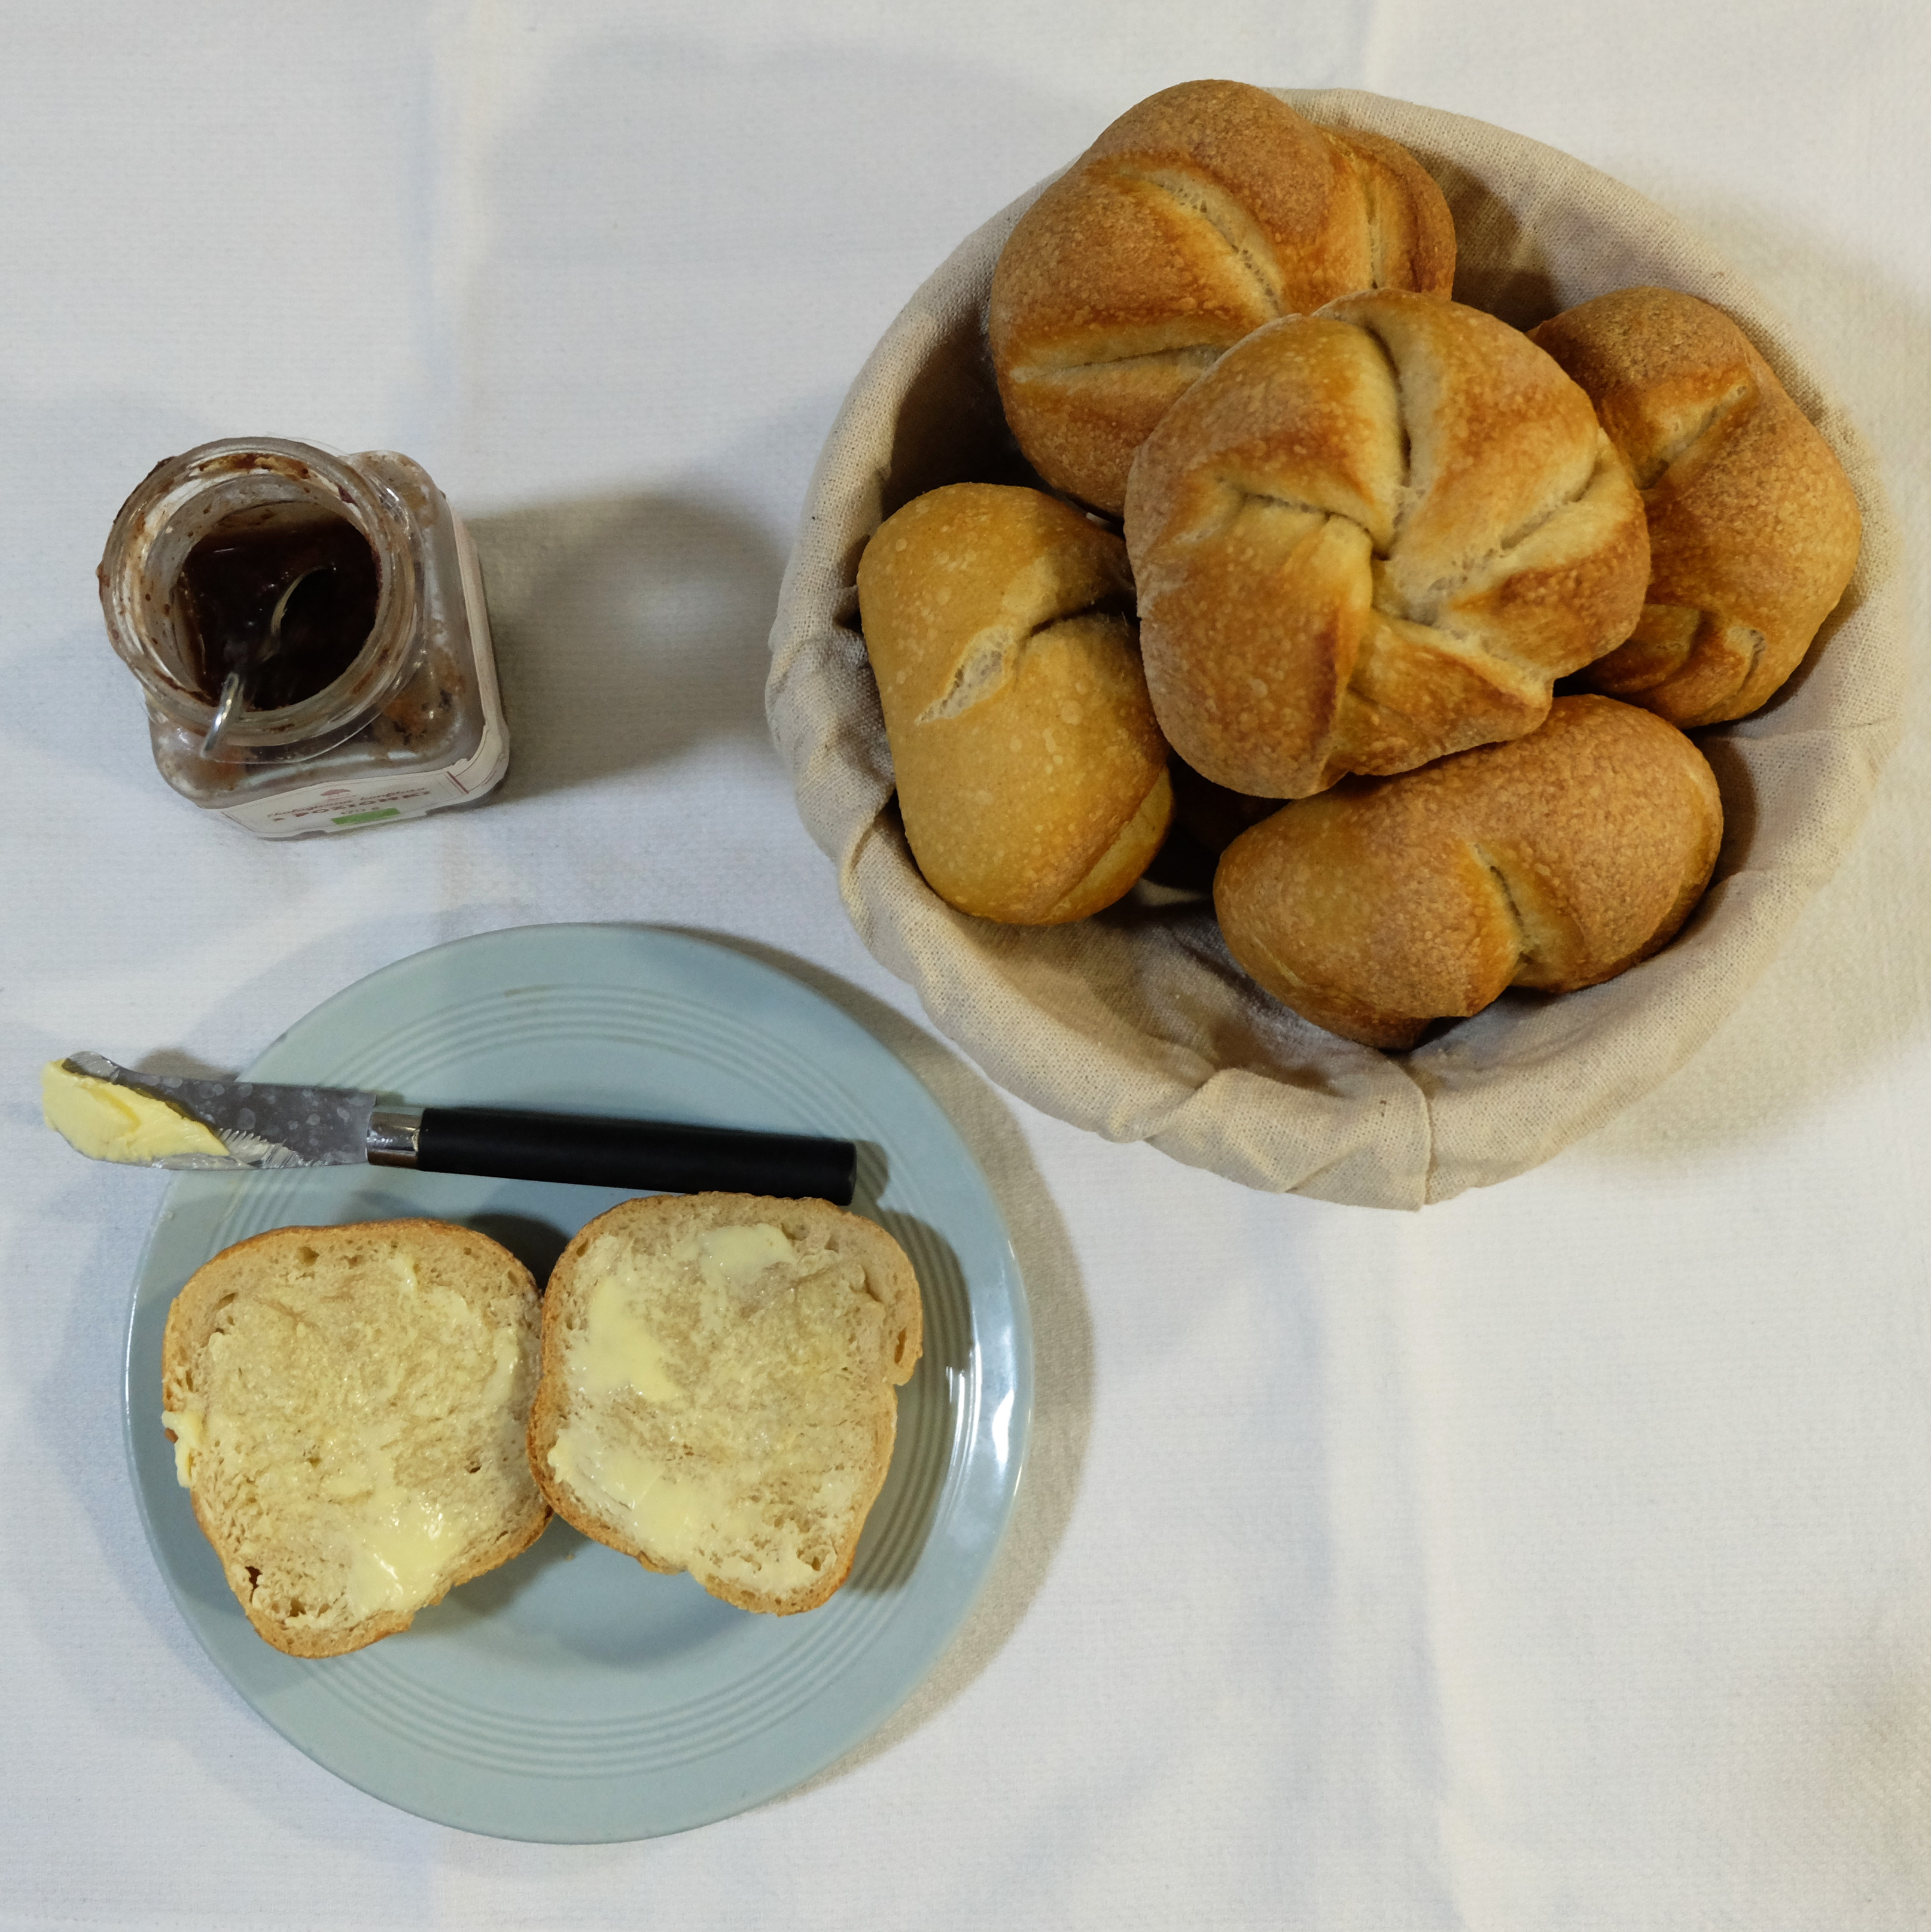
Ingredients
Enough to make 15 rolls
Levain (Pate fermente)
- 200 g strong white wheat flour
- 130 g water
- 3 g salt
- 2 g fresh yeast
- some light rye flour or a mixture of a wheat and potato flours for shaping
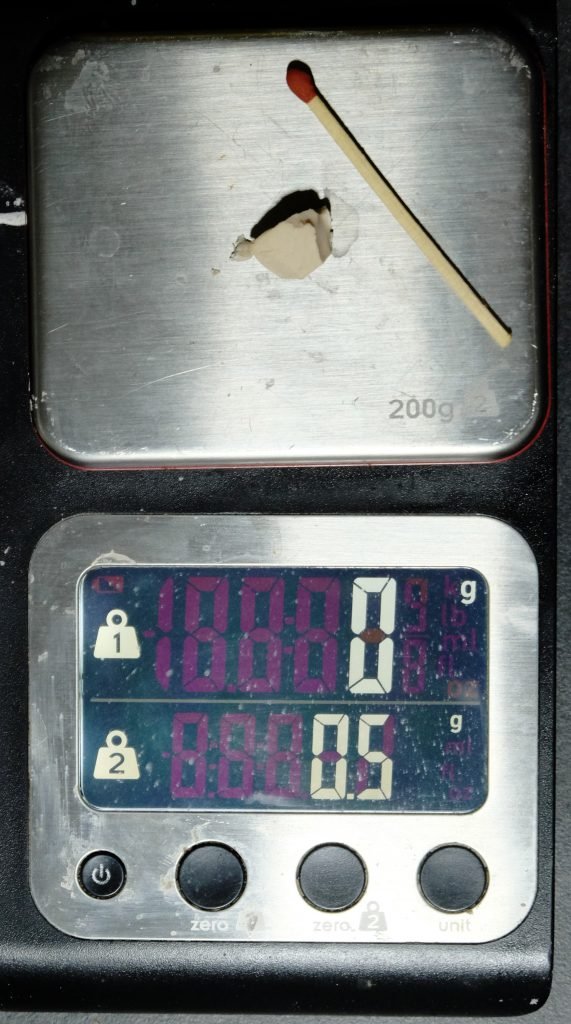
Perhaps the picture below will help you get an idea how much is 2 grams of fresh yest (four times the quantity in the picture):
Final dough
- 335 g ripe levain
- 460 g strong white wheat flour
- 260 g cold water, at about 8 Celsius degrees
- 13 g salt
- 14 g malt syrup (I have a barley malt syrup, but you'll get away with honey as well)
- 12 g fresh yeast
Preparation
- Mix the levain and leave for 12-16 hours in a bowl under a cling film to ripen
- Mix the whole dough and leave for 30 minutes. It will not rise by much, but will be quite easy to work with
- Divide the dough into 72 g portions and round them (Check out how to do it). If you plan to make the kaiser roll shape, dust the rounded portions in the rye flour or the mixture of wheat and potato flour. If you do not plan to shape them, just do the next point and put them in the fridge, skipping the shaping bit
- Leave the portioned dough for 45 minutes to rest and get more manageable. Cover them with cling film to prevent them from drying out
- Roll the pieces of dough into flat disks and perform shaping like in the videos below. I'm still learning to shape them, so only some come out nice. Under the clips you'll see my comments, maybe they will help you. If you have an idea what I could do better, let me know, I'm happy to improve
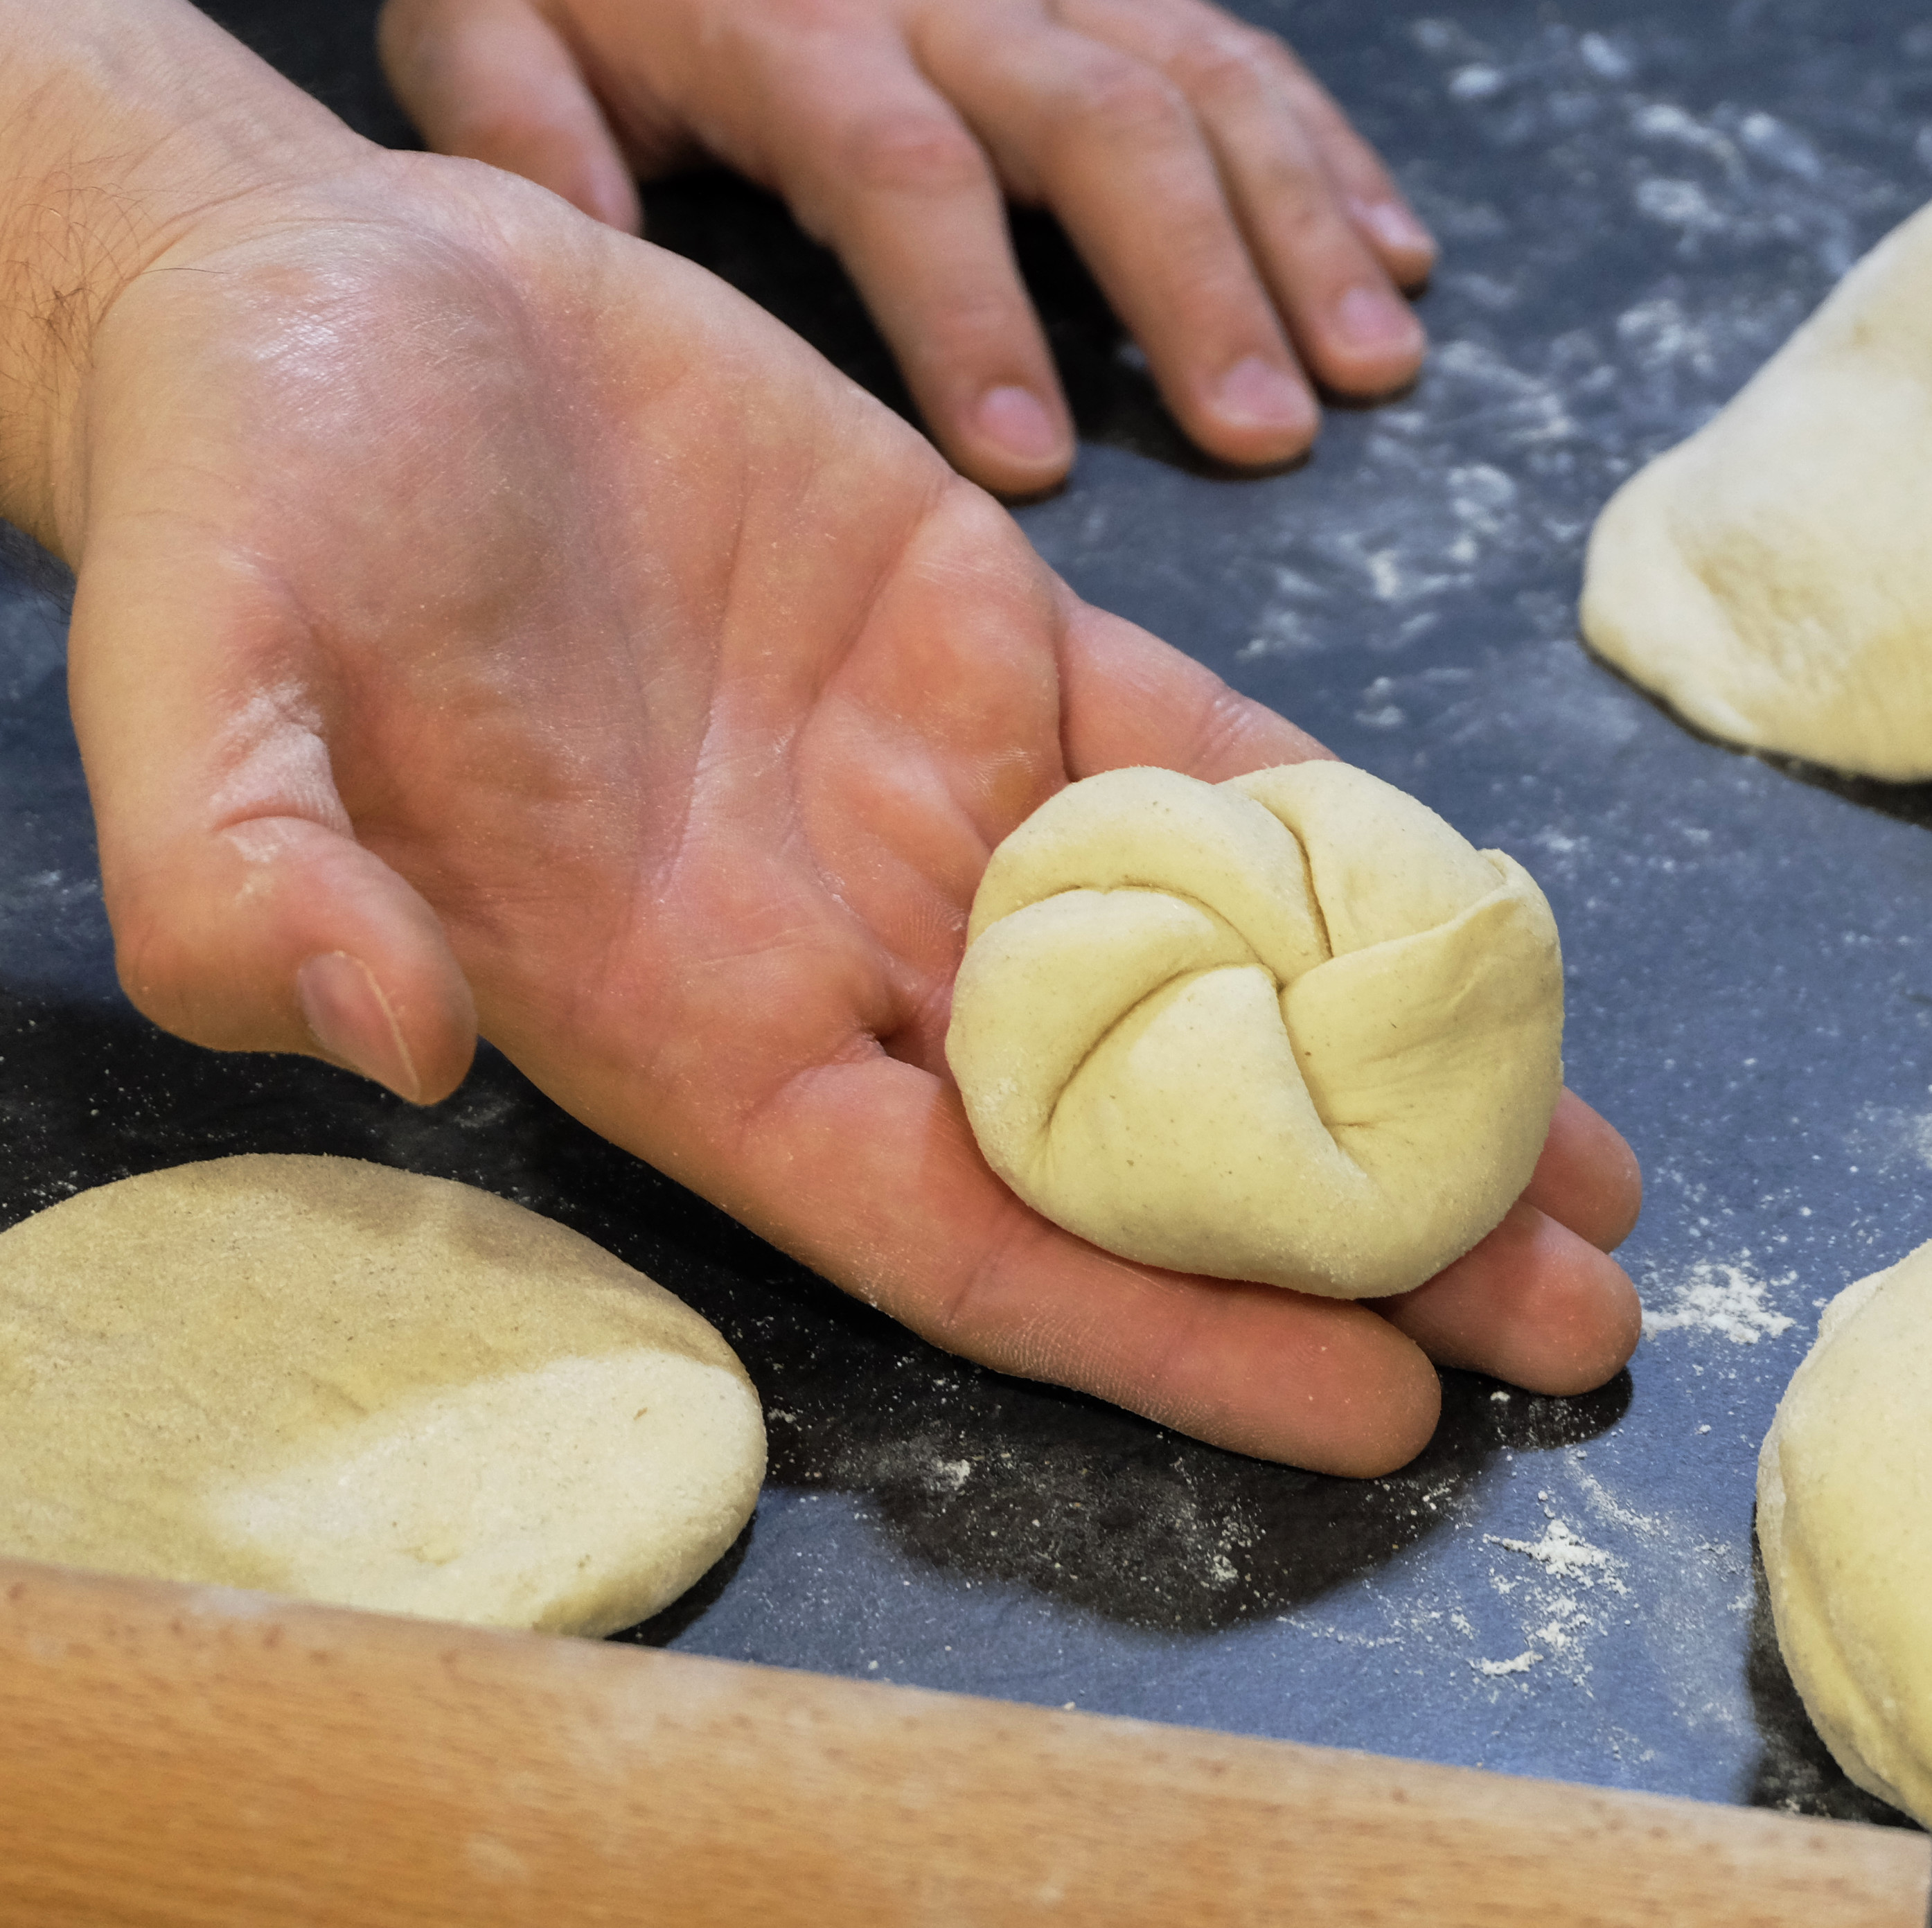
- Place each shaped roll on a tea towel on the baking tray with the pattern facing fown. I then used the rest of the towel to cover the rolls and then covered them with cling film so that they don't dry out too much
- Leave them in the fridge for 6-8 hours
- Set your oven to 240-250 Celsius degrees. Know your oven. Prepare some source of steam - I put water on the bottom of the oven as I have a special dent for it. When I didn't have one, I used a baking tray. Some people put ice cubes in the oven, some spray water into it before closing the oven
- Bake the rolls for 15-16 minutes with steam. After five minutes open the door to release the steam
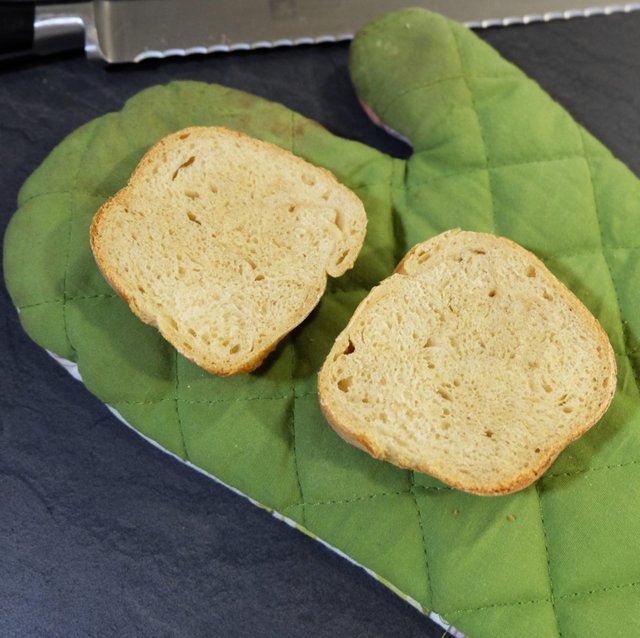
- Leave the rolls to cool down
Shaping
Let me recall the videos with instructions:
I think the first time something didn't work out with transferring the rolls from the oven to a basket and it was replaced with another shot from a completely different place in the bakery ;) The shaping process is shown, but not very well described.
The baker describes nicely, but I was mislead with w "karate punch" - I was hitting the dough from the top downwards, whereas the motion should be more "gathering", with a slight roll of a hand .
Here's Dietmar again, the author of this recipe. He shows the process nicely, but somehow my rolls didn't come out that nicely shaped. He does have a lot of comments with advice under the recipe post.
I still need to learn and practice, but I think I understand the technique now:
- each piece of rounded dough needs to be dusted with a weak or gluten free flour. This makes the folds stick less to each other and improves the final shape
- the dough needs to be rolled flat. It's better to roll all the pieces first and then shape - this will give them some time to rest and regain plasticity
- the key is proper placement of the thumb for a first fold. That said I never know where this should be. In the videos the thumb starts pointing at the middle, but Dietmar did mention in the comments that some should put it closer to the hand to make the first fold smaller. I usually end up with the first fold being to big. It's possible that I simple try to stuff too much dough under it and the fold itself is just fine
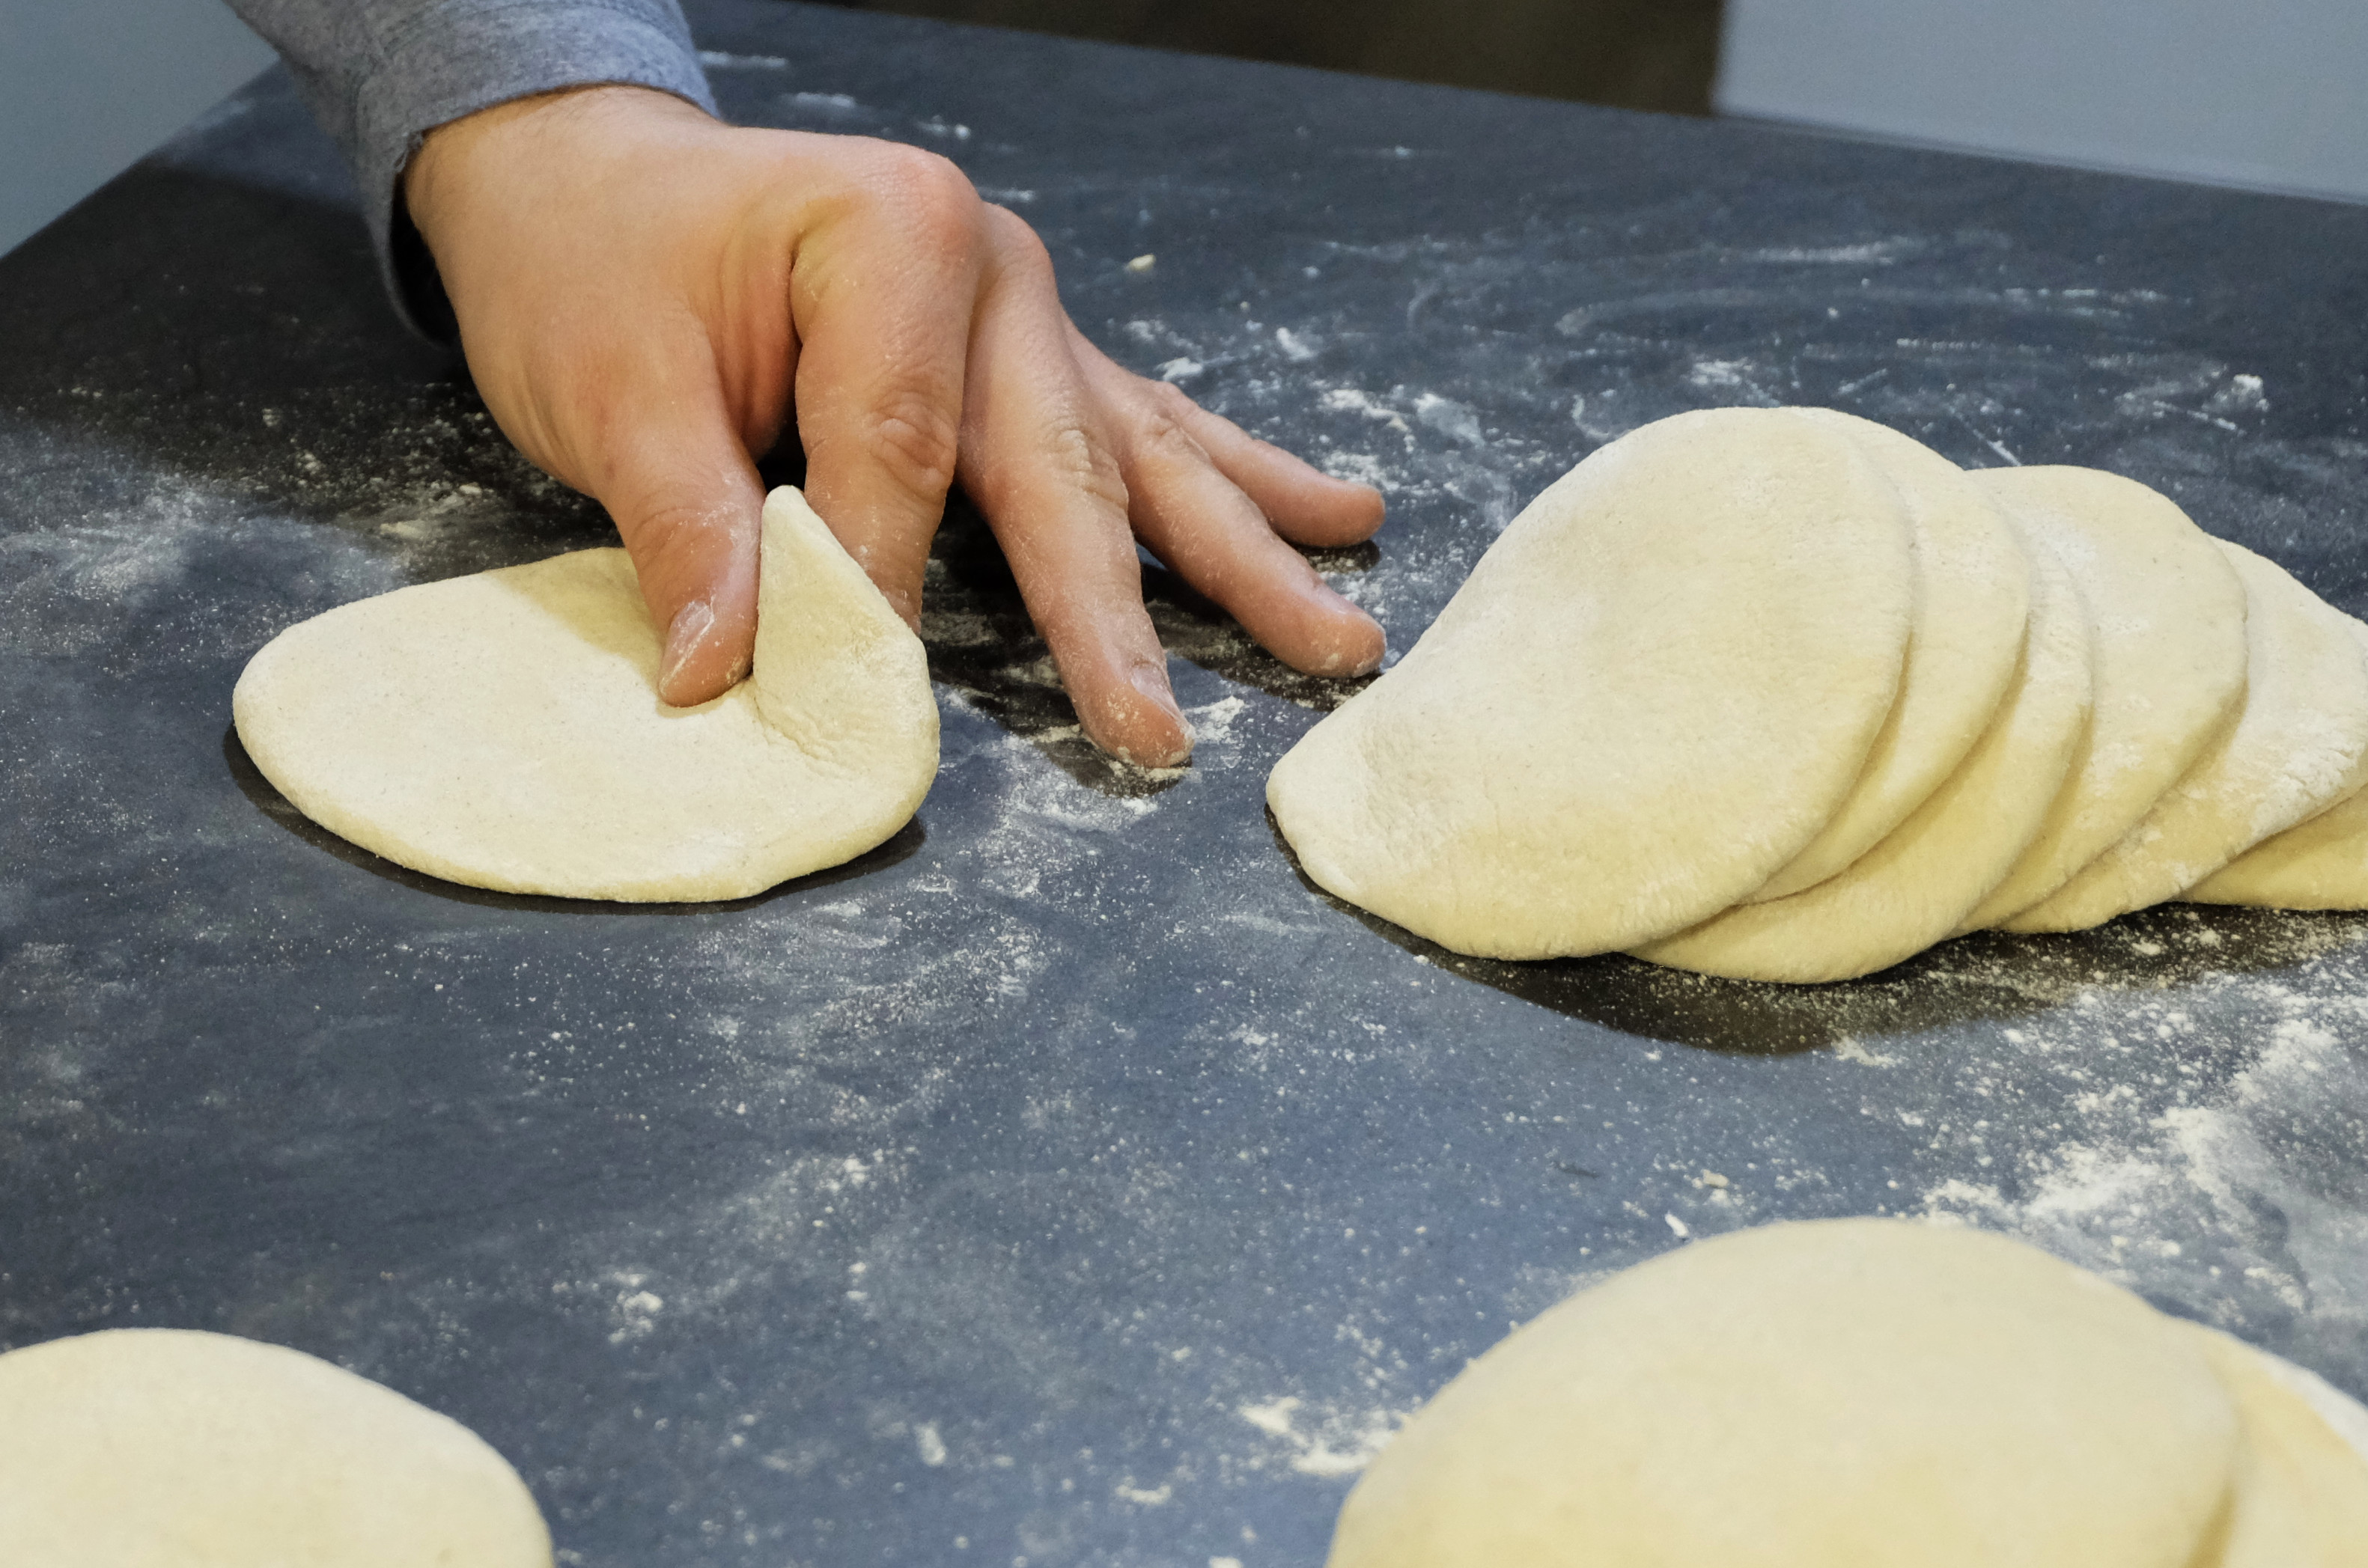
- I think the best folds are the ones where their tip is pressed slightly further than in the middle of the disk. If it is stuck with a slightly too small overlap, you might get a small round dot in the middle (kind of a flower shape)
- "the karate punch" should include a slight roll of the hand towards the thumb
- once again, really remember to dust the pieces of dough - I didn't do enough of it and the folds often stuck together, which doesn't make it look nice after baking
- remember to put the folded rolls with the pattern facing down - while rising they will grow instead of opening up and losing the shape
Summary
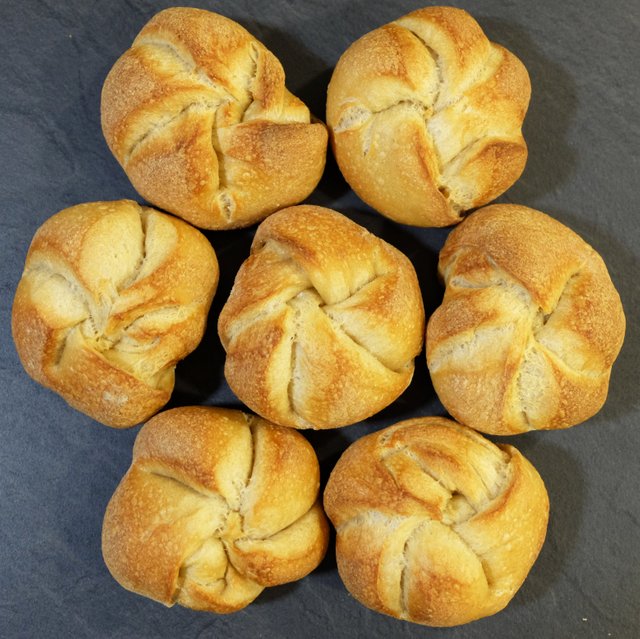
Now I need to practice, then practice, and then practice even more. The dough is delicious and about 30% of rolls come out nice, 60% OK-is (this is quite some progress).
While translating the recipe, I thought I could try making the dough using the yeast water. I'll need to think about it.
Thank you for your attention and votes. If you like my posts on bread and other subjects, feel free to follow me.
Ale muszą być chrupiące!!!
Aż sąsiad miotłą do mnie stuka! ;)
All looks good and delicious. I like this but was wondering have you tried the knotted method? Maybe easier.
Thank you :)
You mean taking a single stripe and knotting it till it looks similar? Not with this dough but I wanted to learn the traditional technique.
Congratulations @breadcentric! You have completed some achievement on Steemit and have been rewarded with new badge(s) :
Click on any badge to view your own Board of Honor on SteemitBoard.
For more information about SteemitBoard, click here
If you no longer want to receive notifications, reply to this comment with the word
STOPThis looks so delicious!
Thank you :)
It would be great to see you at the London Crypto Currency Show on 14th April! The following projects are coming to present:
@utopian-io Read their blog about the show:
@esteemapp Read their blog about the show:
@stach Read their blog about the show:
@steempress Read their blog about the show:
Also @allasyummyfood, @stephenkendal, @anarcotech & @starkerz will present. The event doors open at 09.30am and the Steem Project presentations start at 10.15am and finish at 11.30am.
There will be loads of cool steemians at our stand at the event all day where there will be presentations on the hour until 16.00. The after party starts at 17.00 at the Novotel Hammersmith.
See some blogs about the event HERE & HERE
I'll miss the after party, but plan to show up at the show and bring bread :)
So cool! We look forward to seeing u!!
Do you have any bread preferences? :)
Brown ;))
Wholemeal rye or seedy it is then :)
Very cool! Looking forward to meet you :)
They look SO delicious! I love bread! :))