DIY - Securely Hanging a Cabinet
Hi Fellow Steemians / DIY enthusiasts,
Another edition of my DIY posts here! Going to be making a number of these over the coming months as we get our condo ready to sell. We will be doing a number of renovations and improvements to our living space. This is one of the latest ones that was inexpensive but adds nice space and a clean look to our front foyer. Let's get started!
First we need to have some tools that will help get the job done smoothly and properly.
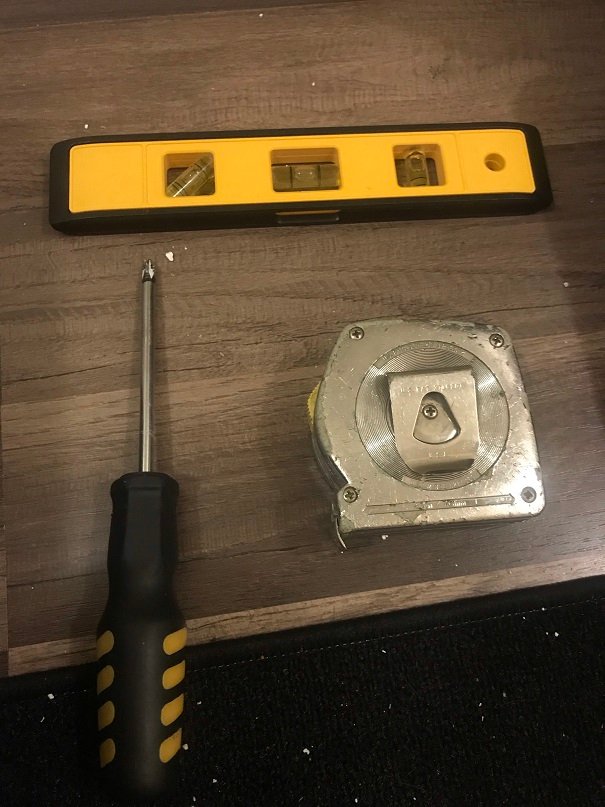
To start, I made sure I had a reliable bullet-style level to make sure I'm not hanging the cabinet at a wild angle that looks straight to me from whatever perspective I was at. I also had a screwdriver and a tape measure.
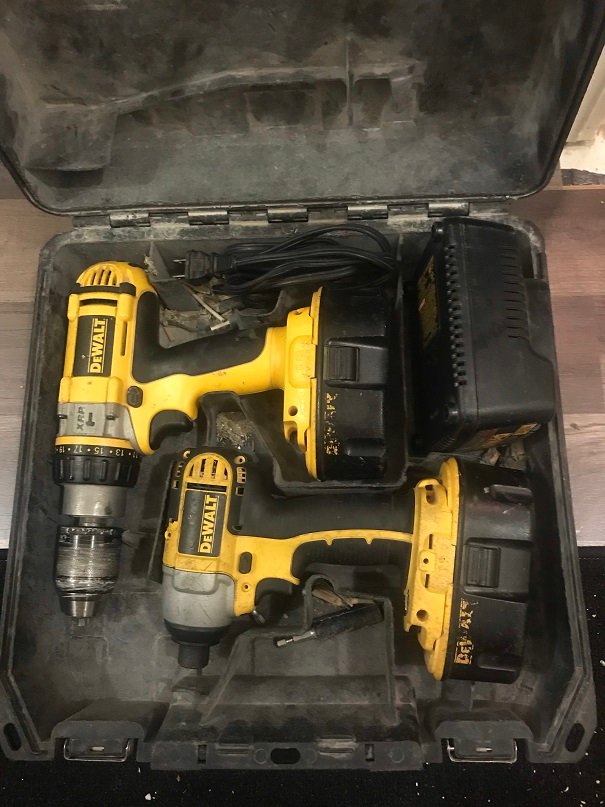
Can't do a job like this without some good power tools! I used the drill to pre-drill some holes. Then there is the impact-style screw gun which is one of the best tools in my opinion. Very versatile.
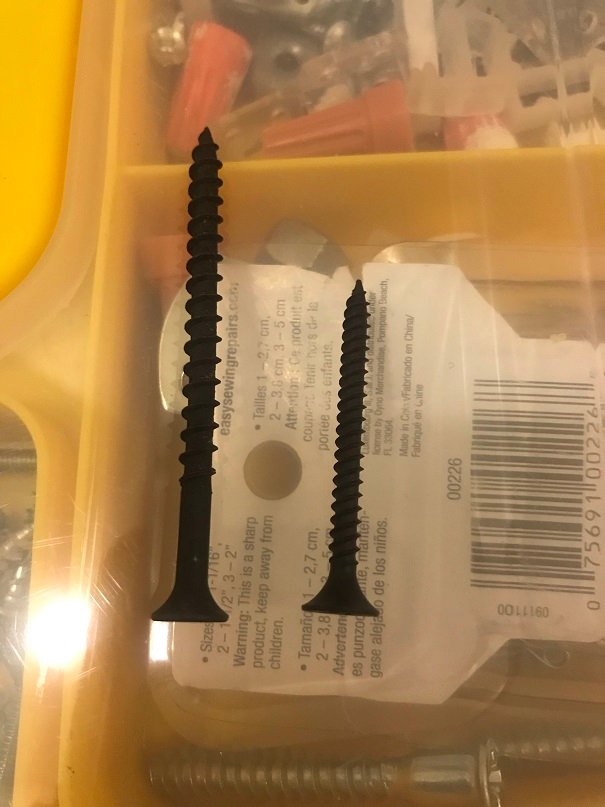
These are the screws I used; the long one is for securing the cabinet into the wall and the fine thread one I used to secure additionally some screws into the cabinet itself to give it better support.
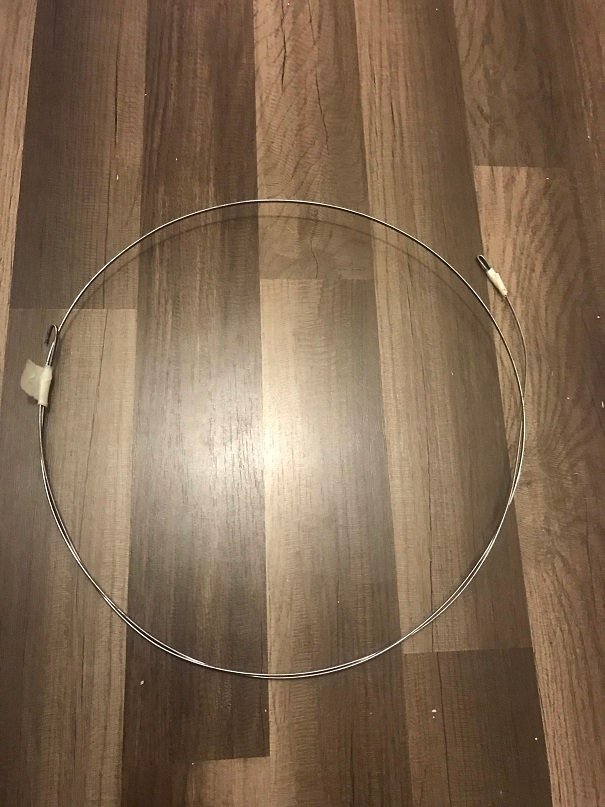
Finally it was also helpful to have a nice reliable steel snake. In our building, they don't put the sheetrock directly onto the wood studs, they use aluminum risers on the wall and ceiling so you will never fund a stud using a stud finder. (I found that out the hard way..) The steel snake isn't necessarily a building tool but a nice trick I learned from my father, they are mainly an electrician's tool.
Securing and Installing the Cabinet
After putting the cabinet together, I noticed that it was unfortunately a little lacking in how firm it was secured to the supports that it was supposed to hang on the wall from. I added some additional screws before changing my attention to the wall in which it would hang. I used the drill and drilled a couple pre-holes so that the screws I was going to use wouldn't ruin the particle board construction.
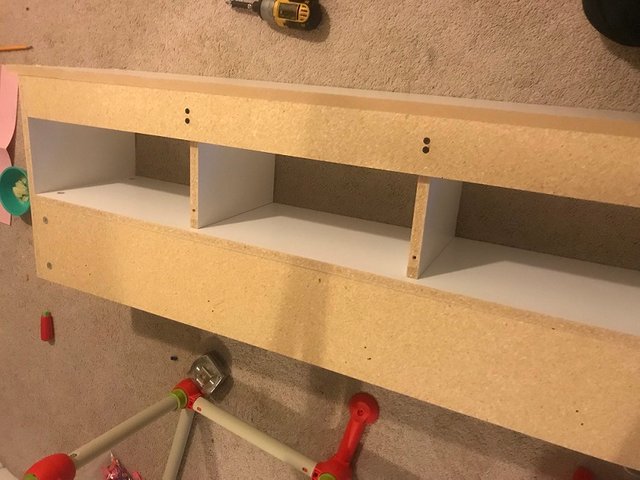
I then added the fine-thread screws, two on each post, as you can see in the photo. The fine-thread screws are preferable in these situations because they are less harsh on the particle board that the cabinet is made up of, giving you less chance of ruining the wood. If you've ever ruined particle board, you know there is unfortunately absolutely nothing you can do once it falls apart!
Now that the cabinet is successfully put together, I moved my attention to the wall in which it would hang. I had to find where the studs were so that I could hang the cabinet and be confident that it wouldn't rip the sheetrock down and fall apart and just make a mess. This is where the electrical steel snake comes in!
I used the screwdriver and made a hole in the wall roughly where I thought the middle should be. I then used the snake to find the studs. You do this by bending the tip a little bit (they are usually fairly straight if brand new, so you will only hit the outside wall often). If you have a brand-new snake, you should hook the curve at the tip of it and cover it with some tape, otherwise it will get stuck on everything in the wall (insulation, wires etc.) and end up being some trouble. Once you bend the snake, insert it into the wall in the direction you are searching for.
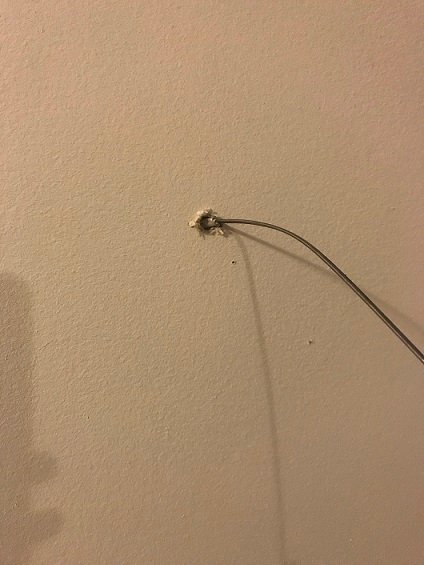
You then just push it in the direction you are going until it hits the stud. Move it a few times and push it hard and you'll find out that you hit the stud hard. Once you do this, put your finger on the part of the snake that isn't inside the wall yet to mark the distance. Pull the snake out of the wall and you now have a rough estimate of where the stud is hiding!
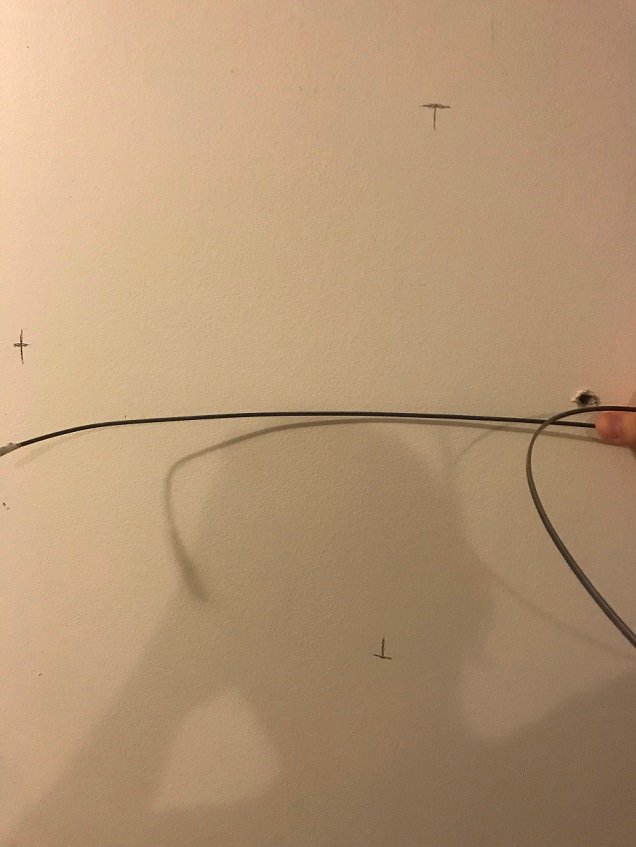
This method saves you lots of time and headache from having to take down parts of the wall to find where the studs are. An incredibly useful hack my dad taught me!
I then used a pencil to make some rough marks on the wall to give an idea of where the studs should reside, from when I found them with the snake. I put the board that secures the cabinet to the wall up to determine where it should hang and used the level to make sure the pencil marks I was making would be accurate and level.
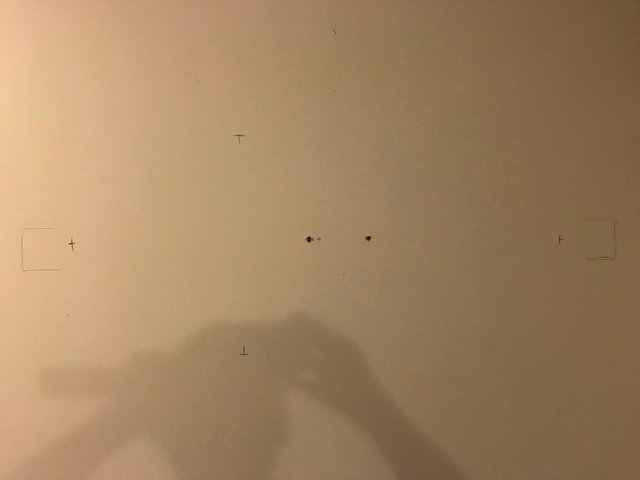
Once that was taken care of, I pre-drilled some holes in the wall to make sure that it didn't cause issues by using the bigger sheetrock screws (not the fine threaded ones). This is also where you can confirm that the places on the wall are truly the studs before you get the cabinet fully up there and realize that they aren't securing into a stud.
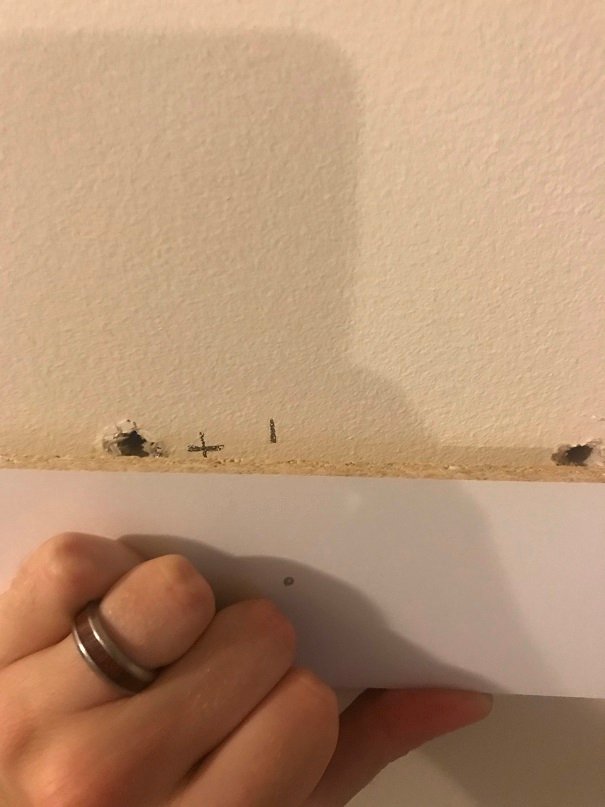
I also marked on the wall and the board where I would be making a hole so that way I had them lined up in the middle of the board, more of an aesthetic measure for me, but ended up working well because once I covered the marks up, I couldn't see where they were on the wall.
To start the final process of screwing it in, I started with the middle one because you can then rotate it if needed, and ensure it is level.
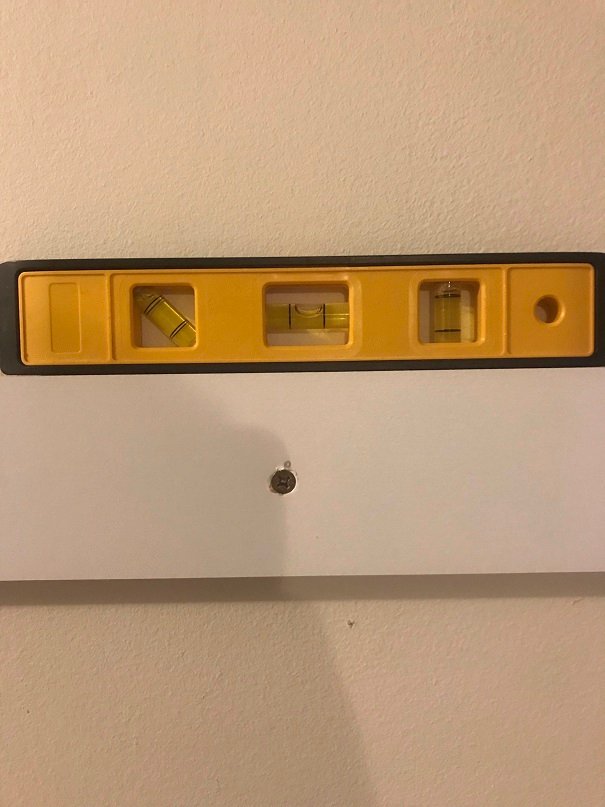
Now that the middle showed it was level, I started the screws on each side a little bit so that I can keep it level, and just advance them in without much effort.
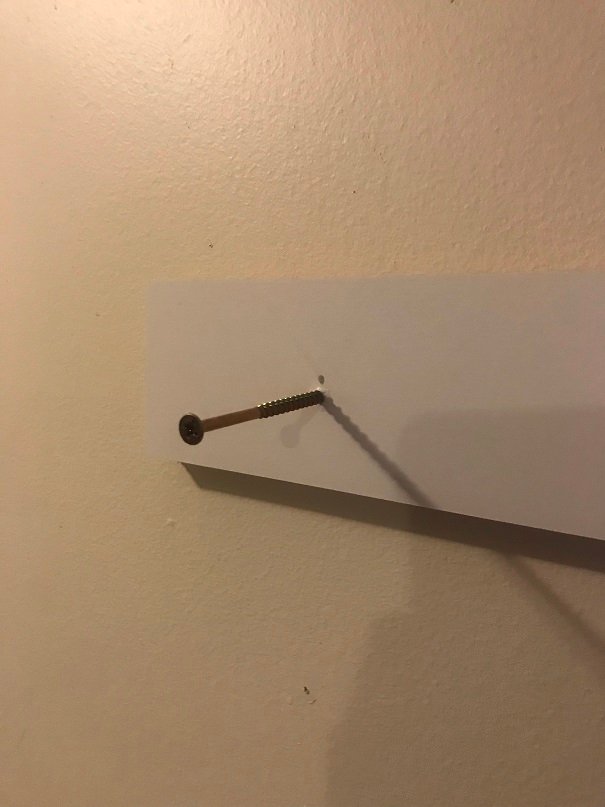
I secured all of the screws and at the end, hung the cabinet but put some additional screws into the backing of it, to be completely sure that it won't get pulled down since we will be putting a decent amount of weight on it.
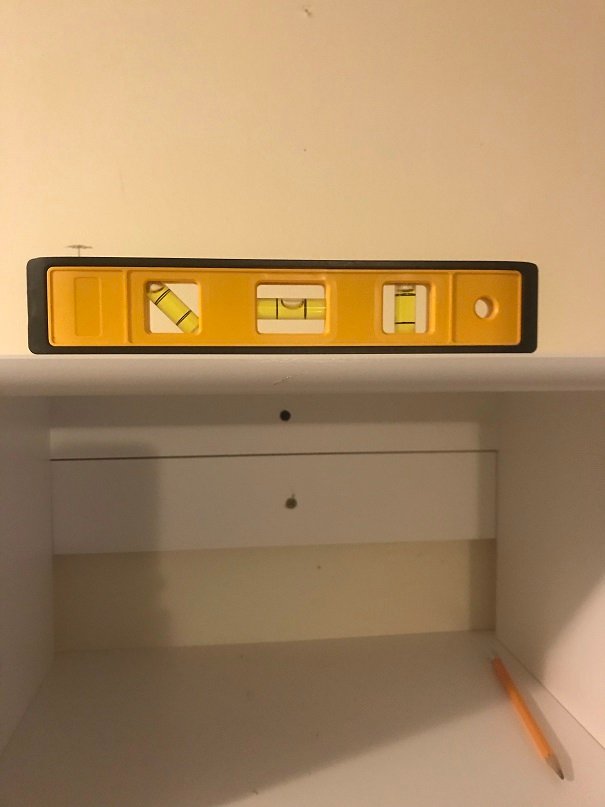
Once that was accomplished, I put some weight on it (the drills are quite heavy) and nothing budged a millimeter! I was finally satisfied that I had accurately secured it to the wall and now was able to start to put things on it as we needed.
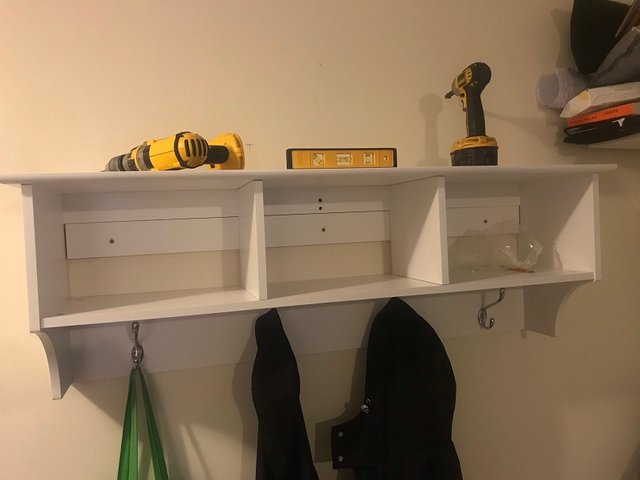
Hope you enjoyed and learned something from this fun project! I have one coming up that's going to be quite a challenge for me as it's something I haven't done before so looking forward to covering it for everyone!
Washing Machine Drain Pump ; Bubble wrap insulation on a wall ; Finish work in the bathroom ; Bubble wrap on windows ; Laminate floors in a bathroom ; Ball joints on a car
Connect with me!
Did you enjoy this post or my other posts? Please consider following me for more! @cmplxty
Do you want to get paid, in crypto, for searching the internet? Try using and signing up for Presearch to earn some great crypto! I've currently got 360 PRE tokens, with a market value of $14.86. It doesn't sound like a lot but when you search using sites like Google you get paid $0! Join Presearch to break Google's stranglehold on the internet searches. If you'd like to sign up, use my referral link below and spread the word!
https://www.presearch.org/signup?rid=513043

Posted using Partiko iOS
Thank you so much for being an awesome Partiko user! We have just given you a free upvote!
The more Partiko Points you have, the more likely you will get a free upvote from us! You can earn 30 Partiko Points for each post made using Partiko, and you can make 10 Points per comment.
One easy way to earn Partiko Point fast is to look at posts under the #introduceyourself tag and welcome new Steem users by commenting under their posts using Partiko!
If you have questions, don't feel hesitant to reach out to us by sending us a Partiko Message, or leaving a comment under our post!
Hi cmplxty,
Visit curiesteem.com or join the Curie Discord community to learn more.
Thank you very much! I’m honored!
Posted using Partiko iOS
Congratulations @cmplxty! You have completed the following achievement on the Steem blockchain and have been rewarded with new badge(s) :
You can view your badges on your Steem Board and compare to others on the Steem Ranking
If you no longer want to receive notifications, reply to this comment with the word
STOPhi @cmplxty
good job!
I really like seeing these posts where the whole process of a job is explained until you see the final result !!
great steel snake trick! Did you grow up following your father's footsteps?
congratulations on your curie vote and thanks for sharing
Thanks for checking it out! I sort of follow his footsteps in that I do lots of different things and have lots of different DIY skills. I went into a different industry than his though. I helped him every week for about 8 years though so that’s where I got my skills and confidence to do these from.
He’s showed me a bunch of great little hacks so I certainly love that! The steel snake is excellent for lots of things.
Posted using Partiko iOS
Whoops you did it and then you hanged your coats and some others clothes too, which makes me feel ok the closet did not fall so good work here.
Congrats on that curie. :)
Hello @cmplxty! Looks like you are an expert, you really know what you are doing. I'm glad to see DIY post here on Steem, I believe many of us can learn a lot by reading these posts or watching DIY videos. You can save a lot of money by doing it yourself but you already know that. The cabinet looks great, I like it and it's useful too. Nice job, keep it up and steem on :) Have a nice weekend!
Thanks for stopping by!
Fake it until you make it lol
I gained a lot of my skills and confidence from my dad so without him I don’t think I would be doing as many things as I do!
I love posting / viewing DIY as well, for the reason of permanence (blockchain) as well as a way to help folks learn important skills.
Thanks for the support, hopefully you’ll check out my next post, it’s going to be the first of its kind for me but DIY 100%.
Posted using Partiko iOS
The saying is right "Fake it till you make it" but you're not faking it any more, you're a pro already.I'm going to follow you and hope I won't miss your post, I'm really curious to see what are you up to this time 😀
And I'm glad you are continuing posting DIY posts. I'm planning some myself but mine are just little things.
That was so cool.
It's easier when you have the right technique and tools, right?
Very neat.
If you had to hire someone to do that for you, how much would that have cost you?
Good luck with all the renovations.
Thanks for stopping by! Hiring someone to hang it is usually tough; lots of people won't come over for just this in my experience. They want multiple jobs to do that way they aren't wasting time. If it's just that then they would charge 50$-75$ to make it worth their efforts.
Having the right tools is key! I've tried to do small jobs in the past without the right tools and it ends up being a hassle or doesn't go right. That said, some thinking happens when you don't have exactly the right tool and improvise with what you have and that is a lot of fun sometimes, to try to come up with a solution.