DIY window insulation
Hi Steemians/DIY enthusiasts,
Got another quick DIY tip that I never knew about until my wife found it online. We specialize in finding out the best DIY tips for around the house; it’s cost effective and we learn more about the process than we started with so there’s no loss if you think about it!
Drafty windows
If anyone has ever rented an apartment, owned a house or lived somewhere that had poorly insulated or cheap windows you know how difficult it is to deal with drafty windows. The summers get really hot, the winters get really cold and you waste a lot of money getting the temperature right. We’ve been putting plastic over the windows for a while but didn’t really get great results for one reason or another. That has ended for us! We read about a way to really improve the insulation of the window without doing construction or spend a lot of money.
You can’t resist popping it when you get it....bubble wrap!
Bubble wrap came in and saved our sanity honestly. It’s frustrating when you do everything within your means to fix a problem but it kinda works or doesn’t work at all. This saves so much effort.
Supplies
Bubble wrap
Double sided tape
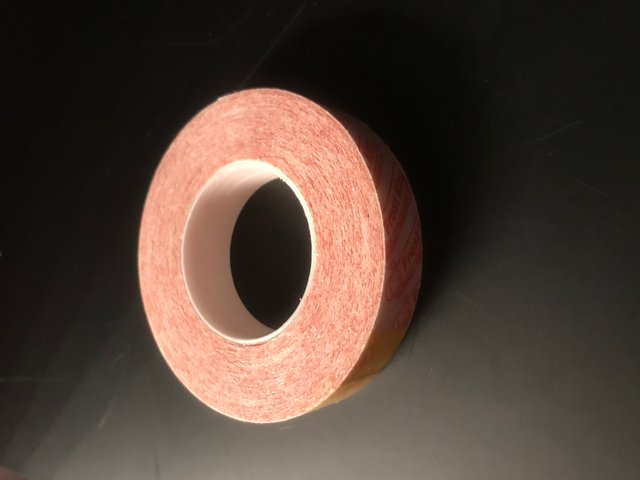
Plastic window covering
Process
You’re going to want to make sure the trim around the window is clean and free of dust and debris to ensure that the tape sticks well.
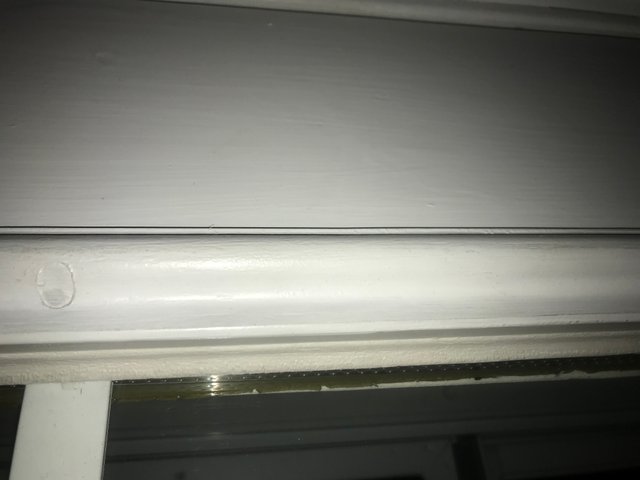
From there you’re going to want to stick a line of tape from the bottom side (we started on the right side, it doesn’t matter which side you start on) of the window to the end of the pane, which is the overall middle of the window. Repeat this process until the tape is on all 4 sides of the bottom window or top before you do the other. It makes it easier and less of a hassle than fighting two layers of tape. Go ahead and measure the bubble wrap so that it fits to the size of the window. You can use a measuring tape if you want to be professional or just put the wrap next to the window and approximate like we did. Do this again for the other half of the window so it looks like this:
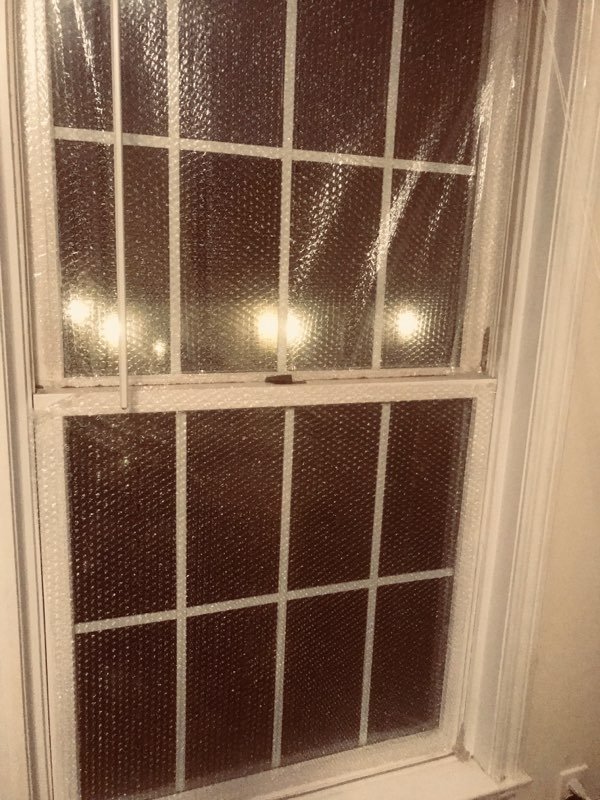
![827CA8BB-8B52-4182-A406-CEC5B1F797AA.jpeg]
Quick reminder if you have it, lower the blinds at this point if you have them. It’s worth doing to add yet another layer of insulation to the windows. Now you want to put that same double sided tape around the whole window frame. Bring in the plastic window covering, use the same measuring technique as above but give yourself some extra room; it’s impossible to salvage the plastic if it’s cut too short! Words from experience.
Once it’s cut to size then start at the top or bottom and slowly apply the plastic making sure you smooth it out on the tape to ensure a nice seal. Be careful not to bunch it up at a corner otherwise there will be some air leaks. 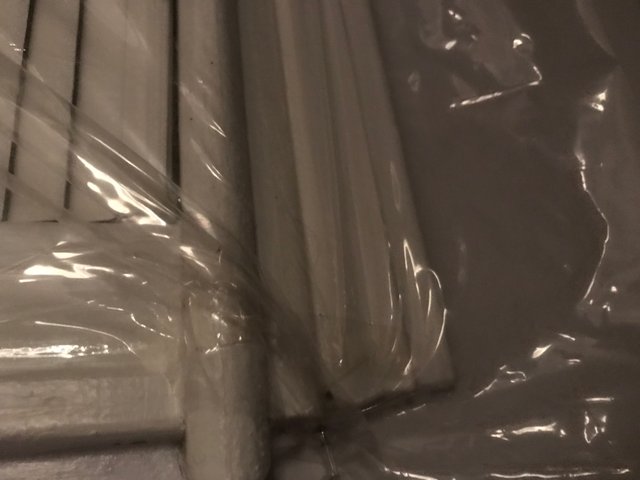
(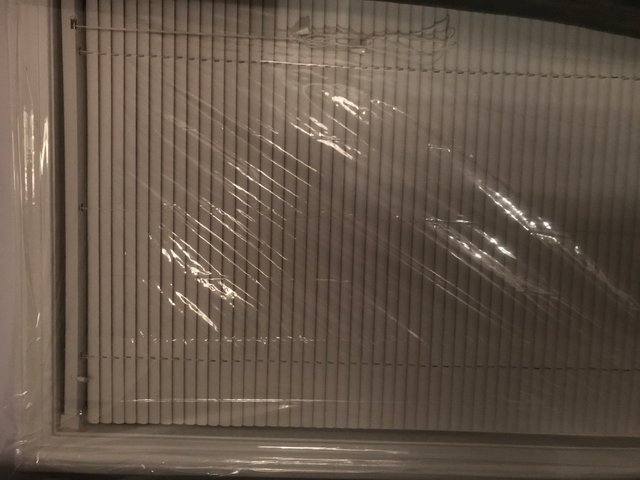 )
)
There you have it, I will fix the images from being sideways in the morning; Steemit doesn’t want to fix the mobile image upload bug so my apologies. The total cost of the project was a whopping 20$. The supplies used here are sufficient to do 4 of our windows, so 5$? Well worth the time and money!
Check out my past DIY projects, and even suggest one that you’d like to know about! I may have done it.
Laminate floors
Ball joints on a car
Looking at your window, I am guessing that you live in the UK. But no, you are talking about $.
I know what you are talking about. Keep warm and steem on.
Sad thing is we don’t live in the UK lol we live in New England, close I guess