Create Snazzy Title Images for Your Steemit Posts with Canva!
Hi all, I hope you're having a positive day!
I am always trying to add value to the community and improve your Steemit experience in the small ways that I can. As you know, images are HUGE here on Steemit if you want your post to get beyond what I like to call Steemit Oblivion. It's the place where the 5-cents if you're lucky, no votes, no comments, posts go to die.
It's a shame because I'm confident that we are losing some real gems down there.
So, to help keep you and myself outta there, I thought I'd share a great way to create a image blog title for your posts that will make them stand out.
What You Will Need
- A connection to the magical Interwebs <-- Just being silly
- A Canva.com account <-- This is FREE. You can sign in using Facebook, Google+, or create an account with your email address and a password. They may tout a premium or business account, but Canva is fully functional without this. This account just includes the ability to add team members and other business-y jazz
- A little creativity, but not too much
- An image host --> I use this one - https://postimages.org/
What You Will Learn
- How to create a cool blog post title image with Canva
- How you can create a TON of other things with Canva like social media posts, Facebook Cover images, YouTube channel art, logos, flyers, and WAY MORE than I name here - I covered how to make a cover for your Kindle book in this post
- How to add the image to your Steemit post
Let's Have a Brief Discussion About Images and Licensing
It's 2017, and there's a ton of places to find royalty-free images that are free to use, so don't steal them. It's tacky!
My friend, @arbitrarykitten wrote a post about this recently. It's good stuff, check it out!
Let's Make The Title Image for This Post with Canva
I just so happen to need to make the image for this very post, so...I'll do that and show you how at the same time. Good times.
I've been an avid Canva user for 3 years now. Even though I also have Photoshop, Canva is a quick and easy way to create graphics in my browser. I don't have to open any extra software.
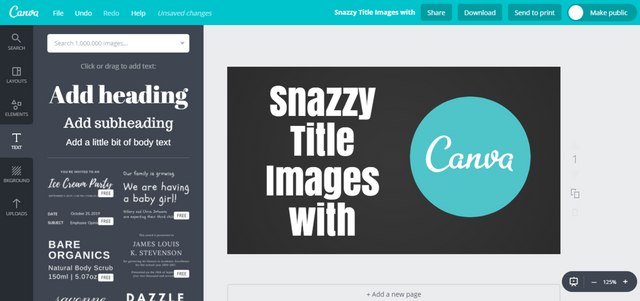
Step 1. Go head and log into your Canva account. You should see something that looks a bit like this, but you will probably not have all these designs at the bottom. I use it quite a lot. Click the + to see More.
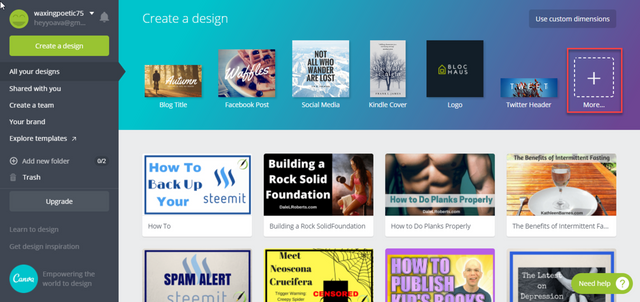
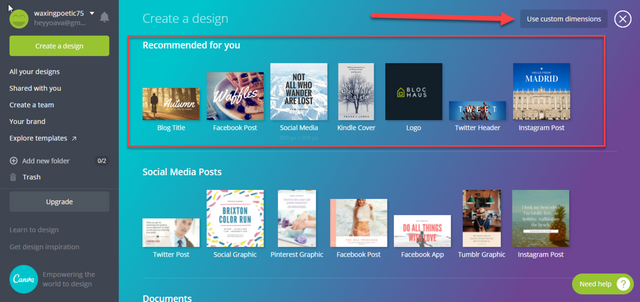
Give this screen a scroll and check out all the things you can make with Canva.
The items you use most often will be grabbed from the list and moved to the Recommended for you section at the top.
You can also create an image using custom dimensions.
Step 2. Select Blog Title under the Blogging & eBooks heading by clicking it. This will open in a new tab.
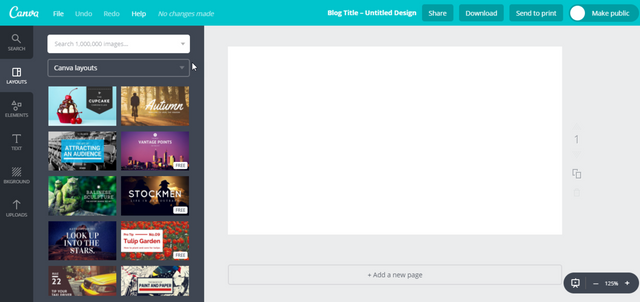
This is your work area.
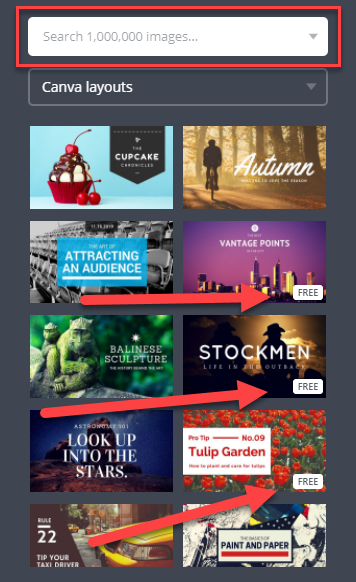
Directly to the left, you will notice some examples of blog title images. Only about 50% of these are free to use and you will see they are annotated with a white FREE tag.
You can also search for a stock image using the search box at the top. Each image is $1.
NOTE: I don't use this. I have in the past, but most of the time, I upload my own images. It's easy to find images you can freely use. See the article I linked above ^ in our discussion about images and licensing. There are also free images available through Canva in the Elements tab.
The Canva Layouts drop-down is for premium accounts. Just ignore it.
Step 3. Choose a background for your image.
Click the Background tab in the left navigation.
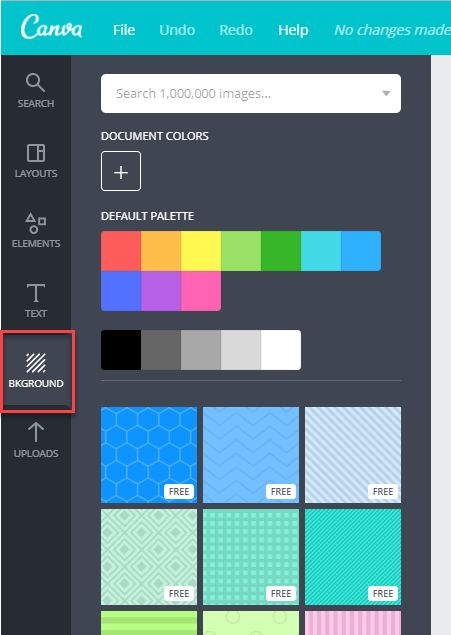
You will see you have many options for background colors and patterns. Take note that the majority of these are free indicated by the same white tag you saw in the Layouts menu.
If you'd like to choose a custom color, click the + under Document Colors. A color picker will open and you choose a color from the color wheel or paste in a 6-digit hex code.
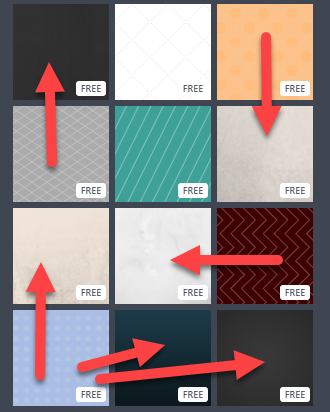
I usually pick one of these indicated below if I'm not using an image as my background. They are plain neutral colors or look like aged paper. These are just my personal preference. Don't be afraid to play around with everything that's available and see how it looks.
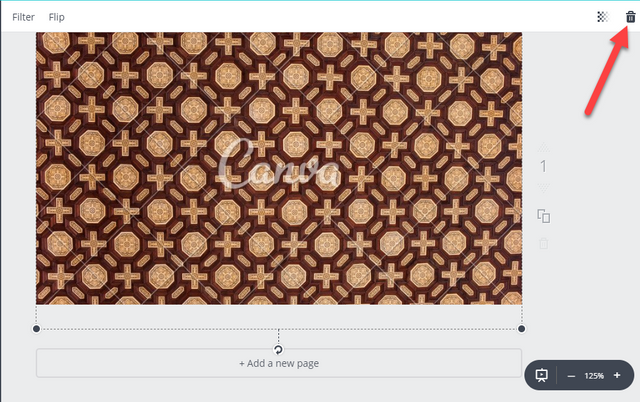
If you try something out you don't like, you can simply trash it by clicking the trash can icon with the item selected.
If you want to use your own image or one you have downloaded, you can do that by clicking the Uploads tab in the left navigation. Click the green Upload your own images button to choose your image from your computer and upload it to Canva.
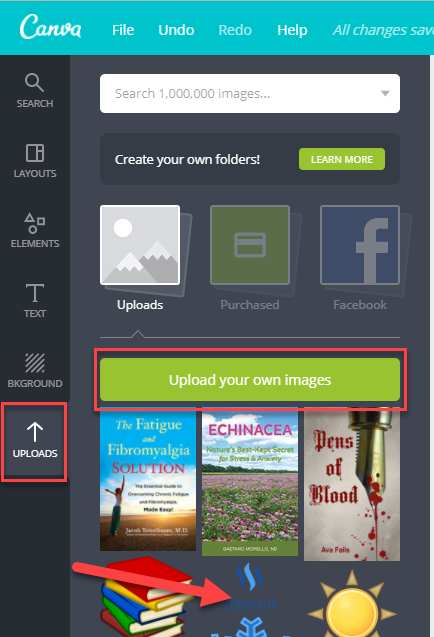
You can see the Steemit logo where I've uploaded it to use in my post title images. =)
NOTE: If you want to use something like a logo or an icon, I recommend downloading the PNG version which usually doesn't include a background. Otherwise, you will have to deal with a white square around your element. You can always remove the background with something like Pixlr.com.
Step 4. Choose Elements for your image. Click the Elements tab.
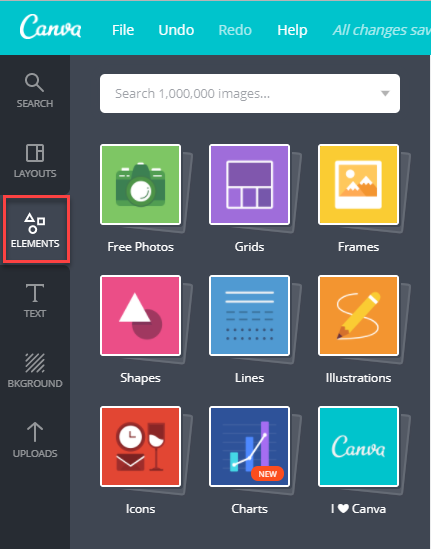
There is a TON of stuff to choose from in here. Each one of these areas holds a crazy amount of graphical elements for your image. Let me describe each one briefly:
- Free Photos - These are free images you can use for your graphic from Canva
- Grids - These are photo grids used for making collages
- Frames - These are different frames you can use for images
- Shapes - These are shapes you can include in your image
- Lines - These are all different kinds of lines, arrows, etc.
- Illustrations - These are small cartoon or clipart-type images you can use within your design
- Icons - These are small icon-type images for your design. This includes things like social media icons and way more than can I list here
- Charts - These are elements for building different types of charts including bar and pie graphs
- I <3 Canva - Canva branding for your image if ever you need it (I will for this image.)
NOTE: Unfortunately, the search box doesn't work here. It will only search through Canva's paid stock photos. This is my ONLY gripe with Canva. This tab needs a search feature super bad. You are stuck scrolling to find what you need. I often end up finding a PNG online after scrolling a ways not even knowing if what I'm looking for is available.
Explore this area a little so you know what's out there for you.
NOTE: You can resize, drag, and drop elements when they are selected. To select an element, click it. Canva will retain the aspect ratio by default. If you intentionally want to squish something, hold shift as you resize it.
Here's what I have so far for my post image:
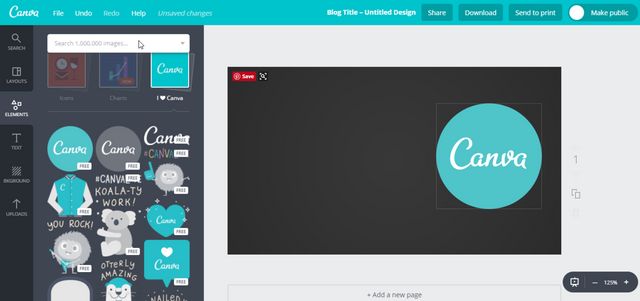
Step 4. Type some text in your image if applicable. Click the Text tab.
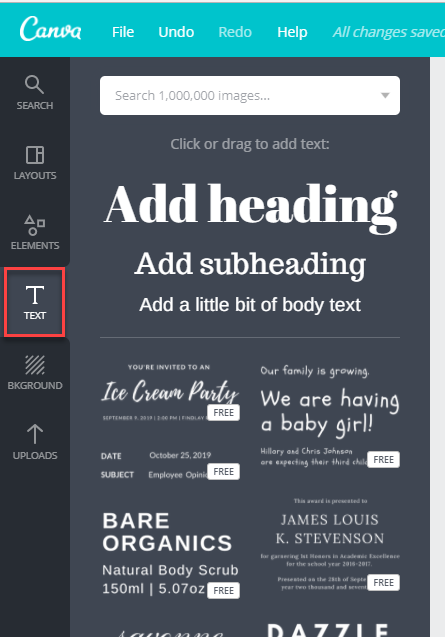
The are some free text elements that you can customize and add to your image. I don't usually use these. I use the elements above to add my own text elements. Since I'm creating a blog title image, I'm naturally going to use the Add Heading option.
When I click Add Heading, the element is added to my work area and tools are provided across the top to customize my text.
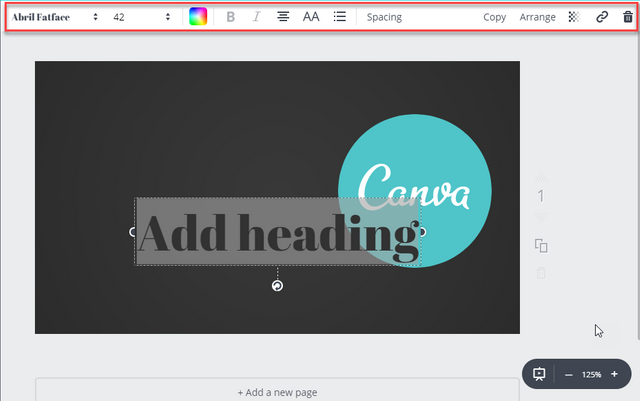
Here's what they do from left to right:
- Abril Fatface - This is the default heading font. If you click the drop-down, you can choose from a number of Google fonts
- 42 - This is the default font size. Click the drop-down to change it. NOTE: Make sure your text is highlighted.
- Color square - Choose your font color. This is the same interface as choosing a background color from above ^
- B - Bold your text
- I - Italicize your text
- Text align - Align your text, left, right, or center
- AA - Change your text to all capital letters automatically
- Bullets - Create a bulleted list
- Spacing - Adjust letter spacing and line height
The following tools apply to all elements including text:
- Copy - Create an exact copy of your current element
- Arrange - Send an element in front of or behind other elements
- Transparency - Adjust the transparency of an element
- Link - Include a link
- Trash icon - Trash the currently selected element
NOTE: You will notice as you drag and drop elements around your work area that Canva will indicate when an element is centered or aligned with other elements using dotted lines.
Play around with your text and see what looks good. Don't be afraid to try things. You can change it or trash it.
Here's where I am so far:
Step 5. Finalize your design.
Add whatever finishing touches you want until you're happy with the look of things.
Step 6. Download your design. Click Download in the top bar. Click the green Download button. The design will download to your computer as a PNG image file.
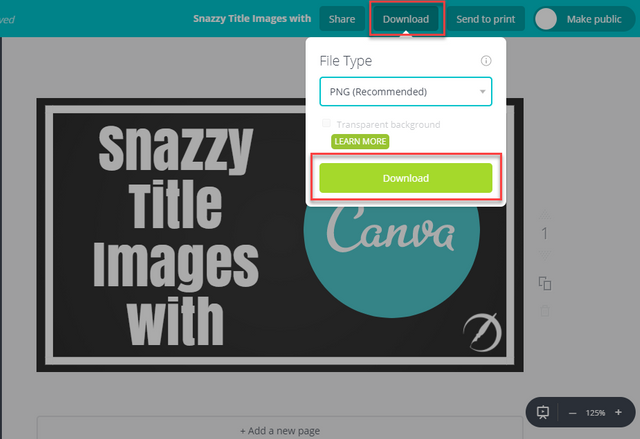
PNG is the default download format and I use that most of the time, but you can also download in the following formats:
- JPG
- PDF - Standard
- PDF - Print
Step 7. Upload the image to your image host and paste the direct link as the first line of your Steemit post.
Steemit always pulls the first image that appears in your post as the thumbnail that appears in the feeds beside your post title.
Hey There, Good Lookin'
That is a snazzy post you have there! I hope this tutorial helped you to improve your own Steemit posts, social media graphics, or just whatever you want to create!
Canva is one of those tools where I just can't believe it's free.
Post some images in the comments. I want to see your creations! Better yet, link a post where you used this tutorial to create a snazzy blog title image for your Steemit post!
If You Enjoyed This Post...
...I hope you'll check out some of my others:
- How to Back Up Your Steemit Articles
- Please Keep Your Resteem Wallet Spam to Yourself
- Meet the Spotted Orbweaver or Neoscona Crucifera
- Self-Publishing with ProWebWriter on a ZERO Budget - This is an ongoing series with currently 5 parts
- That Time in 2012 When I Saw UFO's!
- Saske - A New Emerging ICO
- Where Are You Sleeping Tonight, Amelia? - I've been known to write a poem...
- Warm Summer South - ...or two
- Navigating a Mid-Life Crisis and My Advice to Young People
Thanks for reading!
When making text and (pretty much solid) color images they should be saved as png. Because jpg will make all the edges of the letters fuzzy which looks aweful. Also, with a small color pallet png is not much bigger than the lossy jpg.
I agree. However, it's always nice to know you can save as JPG if you are creating for something that won't accept PNG such as Amazon for book cover thumbnails. =)