MIRADA PERDIDA DE UN ÁNGEL (trazado de cabello tutorial) - LOOK LOST OF AN ANGEL (hair tracing tutorial)
Hoy les traigo un post explicando como realizar ese brillo y sombreado real que se nos complica tanto agregarle al cabello en un dibujo, muchos realizan el trazado del cabello y luego borra con goma para realizar el brillo, pero este método no suele dar tanta precisión y realismo a este brillo, puede servir para dibujos de animes, pero este no es el caso, hoy realizaremos el trazado de cabello de una chica hebra por hebra, a continuación les dejo los pasos:
Good Sunday friends Steemians
Today I bring you a post explaining how to make that real shine and shading that complicates us so much to add to the hair in a drawing, many make the drawing of the hair and then erase with rubber to make the shine, but this method does not usually give so much precision and Realism to this brightness, can serve for drawings of animes, but this is not the case, today we will make the hair tracing of a girl strand by strand, then I leave the steps:

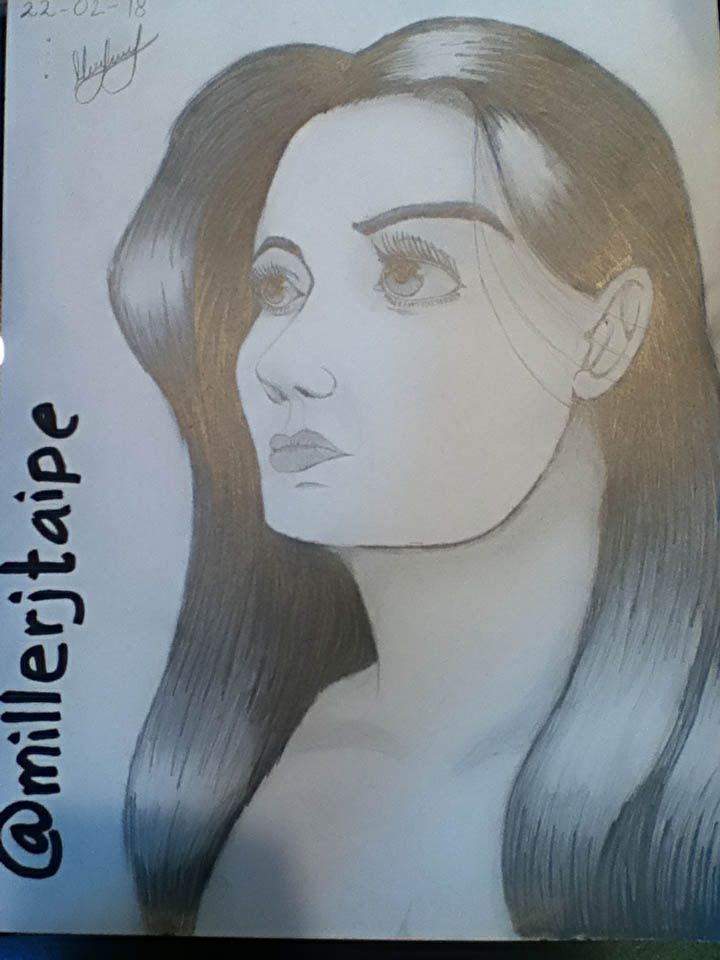
PASO 1: Se realiza el boceto del rostro del personaje, y se le da forma al cabello, solo realizar el trazado externo para medir cuando se va a rellenar.
.jpeg)
STEP 1: The sketch of the character's face is done, and the hair is shaped, only to make the external trace to measure when it is going to be filled.
PASO 2: Se comienza el trazado del cabello desde el centro de la superficie hasta abajo, trazando linea por linea, afincando la punta desde el comienzo del trazado y soltando levemente al final, para darle un efecto de desvanecimiento de esta siguiente manera.
.jpeg)
.jpeg)
STEP 2: Start the hair tracing from the center of the surface to the bottom, drawing line by line, settling the tip from the beginning of the path and releasing slightly at the end, to give it a fading effect of this following way.

PASO 3: Para realizar el brillo, se hace el mismo trazado pero de manera inversa, de abajo hacia arriba, dejando un pequeño espacio en blanco entre las líneas trazadas.
.jpeg)
.jpeg)
STEP 3: To make the brightness, the same layout is made but in an inverse manner, from bottom to top, leaving a small blank space between the lines drawn.
PASO 4: Repetir el procedimiento por todo el trazado por rellenar, dándole forma al cabello y brillo donde lo necesite, y su resultado será algo como esto:
.jpeg)
STEP 4: Repeat the procedure for the entire route to be filled, giving shape to the hair and shine where you need it, and the result will be something like this:
RESULTADO: Una vez hayamos realizado capa por capa el brillo y el sombreado del cabello obtendremos este resultado y una vez listo esto podremos comenzar con los detalles del rostro como el sombreado, etc.
.jpeg)
RESULT: Once we have done layer by layer the shine and shading of the hair we will obtain this result and once ready we can start with the details of the face like the shading, etc.
Mis agradecimientos de este post son para @cervantes y @provenezuela que trabajan arduamente para esta comunidad y ayudarnos a nosotros sus fieles seguidores.
My thanks to this post are for @cervantes and @provenezuela who work hard for this community and help us their loyal followers.
Si te gustó el post no olvides votar y comentar que tal te pareció, te invito a seguirme @millerjtaipe y revisar sin son de tu agrado mis mas recientes post:
If you liked the post, do not forget to vote and comment on what you think, I invite you to follow me @millerjtaipe and review my most recent post without your liking:
Wao hermoso dibujo, y el cabello espectacular. saludos amigo
Gracias amiga, saludos!!
excelente hermano, hermoso dibujo, excelente arte, tienes mi voto y seguimiento, espero que sigas y me puedas apoyar en mi ultimo post.
gracias por el apoyo hermano y por el halago, ya lo sigo y cuente con mi voto
Buen volumen, es cierto que usando el borrador para dar luces al cabello muchas veces no queda del todo bien, pero tu técnica ayuda mucho y le da más realismo al dibujo, con más práctica se podría combinar el trzado junto al borrador y el efecto sería más profesional. Gracias por el aporte!
de nada amigo, gracias a ti también por los tuyos
muy buenos tus consejos @millerjtaipe a mi me desespera el trazado de cabello por que no lo se hacer.
pero utilizare los pasos que pusiste en tu post y te dire mi resultado.
gracias, espero te sea de ayuda, éxito amigo!!
Muy buena técnica!!! me encanta compartir con personas con tanto talento. Te invito a pasar por mi post https://steemit.com/drawitbetter/@akarantain/drawitbetter-contest-15-wailord-magikarp-y-tynamo
Congratulations @millerjtaipe! You have completed some achievement on Steemit and have been rewarded with new badge(s) :
Click on any badge to view your own Board of Honor on SteemitBoard.
To support your work, I also upvoted your post!
For more information about SteemitBoard, click here
If you no longer want to receive notifications, reply to this comment with the word
STOPMuy buen post, y sobre todo buena transicion en el proceso del dibujo, sigue asi. :)
posdata: atento con ese afincado del lapiz en el cabello.(dale mas suave)
Gracias por el apoyo y por el consejo, tengo que perfeccionar un poco mas esa parte, gracias
Genial. Gracias por la explicación. Comenzaré a practicarlo.
a la orden amigo, éxito en la dominación de esta técnica
Wao dibujas muy bien, que gran tutorial! gracias! tienes razón me sera muy útil! Saludos.
gracias amigo, le dará un toque mas real a tus dibujos, espero mejores, tienes buen talento
You got a 3.52% upvote from @passive courtesy of @millerjtaipe!