Okay, as promised, here's a step by step follow along, for some speaker stands.
Tools for this project needed, minimal.
- A handheld power saw.
- You can't get around this one. A benchtop belt sander.
- Some finishing sandpaper, and a good eye for detail.
I should tell you, before beginning, that I got super busy, and backed up with Woodwork. I wasn't able to take pictures of making the Leg portions of the stands. But it is the same procedure, as making the fronts, and backs of the stands. 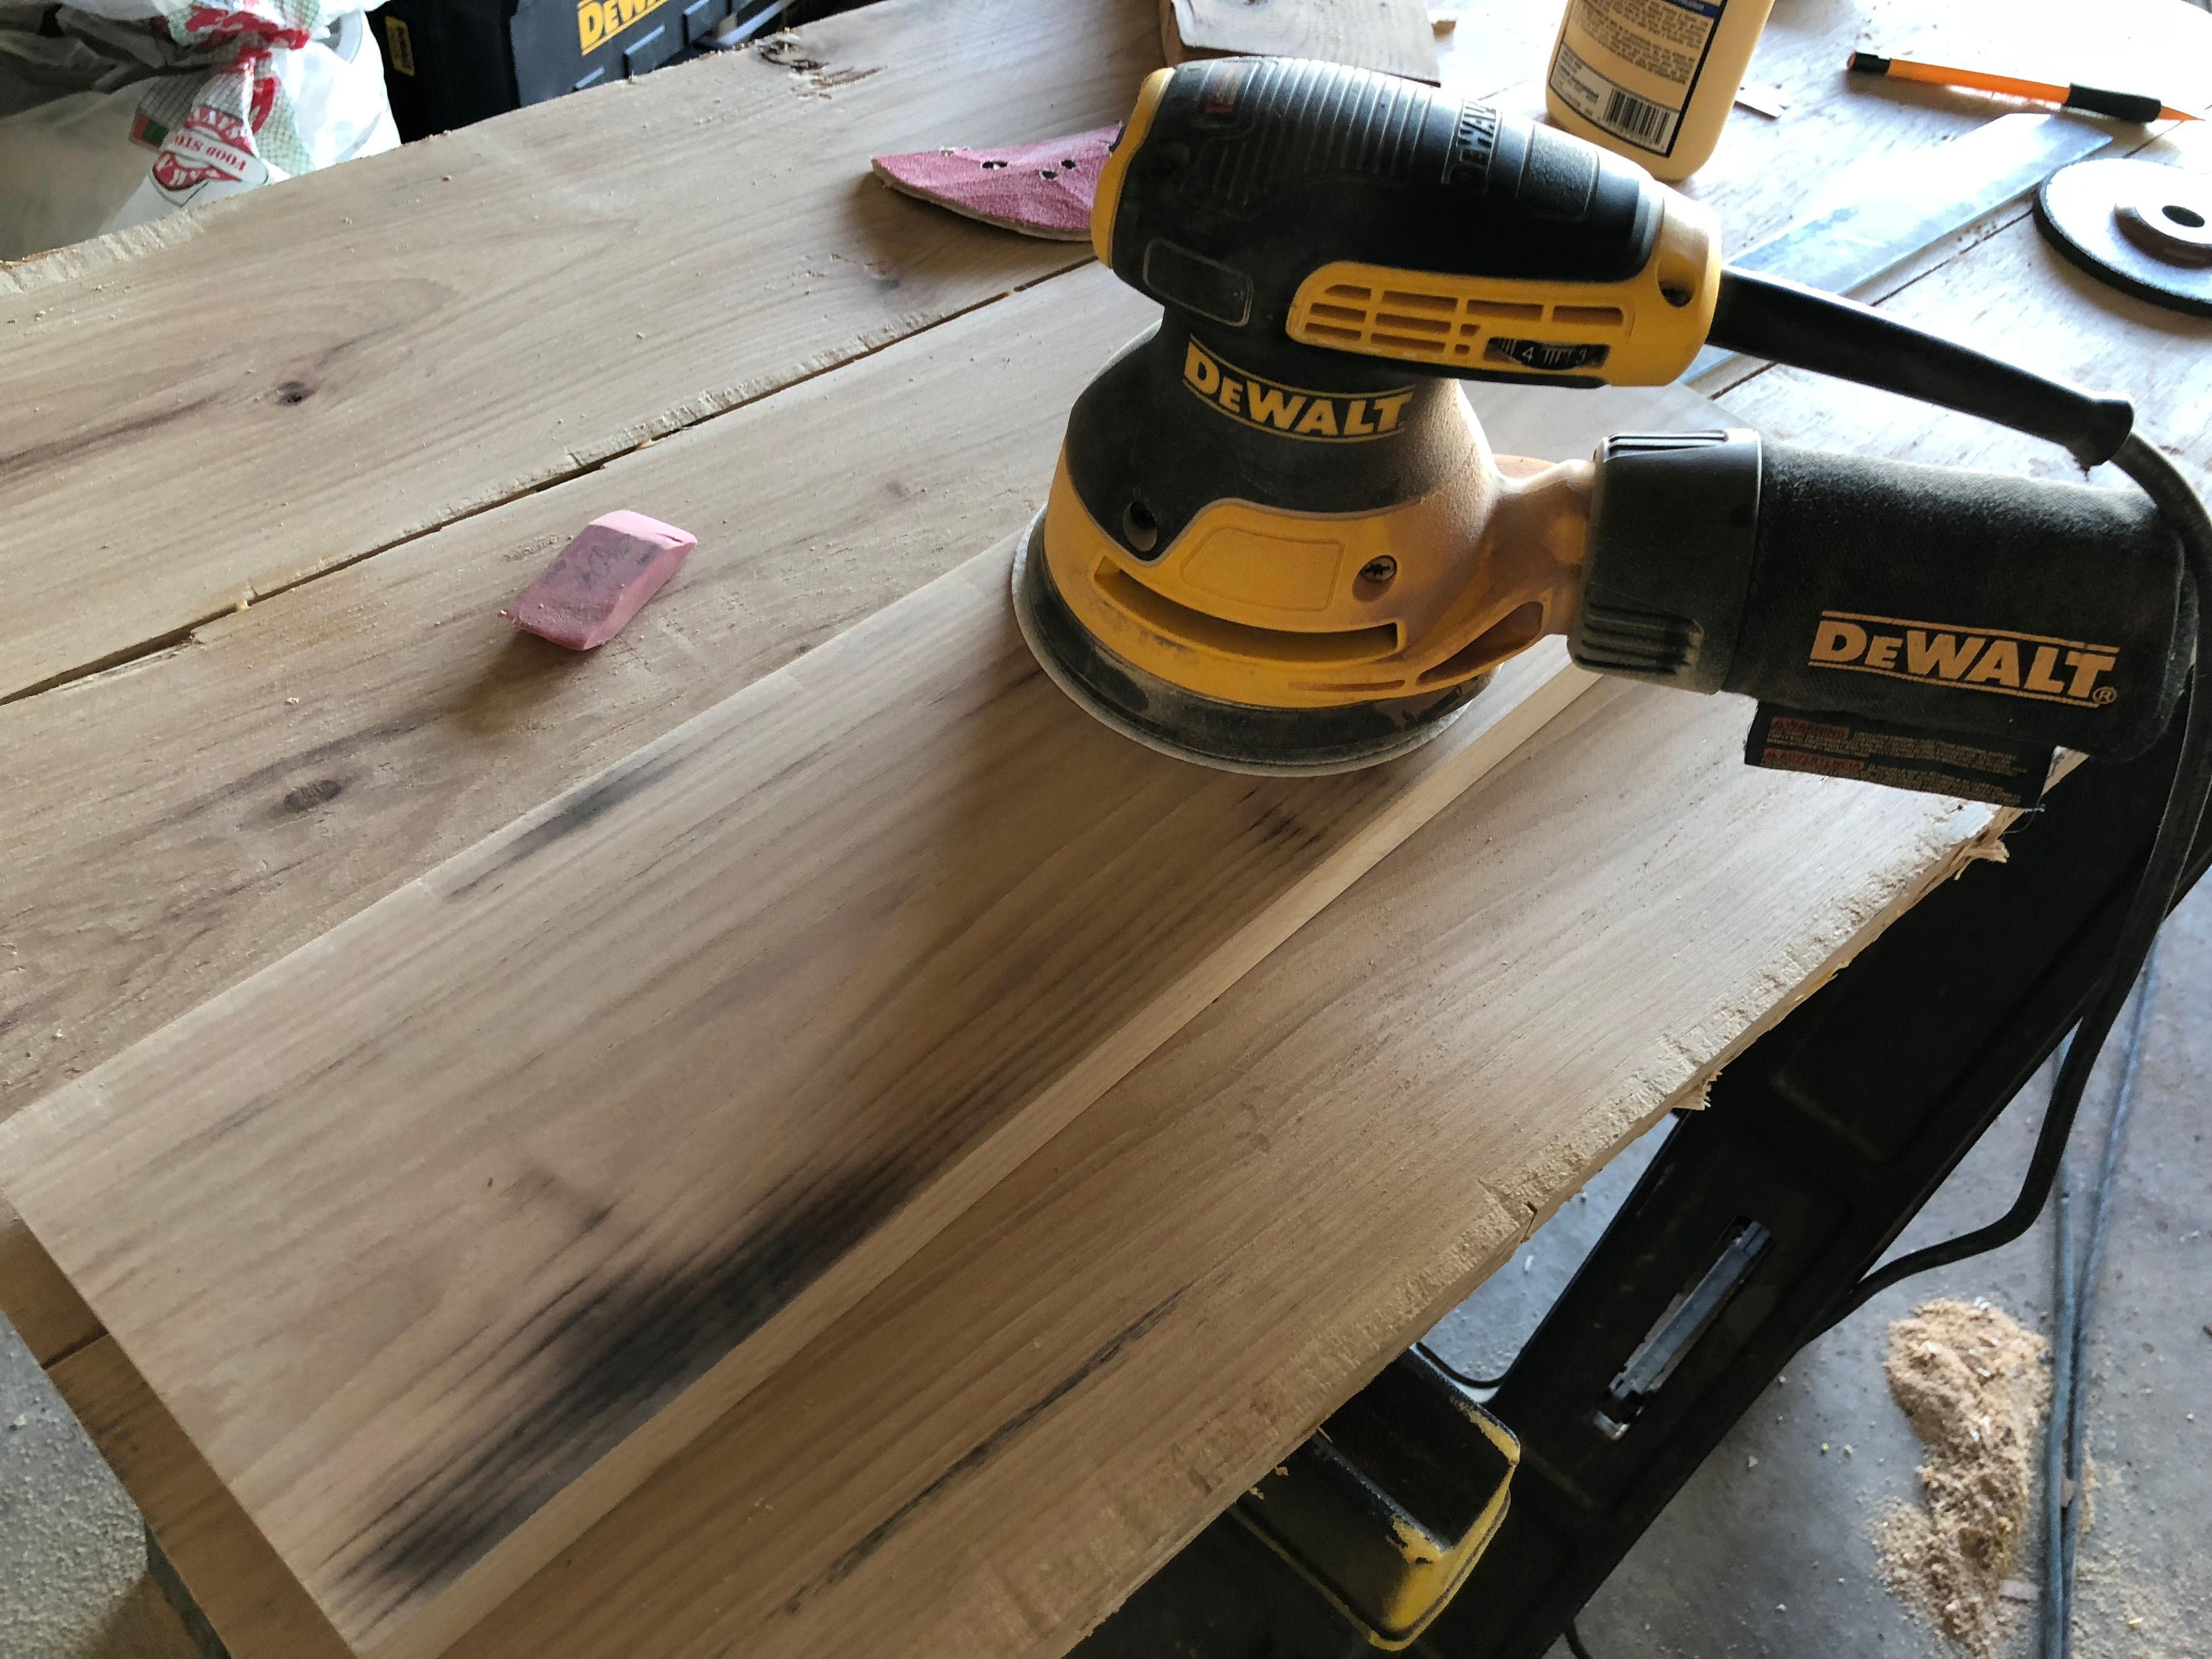 Selecting the wood I'll be using for this pair of stands. These can be made, out of any type of wood you want. I suggest you use a Hardwood. Simply because of the strength. It is, more expensive than fence boards, but Isn't much more, if you stick to White, or Red Oak. Poplar is another good one. Or, if you are trying to use scrap fence wood, it can be done. Just go buy a small bottle of Boiled Linseed Oil, and apply it after all the cutting and shaping is done. It increases the strength of the wood 10 fold, so, it will work, if you are going towards this project on a minimal budget.
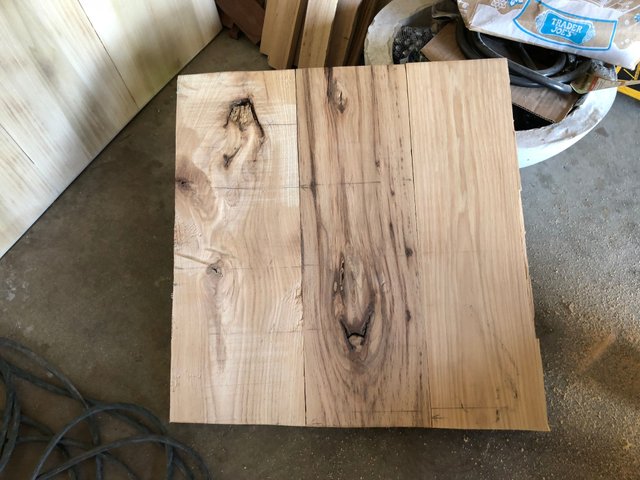
 These stands are going to be very large. I've simply "Learned by Doing". Check the width and depth of you're speakers. If they're really tall, as in 30" high or over, you can still make the lean angle to whatever you want, but just remember, the taller, the more top heavy, so you have to make sure you make the speaker backings taller, than the fronts. For this set, which is taller than the average old floor stander, I made the fronts 3 1/2" high, and 5 1/2 high, for the backs. But with my usual slight angle.
 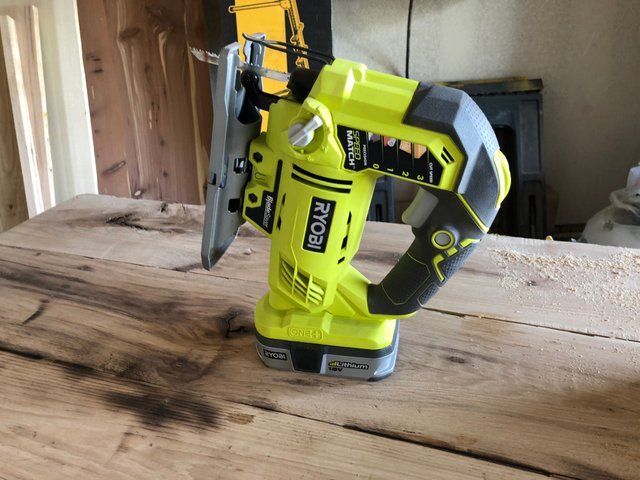 Ah the old Jig Saw. I use it for cutting and trimming of the edges if the wood planks, are a little too long.
 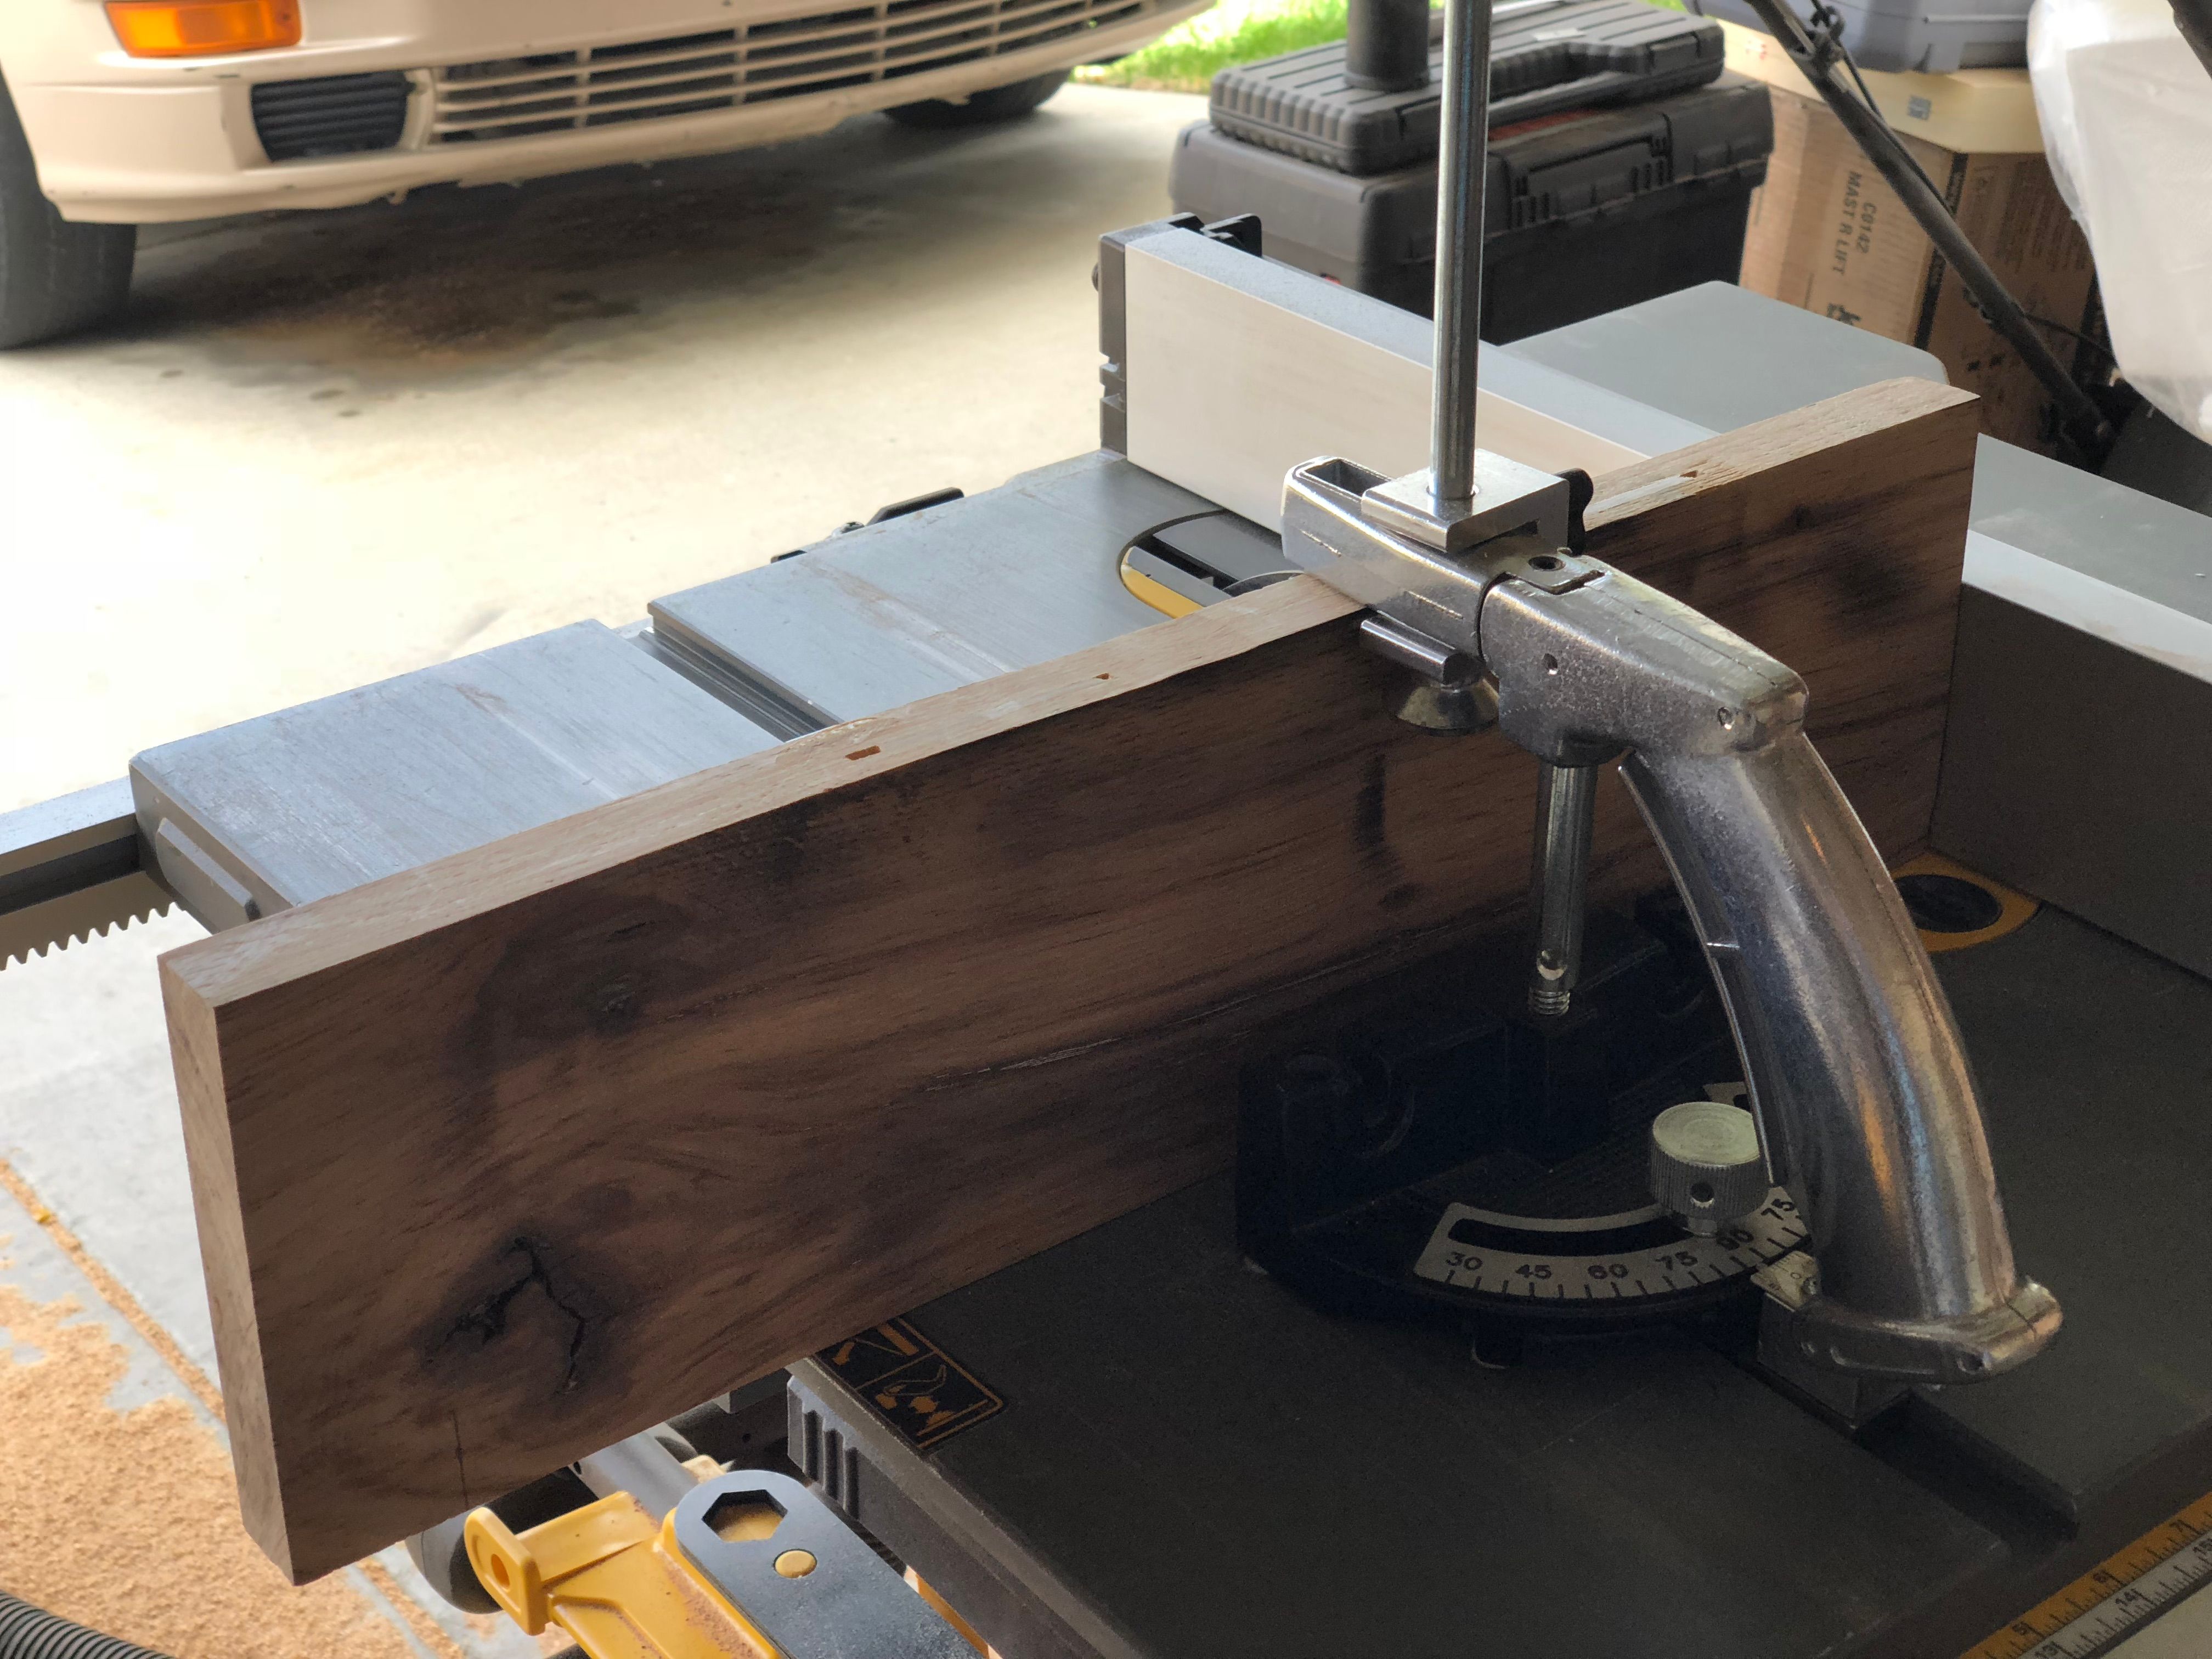 /DQmUVMV9YDNzyJdgpUiKp3P4fUeDPpBkcyanumtxjYiKhCm/019.JPG)
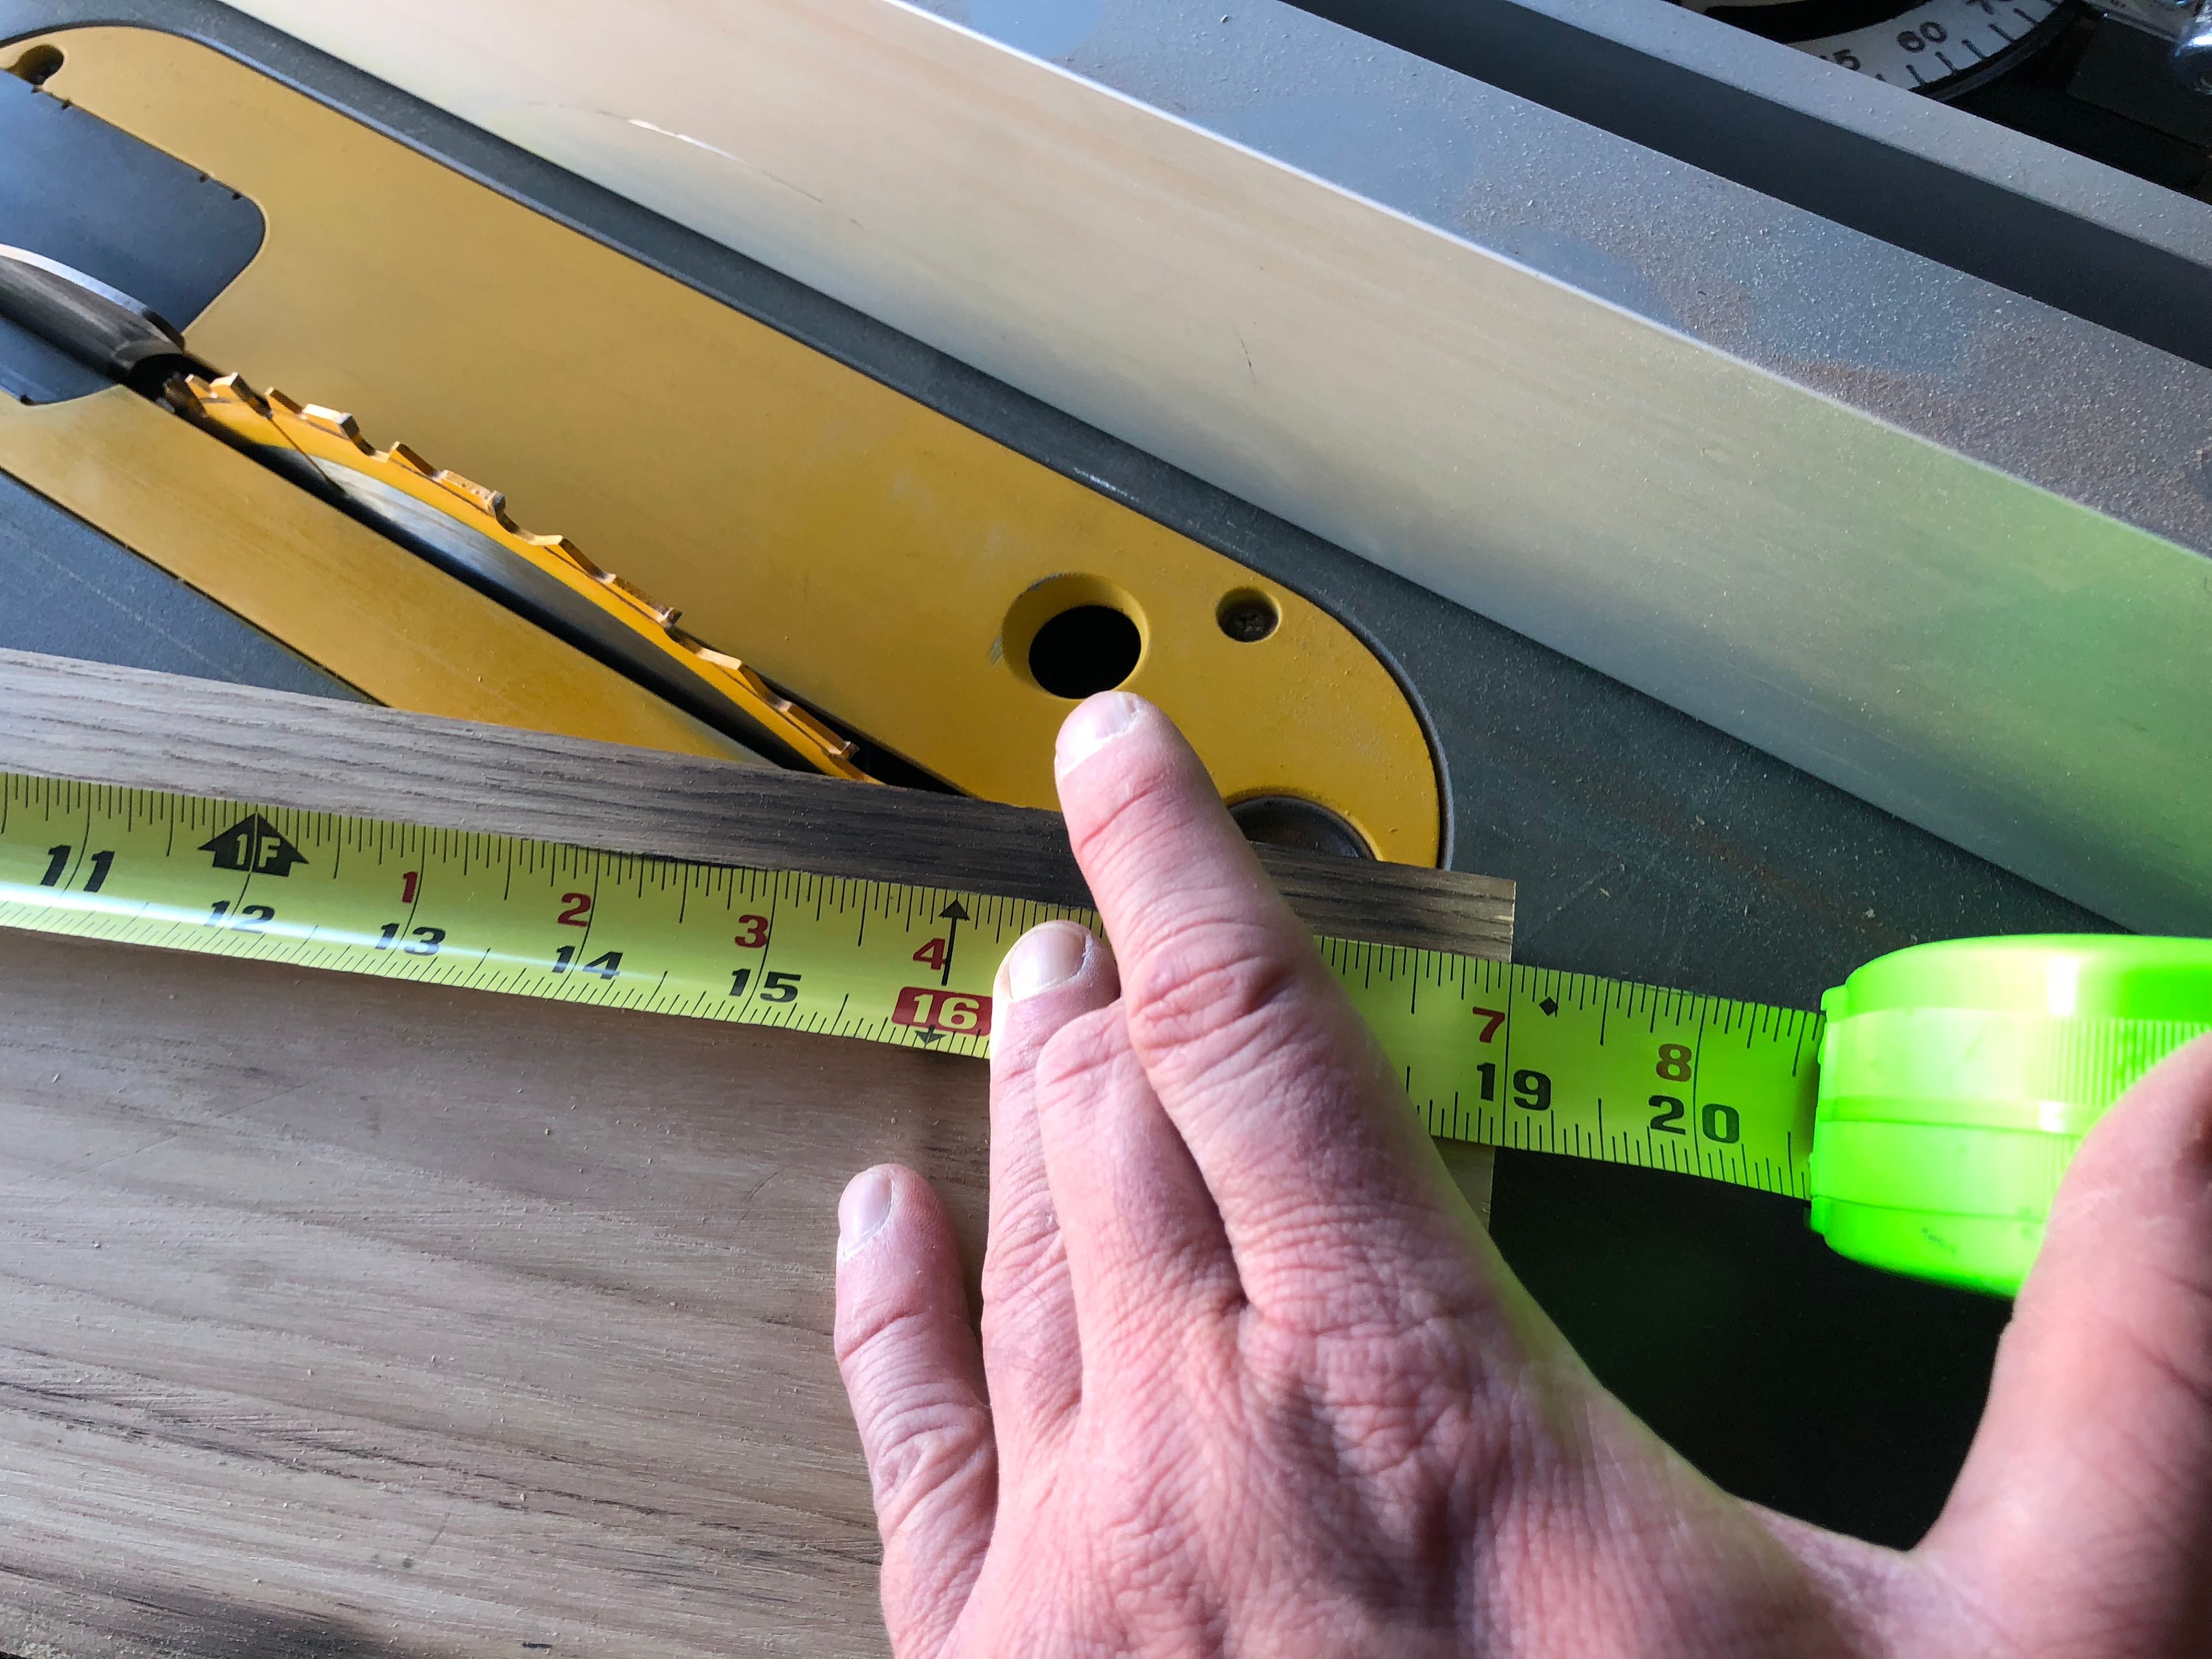
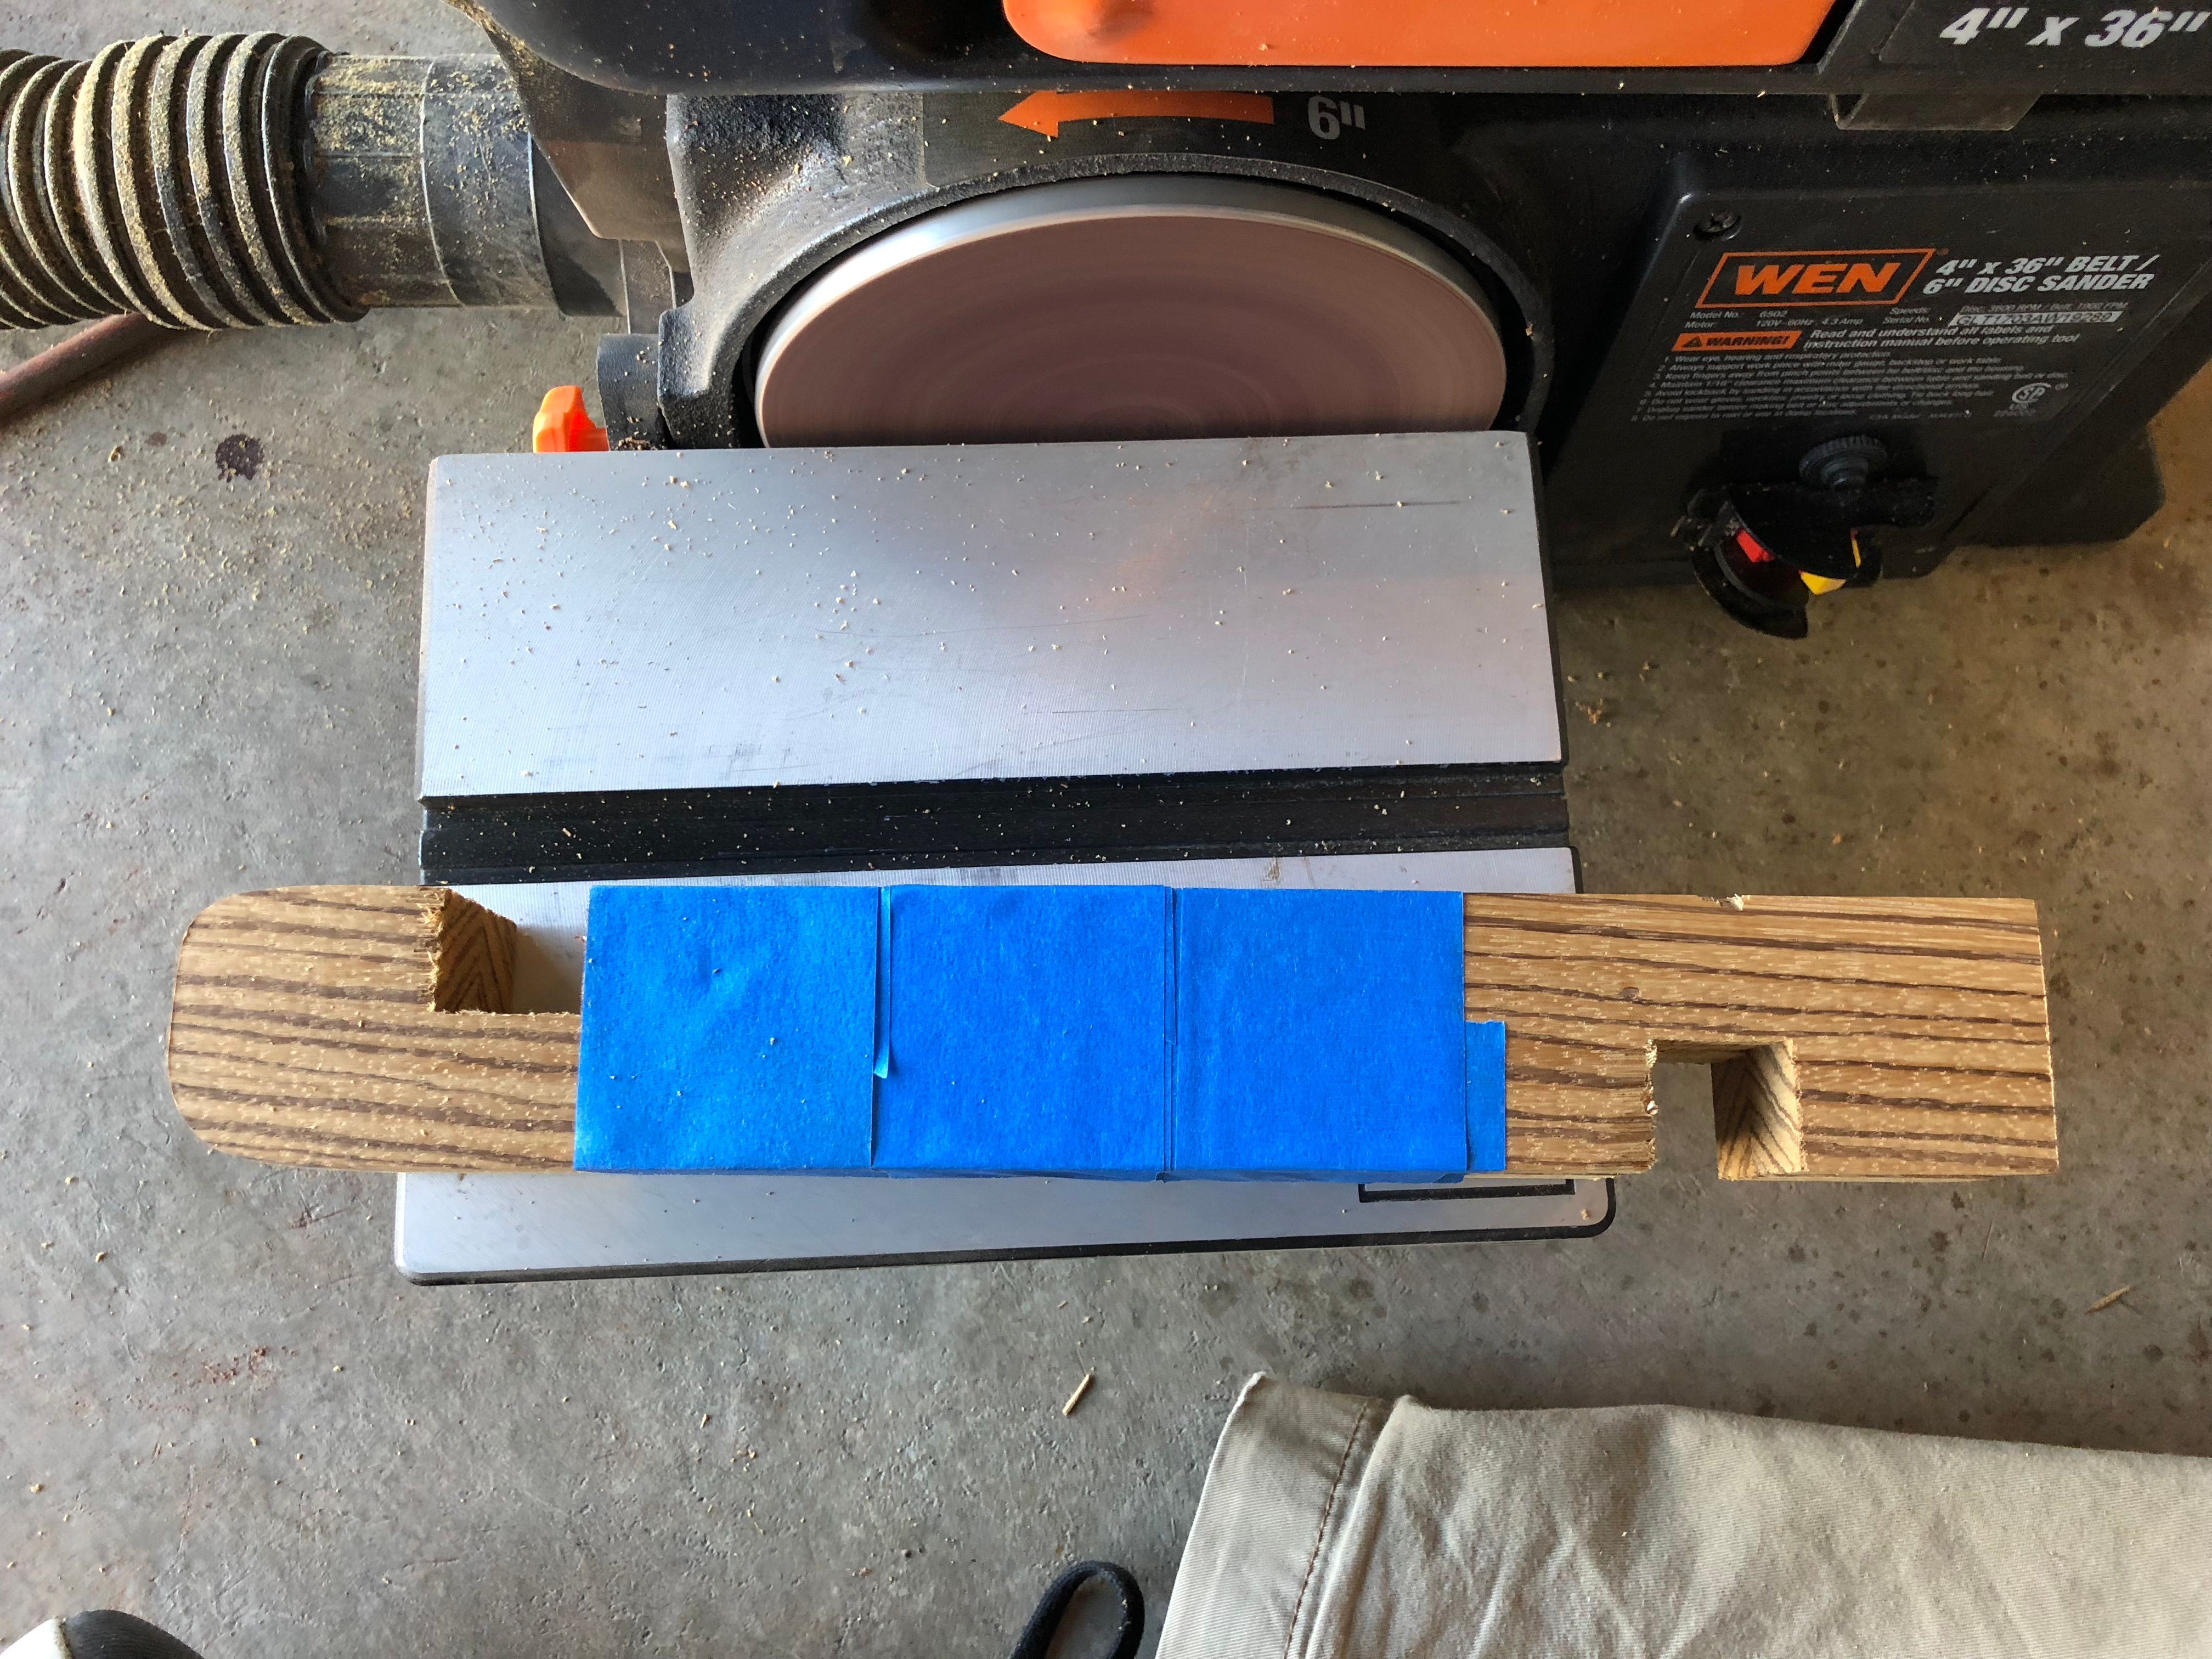
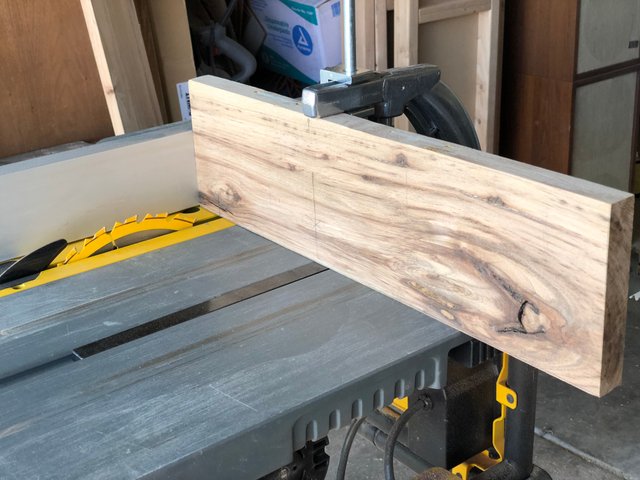 I don't suggest at all doing, what I'm doing here. Never use a piece of wood, taller than your grip/guide can handle. I maxed mine out, and made a few mods to it, to except this particular height of wood. I did take all safety precautions while doing this though. Always stay to either side of the table saw, than directly in back of it. No matter what height, length, or angle you're ripping. I've had a few pieces "Kickback" of heavy hardwoods, that shot back so hard, they've actually punched holes, in the garage drywall like it was butter, from 15 feet away. These aren't great pictures, but you can see, in the one picture, my notch cutting line. You can make these shallow, or deep. This will be, how much degree of lean angle you want. I stick to 1 inch as a standard rule, and 3/4 to 7/8th inch in width. I also use a standard of measuring my cut, inwards on the wood to anywhere from 1 1/2" to 2 1/4". These are for some big heavy floor standing speakers, 72Lbs. each. So, I used 1 1/2".
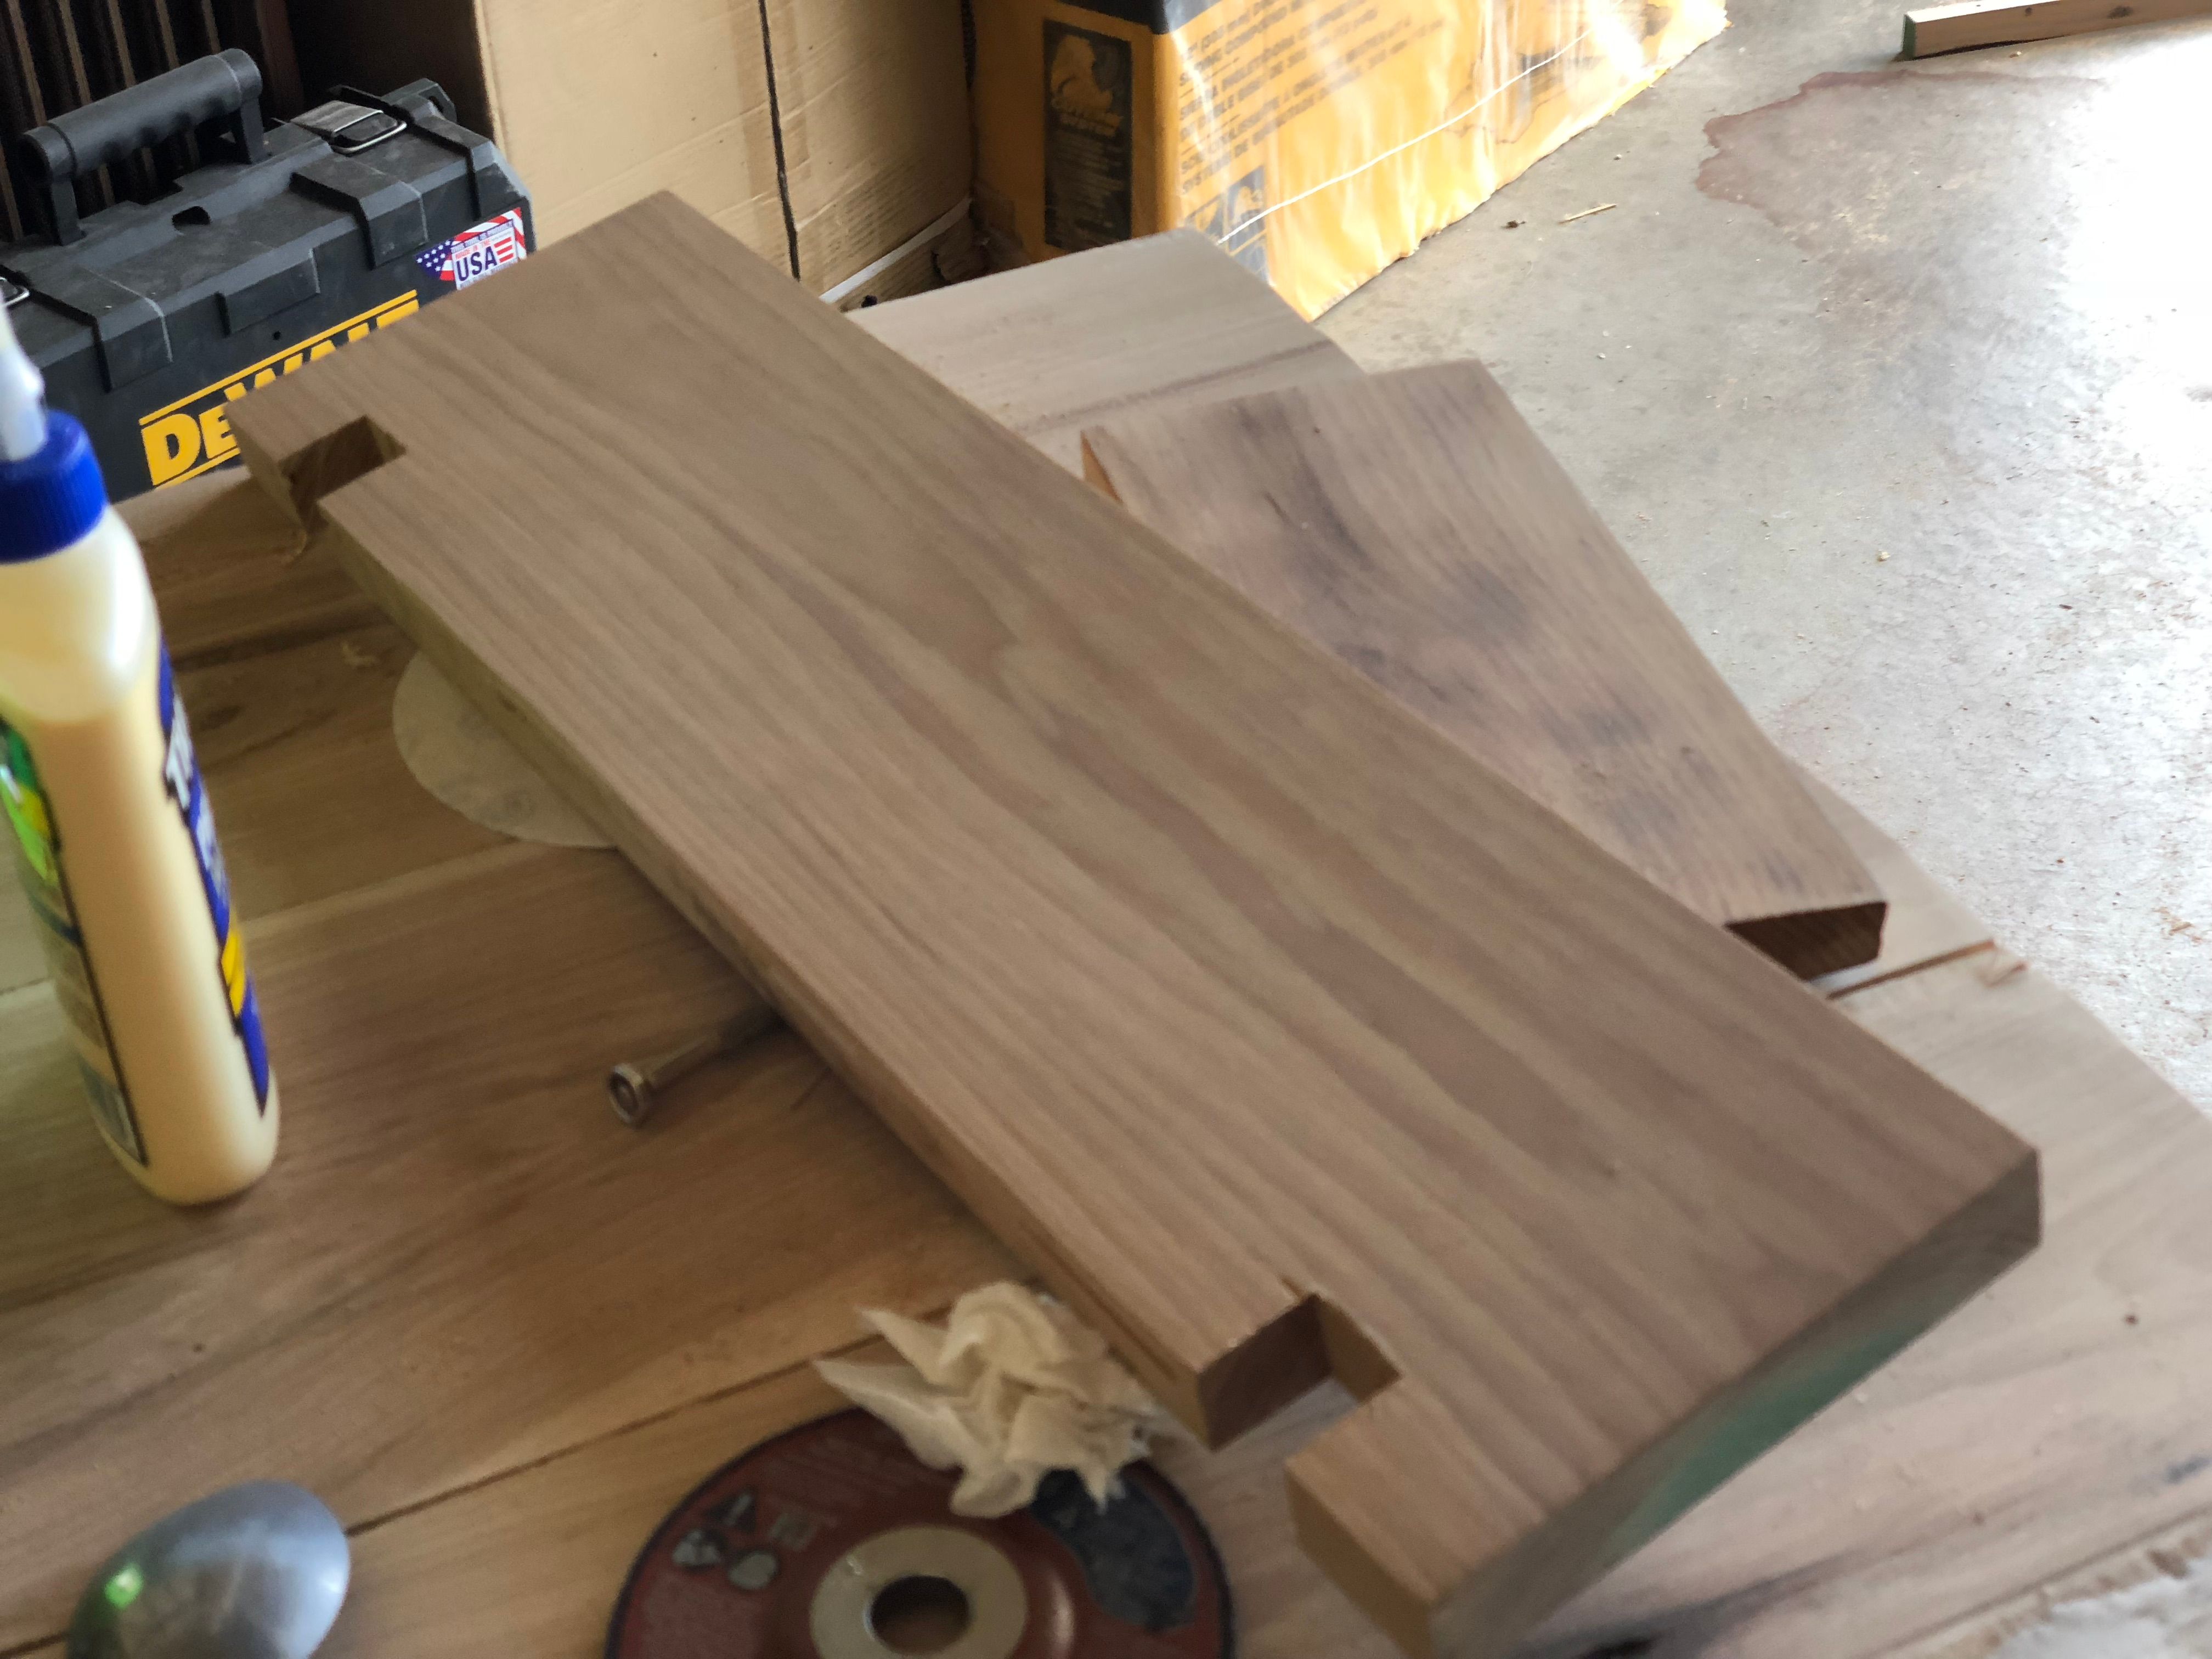 There will be different stand pictures, since, as I said in the beginning, I was getting backed up on woodwork. But the stands I'm showing, are the same design, so you'll get it. :) A Dado blade stack makes this process much quicker, but, I'm still looking for the best set to buy. But for now, the stock blade will do. You will just have to do several passes, to get the width, of the notch you want to cut.
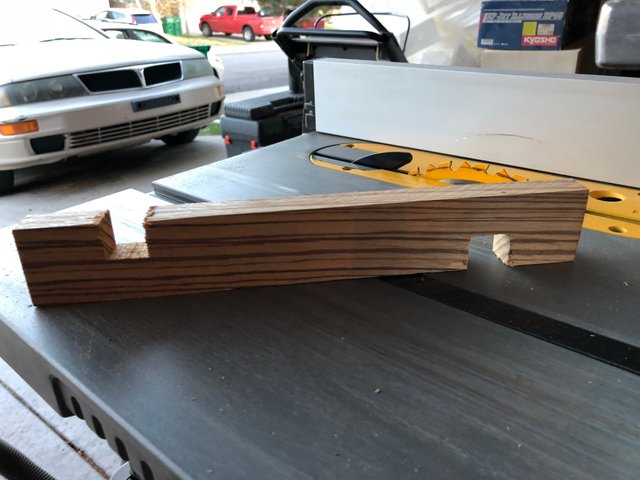
 Okay. Now you can see this is the leg portion of the stand, in the first picture. The 2nd, is of one part shaped raw. using a benchtop belt sander, and showing the other end, that is prior to raw shaping. This is something, that you simply have to practice, to get it right. Use any type of scrap, or free wood, you may get, and you'll get the raw shape right. Remember, all of the raw shaping parts, need to be the same. It saves a lot of time on the finish hand sanding.
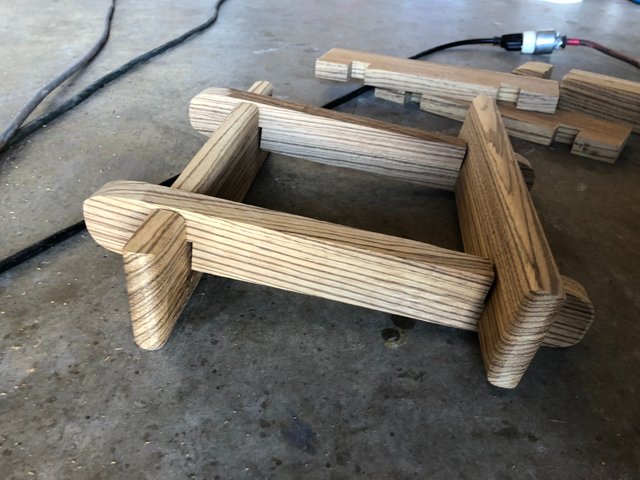 Okay, this is what you're raw set should look like. Remember, this is a different set, but, the same instructions as above. I usually don't make the front and back portions, with raw curves. I just leave them straight, and flush. Just focus on the legs in this picture.
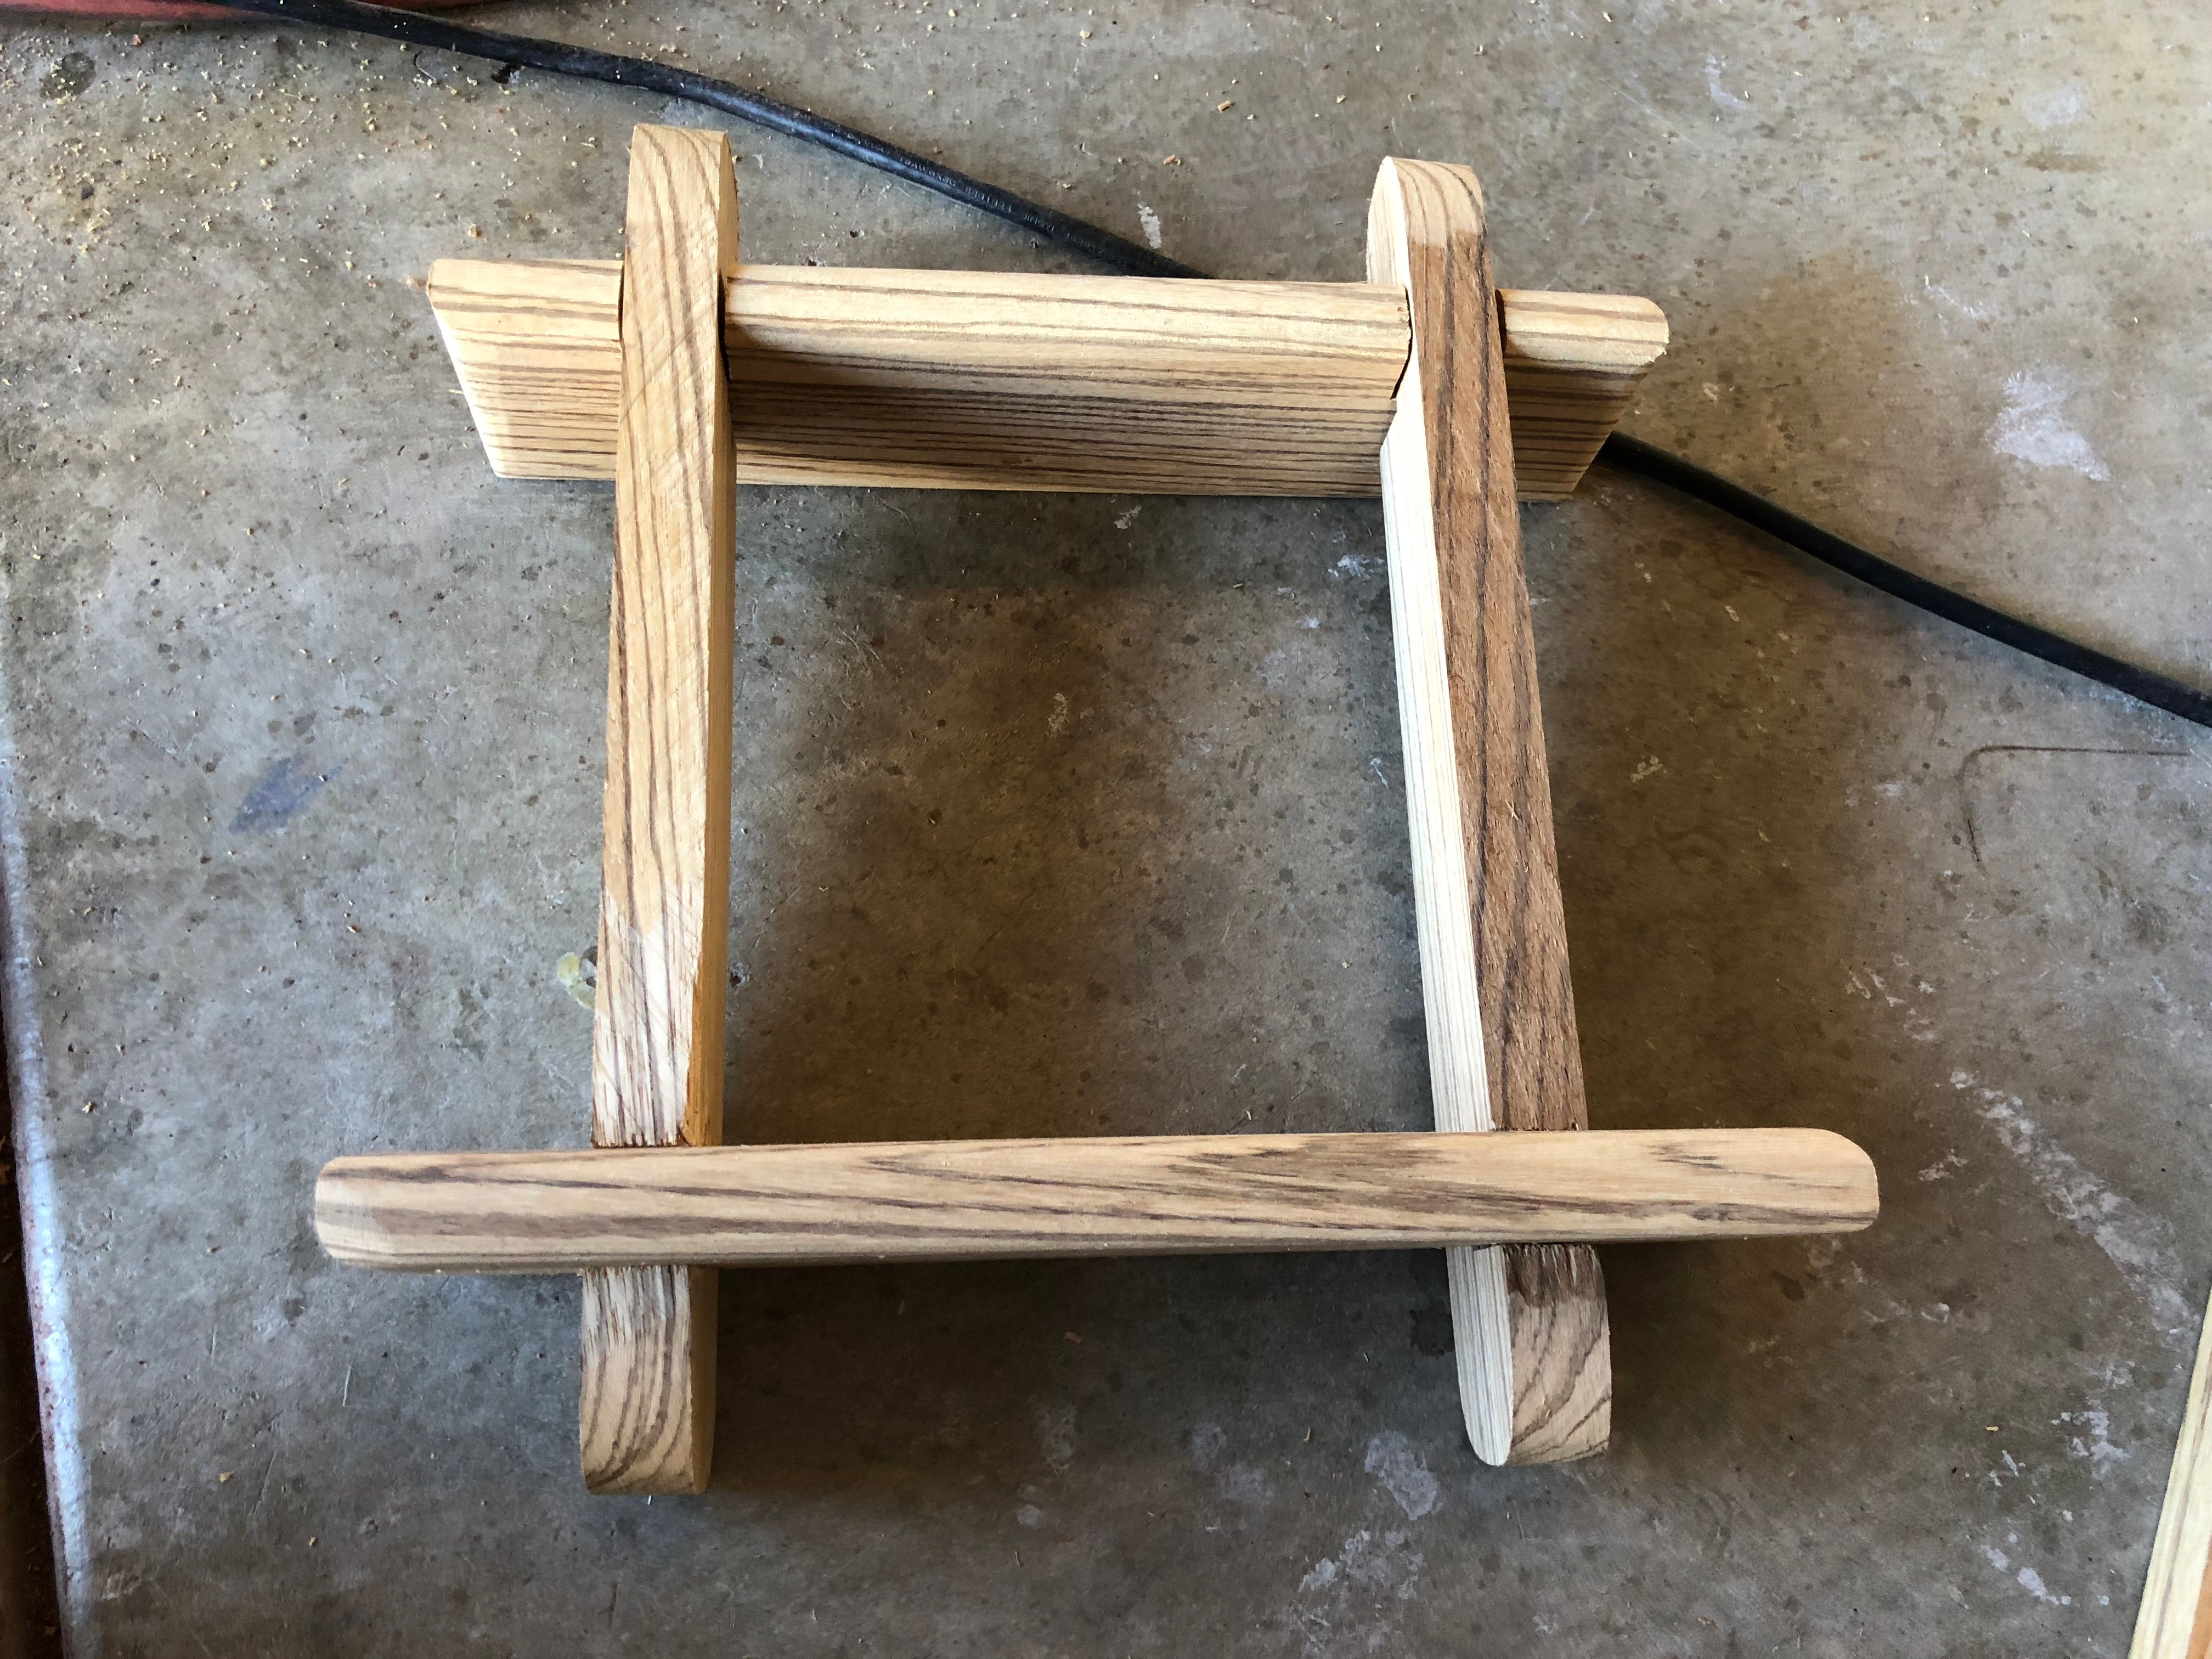 Same with this picture, focus on the legs.
 This is a picture of my supervisor. He may look like he's sleeping on the job. But one of his ears are up.
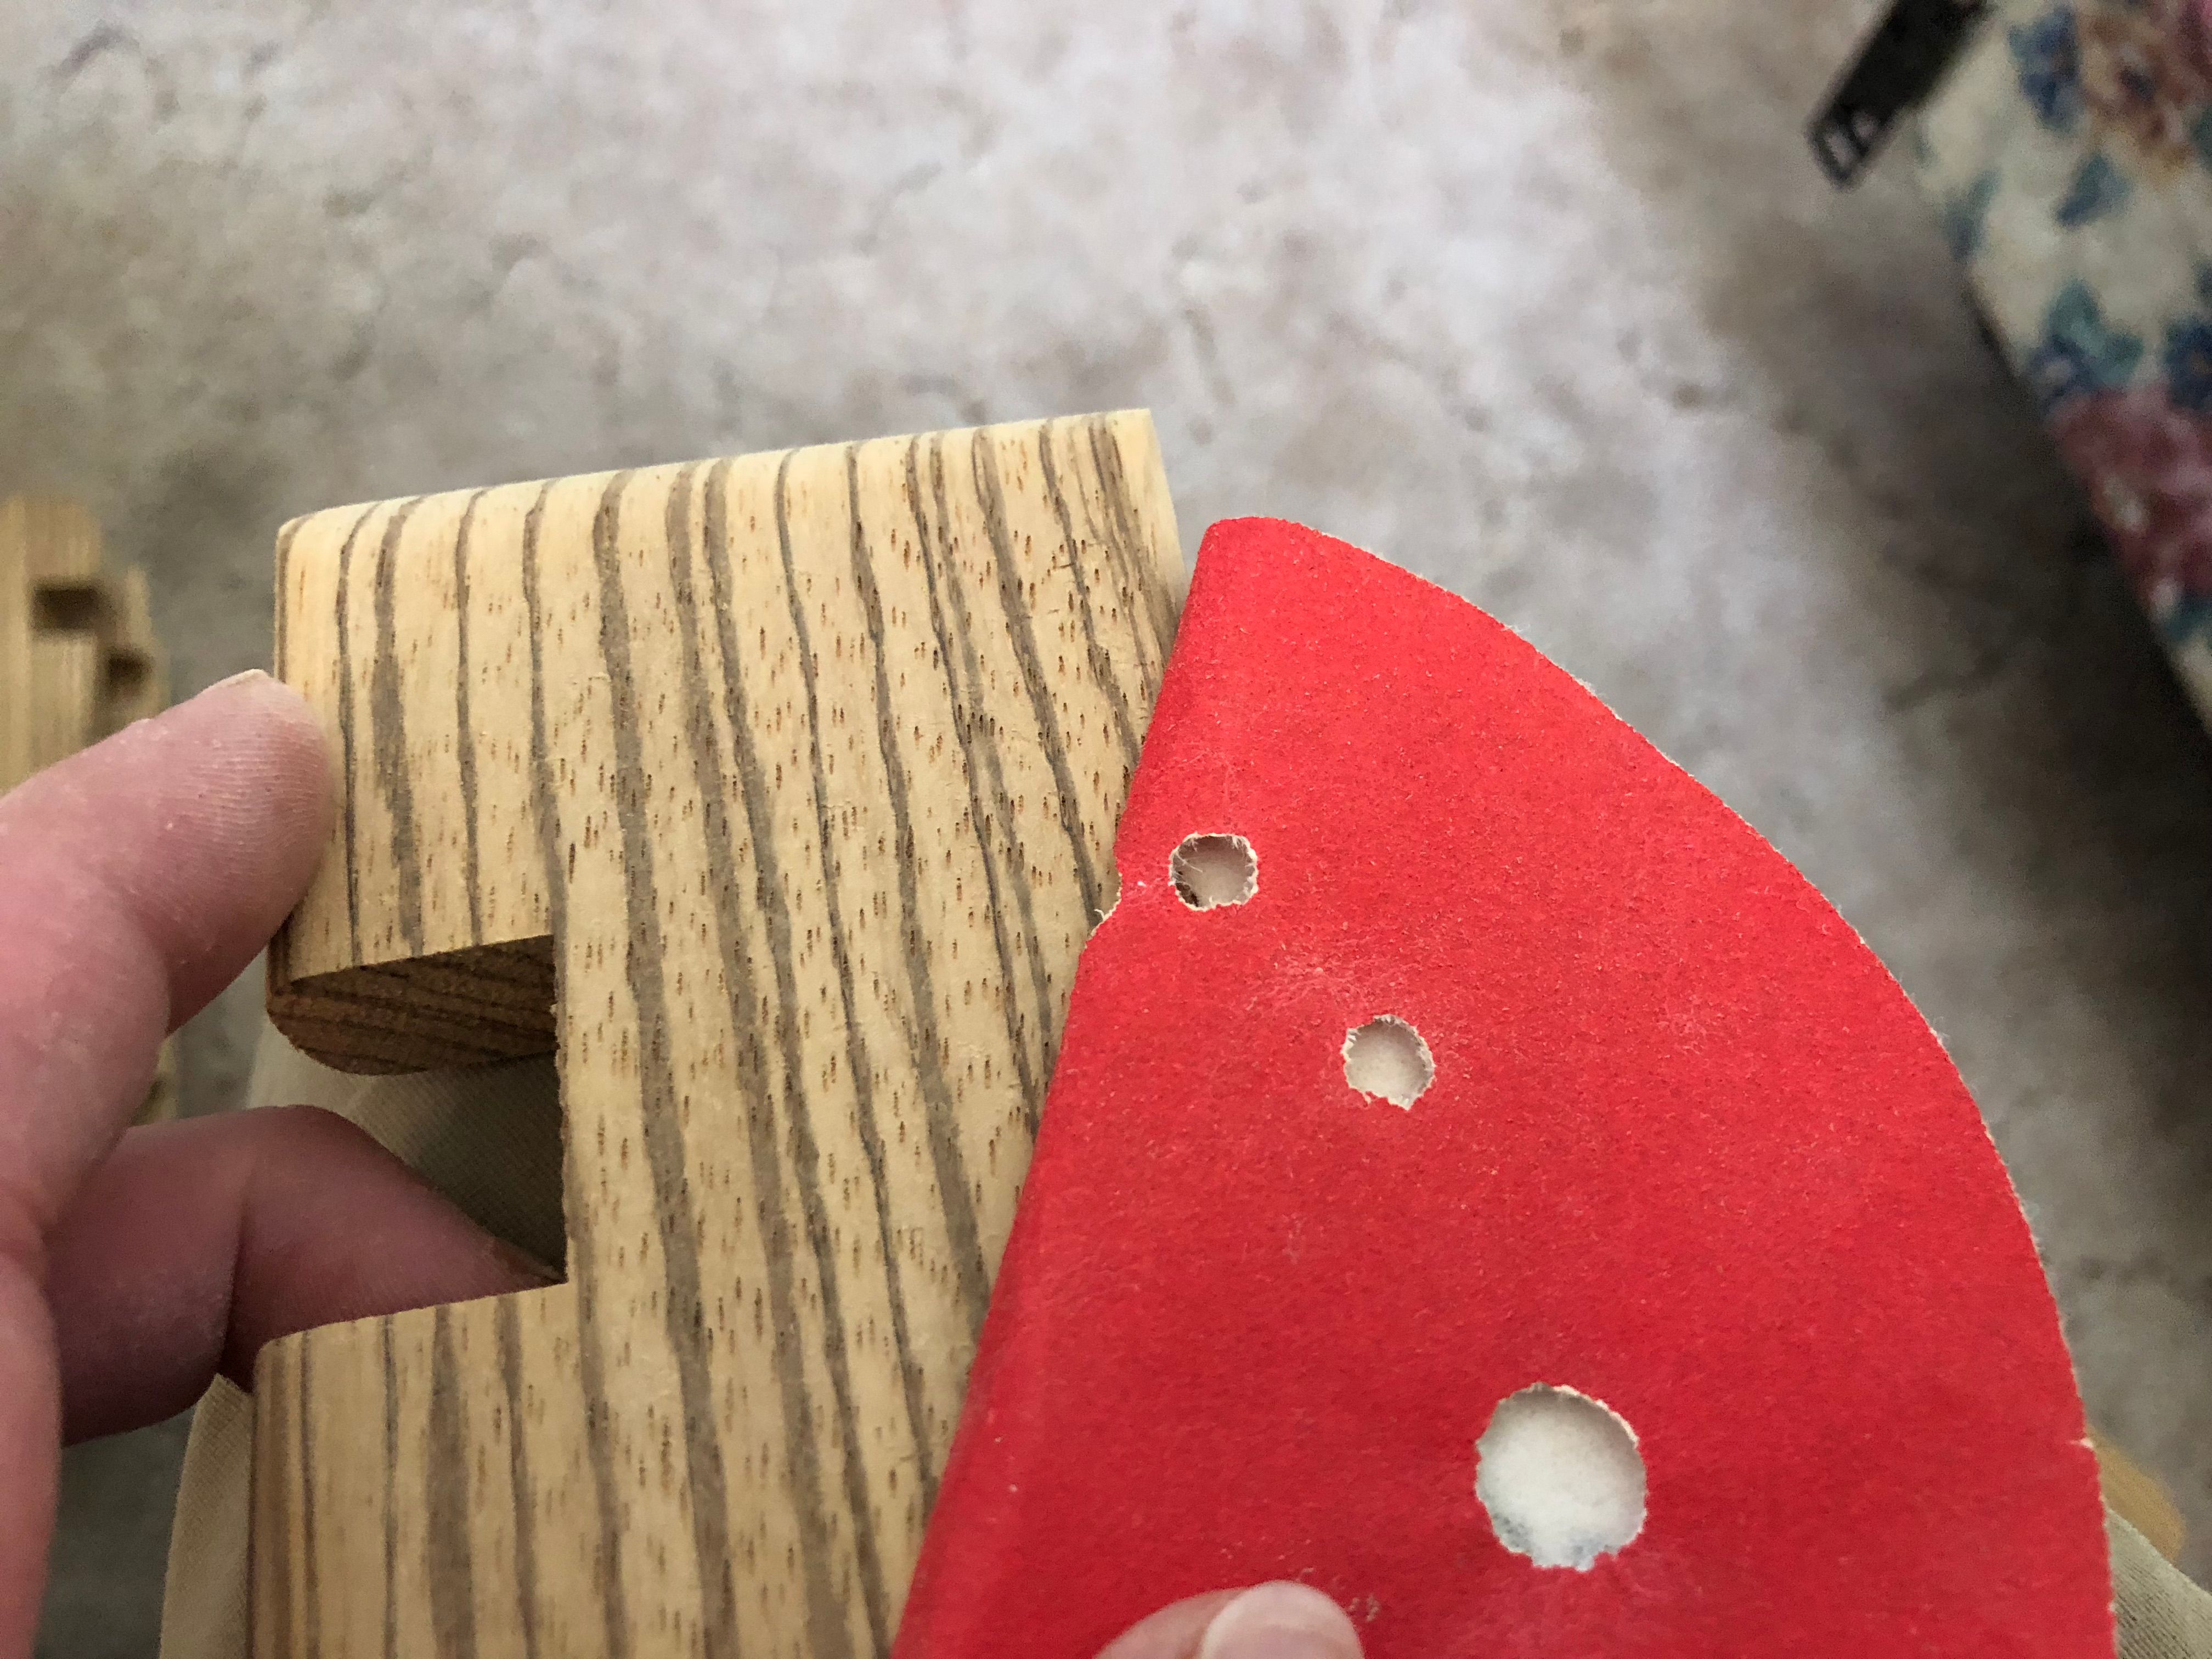 This is where the finish sanding starts. I didn't want to find the flat role of straight, no holes, 325 Grit sandpaper, I've been searching for, for the last two months, so I used a folded piece of my Dewalt 225 Grit, folded.
.JPG) Raw Finish...
Raw Finish...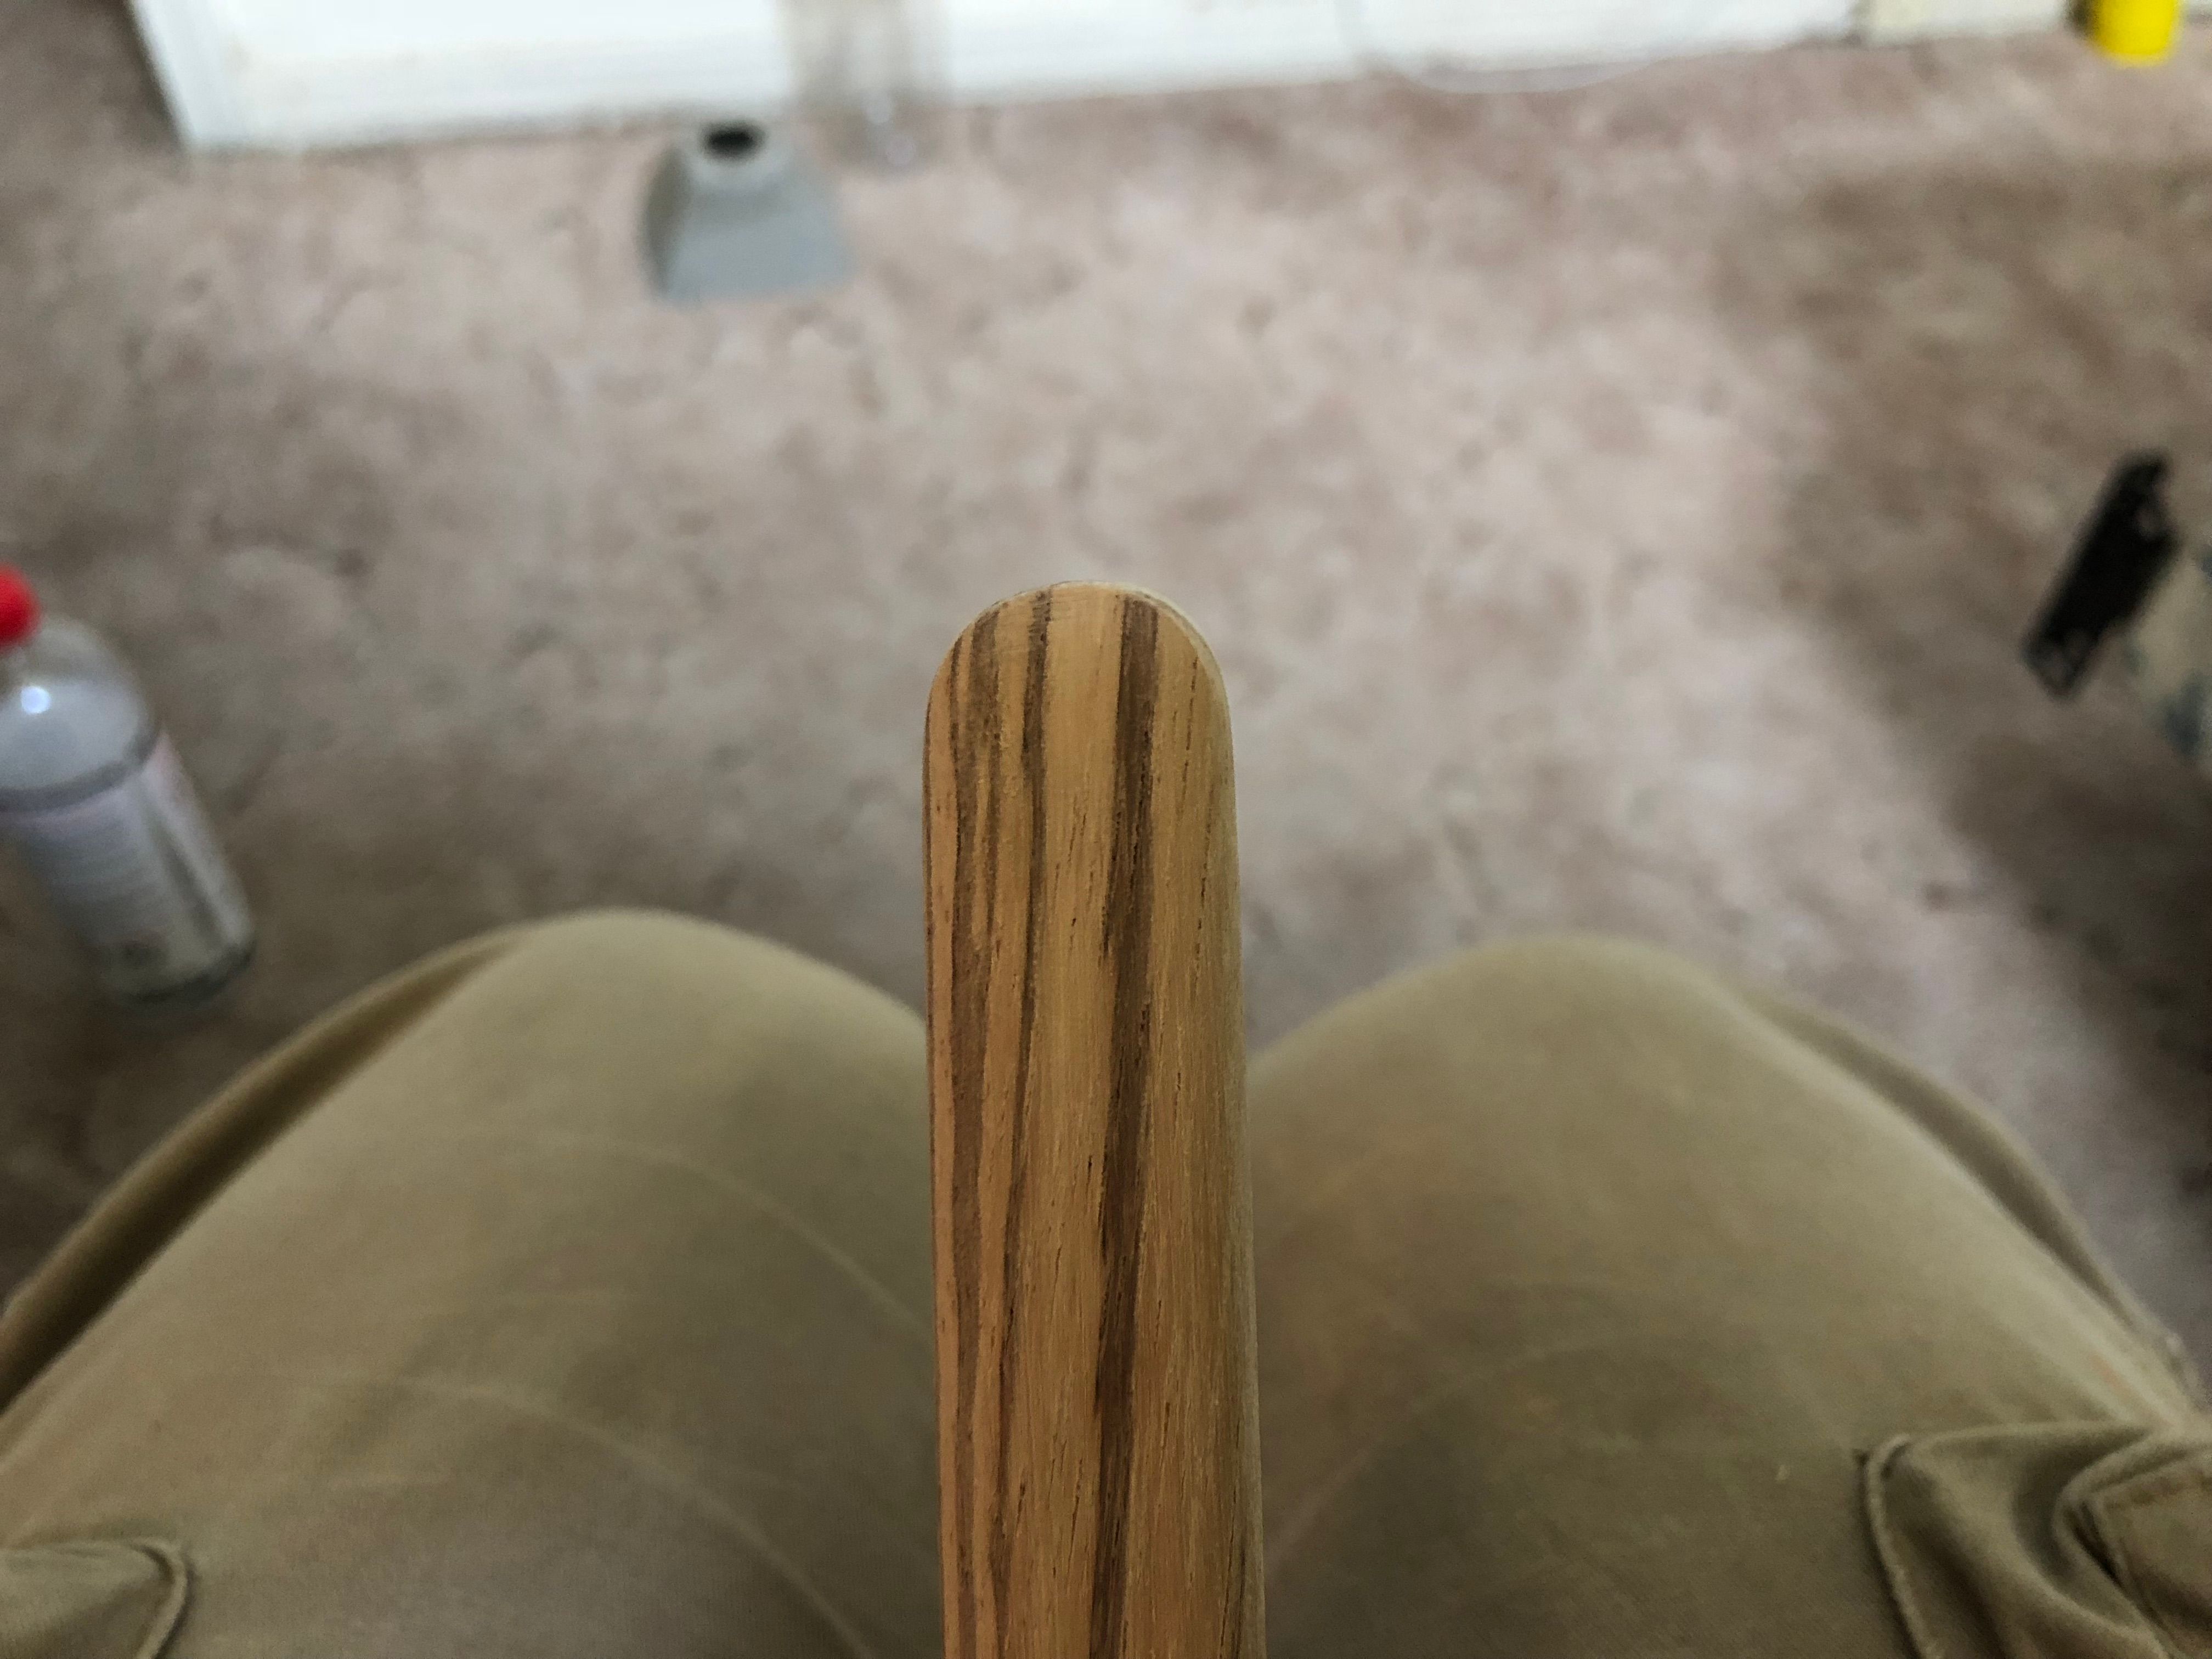 Finish sanded. By the way, you don't need to go to this extreme of finish sanding. Do what you feel!
  My supervisor, has both ears up, but, still not impressed. If you have any questions guys, please let me know. I'll help you as much as I can.
On the front of the legs where you round them off. Would it not be faster to sketch half a circle and the cut a the rough circle with the jig saw then sand? This would also save a bit on sand paper. If your on sure What I'm talking about I can Send a pic on discord on my lunch
Sure, you can send me that, that would be cool, thanks Koday! I should say that, I really stretch the use of sandpaper. Especially with the belt sander. I've only changed the belt 2 times, after countless hours of use. I use a Powertek Abrasive Belt and Disk cleaning stick, very very often. It really doesn't take me much time anymore, to make the raw curves on the belt sander. I'm actually quite fast with it now, because of all the practice I've had.
I had a wood shop teacher in high school that was a real stickler about using the least amount of sanding as possible. Like in 7th grade we were only aloud to use the scroll saw, drill press, and the sanding wheel. well for one project we needed a little ramp like thing. so we sanded down a 3/4" board the have a 45 degree edge, and he about lost he shit that we didn't get him to cut it on the ban saw. I did something similar later on in like 10th or 11th grade and he about lost it. so doing less sanding is something that's always stuck with me.
Yeah, I can see how that would stick with a person. I really wish, I would've taken wood shop in high school. I just wasn't into woodworking then. It wasn't offered to us here, in middle school. By the way, what is it about shop teachers? I did take auto shop in high school, and he nuttier than a fruitcake. I saw him actually throw a large combination wrench at a kid for doing something he thought was wrong. He didn't hit him with it, but was pretty close. It looked pretty precise. Like he wasn't going to hit him with it, but, he was damn accurate, lol.
I don't know this teach of mine was always calm, but it was the look on his face when you did something he thought was stupid. he looked like he wanted to throw something at you, but he knew he couldn't. but he was also by far my favorite teacher probably because he was the only teacher to really teach me a skill. I mean I had Metal shop and CAD (And I'm now a draftsman), but it wasn't the same as the woodshop. I feel like he was the only teacher at my school that would also teach morals so that was another thing he had.
Good job young man
We have a woodworking community here on steemit and would welcome you. We have a discord channel, link here: Woodworking on Steem Discord Channel