Prototyping Apple Watch Notifications in Framer - Part 2
In Part 1 of this series of tutorials on Framer Studio, I showed you how to set up your screens using the Design interface, add targets to reference them and their elements in code and use States for transitions between screens and UI animations.
In this tutorial, we are going to further customise our screens and add a little polish to our design and code to make our prototype look and feel like a real notification on watchOS!
Let's get to it!
Modulate and Refine
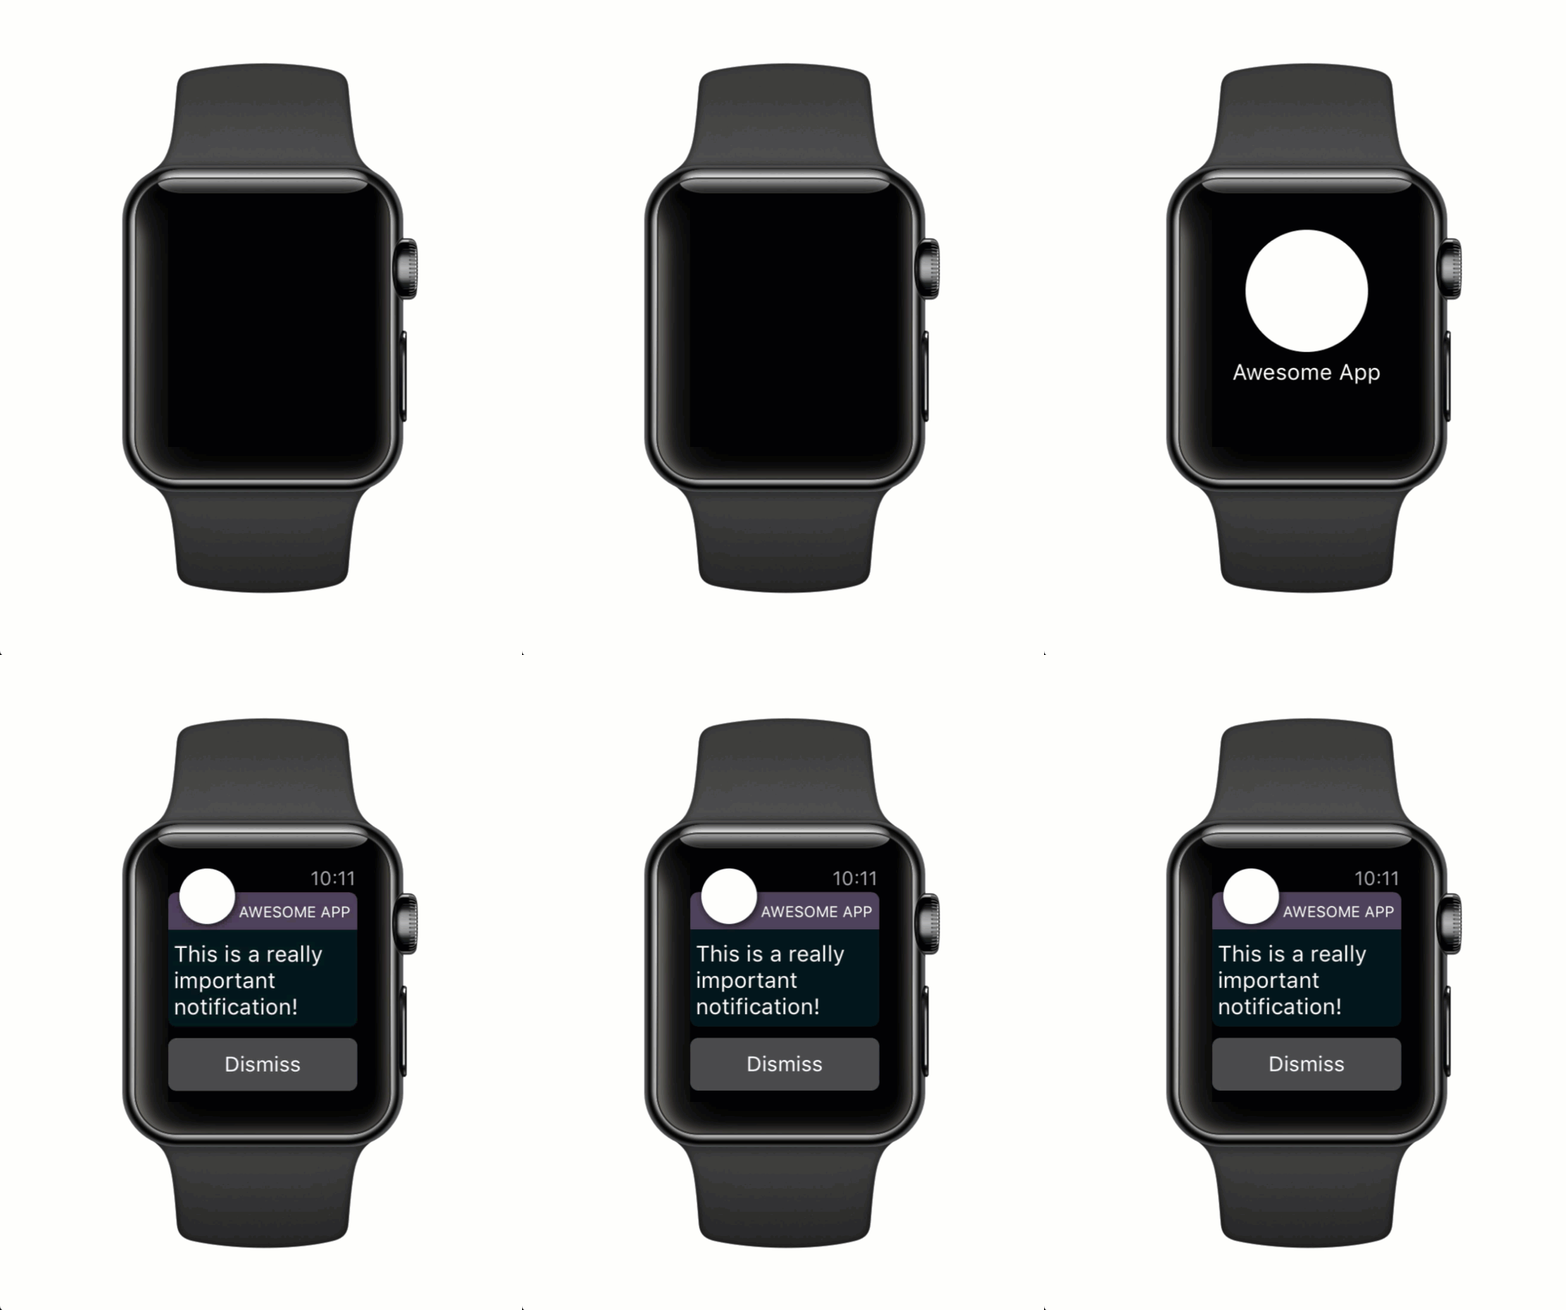
As the long look screen pops up, several things also happen simultaneously on the Apple Watch. The digital clock at the top right of the screen fades in and the app title from the short look slides up and fades out.
Framer has a great functionality called 'modulate', which allows you to define an object's behaviour and values relative to another object's behaviour and values.
Diving deep down into Framer's modulate utility function is beyond the scope of this tutorial and there are plenty of articles out there. If you want to learn and find out more about it, be sure to check out my friend Sergei Voronov's excellent post "Introduction to FramerJS Utils.modulate".
The clock's behaviour depends on the long look's y position: as the long look elements appear by sliding up on the screen, the digital clock fades in at the top right. Add the following lines to your code:
long_look_container.on "change:y", ->

  clock.opacity = Utils.modulate(long_look_container.y, [170, 19], [0, 1])

  AppName.y = Utils.modulate(long_look_container.y, [170, 19], [111, 24])

  AppName.opacity = Utils.modulate(long_look_container.y, [170, 19], [1, 0])
Check out the result in the Preview window: things are looking smoother and smoother!
Customising with Vector Graphics
Next, we're going to take care of our app icon. Right now, a white circle is looking rather bland. But we can't draw much with Framer Studio's design tools - there isn't any bezier tool for example.
We could import bitmap images but those might pixelate in the final renderings. So, instead, we are going to import some vector graphics. The other advantage is that those are going to scale perfectly when we animate.
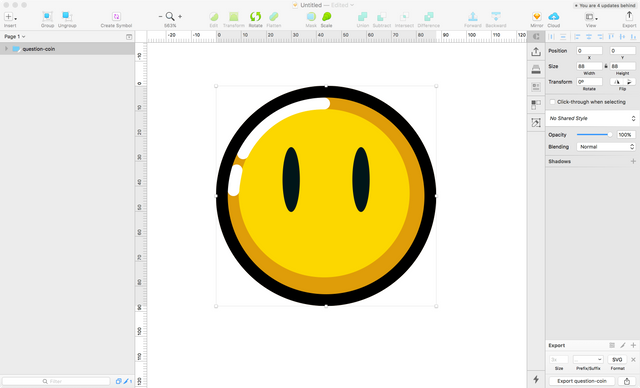
Let's say we have the following design in Sketch:
Click the 'Make Exportable" + button at the bottom right of the screen and export the whole folder as an SVG graphic.
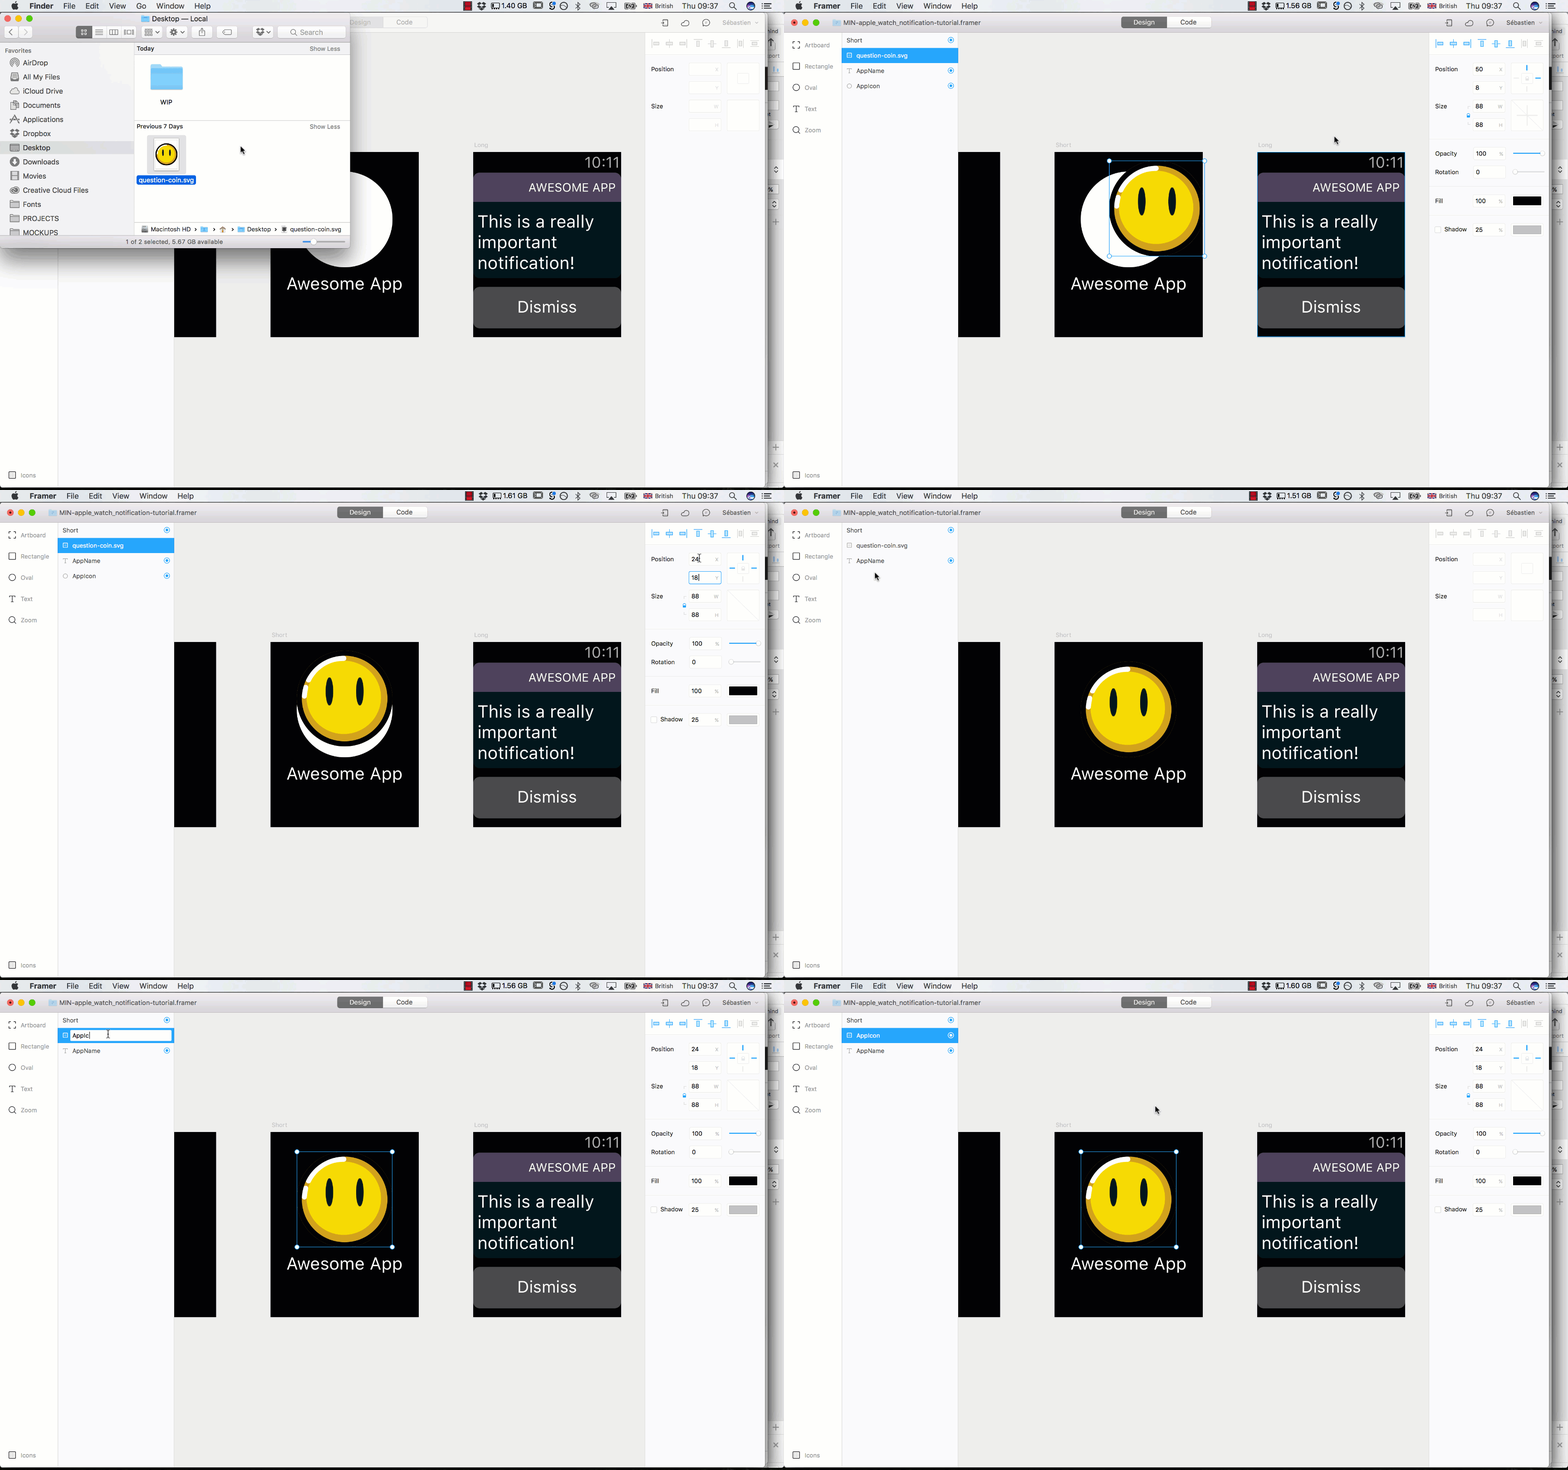
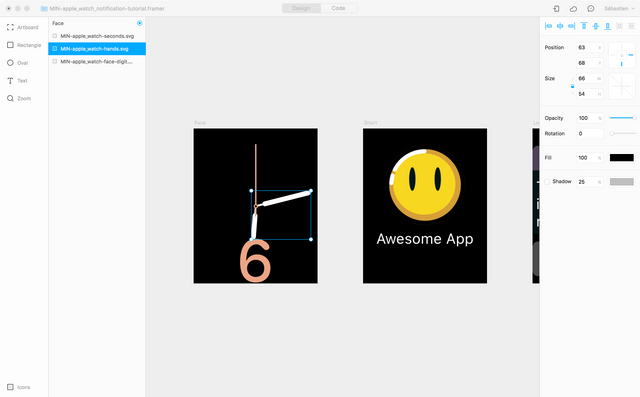
Now, it's as easy as dragging the exported file onto your artboard in Framer Studio, delete the white circle object we have been using so far and, finally, resize, rename and target our vector graphic.
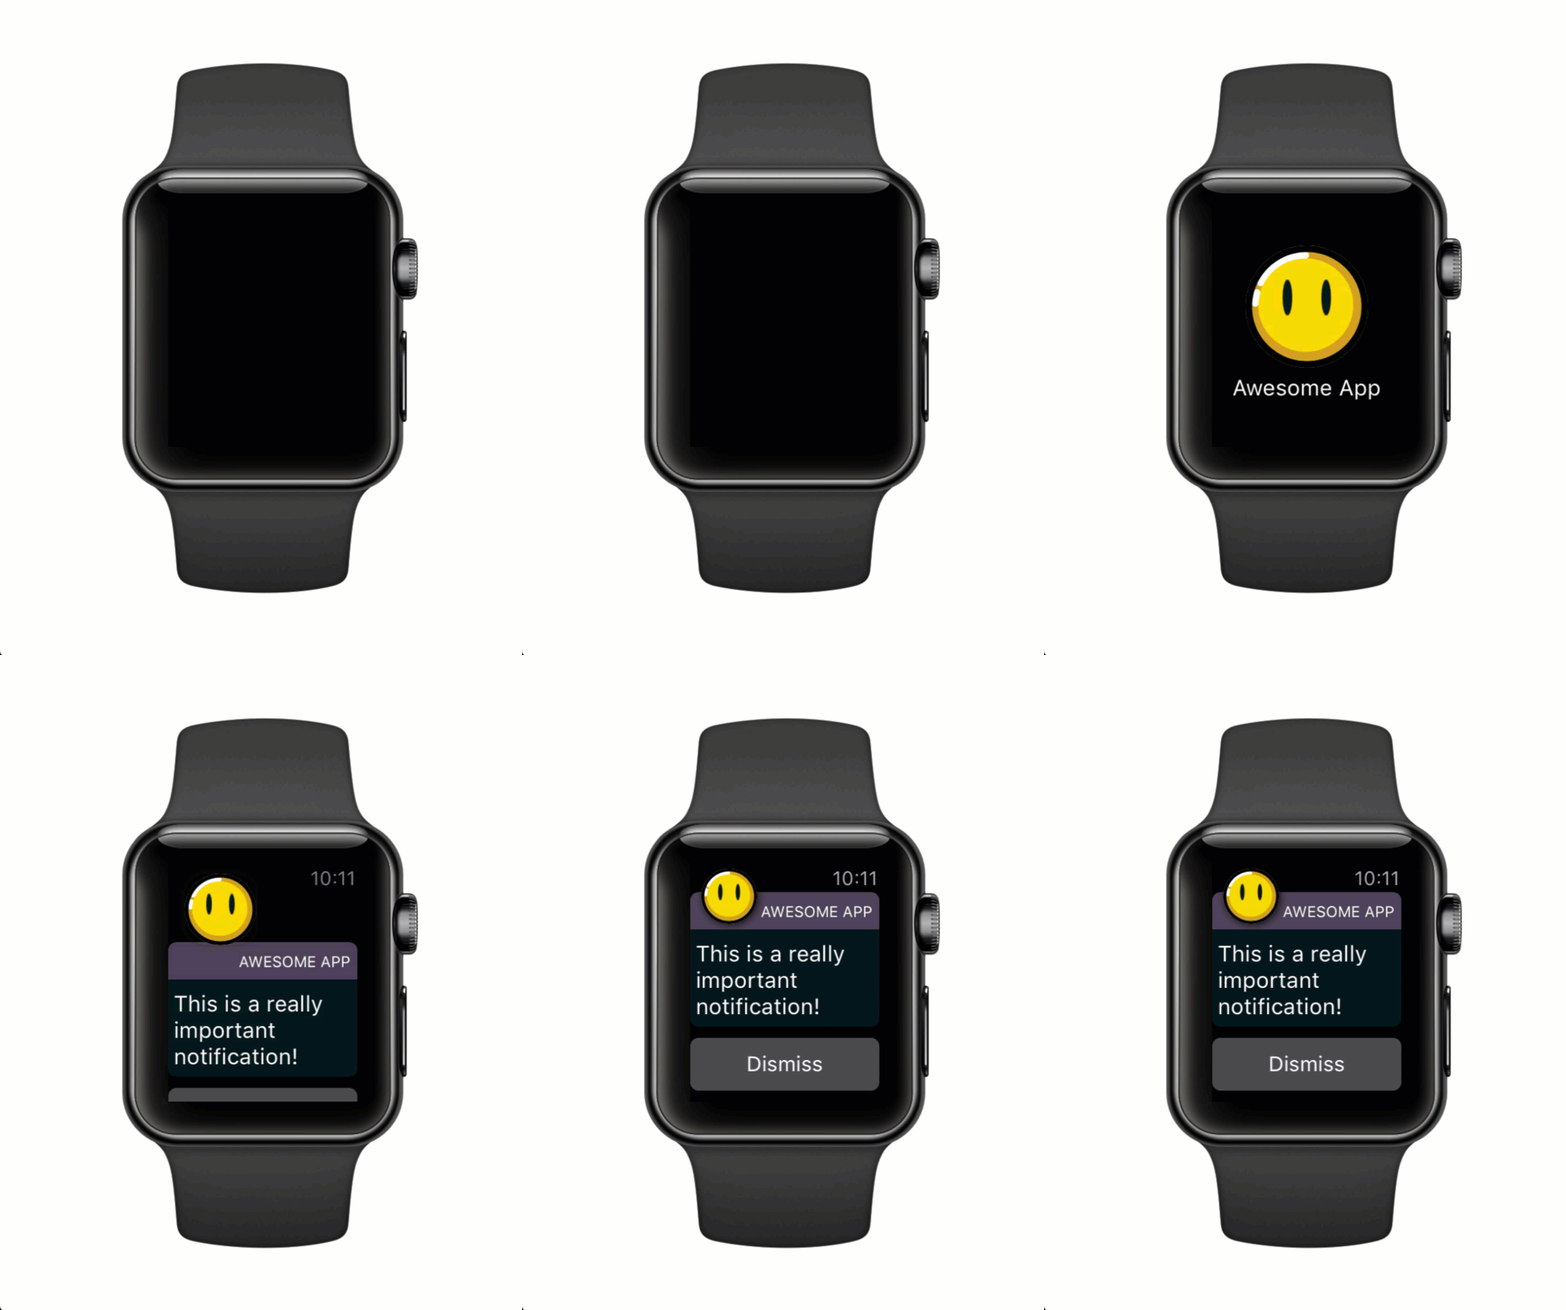
When you go back to the Preview window, you can see how it is now integrated into our notification and how it scales and animates perfectly without having to add or change a single line in our code!
Finishing Touches
All that remains now is to finish up by adding some watch face elements to our Face artboard so we are not starting our notification from a black screen.
Using the same import technique as above, we're going to place some watchOS elements. I recreated them by doing some vector drawings over an Apple Watch screen grab and exporting each element as an SVG graphic.
Finally, add the following lines to your code to hide the bottom of the "6" clock face digit when the short look screen bounces in:
Short.on "change:y", ->

  if (Short.y <= 0)

    Face.opacity = 0
And... Voilà!
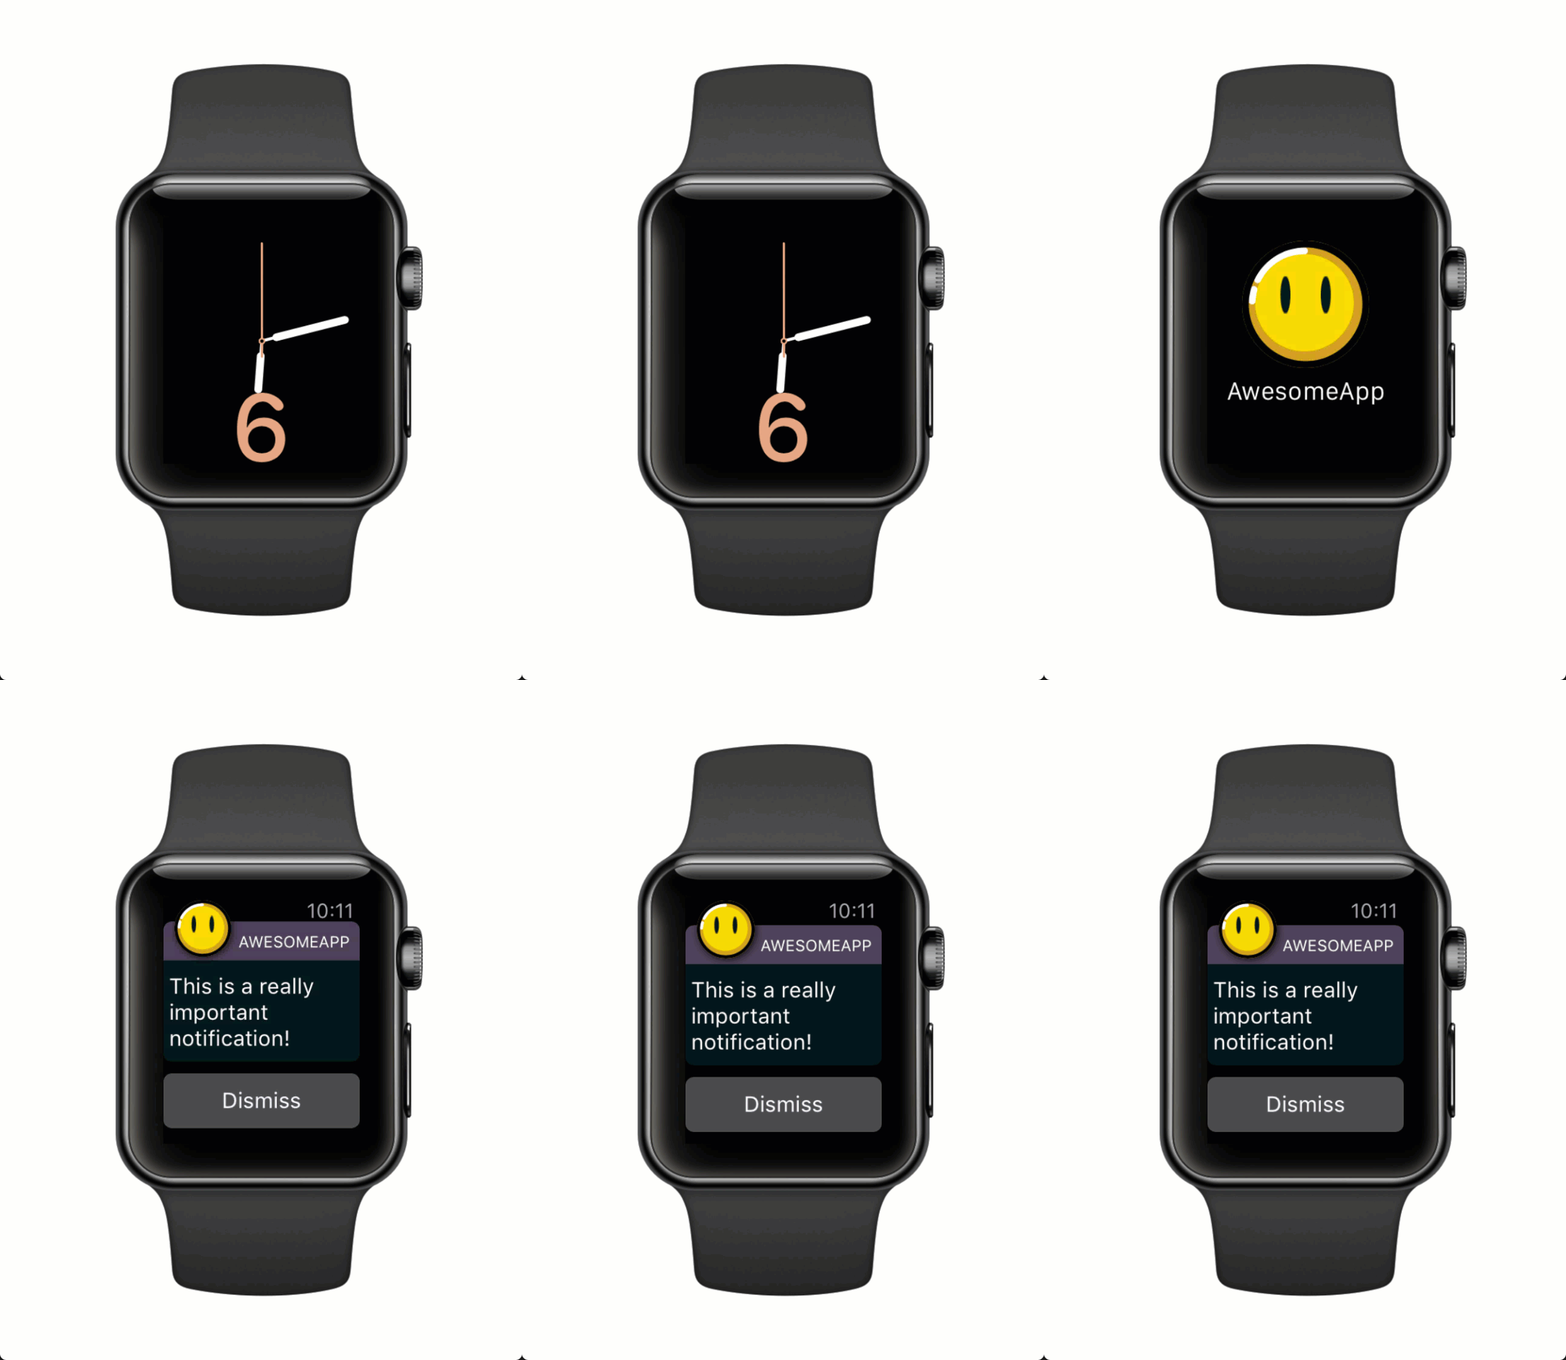
Using Framer Studio's mix of design and minimal code, we have been able to recreate the Apple Watch notification screen with an unparalleled level of fidelity.
I hope that you have found this tutorial helpful.
For questions and interacting with the Framer community, be sure to check out their Facebook group.
Very good and the post is neat. Well done genius!
Glad to see you,I hope you enjoy here as much as i do !! Nice post, i will follow your account, please follow me at @zeeshankhan
Congratulations @mindandmagicltd! You received a personal award!
You can view your badges on your Steem Board and compare to others on the Steem Ranking
Do not miss the last post from @steemitboard:
Vote for @Steemitboard as a witness to get one more award and increased upvotes!