[Steem Paper Wallet] Tutorial: How to Create an Elegant and Unique Steem Paper Wallet + Free DYI Wallet Lamination Steps
Hello Steemians!
Would you like to protect your hard earned SP while having fun along the way?
I have great news for you! I want to share with you a very cool way I came up with to create elegant Steemit paper wallets.
I do not know about you, but digital assets sometimes feel so distant that you do not feel the real ownership of it. I am collector by nature, so being able to see and touch these paper wallets provide the real feeling of ownership and make me feel secure. Who knows, maybe I am getting old LOL
So, here is the thing...
I found multiple ways to create paper wallets for Steemit, but none of them offers an elegant way of printing them. After spending more than 3 years in this industry and tracking more than 24 wallets across multiple Altcoins, I came up to the realization that you must organize yourself or risk losing access to your wallets.
Here is my strategy to organize my wallets in an elegant way, secure my digital wealth, and sleep like a newborn at night.
What Do You Need to Have and Know:
- Microsoft Word (any version)
- Access to your Steemit account (of course!)
- A local printer attached to your computer (recommended, not required)
- Thermal laminator (optional)
- FYI: This is a manual and cool process to create unique paper wallets. Is not an automated generator.
Steps to Create Elegant Steem Paper Wallets:
I. Download Steem Paper Wallet template (Microsoft Word).

Template Specs:
- Size: 6" x 2.5" (printed)
- Compatibility: Steemit Wallet
- Configured to suit all your Steemit's keys (follow size guidelines for barcodes)
II. Copy and Paste Your Steemit's Owner Key:
Path: Steem Wallet > Permissions
In this screen, you'll see all barcodes needed for your paper wallet. Start with the Owner Key. Click the small QR barcode under "Owner." (small window should appears)

- Right-click the Owner Key barcode inside the pop-up window and hit "Copy"
- Go to Microsoft Word, right-click, and hit "Paste" anywhere below the template
- Resize the barcode to about 1 inch by pushing in the corners of the barcode.

- Enable barcode moving flexibility by right-click > Wrap Text > In Front of Text
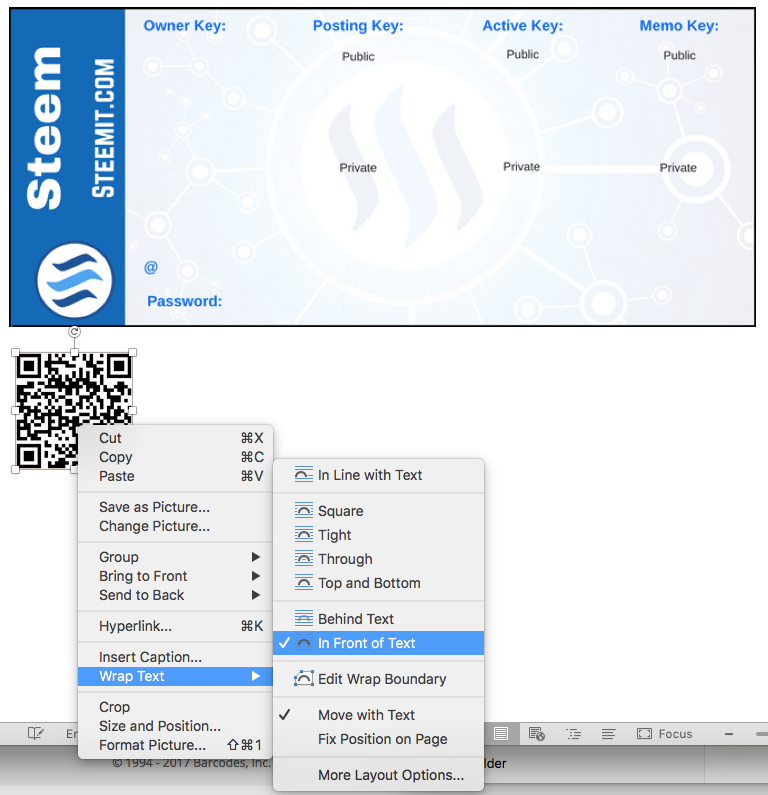
- Drag the barcode and place it under Owner Key (see image below).

III. Posting, Active, and Memo Public and Private Keys:
Repeat the same process above (Step II) for Posting, Active, a Memo keys but resize barcodes to 0.75" instead of 1".
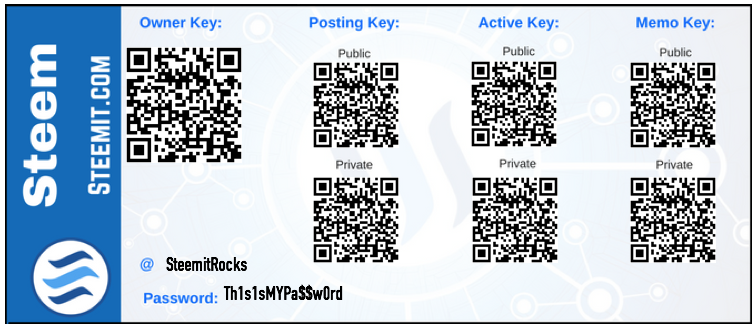
It should look like this...

Note: Please note that for Active and Posting Keys you need to perform some extra steps to show your private keys. For Active Key you need to login (again) in order to see it and for Posting Key you need to click the "private key" button.
IV. Enter Your Account Name and Password
Path: Insert > Draw Text Box

- Draw the text box below the template

- Let's repeat the same steps as the QR barcodes.
Right-click inside the box > Wrap Text > In Front of Text

- Drag the text box inside the template and write your Steemit username.

- Now again for the password field. Your final work should look like this...
ISN'T THAT ELEGANT & CLEAN?
Believe me on this one... it feels AMAZING once you print it.
V. Print Your Paper Wallet
This step is simple, hit "print" and you get yourself an beautiful looking Steemit paper wallet. Couple of things to keep in mind...
- If possible, use a local printer attached to your computer. Do not print from a public location or from any printer connected to a public network.
- I recommend you DO NOT save the template with your private keys on your computer. Once printed, close the Word document without saving your final work. This will avoid having this delicate information available somewhere else other than you paper wallet.
VI. Laminate Your Paper Wallet (Optional - but HIGHLY recommended)
This step can save you a lot of headaches in the future. Laminating your paper wallets can save your barcodes from fading or water damage. Plus, it looks neat when you do!

DIY Lamination:
This is VERY easy to do. It only took me 5 minutes after stealing my wife Scotch Thermal Laminator 
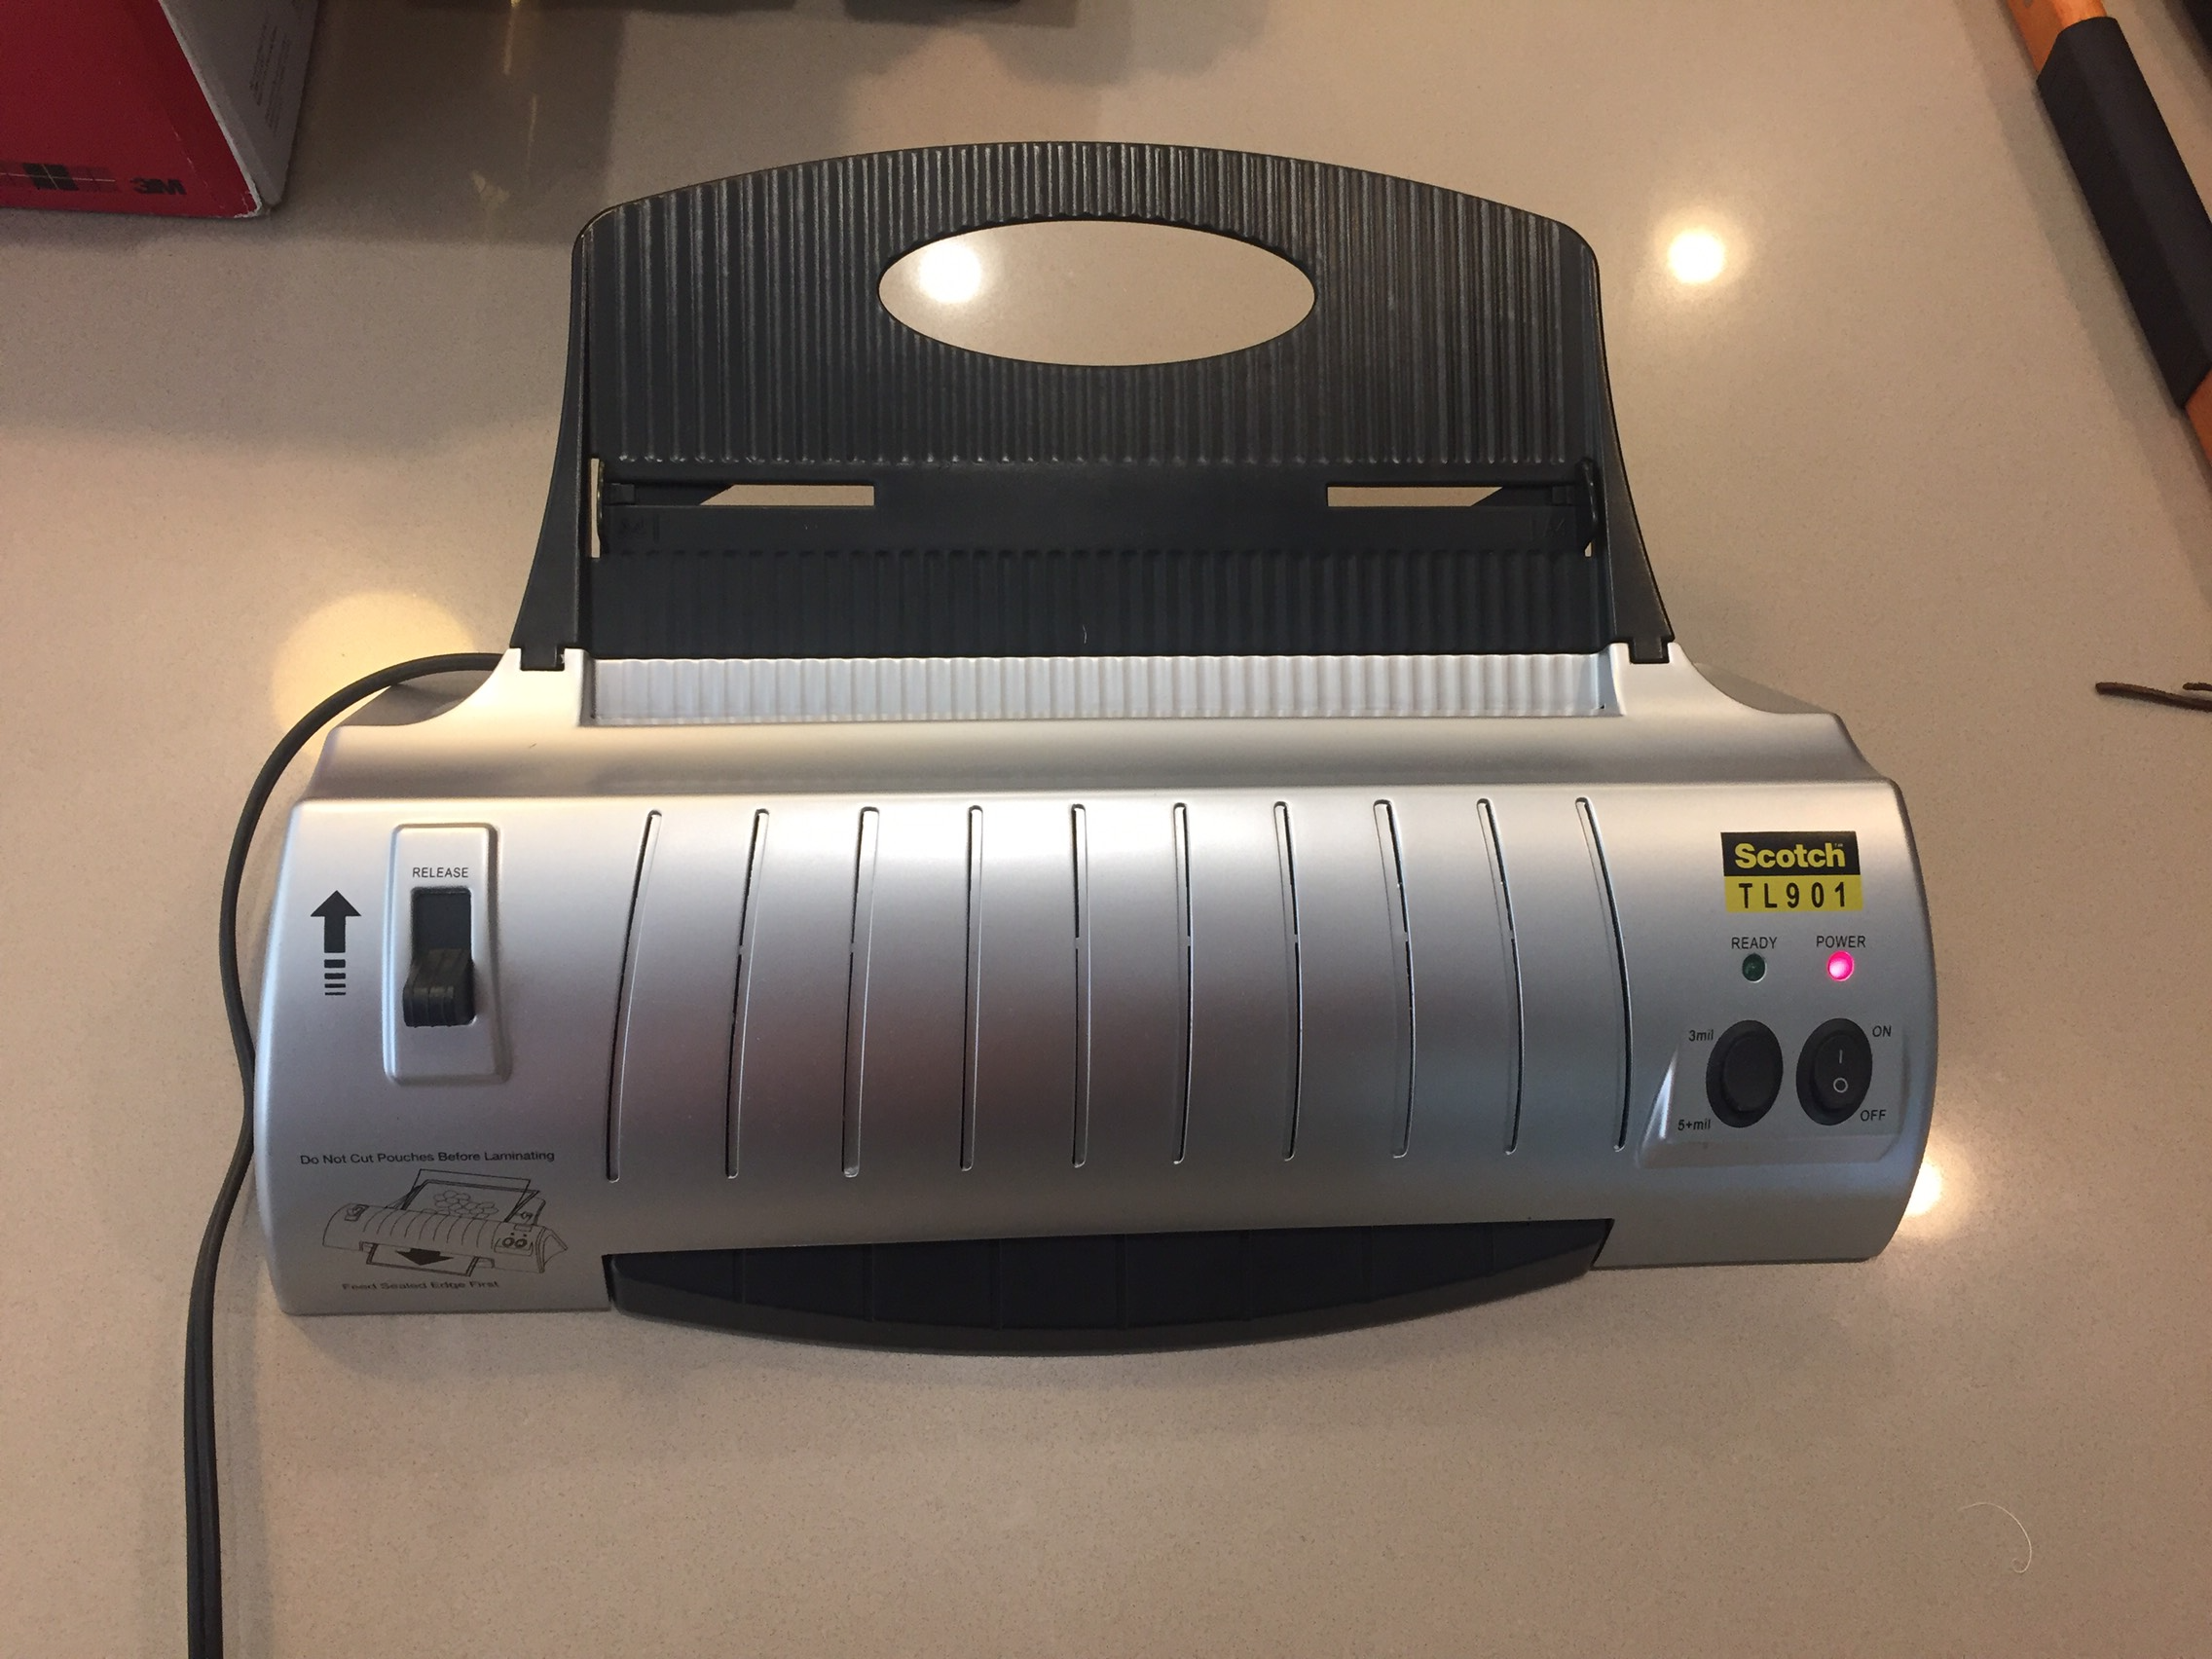
Step 1: Turn on your thermal laminator and wait until it's warm and ready. The "green light" means go!
Step 2: While you wait, get your printed paper wallets in the lamination sheet. (FYI. Do not get them too close, leave some room for cutting the edges)

Step 3: Get your lamination sheet through your thermal laminator.
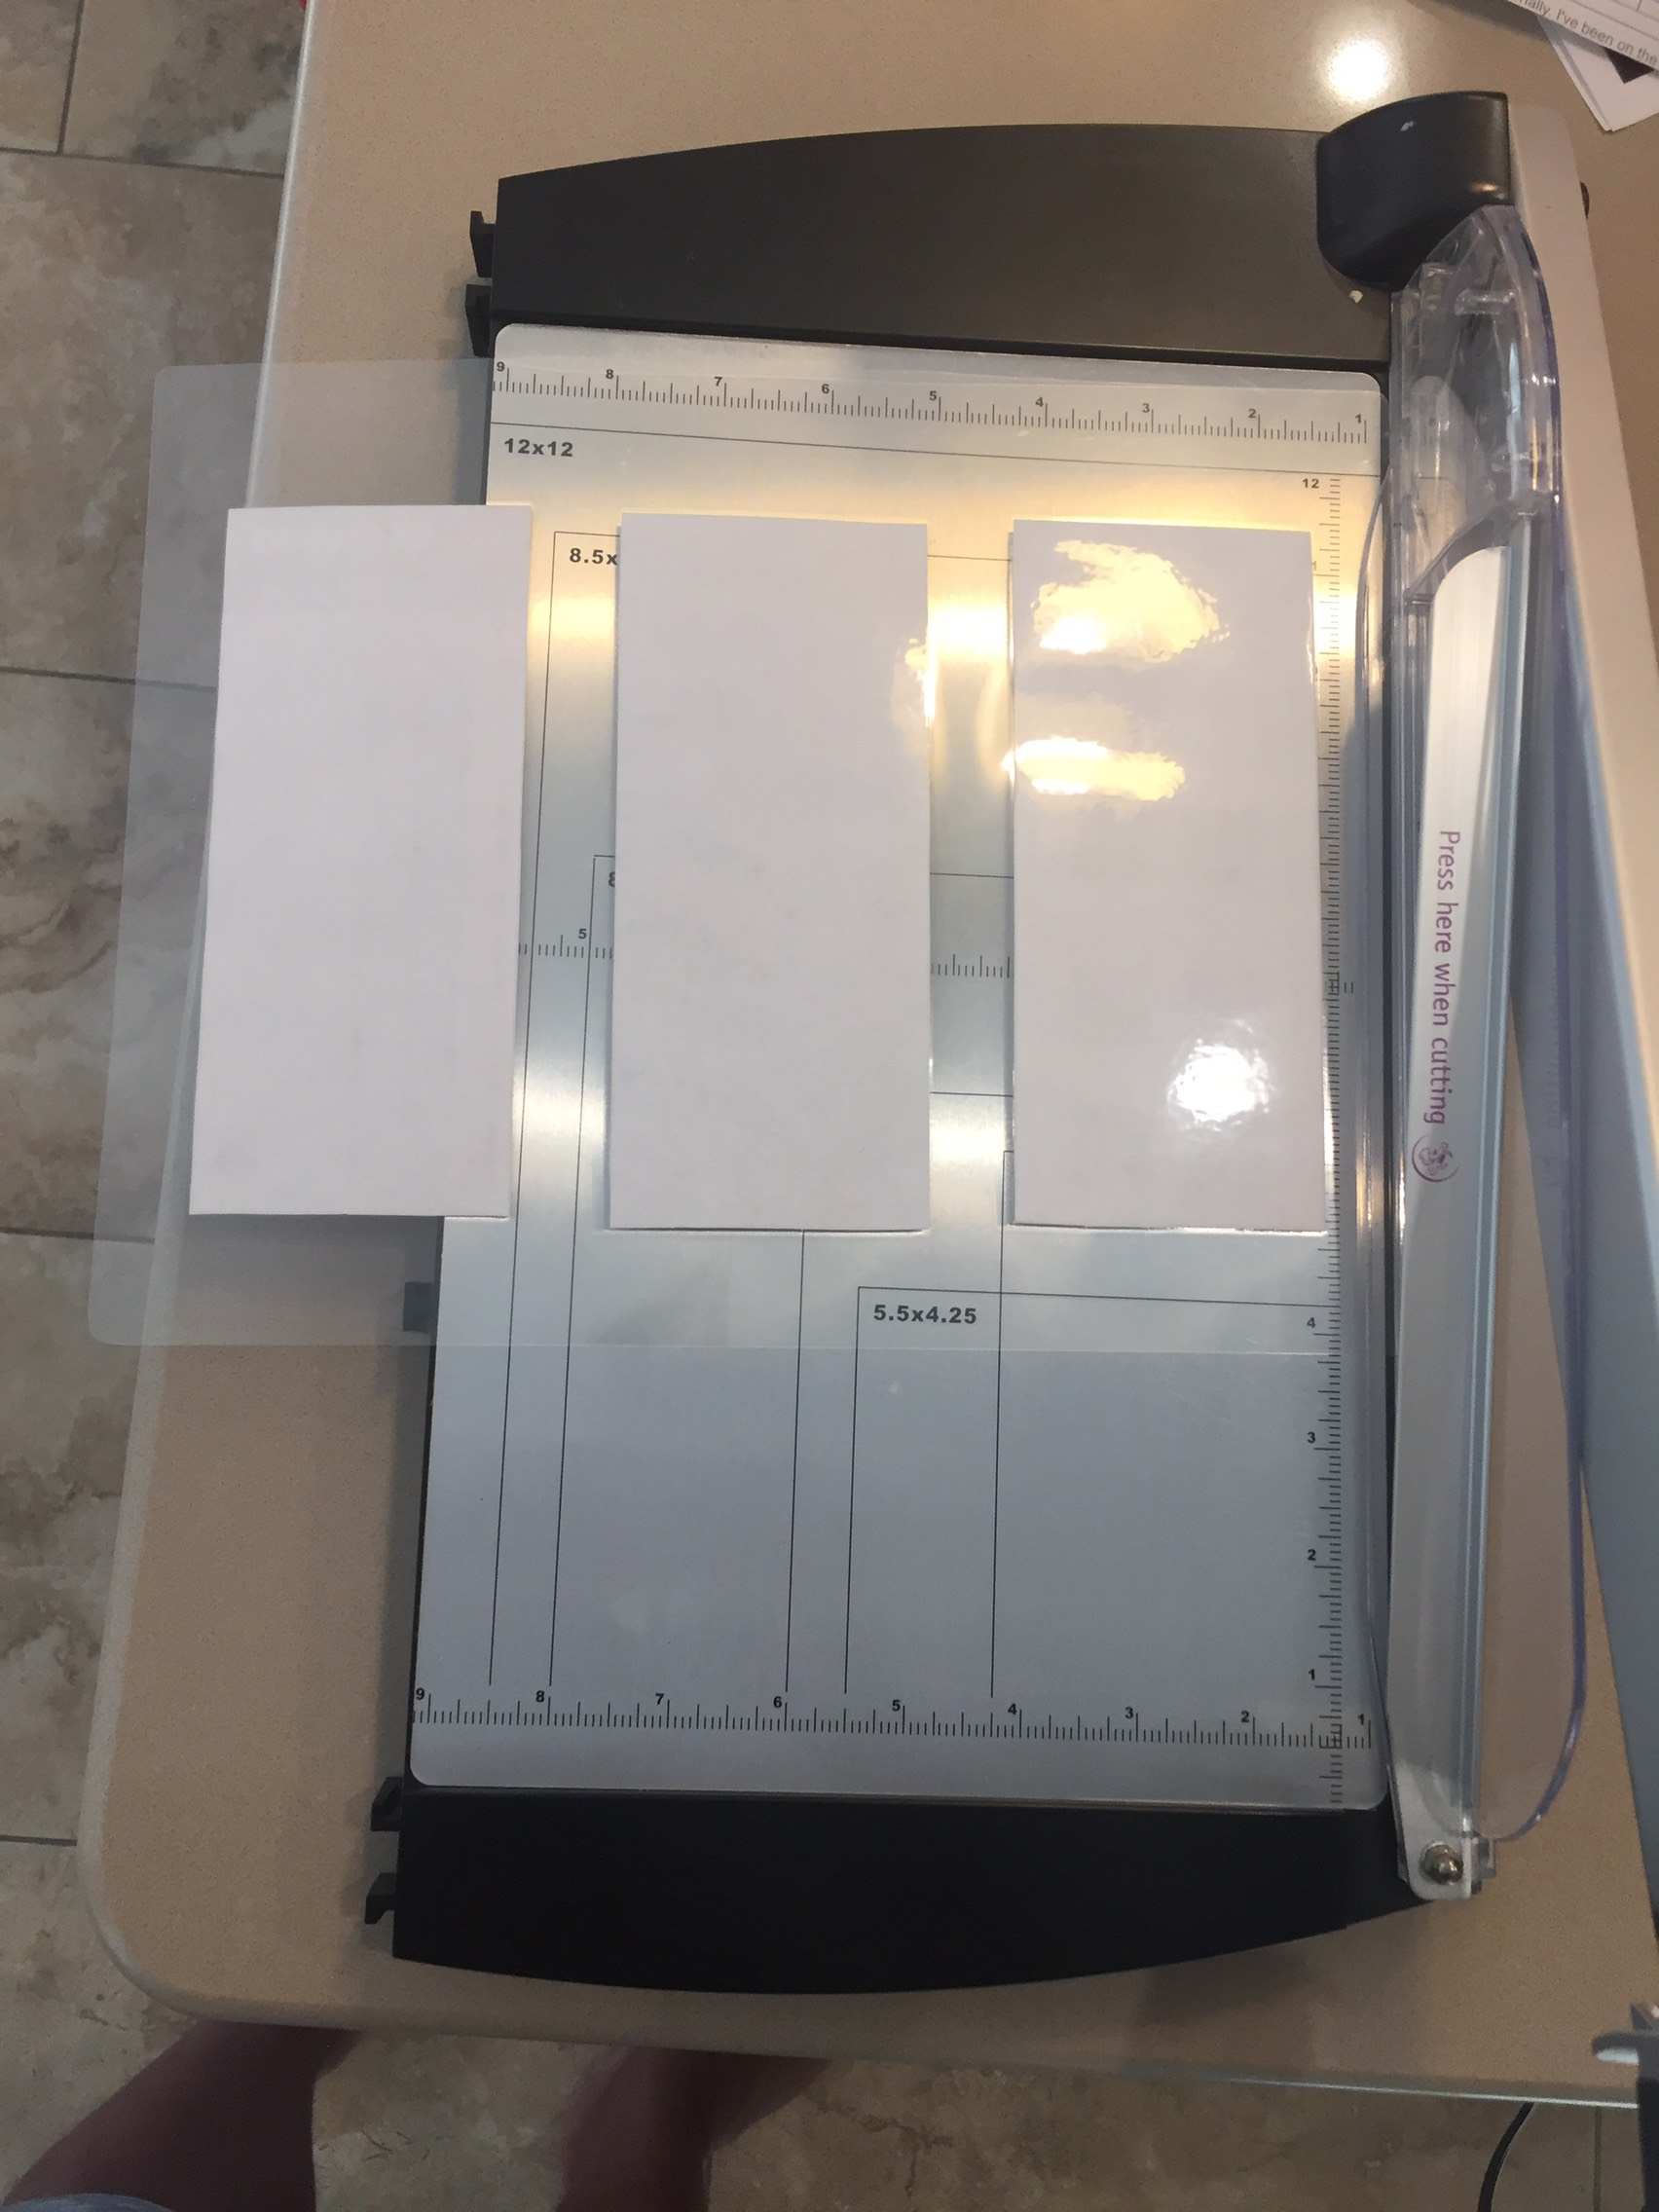
Step 4: Cut your paper wallets.
Once again, I stoled another item from my wife's scrapbooking collection. This time was a paper guillotine (you can get one very cheap - Jielisi 12-inch Titanium Scrapbooking Paper Trimmer Cutters
Step 5: You are done! You have yourself amazing looking paper wallets you can feel proud and secure. I feel like I am collecting proof 70 gold coins. Holding digital assets in your hand never felt so great!
I do not think I have to mention that I love making these templates for my personal use. I believe you have to enjoy the process on whatever is that you are doing and there is no better way than having fun "collecting" my paper wallets.
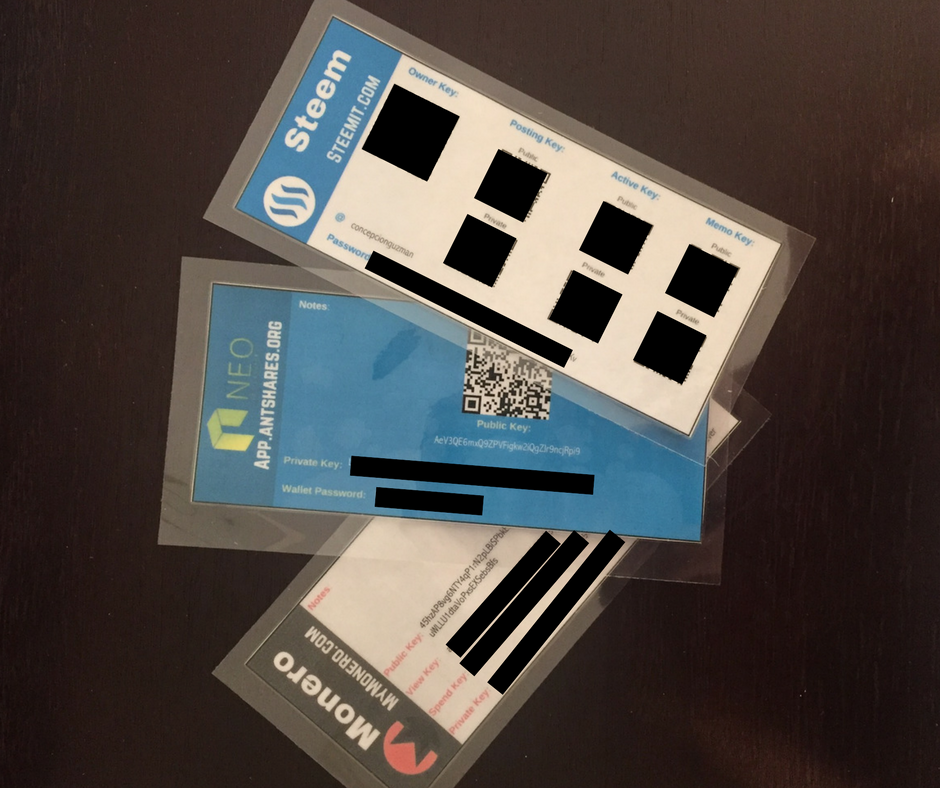
I have multiple like this one. Here are few examples:
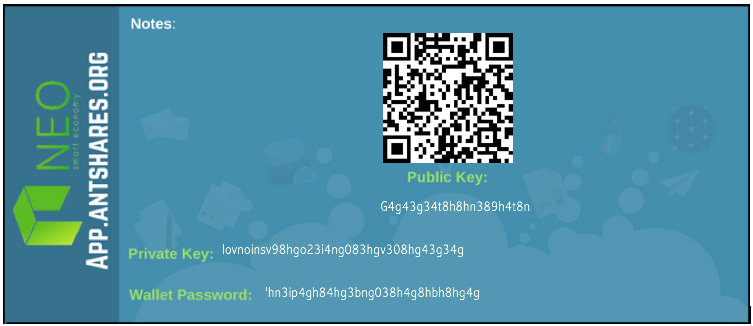
NEO (Former Antshares)
Monero

Rule of Thumb
If you are going to use a paper wallet, rule No. 1 is to not let anyone see your private key. This is the single most important thing you can do to secure your cryptocurrencies.
The next most important thing is storing your paper wallet. Make sure you use proper storage mechanisms.
To recover your funds, you’ll need the piece of paper or document on which you wrote your keys. That means you must store it in a safe and secure place.
This conclude the tutorial of creating elegant Steemit paper wallets. If you found this tutorial helpful, feel free to resteem and upvote this post.
Donations Accepted:
Steem:

1Azd8EbP97PUNy7A1bog1e5471xhEFUo3g
Antshares:

AeV3QE6mxQ9ZPVFigkw2iQgZJr9ncjRpi9
Bitcoin:

16XxeDkc6C8ig4Na1qUS5uZQFznzkHxtaZ

If you like my work kindly resteem it to your friends. You may also continue reading my recent posts which might interest you:
How to Become a Leader in Your Community to Grow Your Business to Unthinkable Highs Starting Today
Do You Own a Business Or a Job? 6 Steps to Truly Freeing Yourself From the Daily Grind...
Stay Up to Date With The Latest Crypto News in FB: World of Digital Assets
It's Always Good To Have A Paper Wallet :)
Oh yeah, it is very tricky to cover all your bases in the digital world.
thanks very helpful.
When I want to laminate something I just use a couple of pieces of packing tape. @briandenver I can't wait another couple of days before I get my first installment.
Tape works as well! I am lucky to have a scrapbooking enthusiast living with me. She hook me up with the lamination tools. Thanks for reading.
Why do you have so many types of digital currency's? Here in Denver Colorado I'm in a having an a hard time finding someone to sell me bitcoin for 💰 cash. I have responded to a few Craigslist posts, but all the people are not local and won't even meet me at the Starbucks down the corner.
Brian - I have a digital asset portfolio that holds multiple cryptocurrencies and AppCoins. Bitcoin is not the only player out there. There are multiple blockchain projects solving real problems in the marketplace such as Lykke, Storj, Factom among others. I believe the next FANGs will be in the blockchain and not the stock market.
Do you think timeslot will except crypto currency? https://steemit.com/tesla/@briandenver/i-m-going-to-buy-a-tesla-model-x I stop by the Tesla store to shop for a nice self driving car.
Thank you for the post! Gave me inspiration to create my own in photoshop.
Upvoted and resteemed!
Thanks for upvoting! Sure, get creative and send me a copy of it!
What would you like a copy of? I can send you the PSD of the file I created for photoshop without my QR codes? lol
hahahahaha! Yes, the PSD file lol - Do not send me your keys!
Hi @concepcionguzman,
I'm kelly and here i am giving you easy way to claim free 50 WCX Coins.
WCEX is a brand new digital currency exchange and they are going to launch soon. As part of launch they are offering free 50 WCX coins which is of worth 5$. Use below link to create your account and claim free coins(you need to click on confirmation email).
https://wcex.co/?ref=ScopGJmB
This is cool. I have always wanted to put some of my crypto on paper. Now you've motivated me to act. Thanks.
Upvoted you and following you.
Follow me if you'd care to at @joe.nobel
Thanks for reading! It feels great, you do not even know how great it feels to hold cryptos on your hand. I enjoyed the entire process. Best of success!
Seems like many steps to a novice,but I will save it for when I have more sp.
Thanks
Thanks for reading. While I agree this is not a simple "one-click" solution, I do believe protecting your keys is a must in the crypto space. I do not think you need to be an expert in order to "begin" protecting your money. It should be the first step.
Check out this simpler paper wallet process that does not involve any designs by @xeroc - https://steemit.com/steem/@xeroc/paperwallet-easily-secure-your-account-with-steem-paperwallet-generator
Hello its me infinity, nice post.Upvoted and followed. We are new here. Hope you will visit our blog.If you like our concept please upvote.We want to share our knowledge to whole world.
Congratulations for your excellent post, I invite you to follow us and we grow faster, greetings
Thank you for reading!
resteemed, upvoted, very useful template, thank you. saves quite a bit of time. my first paper wallets took a lot of effort and time. this should be useful for a lot of new people. A++++
Thank you for commenting and reesteeming. I appreciate it.