Seemingly Endless Iterations and the Installation of Insulation | Slow Rolling Home Journey
Take a tour of the Slow Rolling Home!

After what seemed like endless iterations, we have completed our layout. While small things may change, shelves may be installed or cabinet doors switched, we are clear on HOW we want our home to feel, WHERE the important items will go, and WHY each place is significant. You may be wondering, what do you mean why? It may just be me (Amelia) who is obsessed with "why", but the importance of being intimately acquainted with the driver for change is what makes change STICK.
For example, we didn't want to keep every single window in the bus. Our goal was to create an open, airy, well-lit space without it looking like a house built into a school bus. We wanted "wall space", places to hang artwork and family photos. We wanted to break up the lighting and increase our ability to insulate. Why did we choose to block out the windows that we chose? Here's why:
Throughout most of the house, we let symmetry and balance guide our window-closing choices. If a window was closed on one side, it was either matched on the other or a collection of closed windows were balanced by a collection of remaining glass to ensure plenty of natural light.
The first two windows of the bus aren't exactly necessary for the driver, and by closing them off, the first thing the entrant experiences is a room, an enclosed space. They're undistracted by expansive views but instead see the open floor area, the spacious couch, and then see three "picture windows" on either side (perfect for gazing from the couch!). As well, we wanted a "mudroom" type space where we could drop our muddy shoes, wet rain coats, hang our keys, and essentially leave our "baggage" at the door. Enclosing the first window on the passengers side creates a floor-to-ceiling space to make that possible.
Near the wood burning stove, we closed off a window to provide added insulation next to our heat source, as well as to establish a "wall space" in the hallway to the kitchen. Though the hallway is just a step around the breakfast bar, closing it off makes the space more intimate. To match, we're closing the window near the breakfast bar in a way that won't obstruct morning coffee + bagel sandwich views, but that will create a small gallery space for our collected decor.
When it came to the bathroom, we discussed closing off all windows for privacy and lighting from within. Instead, we're exploring different ways to obstruct glass, whether through "frosting" or other methods. This will provide the needed privacy, but will bathe (see what I did there?) the space in natural light, reducing the energy need for additional lighting.
If there's to be something in front of a window (or multiple), we chose to close the windows off entirely. For instance, behind the fridge + battery storage. By using a piece of sheet metal to close off the window, we can create a more professional-looking bus facade on the outside and a better insulated and safe space for our appliances inside.
Designing the space with no experience means learning from what we can find on the internet!
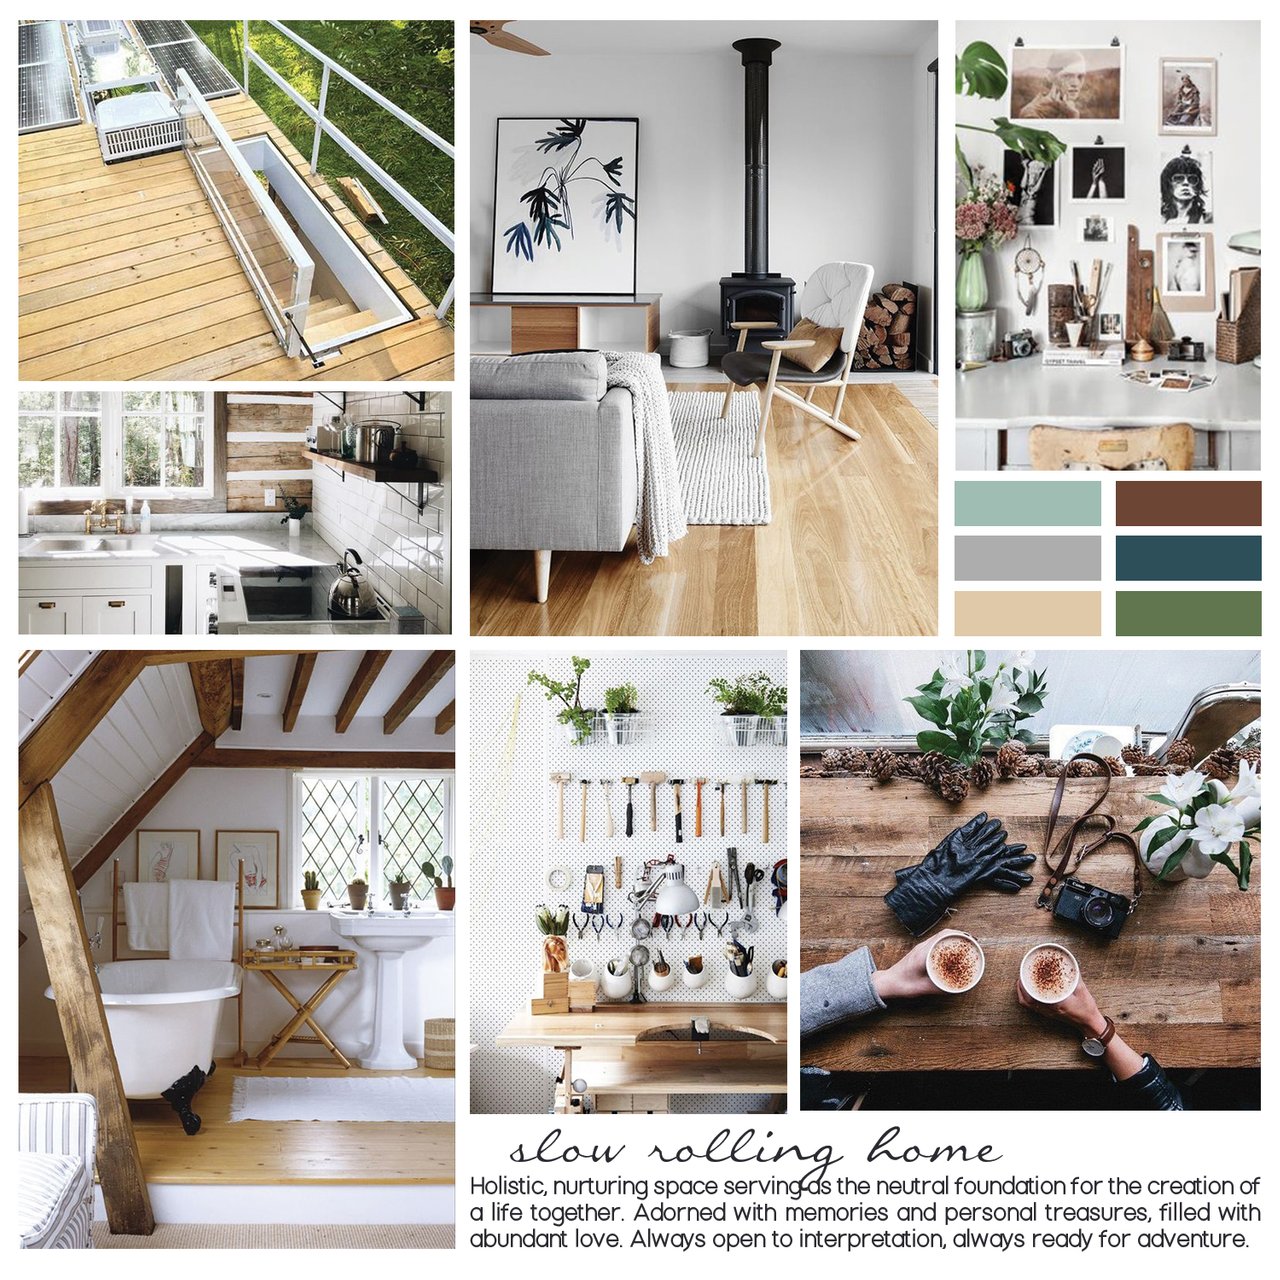
Below is the collection of visual inspiration we've used to design the broader elements, like color scheme and wood selection, and more specific pieces like cabinetry, shelving, and that cool circular wood storage holder.
We had Jared & Haley Rhodes of Tiny Mountain Rhodes over to talk tiny homes and eat BLTs. The Rhodes built their tiny home more than two years ago and live full-time on their property in Knoxville, TN. Jared is an accomplished carpenter with experience not just in tiny home building, but in cabinetry and furniture construction as well. He's recently completed a massive deck on their property, which more than doubles their living space, and a gorgeous white oak table for this year's Thanksgiving feast.
We showed Jared our layout, our plans, our hopes and dreams, and asked for his expert advice. He illuminated some important points for us - some large things, and some small things we would have missed and been sorry to have done so! Because our bus isn't not exceptionally tall and we chose not to raise the roof, most of our countertops and furniture are taller than the lowest edge of our windows. While it seemed logical to simply frame the windows to the height of the furniture, Jared made a great point: close off the bottom of the window with sheet metal and insulate before framing and putting a wall over that space. Why, you may ask? Condensation will collect in the small cavity between the glass and the framing, making a lovely home for mold and mildew, that would be virtually un-cleanable.
Learning little tips like this are priceless when you're learning as you build!
Later in the week, we began installing our denim insulation!
"It's noticeably more temperate in here"
Said with a smile as we looked around at the newly insulated walls.
The ceiling may still look like a spaceship, but the walls of the Slow Rolling Home are starting to take shape. Each window has a 'hull' under it which was originally filled with a yucky pink fiberglass insulation, stuffed thickly and having accumulated twenty years of Florida humidity in its lifetime.

Thick 2 x 4 studs line the lower and upper boundaries of the window hulls, framing the structure walls of what will enclose our tiny house. Alhen worked with lengthy beams, cut to fit the length of the space and set the beams end-to-end the length of the bus.
Before these could be installed, even more rivets needed to be punched out. If you remember from our earlier musings, rivets are the bane of existence when needing to remove them. Rivets are watertight and one of the most useful material binding options ever. But, they're a real pain in the neck to remove!
Using holes left behind by departed rivets, Alhen secured the studs to the metal framing and our walls were born!
We received adelivery of two sizes of UltraTouch recycled denim insulation from CaraGreen - a company who took a chance on two DIYers and freighted us an enormous pallet's worth of insulation when no one else would. Our delivery man went as far as he could with his 45-foot truck but ultimately had to leave the insulation pallet at the entry to our cul-de-sac, about a quarter-mile and three (steep) hills from our house.

Okay, one of those hills is our driveway.
We slashed the outer saran wrapping of the insulation bundles and loaded the Subaru to the gills, taking two trips to get it back to the house safely. Where are you keeping all of this supplies? You might be wondering.
We keep 90% of our building materials and tools in the bus at all times.
Creativity and organization is our friend, as our available space for indoor storage of large, cumbersome building materials are limited. We have the option to Tetris the garage, but it's proven easier to simply push items around the bus as we work on one section or corner at a time.
At this stage of construction, many projects are running concurrently as tools are available, as many hands are on deck, and as materials arrive from various orders. We've begun "closing" windows we intend to block from the interior. These enclosed windows will be framed, insulated, and seamlessly integrated with our interior walls. They're destined to become storage closets, create more intimate rooms, and serve as a means of making the place more "homey".
To do this, we removed a window that needed repair and measured its entire vacant space and components. Our calculations would later inform exact measurements for sheet metal cut to order. Some windows will be blocked completely whereas others will have only the bottom pane of glass replaced with metal, creating a better insulated and more moisture-resistant space.
Alhen sourced a local metal company where he could order metal sheets cut to precise dimensions, a decision that saved us loads of time and potential injury working with raw metal. He picked the pieces up in Knoxville and we began to process them.

Lesson Learned: Anything about "beginner" level assembly may require many additional steps before the piece is ready for use.
I'd never had the experience of treating an item in so many different ways before it could be used. It seemed that everything I'd worked with in the past came ready for use. Not the case with metal. It needed to be sanded and "scored" to accept primer, cleaned with acetone to remove the greasy layer left behind in processing, painted with multiple coats of spray primer on both sides, and pre-drilled to fit the holes in the window space before each could be installed.
The bolts we used to secure the metal are treated with a thread-locker. In some cases, we drilled the metal from both sides to ensure the bolts could join sheet metal and bus metal cleanly, then sealed with at least one, sometimes up to three layers of adhesive (applied by caulking gun) to ensure each piece is watertight.
These past few weeks have seen a spurt and the uptick has been gloriously welcome. We can't wait to move in and are anxious to get to the finer parts of construction - mainly, the installation of interior living elements and the opportunity to take the bus to new places. Over the next couple weeks, we'll seal the remaining windows deemed for replacement, insulate the ceiling, and begin receiving ordered appliances coming from far and wide.
Up next: furniture construction and the installation of major systems!
Get up to speed with the Slow Rolling Home
- When it All Starts Coming Together | Slow Rolling Home Journey
- Installing the Subfloor and Making a Home | Slow Rolling Home Journey
- Slow Rolling Home Logo Contest Winner!
- Living the Dream No Matter Where We Live, Conversion Progress | Slow Rolling Home Journey
- The Importance of Planning | Conversion Progress: Week 9
- In-House Interior Design | Conversion Progress: Week Eight
- Conversion Progress: Week Five
- Conversion Progress: Week Four
- Our Road Trip to Tennessee
- Conversion Progress: Week 3
- Conversion Progress: Week 2
- Conversion Progress: Week 1
- What Are We Going to Do in the Skoolie?
- We Bought a Bus to Convert to a Tiny House
Even though my posts go out-of-date, I hope you'll enjoy the full build documentation through the complete Slow Rolling Home Journey.
Never miss a post! Setup post notifications with GINABot for #slowrollinghome to see the latest conversion progress first!
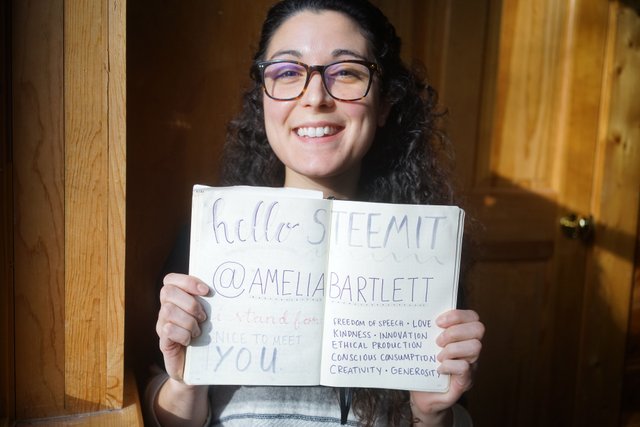
Hi, I'm Amelia! It's nice to meet you.
I'm a writer, minimalist, tiny home dweller, and maker living in East Tennessee, USA. You might have found me through the Ladies of Steemit curation initiative, showcasing the female voices on the Steemit platform. Let's hang out on the blockchain and see where it takes us.
Proud member of


banner by @bearone

art and flair courtesy of @PegasusPhysics
You seem to have everything well thought out. I hope you have good luck in building the dream bus. It's going to be worth it when you're finished.
💖
Congratulations! Your post has been selected as a daily Steemit truffle! It is listed on rank 12 of all contributions awarded today. You can find the TOP DAILY TRUFFLE PICKS HERE.
I upvoted your contribution because to my mind your post is at least 8 SBD worth and should receive 75 votes. It's now up to the lovely Steemit community to make this come true.
I am
TrufflePig, an Artificial Intelligence Bot that helps minnows and content curators using Machine Learning. If you are curious how I select content, you can find an explanation here!Have a nice day and sincerely yours,

TrufflePigHello @ameliabartlett, thank you for sharing this creative work! We just stopped by to say that you've been upvoted by the @creativecrypto magazine. The Creative Crypto is all about art on the blockchain and learning from creatives like you. Looking forward to crossing paths again soon. Steem on!
I am looking forward to seeing how the final result will be! I like how you have described every step of the process. Good luck!