The workflow to print in 3D – an overview
3D printing is also referred to as additive manufacturing. This already describes quite well how the process works. All 3d printing technologies work more or less the same. They add thin layers on top of each other to construct complex shapes. Think of it like laying slices of bread on top of each other to form a bread. No matter which technology chosen and no matter which material chosen there are three steps involved. Preparation, printing, finishing.
Preparation
First you have to have something that the printer can print. For simplicity let’s call this a 3D file. There are several options to get to such a file. You can design this file yourself using CAD software (Computer Aided Design). There are a lot of software packages available, from very basic to very advanced, from free to tens of thousands of dollars. A second option is to download a file online. There are several sites that offer this service, again both paid and free. A lot of makers offer their designs for free. thingiverse is a popular one but there are many others. Another option is to use a 3D scanner. That way you can practically copy an object. Scan it in 3D and then print it in 3D. There is often a tiny step involved in the preparation and that is translating the file to a format the printer understands. This is not always needed though and depends on the software used.
Printing
One of the first things to decide is which material you want to print in. The variety of possible materials is enormous. From metals to plastics, from ceramics to foods. It’s incredible. Of course one printer can’t handle every material. The choice also depends on the printer available, or the infrastructure of your supplier and of course the budget.
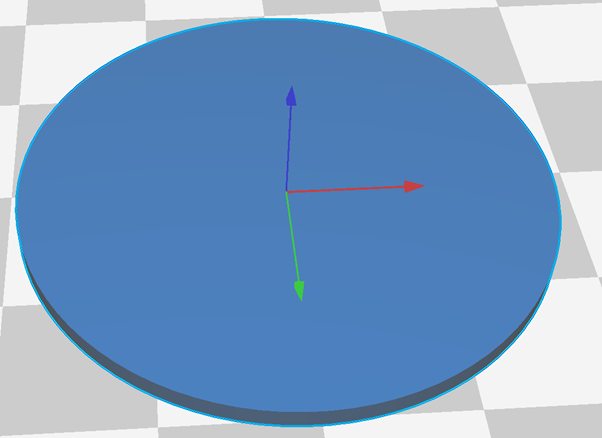
I talked about additive manufacturing and I will give an example using something at hand. A picture is worth a thousand words so I’ll give some screenshots of the 3D printing software I use. This is for a filament printer. It prints very fine fiber in different materials. The object that needs to be printed is a simple cylinder 40mm diameter and 2mm high.
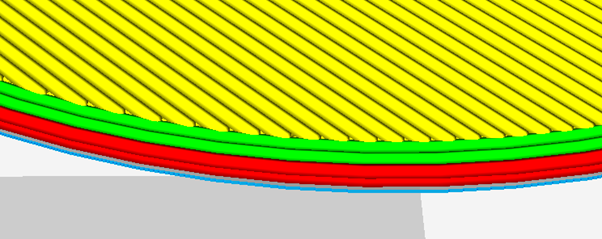
This is the first layer, the bottom layer. You can clearly observe the different fibers.
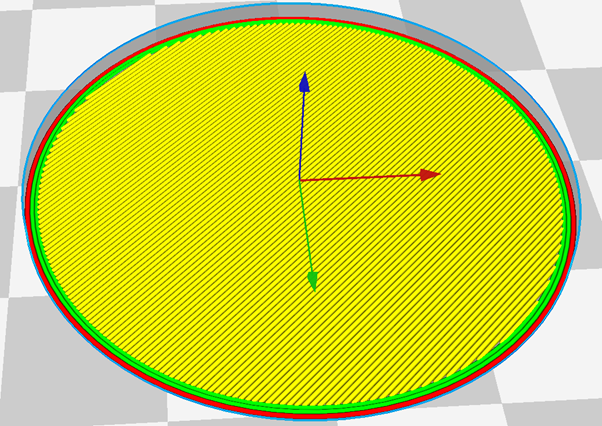
The colors are beyond the scope of this article but do note that the red fiber and the two green fiber circles are not above each other but next to each other, don’t get visually deceived. They form ‘the wall’ of the object. In this simulation the layer thickness was set to 0.15mm.
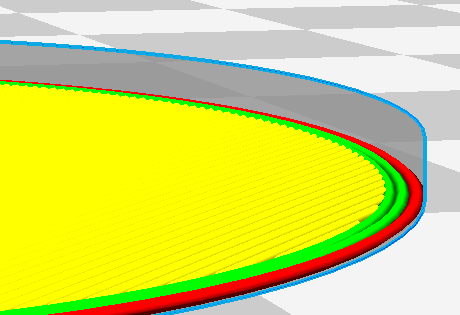
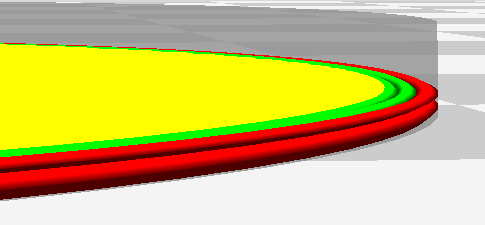
The next image shows the result after the second layer. As you can see it got printed, or added, on top of the first layer.
Because of the tiny layer thickness it’s hard to see the two layers so I zoomed in a bit more. Now you can clearly see the two red fibers on top of each other. Again note that the two green ones are next to the upper red one. They are concentric on the second layer. Also note that the yellow fibers changed direction. This is to make the end result stronger.
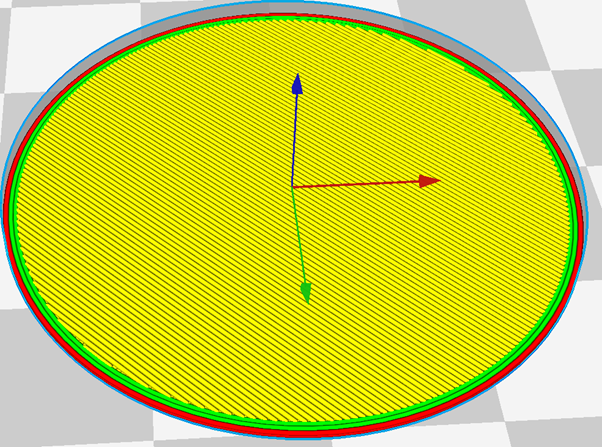
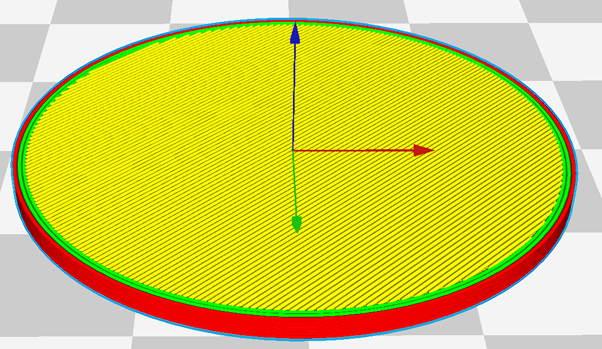
This process continues layer after layer to end with the complete cylinder.
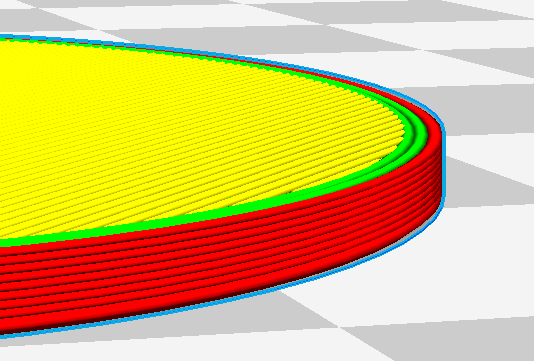
Depending on the chosen printer and material the end result will have different characteristics. Different detail, different strength, different look, different use cases, different finishing options, …
Finishing
The last step is the finishing. This step of course depends on the requirements. Sometimes the printed result is not finished enough for use and sometimes it will be. Finishing may require further tools and skills. Surface smoothing by sanding or using special products, painting, combining pieces,… Sometimes printing is just the start.

Nice article. Note that you have a typo, in the domain name for the free design site -- it's "thing-i-verse" similar to "un-i-verse", but you wrote it more like "things-inverse".
And, it doesn't go anywhere -- it's always a good idea to middle-click one's links before posting.
Here's the correct link: http://thingiverse.com
Unbelievable, I have this site bookmarked and used it so many times. Always reading it incorrectly as "things inverse". Thanks for the mention! Will correct it right away.
Sure thing! :)
This post was resteemed by @steemitrobot!
Good Luck!
The @steemitrobot users are a small but growing community.
Check out the other resteemed posts in steemitrobot's feed.
Some of them are truly great. Please upvote this comment for helping me grow.
Upvoted and also resteemed!
Thank you!
This post has received a 4.88 % upvote from @buildawhale thanks to: @jefpatat. Send at least 0.50 SBD to @buildawhale with a post link in the memo field for a portion of the next vote.
To support our curation initiative, please vote on my owner, @themarkymark, as a Steem Witness