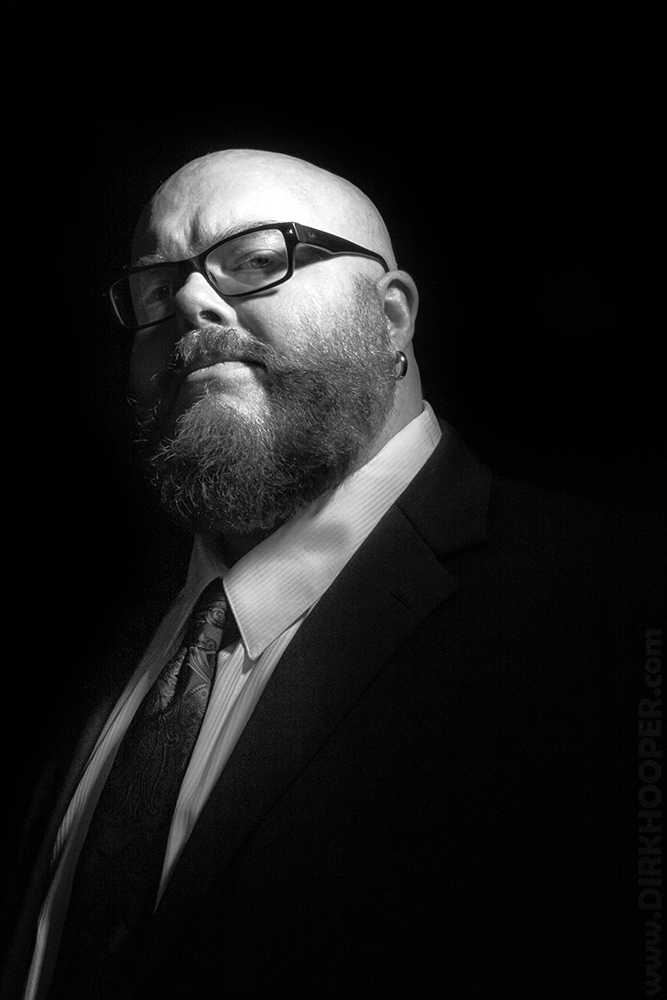
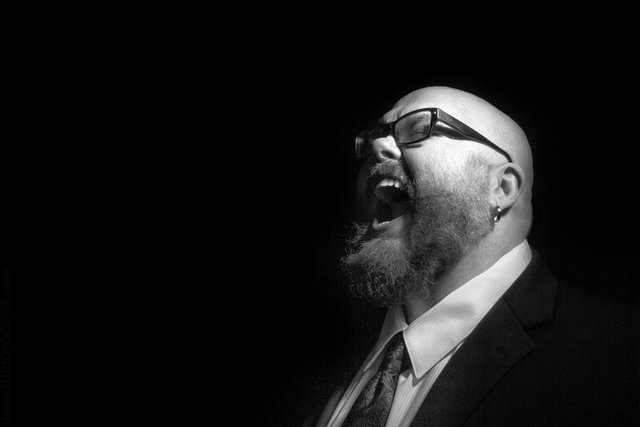
How to take a great self-portrait by Dirk Hooper

I just took a new self-portrait so this subject is fresh on my mind.
I advocate taking a new self-portrait at least every year, particularly if you’re a professional and have your face out there in social media or advertising. Mind you, taking a self-portrait comes with a lot of challenges, so if it’s not working for you then you can always hire a professional.
I’m going to assume that we’re not talking about taking a selfie with your phone camera. There are a lot of differences between using a professional set-up and using your phone. For one thing, your phone is a lot easier, but it’s also not as high quality.
Here are my tips for taking a high quality self-portrait.
Decisions… Decisions…
Before you get started there are all the considerations that you have to make with a standard photo.
For any portrait, minimizing the background is a good way to draw attention to your subject. You can do that by using a backdrop, or lighting, or focus, or all of those things combined.
Then again, there’s nothing wrong with emphasizing the background if it says something important about you. Maybe you’re in your office, or in an art studio, or you’re surrounded by pets or kids, and that’s what you want to portray about yourself. That works too.
Just be aware of your decisions at this stage because it will affect the impact of your self-portrait.
The Model (You)
Even if you’re taking a self-portrait, that doesn’t mean that you can’t get some help. If you’re not great at picking outfits ask a friend or a relative to help you out.
Keep a mirror nearby to check your hair, makeup, outfit, and check it throughout the shoot.
I would advise picking an outfit and accessories that you’re comfortable in, instead of something brand new. It will make a difference when it comes to how you look in front of the camera.
Set-Up
You’re probably going to need a tripod to hold your camera at the very least. If you’re going to use a backdrop, or artificial lighting, it’s time to set that up too.
Take into account that you’re probably going to be walking from in front of the camera to behind the camera often, so keep a path clear of cords, tripod legs, light stands, and everything else.
If you have the equipment and the tech know-how, you could also set up a monitor that will show you how each shot turns out as you take them. That would be a huge advantage, but it’s also a lot of extra work.
I used a wide-angle lens and framed the shots so I would have a lot of room to move around and still catch the shot. I planned on doing composition through cropping in the editing phase, which set me free to worry about that later.
How to Snap
You’ve got a few options on how to snap that shutter.
- You can use a wireless shutter release.
- You can use a shutter release on a cord (which is what I used).
- You can use a timer on the camera.
- I guess you could reach up and manually snap the shutter, but that’s getting into selfie territory again, and if you’re going to do that you might as well use your phone camera.
Obviously that wireless shutter release is going to set you free and allow you to easily snap a photo from a greater distance. If you want to take an environmental shot then this is your horse.
I used a wired shutter release, which allowed me to do a quick focus before I snapped each time. Since my photo was basically just from the chest up I didn’t have to worry about anyone seeing either my hands or the cord.
One of my friends is a model and photographer and she does extensive work taking photos of herself. She uses a timer on the camera to set up the shot, gets the timer going and the rushes into position before the shot. She gets amazing photos, so this is a valid option. Keeping that path clear from the camera to the model-position is even more important using this method, or you’re going to be tripping over equipment!
Evaluating Your Shots
It took me more time to get everything set up, mess with lighting, and decide on the camera settings than anything else. If you’re like me, you’ll go back and forth many times trying to get it right.
I did all of my evaluation before I got my suit and tie on. Once it was right I went to get dressed and did the shoot.
How to Pose
This is easily the toughest part of doing self-portraits. You’re posing without a net here.
If you’re a photographer that is used to taking photos of models, then it’s time to start using what you’ve learned to do your own posing.
For me, I strike a pose, then change my expression a few times, then slightly adjust the angle of my face and go through the whole process again.
Then I would go over to the camera, see what’s working and what’s not working and try again.

I would highly advise trying some weird expressions, or goofy angles, or anything to break things up and get something unique.
Way too many people think they have only “one side” they should photograph, or are not comfortable being expressive. The more you stretch your limits the better the shots will be. (And I know, it’s not easy. I have my own hang-ups too.)
NO ONE HAS TO SEE ALL THE MISTAKES! They will only see what you show them. Which leads us to…
Editing
I took about 100 photos, which is twice what I usually do for this sort of thing, but the spotlight lighting was tricky so I wanted to ensure that I got some usable shots.
Don’t be too hard on yourself, and don’t be afraid to pick some photos that are unusual. Those tend to be other people’s favorites and can make a bold statement.
Figuring out which photos to use is another great opportunity to ask for an opinion from someone you trust. Once I worked my photos I sent them out to a couple of friends and asked them which ones they liked best. As it turns out, they picked the same ones I did, but it’s good to know that others feel the same way.
Be Nice to Yourself
You can get through this whole process and decide that you hate looking at photos of yourself and this was a waste of time. You know what? You can always shelve the photos and try again.
We’re probably all too hard on ourselves.
Just like everything else to do with photography, the more you do this the better you get, so keep the ball rolling.
It will be easier the next time you try.
...
All images are copyright 2018 by Dirk Hooper.
If you enjoyed this article, please give me a comment, an upvote, or a resteem! I'll share more of what you love the most.

Resteemed by @resteembot! Good Luck!
Curious? Read @resteembot's introduction post
Check out the great posts I already resteemed.
ResteemBot's Maker is Looking for Work.
You were lucky! Your post was selected for an upvote!

Read about that initiative
wow perfect:) Thanks for the participation
This post was resteemed by @steemvote and received a 9.77% Upvote