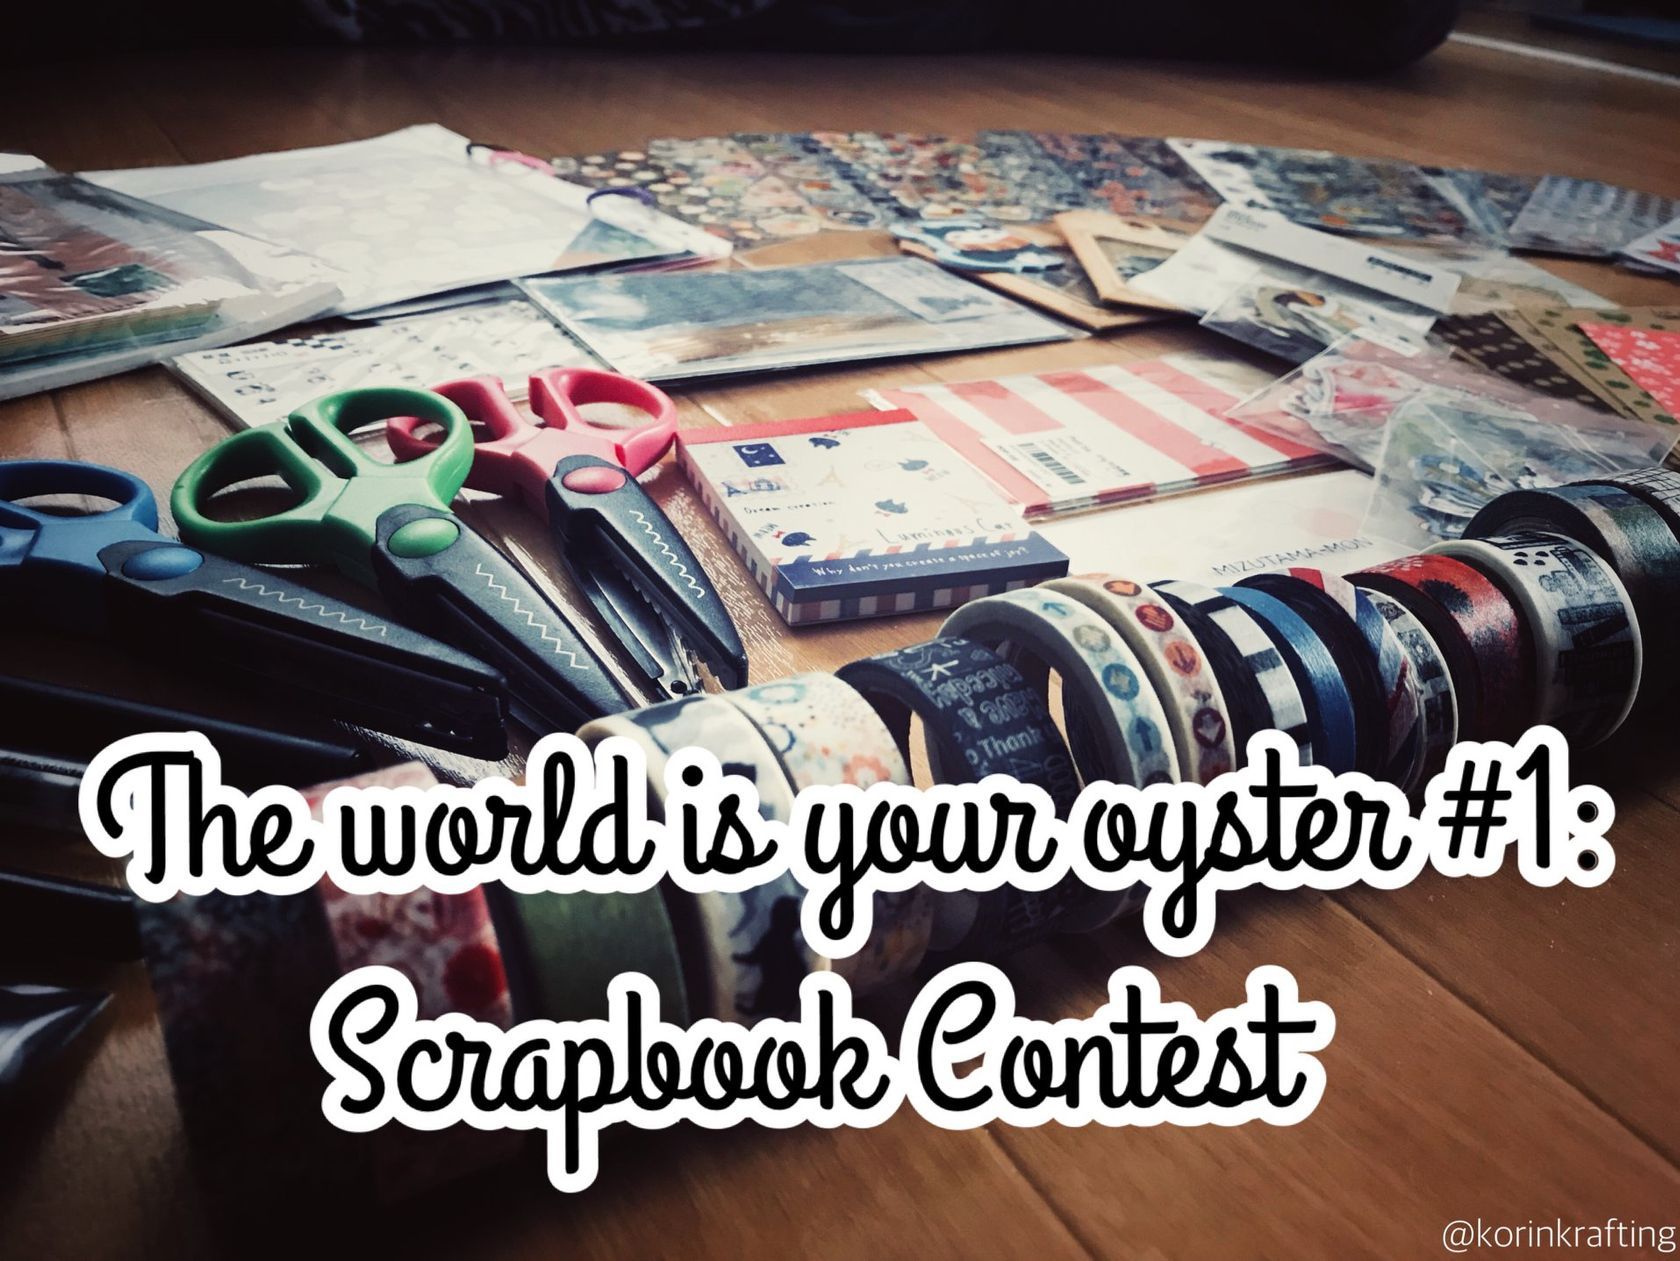
The world is your oyster #1 : Scrapbook Contest by korinkrafting
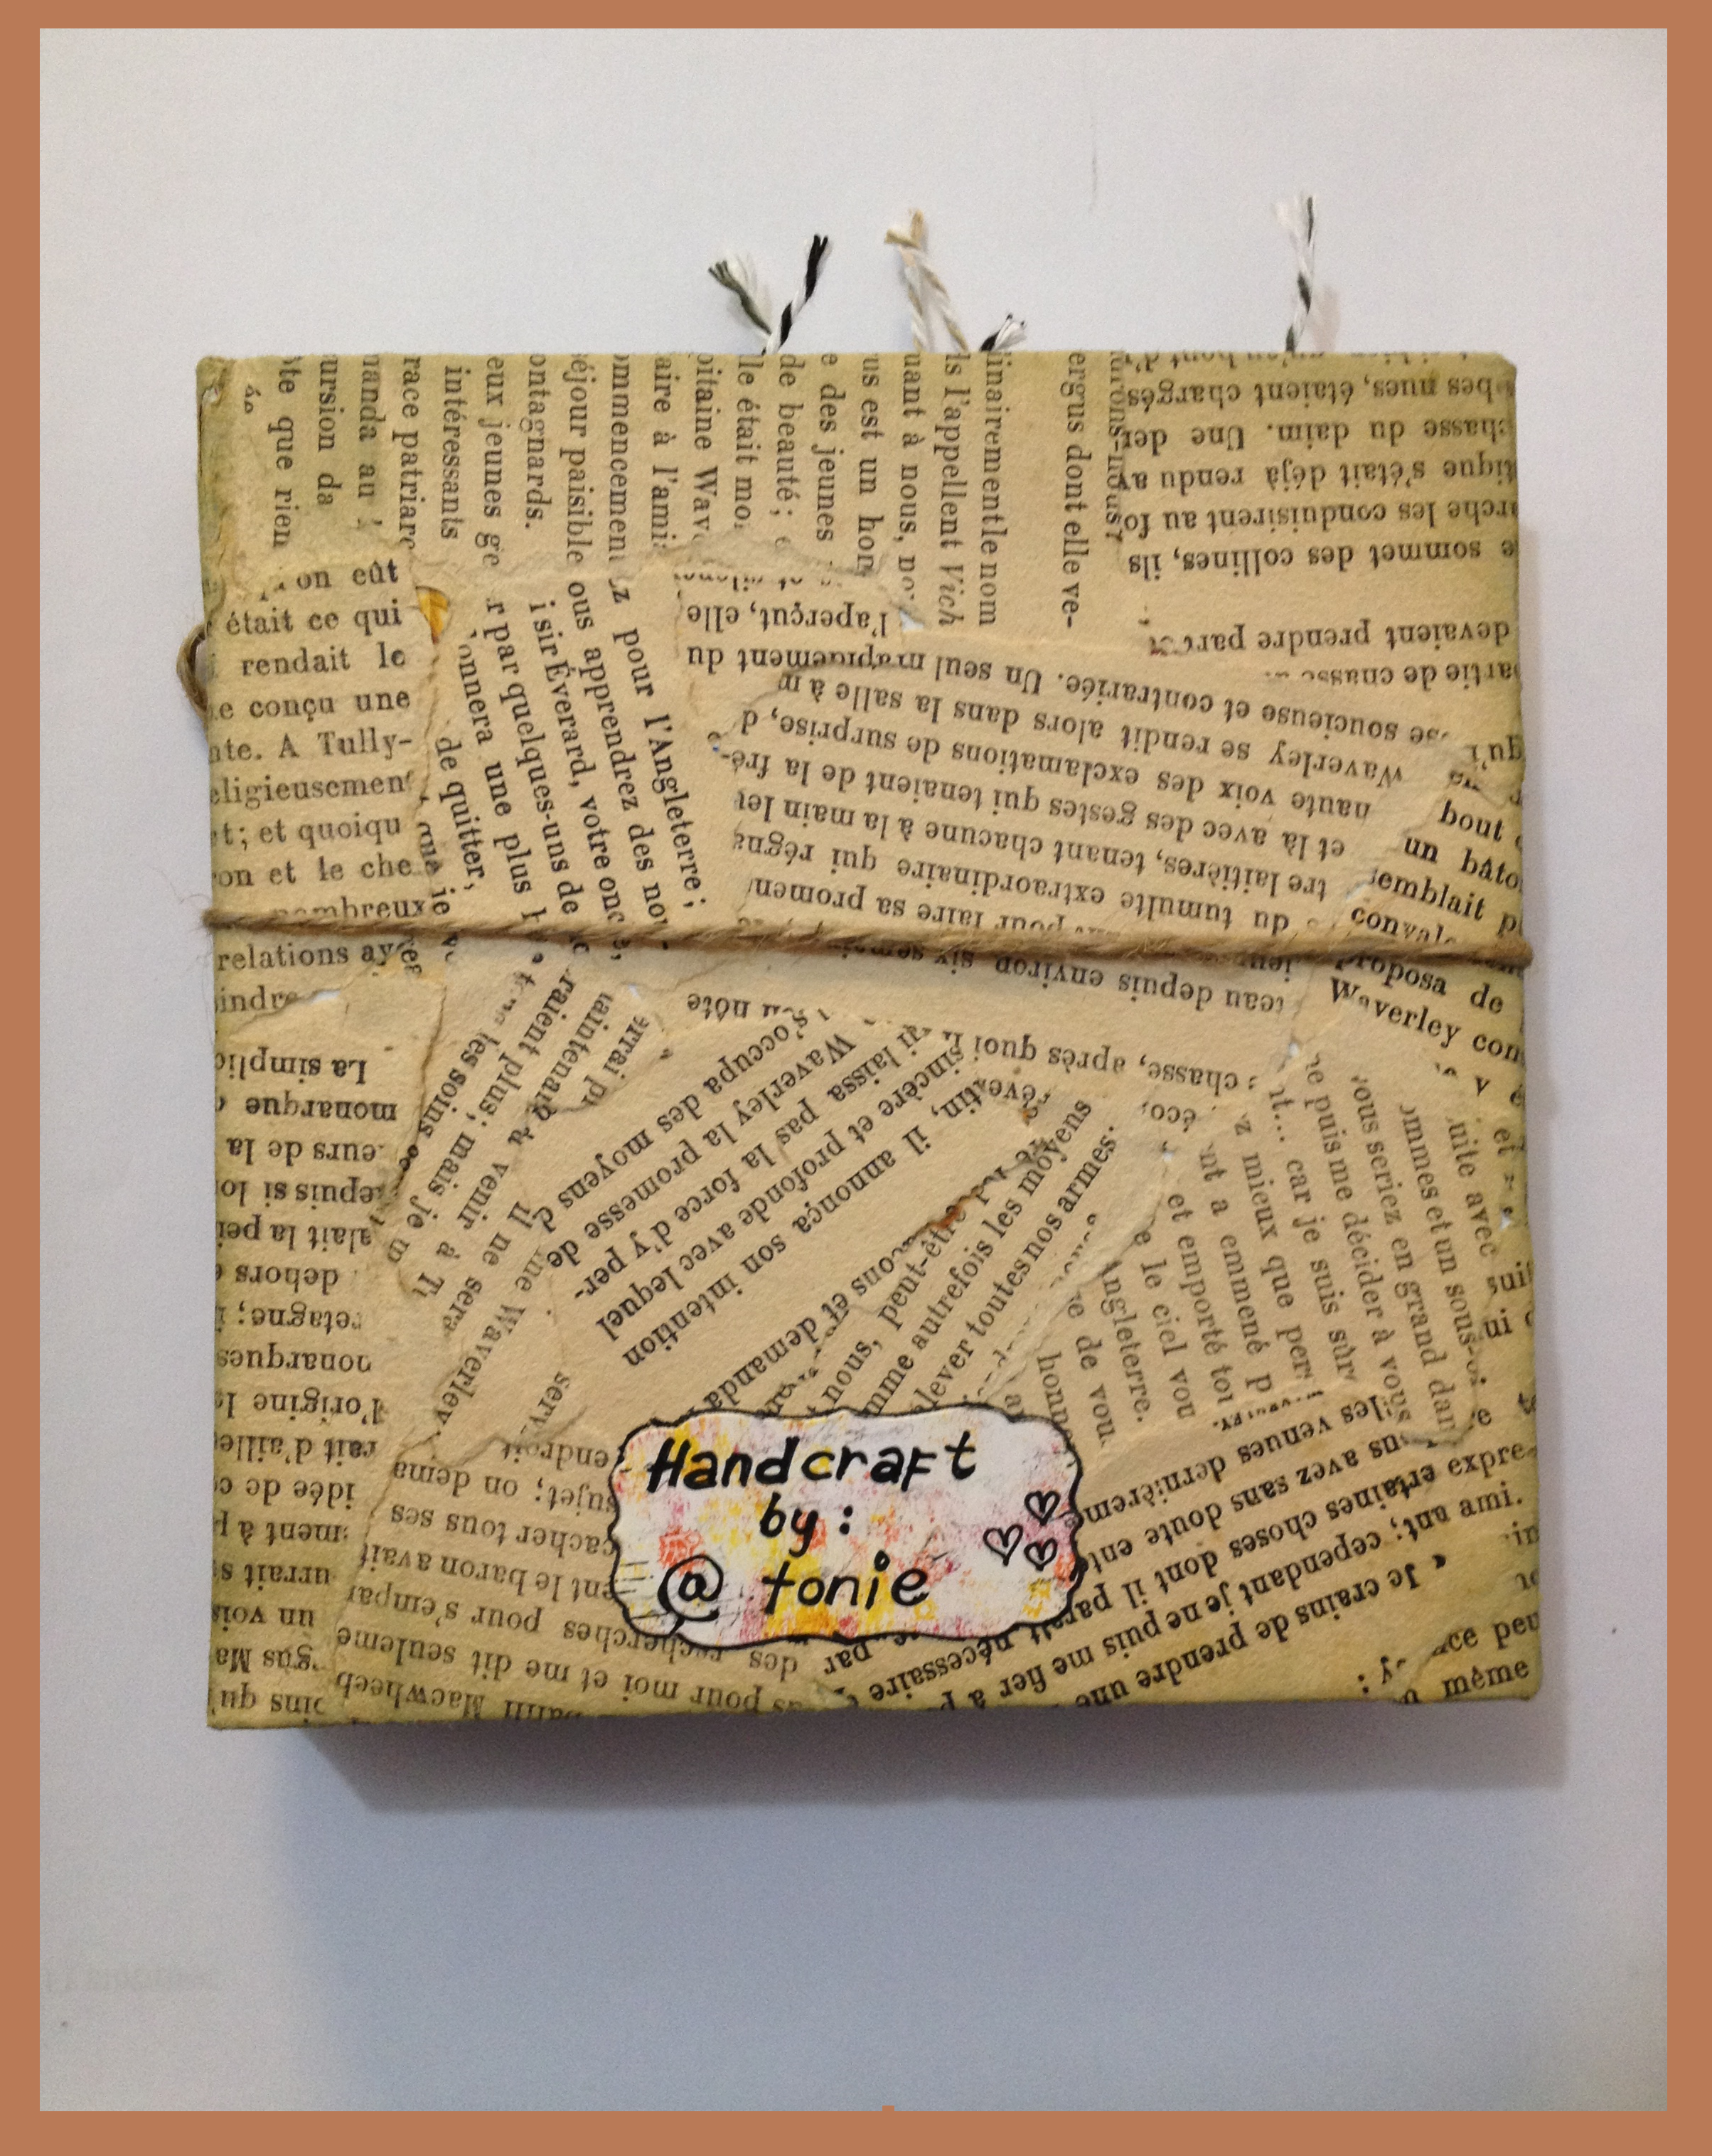
I made one scrapbook mini album for my son and husband before, so I decided to make a flipbook at this time for a change. It's easier because no need to add hinge and spine for the cover book. Since I'm fan of vintage mode, I covered all the box with old book pages and ink the edges and made my own embellishments.

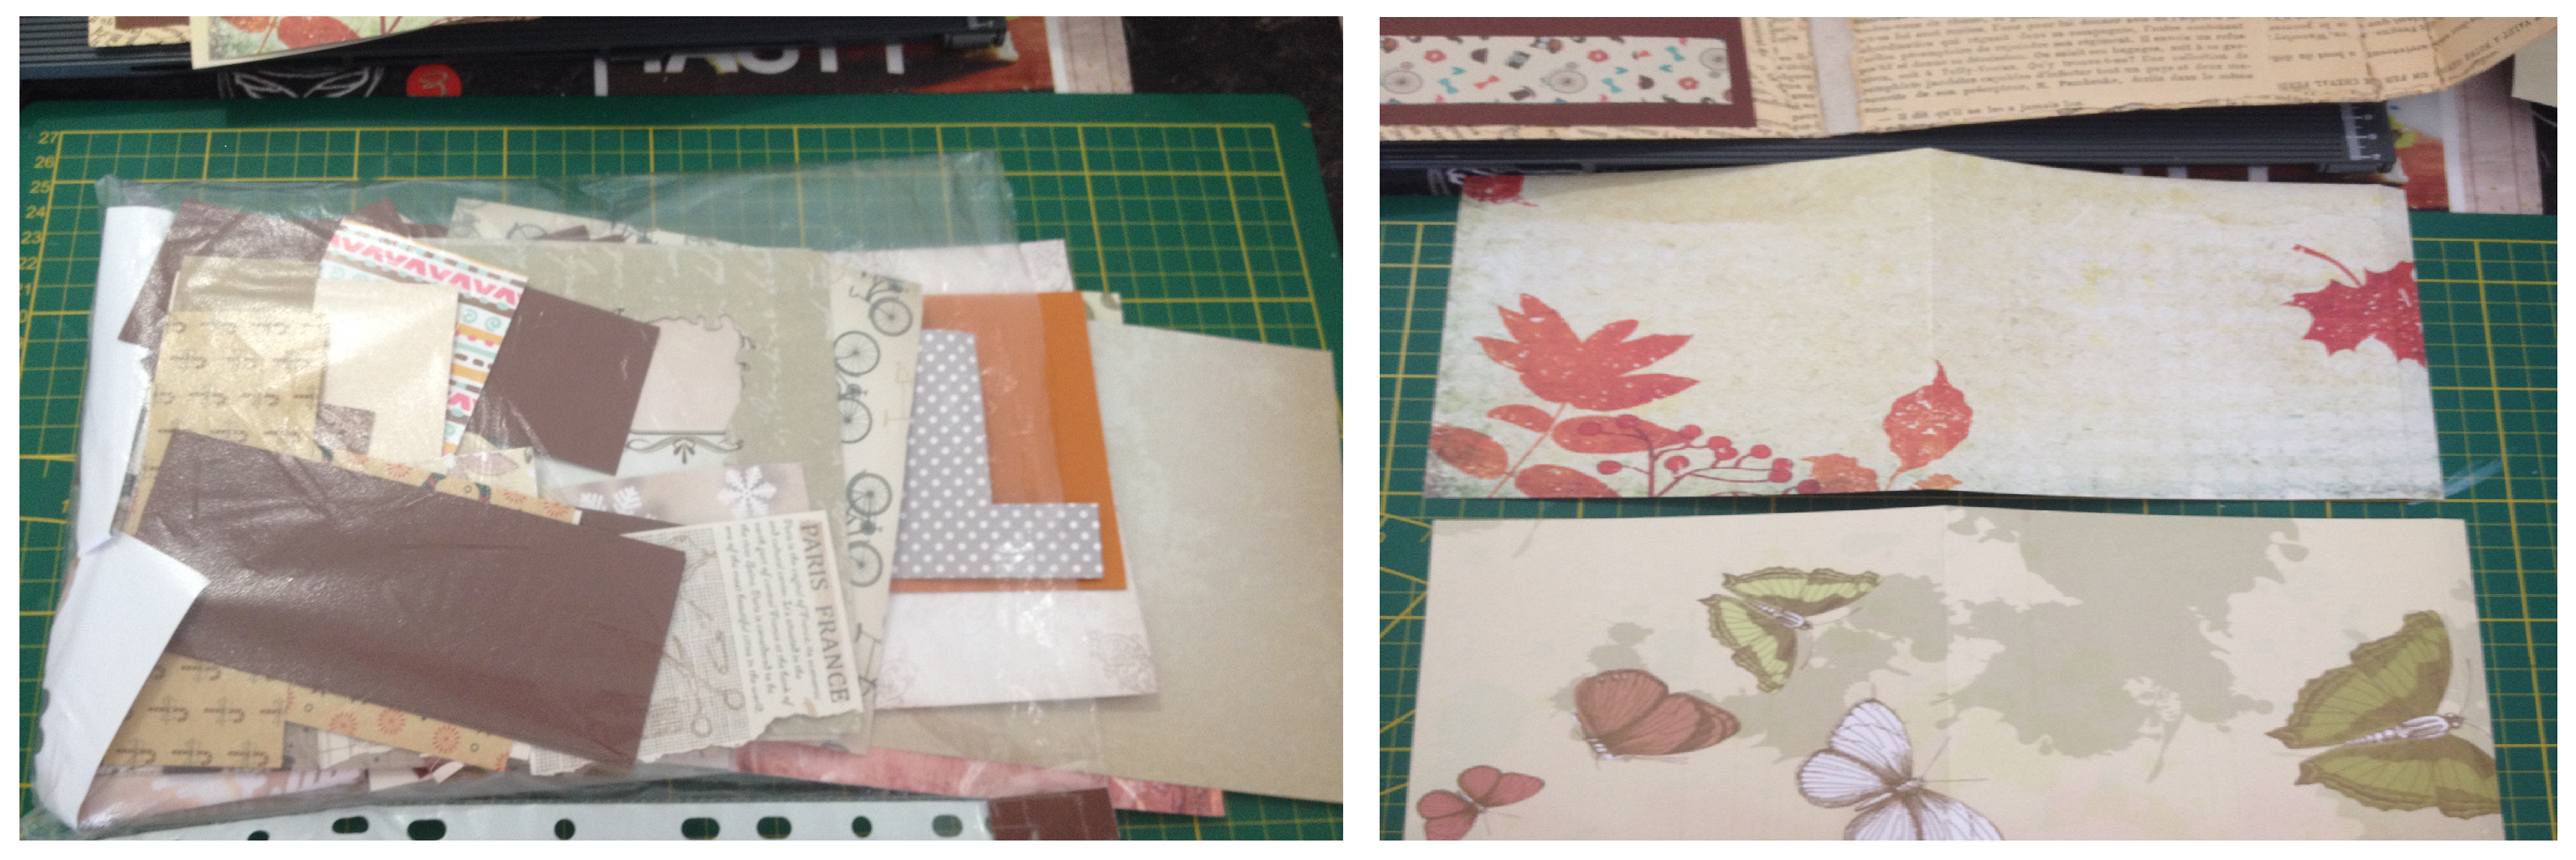
Materials:
- old book pages
- cereal box
- scrap brown cardstock
- scrap designed paper
- trimmer/scoring board
- scissors
- white liquid glue
- 3d foam tape
- black fine liner
- twisted twine
- brown craft twine
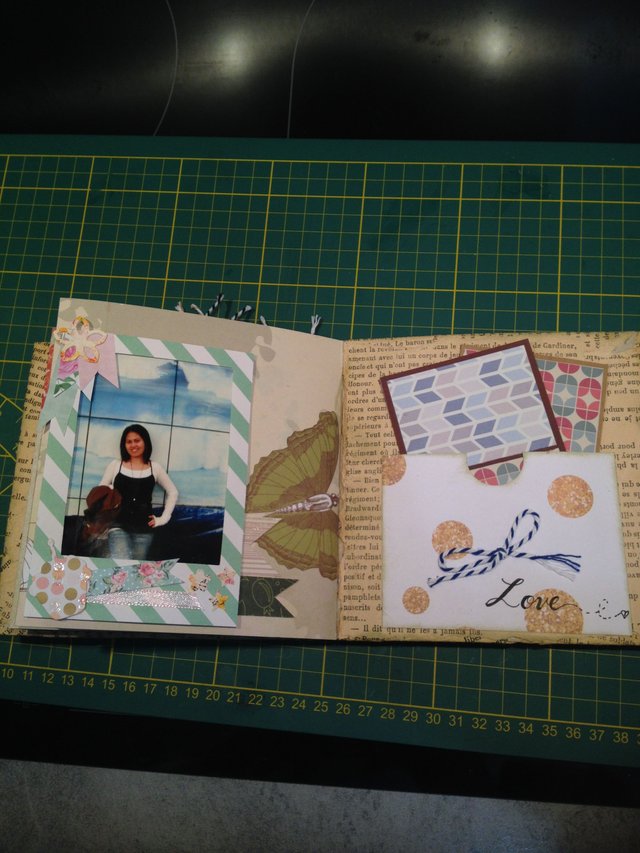
- photo
- lace
- diy embellishments
Here's my process:
Step 1:

Step 2:
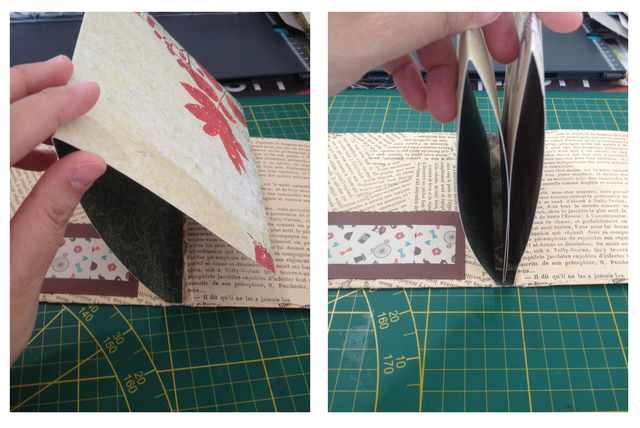
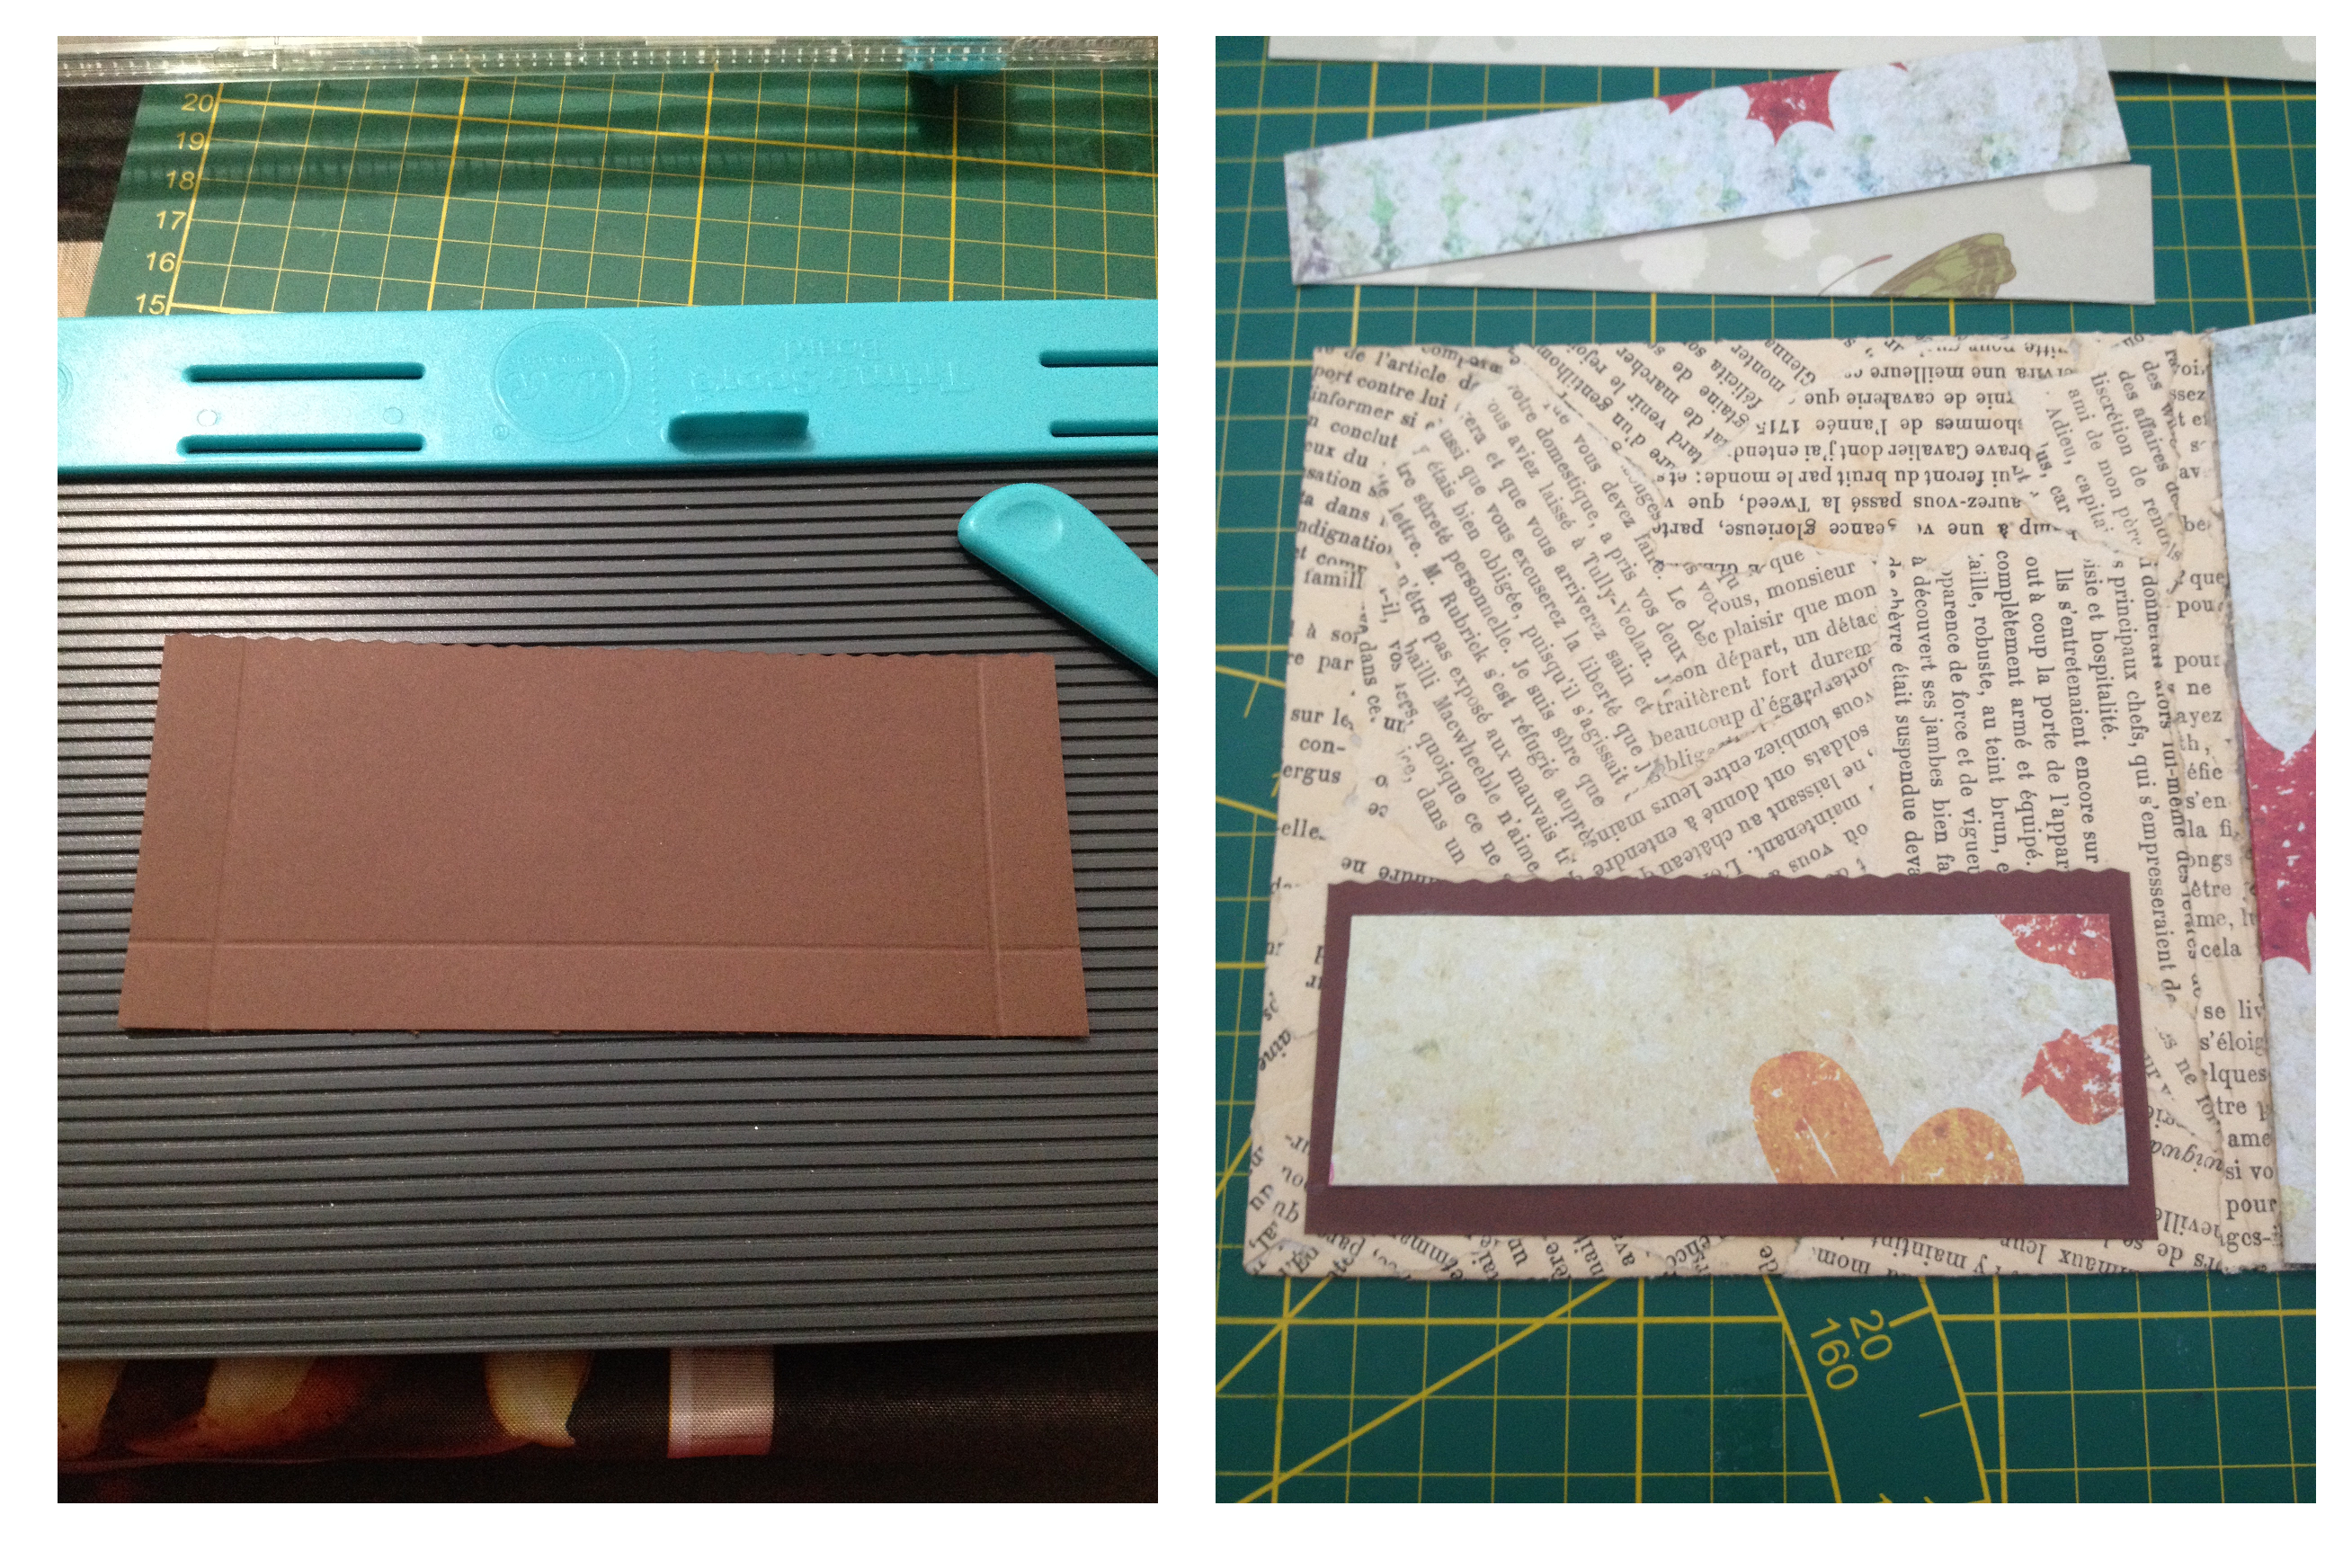
- Since I've been doing paper craft, I always save all my left over paper and use it for my future project. So I found this 2 pieces lengthwise designed paper and chose it as my pages. Score each pages in the middle at 1/2" and the edge at 1/2". Fold scored line, and stick it at the middle of the main cover and do the same in the other designed paper. Now it's time to add some pockets in each pages.
Step 3: (Make a pocket in each pages)
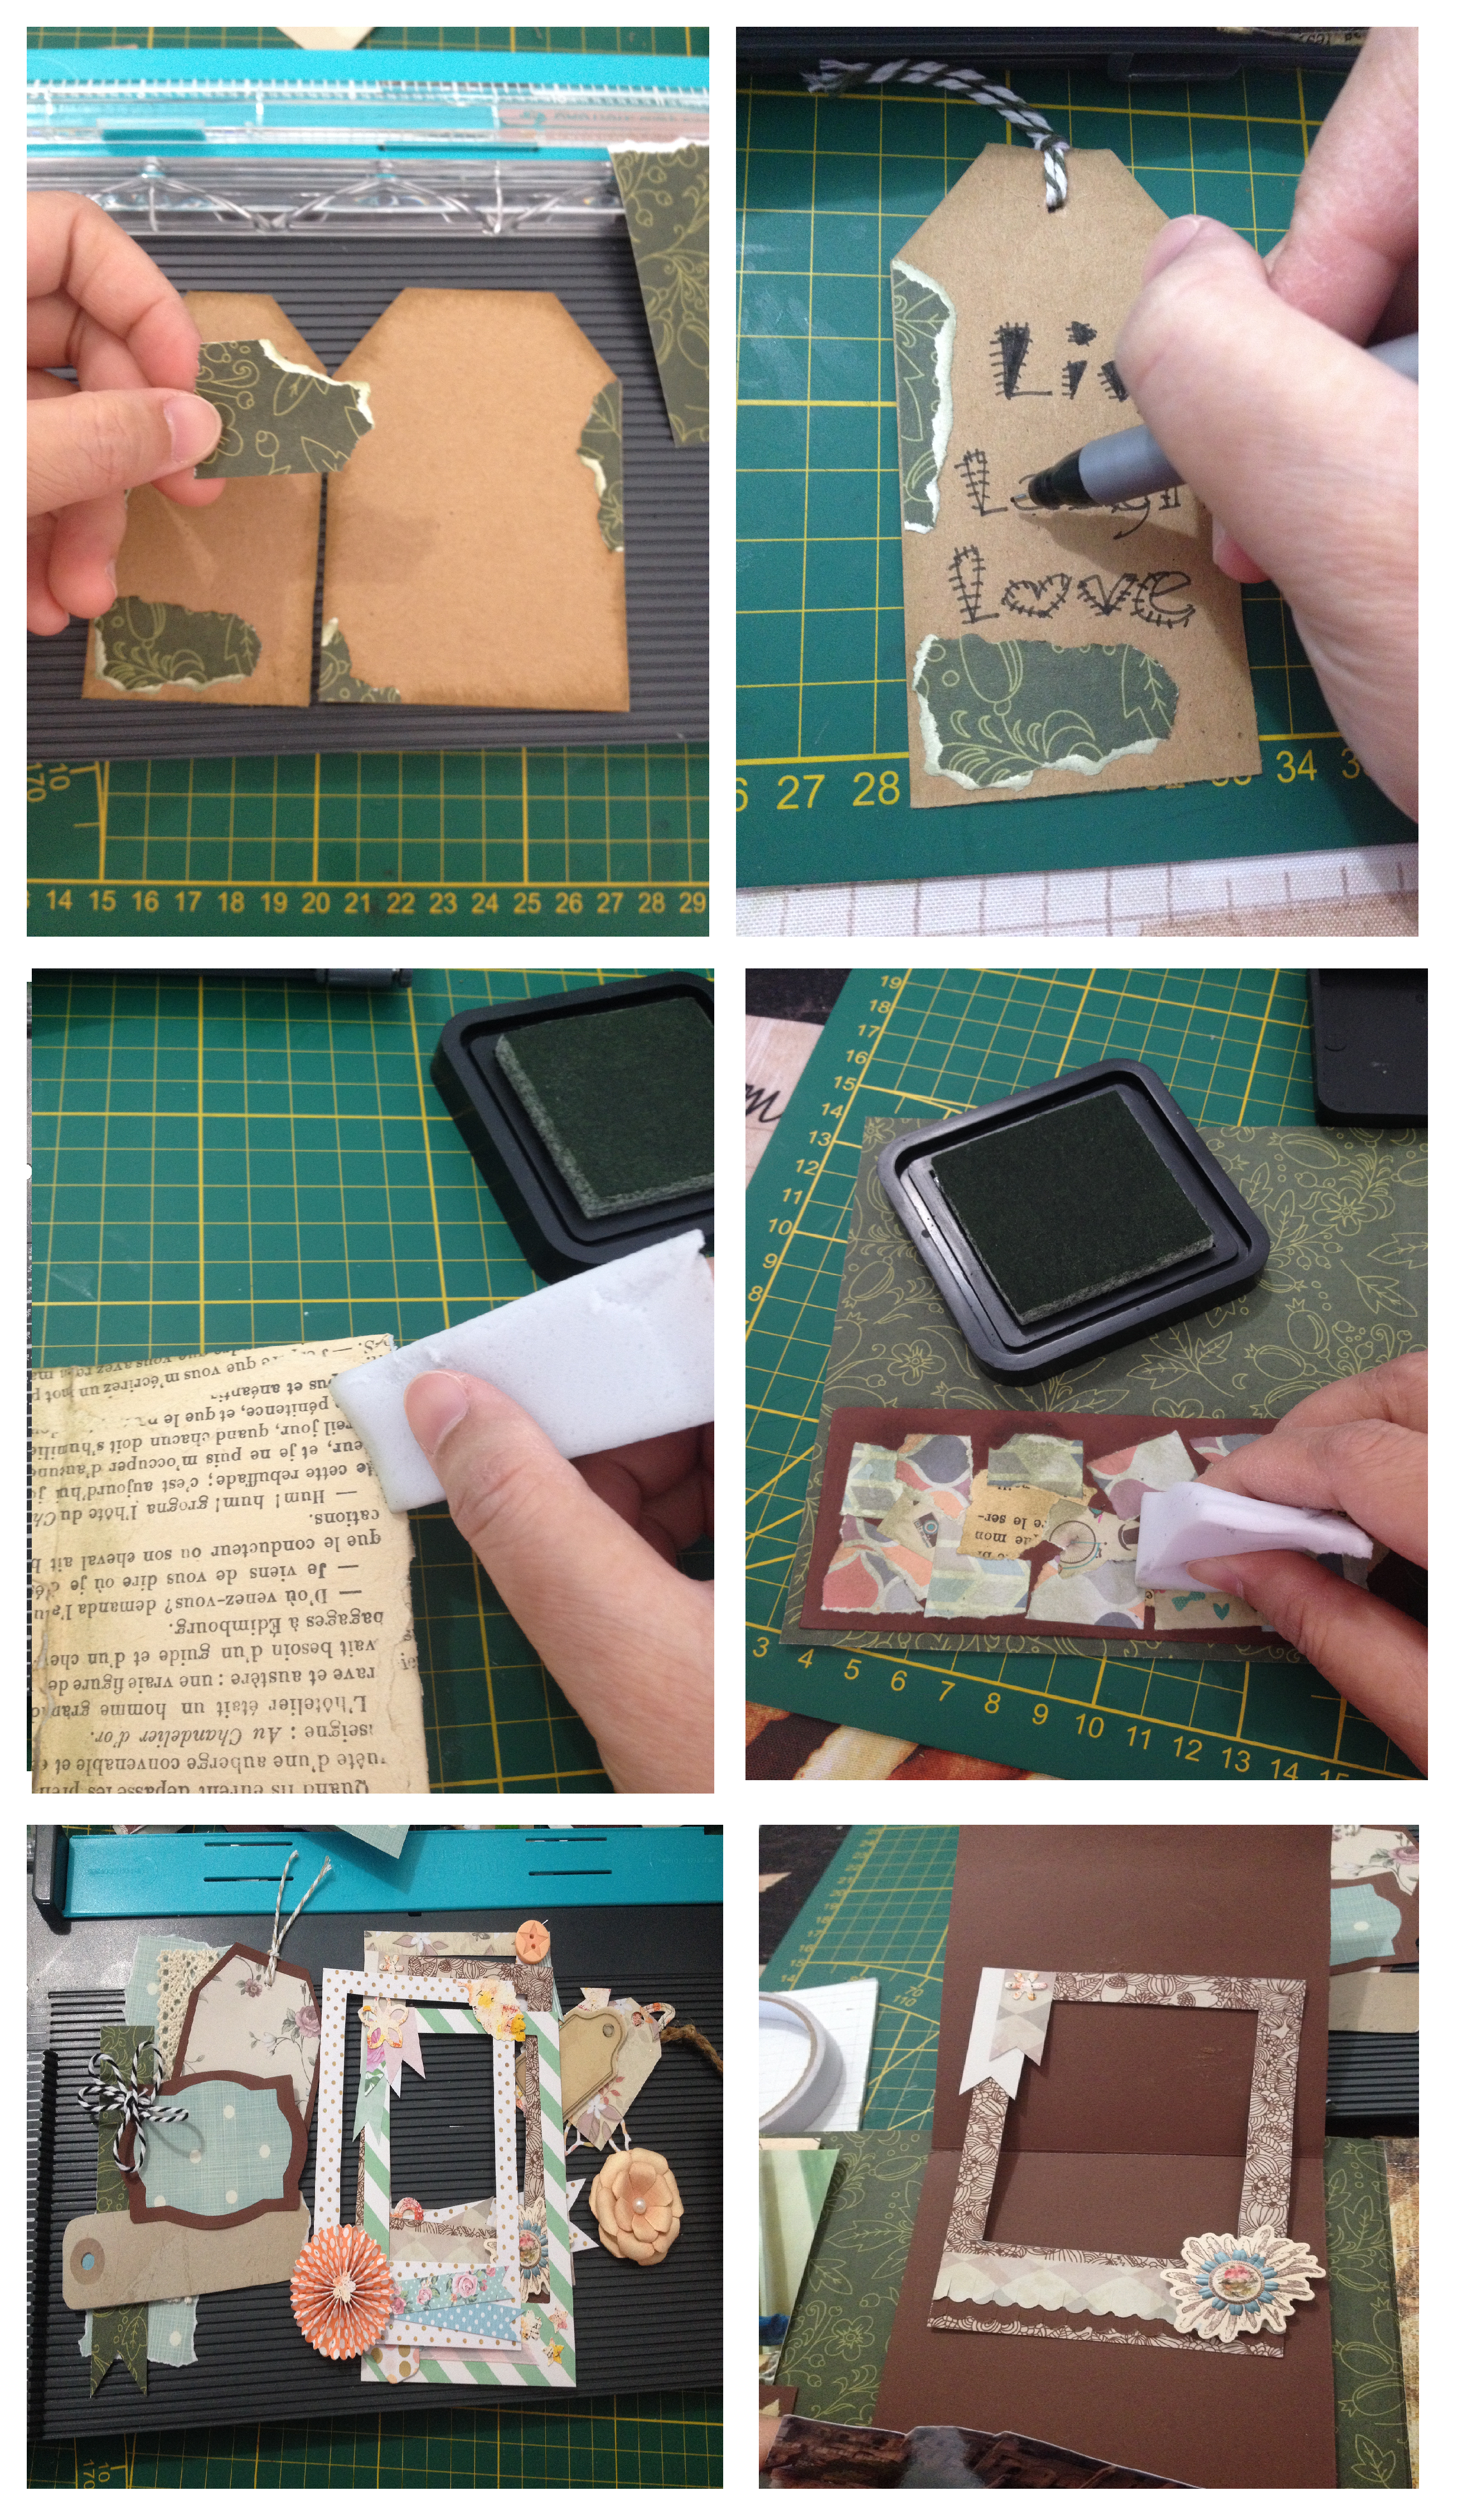
1st page - Cut a piece of brown cardstock and scored all the 3 edges at 1/2", fold and cut diagonal in each edges, then stick at the lower part of the pages. Add some designed paper. You can use design scissors too.
2nd page - Cut a piece of cardstock, fold it in a half. Add some small pocket inside the flap and stick some designed paper. Paste only 3 side to make another pocket when sticking it to the page and now you have 2 pockets.

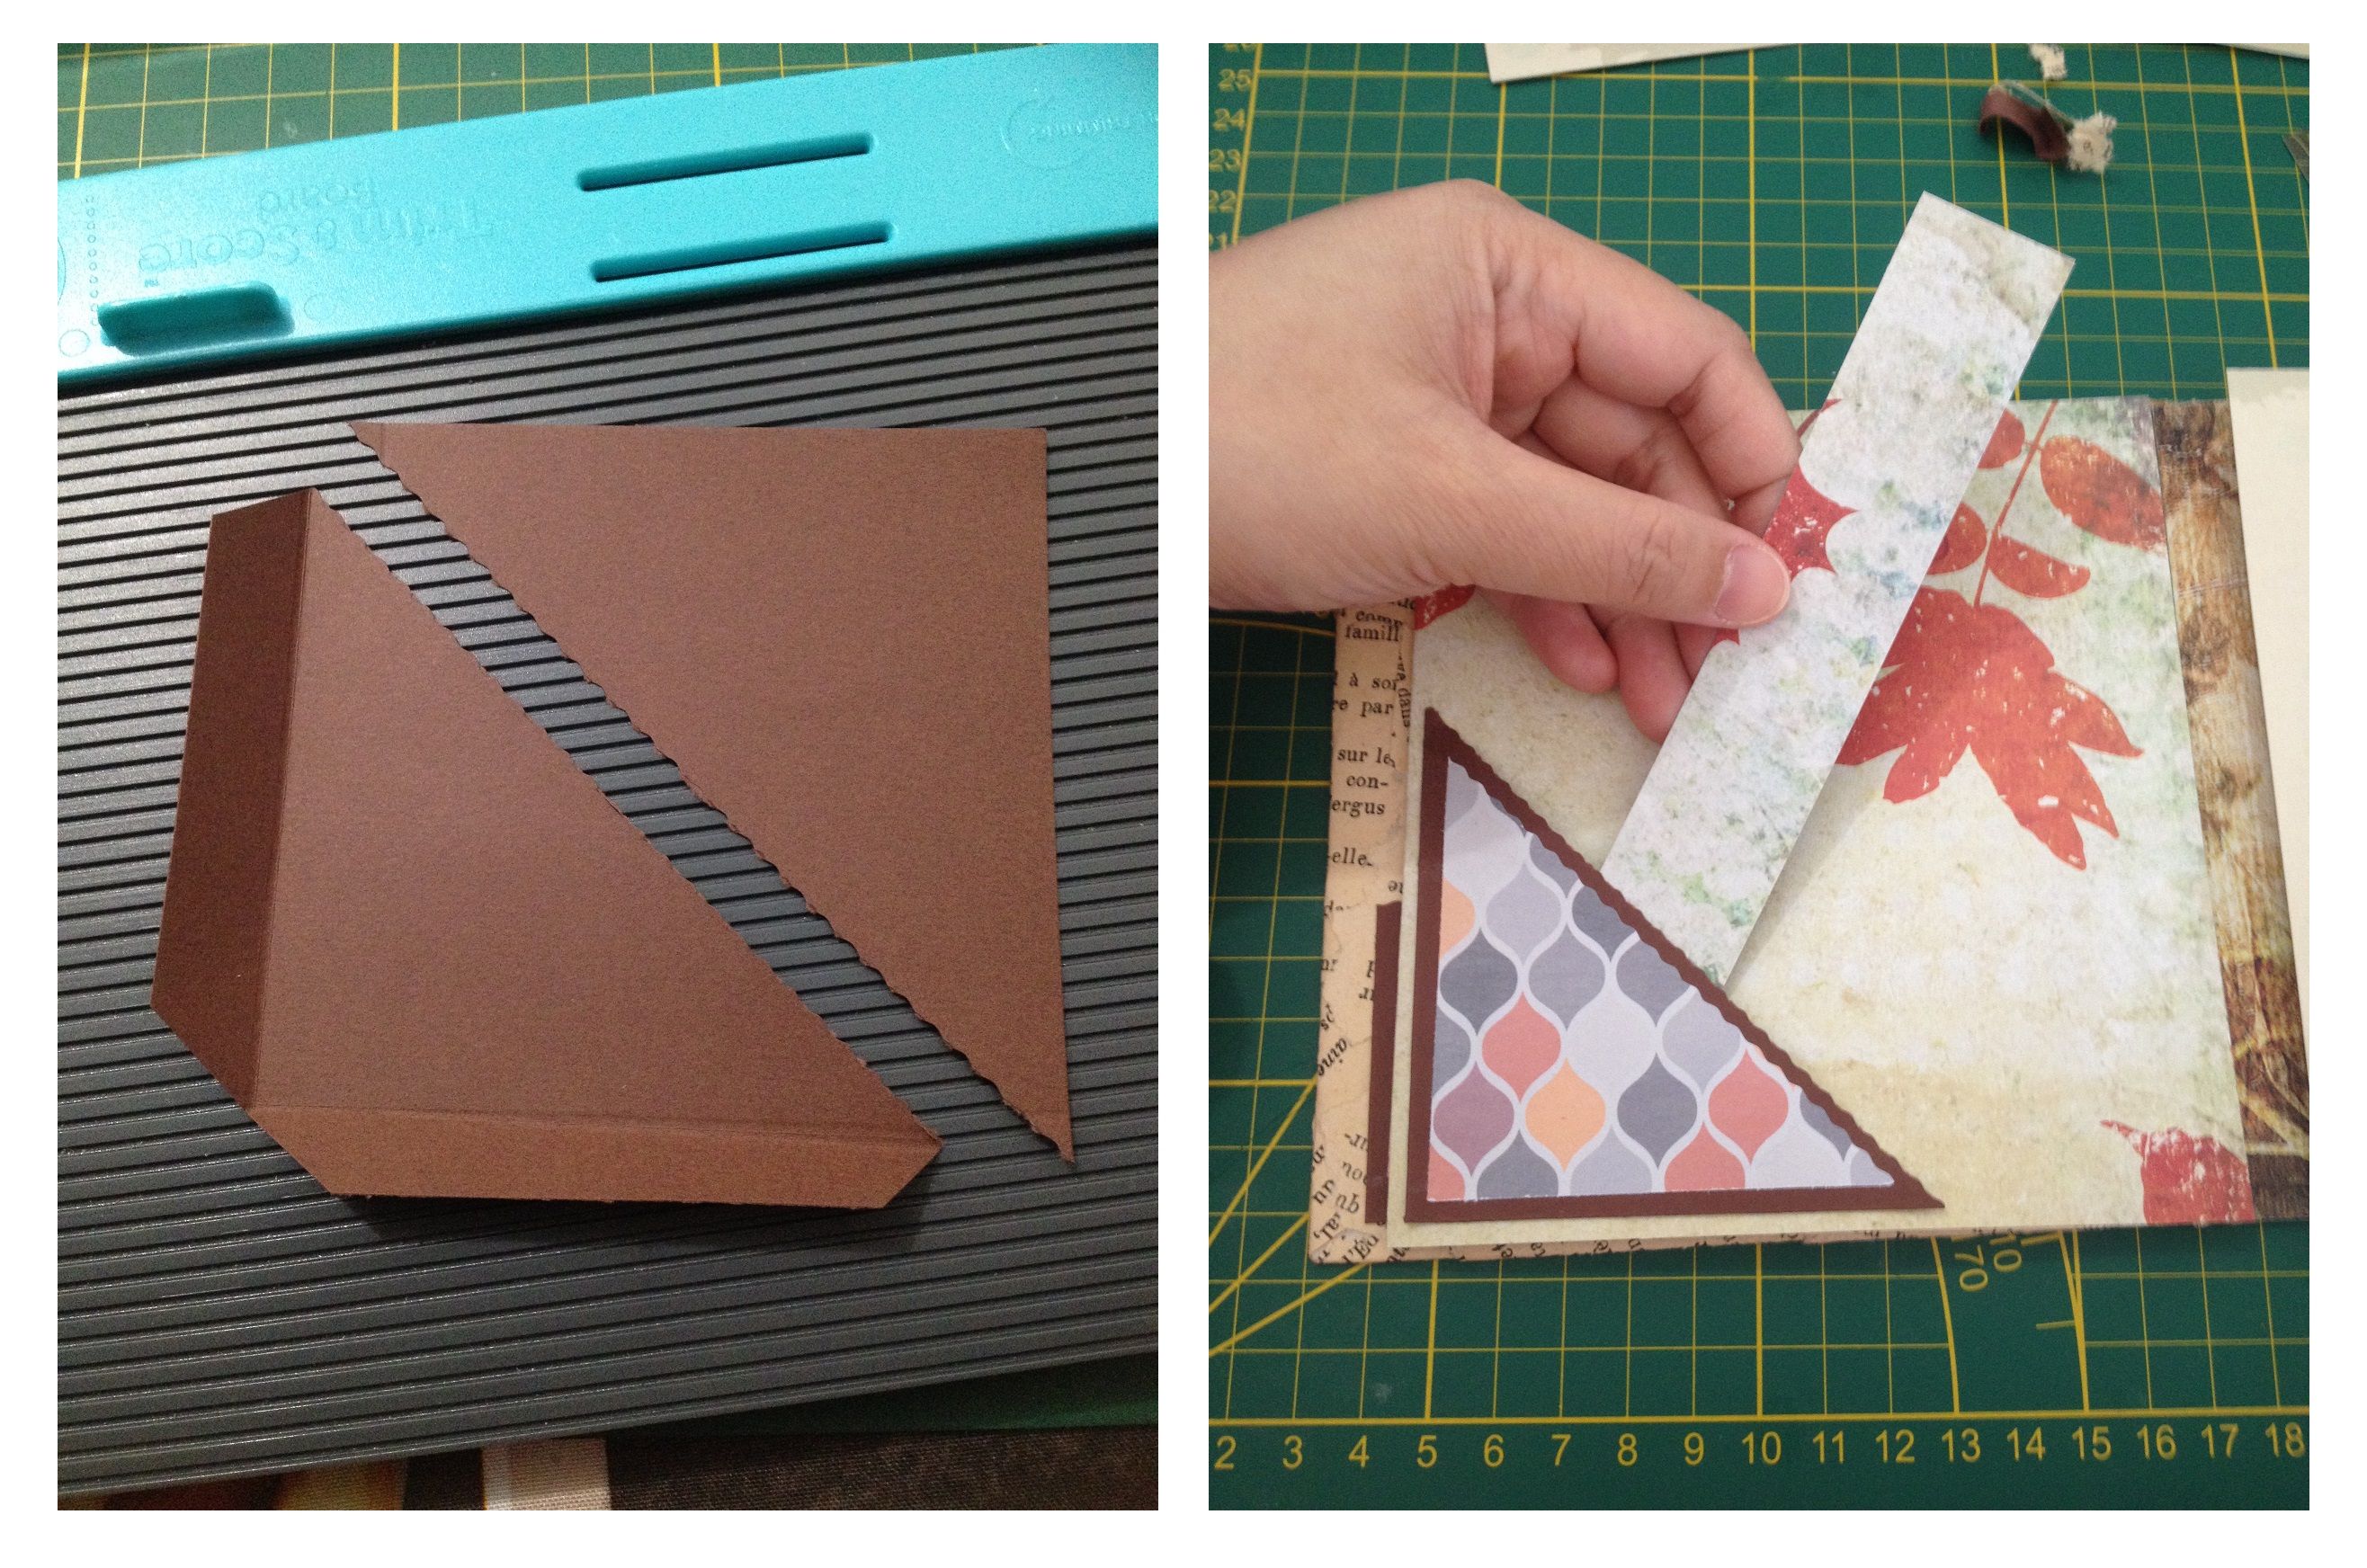
- 3rd page - cut a square at your desire dimension. Cut in a half diagonal, then scored each 3 sides and fold. Don't forget to cut the edges and add some designed paper.
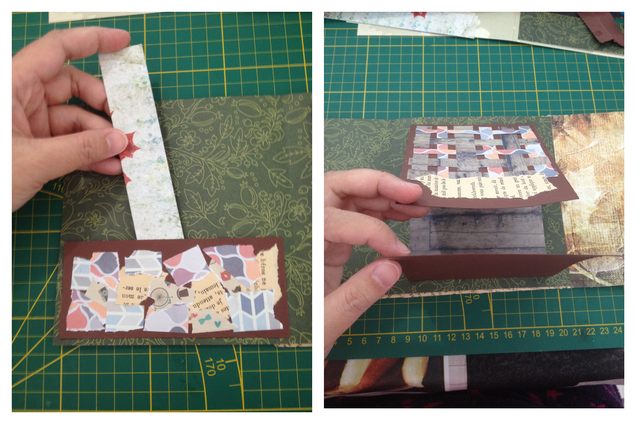
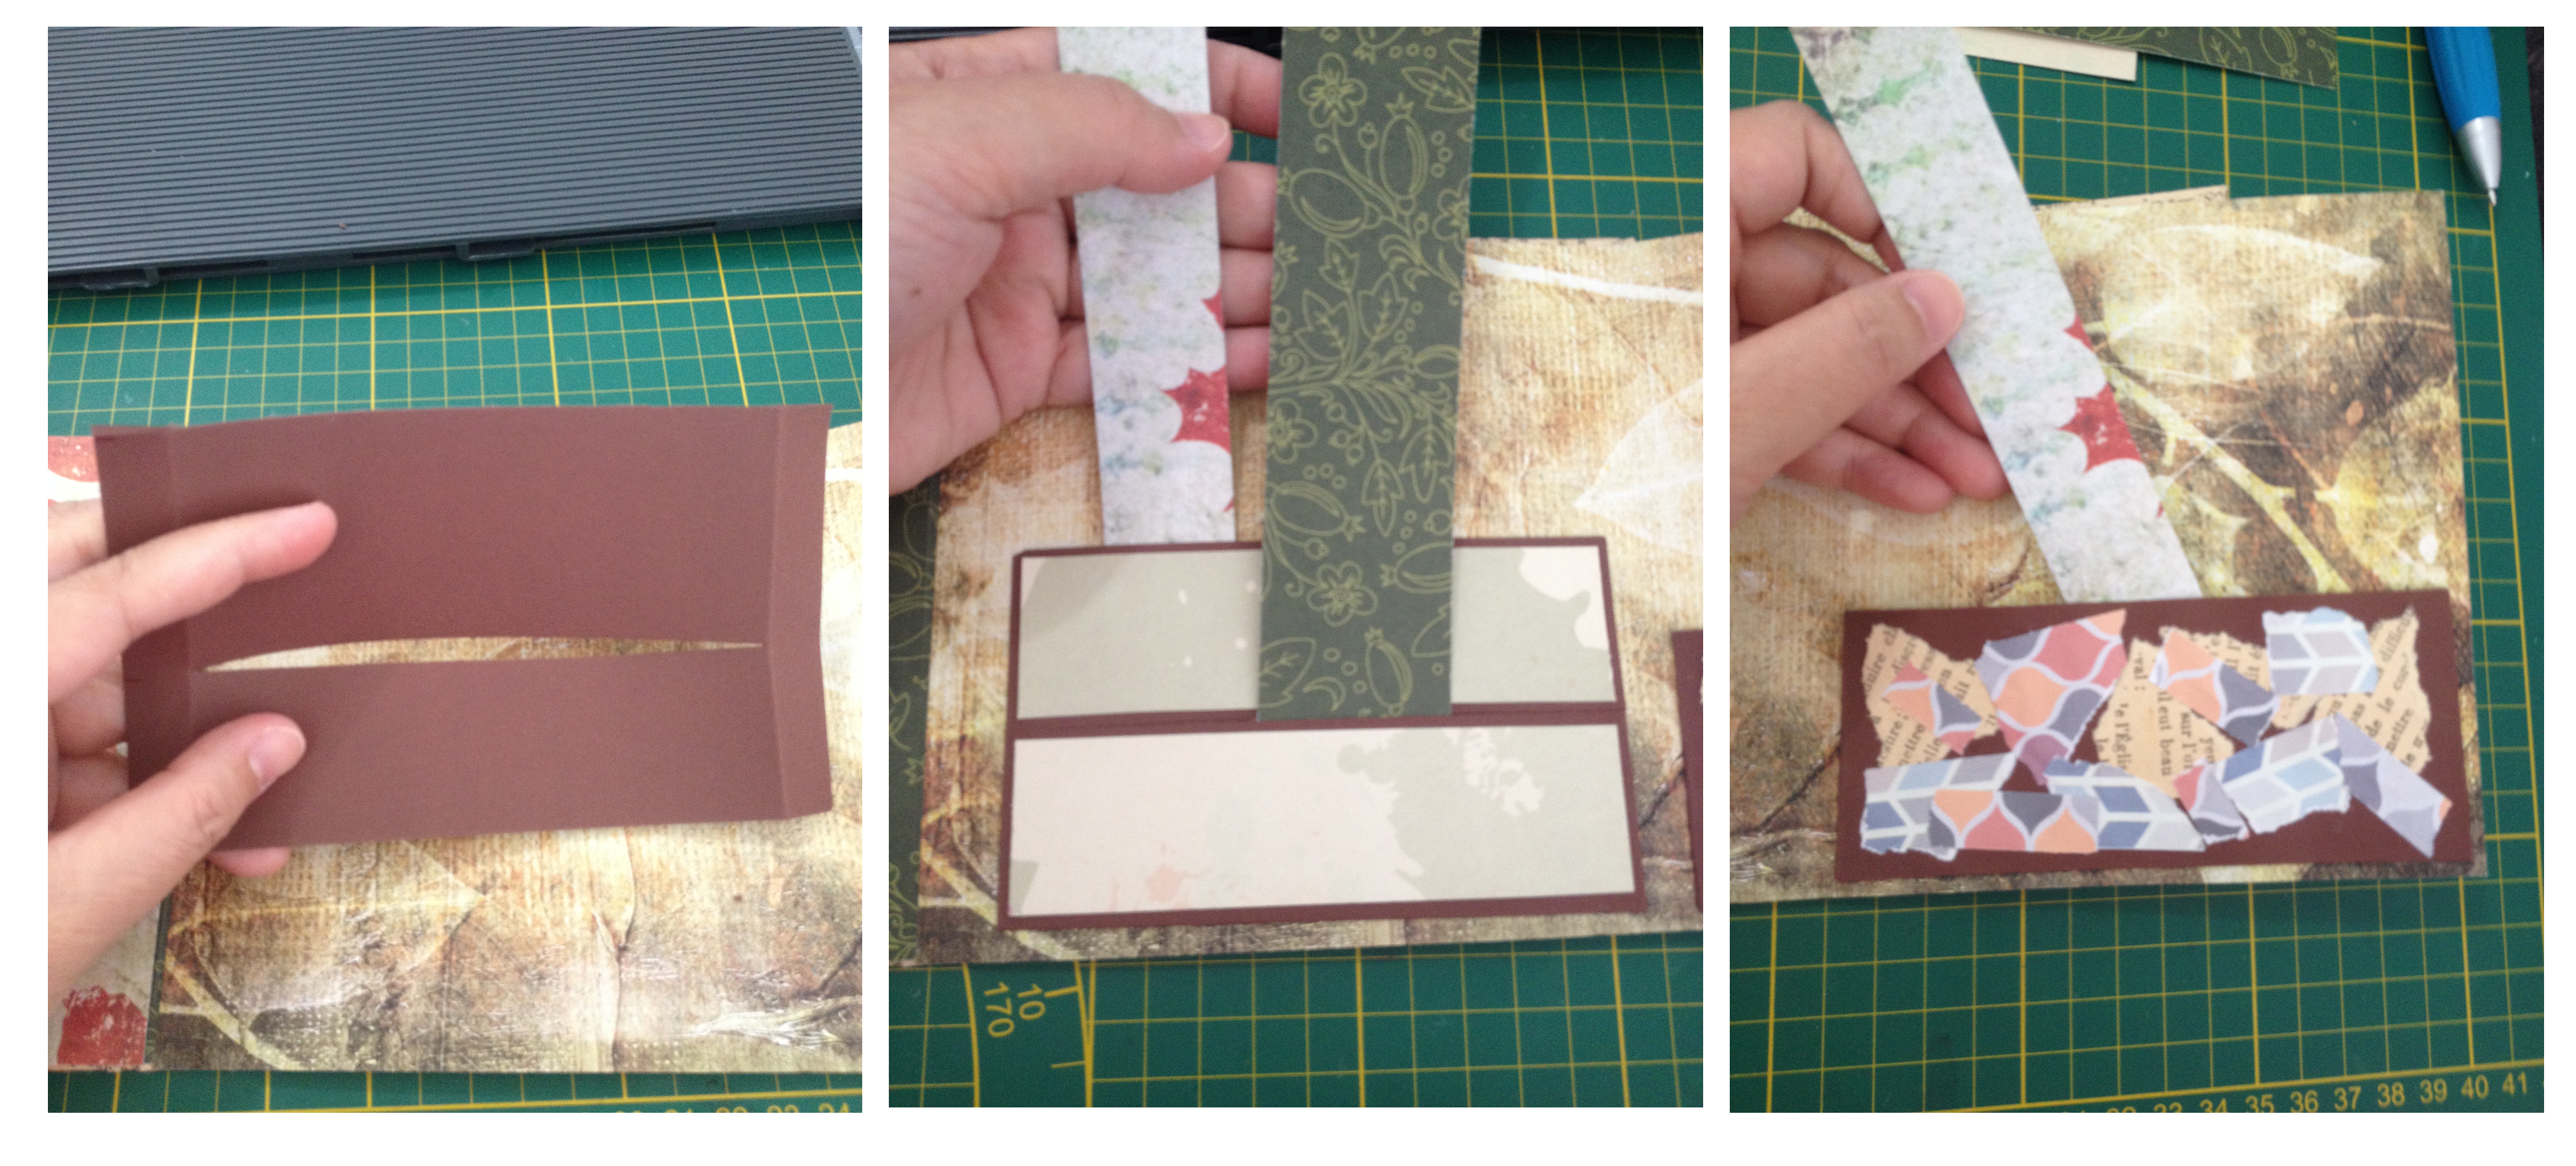
- 4th page - Cut a piece of rectangular cardstock then scored 3 sides at 1/2" and fold. Stick to the page and add some designed paper. I gathered all my small scrap, and teared it up and paste all together just for the design. On the right side of the page, Cut 2 pieces of cardstock then scored at the top at 1/2" and fold. Stick it from the top and buttom, then stick a designed paper at the middle. I chose all the strip scrap designed paper and made a weaving design and some small teared old book page.
- 5th page - Cut a rectangular cardstock, scored both sides at 1/2" then cut at the middle. This may serve as your 2 pockets. Add some designed paper then stick it in the page. On the right side of the page, repeat the process in 4th page.
- 6th page - On the left side, I didn't made any pockets aside from embellishments for my photo. I made a small pocket on the last page and added twisted twine. No need to score the edges, just paste the 3 sides so that you will have a pocket then use a round puncher at the center.
Step 4: (Adding diy embellishments)
- Tags - Just cut a rectangular cardstock or designed paper, then decorate it and add twisted twine.
- Flaps - Cut a piece of cardstock add some designed paper, then you can add some photos at the back of journaling.
- For the cover page design - I added some lace, twisted twine, my homemade paper flower, label, tags, butterfly, leaves, banner. All embellishments are handmade from a scrap material.
- For the closure - I'm using the brown craft twine and add a small tag for the design.
- Distress ink - ink all the edges of the cover and some embellishments for the final touch.
And the flipbook project is done! Economical crafting. Hope you follow my instructions. If you have some questions or suggestions, feel free to comment below. Here's my finish product!

I'm nominating the following persons though this is the last day for submission, @olivia08, @ohkaaay, @ediah, @junebride, @deeday31 to participate this contest if ever there will be a #2 contest.
This is my entry for the contest hosted by @korinkrafting. Thank you for this great initiative. Here's the update link for more details about this contest EDITED-The world is your oyster #1 : Scrapbook Contest by korinkrafting
Thanks for dropping by! Have a great day! Catch you next time!

Love the vintage look of it and how elegant it looks yet the process shown makes it look simple. Tonie, tonie, tonie!!! I am a fan!
Thank you @mermaidvampire hehhehhe
maayuha jd nimo sis uy... wala naman tawon koy mga materials for scrapbooking..digital scrapbook page nalng ako pwede mabuhat. amazing kau imong gibuhat.. congrats.. murag kabalo nako kinsay modaog..
salamat sis, diba naa ka plan magblog digi scrapbook sis? try daw sis kay wala pakoy nakita ana nga blog dri s steemit eheheh... Diko mag expect madaug sis lol, ok ra pod ang uban madaug atleast malipay napod ko nga malipay cla naa na cla magamit nga materials puhon hehehehe
lage..wala pa ko kita ug time sis.. daghan kau ko ganahan buhaton pero kulang time.hehe murag di kau ko kabalo aning time management..hehe
Hello! I find your post valuable for the art community! Thanks for the great post! ARTzone is now following you! ALWAYs follow @artzone and the artzone tag, and support our artists!
Congratulations! This post has been upvoted from the communal account, @minnowsupport, by tonie from the Minnow Support Project. It's a witness project run by aggroed, ausbitbank, teamsteem, theprophet0, someguy123, neoxian, followbtcnews, and netuoso. The goal is to help Steemit grow by supporting Minnows. Please find us at the Peace, Abundance, and Liberty Network (PALnet) Discord Channel. It's a completely public and open space to all members of the Steemit community who voluntarily choose to be there.
If you would like to delegate to the Minnow Support Project you can do so by clicking on the following links: 50SP, 100SP, 250SP, 500SP, 1000SP, 5000SP.
Be sure to leave at least 50SP undelegated on your account.
Ka gwapa sa imuhang scrapbook uy :) :) Nice kaayo vintage effect :) :)
salamat @creyestxsa94 hehehehehe
Pildi na jud mi ani ba. HAHAHA :D :D Hawod kaayo ka :)
lol! bhala najud c batman, salamat, pero di lang ko mag expect madaug lol! ok ra di madaug, apil apil lang jud ko ani aron naay ipost lol! i agi nlng nako s contest ako mga post kay tapulan kaau maghimo blog lol!
HAHA! :D Ako sab gali. LOL :D Tapos, lingaw man sab magbuhat buhat ug scrapbook. :)
Your Post Has Been Featured on @Resteemable!
Feature any Steemit post using resteemit.com!
How It Works:
1. Take Any Steemit URL
2. Erase
https://3. Type
reGet Featured Instantly & Featured Posts are voted every 2.4hrs
Join the Curation Team Here | Vote Resteemable for Witness
Resourceful and creative :D
Thanks @jacinta.sevilla... :)
You got a 11.61% upvote from @thebot courtesy of @tonie!
Please delegate us Steem Power & get 97% daily rewards share!
20 SP, 50, 75, 100, 150, 200, 300, 500, 1000 or Fill in any amount of SP.
Click For details | Discord server
This post has received a 64.94% upvote from thanks to: @tonie.
For more information, click here!!!!
Try the new Minnowhelper Bots for more information here
Help support @minnowhelper and the bot tracker by voting for @yabapmatt for Steem witness! To vote, click the button below or go to https://steemit.com/~witnesses and find @yabapmatt in the list and click the upvote icon. Thank you.
Voting for @yabapmatt