[Vue.js] 스팀잇(Steemit)기반 앱 만들기 #8 - 보팅 내역 보여주기

안녕하세요. @anpigon입니다.
이 포스팅은 제가 스팀잇과 프론트엔드 기술을 공부하고 앱을 구현하는 과정을 정리한 글입니다. 그래서 설명이 많이 부족할 수 있습니다. 궁금한 사항은 댓글로 문의하시면, 최대한 답변해드리도록 노력하겠습니다.
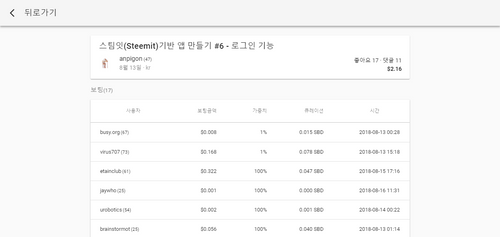
이번에는 아래와 같이 보팅 내역을 볼 수 있는 페이지를 구현하였습니다.

구현된 앱은 steemlog.github.io에서 확인 할 수 있습니다.
VoteHistory 컴포넌트 구현하기
보팅 내역을 표시하는 VoteHistory 컴포넌트를 구현하자. 아래와 같이 VoteHistory.vue 파일을 생성한다.
export default {
  // ...
  computed: {
    // ...
    votes () {
      let totalRshares = 0
      let totalWeight = 0
      this.active_votes.forEach(e => {
        // 해당 포스트에 보팅된 총 리워드 합산
        totalRshares += parseFloat(e.rshares)
        // 해당 포스트에 보팅된 총 가중치 합산
        totalWeight += parseFloat(e.weight)
      })
      return this.active_votes.map(e => {
        let value, curation
        if (this.pending_payout_value > 0) {
          // 페이아웃 이전인 경우
          value = (e.rshares * (this.global.rewardBalance / this.global.recentClaims) * this.global.price)
          curation = '≈$' + (e.weight / this.total_vote_weight * this.pending_payout_value * 0.25 / this.global.price).toFixed(3)
        } else {
          // 페이아웃 이후인 경우
          const o = '$' + this.total_payout_value / (this.total_payout_value + this.curator_payout_value)
          value = e.rshares / totalRshares * parseFloat(this.total_payout_value / o)
          curation = (e.weight / totalWeight * this.curator_payout_value).toFixed(3)
        }
        return {
          voter: e.voter,
          reputation: steem.formatter.reputation(e.reputation),
          weight: e.percent / 100,
          value: value.toFixed(3),
          curation: curation,
          time: new Date(e.time + 'Z')
        }
      })
    },
    ...mapState({
      global: state => state.global
    })
  },
  beforeCreate () {
    const author = this.$route.params.author
    const permlink = this.$route.params.permlink

    steem.api.getContentAsync(author, permlink)
      .then(n => {
        this.title = n.title
        this.total_vote_weight = n.total_vote_weight
        this.pending_payout_value = parseFloat(n.pending_payout_value.split(' ')[0])
        this.total_payout_value = parseFloat(n.total_payout_value.split(' ')[0])
        this.curator_payout_value = parseFloat(n.curator_payout_value.split(' ')[0])
        this.active_votes = n.active_votes
        this.author = n.author
        this.author_reputation = n.author_reputation
        this.created = n.created
        this.category = n.category
        this.net_votes = n.net_votes
        this.children = n.children
        this.cashout_time = n.cashout_time
      })
      .catch(e => console.log(e))
      .finally(() => (this.loading = false))
  },
  created () {
    this.$store.dispatch('global/loadGlobalProperties')
  }
  // ...
}
코드량이 많아서 핵심 로직만 남기고 생략하였습니다. 전체 소스는 깃허브 소스를 참고하길 바랍니다.
그리고 Router에 VoteHistory 컴포넌트 경로를 추가한다. /@anpigon/steemit-7/vote 형태의 경로(path)는 VoteHistory 컴포넌트로 연결될 것이다.
export default new Router({
  routes: [
    // ...
    {
      path: '/@:author/:permlink/vote',
      name: 'VoteHistory',
      component: () => import('@/components/VoteHistory')
    },
    // ...
  ]
})
VoteHistory 컴포넌트 링크 연결하기
포스트 하단의 좋아요 텍스트를 클릭하면 보팅 내역 페이지로 이동하게 만들자. VoteHistory 컴포넌트의 링크 연결에는 <router-link>를 사용한다. Main 컴포넌트와 PostView 컴포넌트에서 '좋아요' 텍스트를 찾아서 아래와 같이 수정한다. 이제 '좋아요'를 클릭하면 보팅 내역 페이지로 이동할 것이다.
<router-link :to="'/@' + author + '/' + permlink + '/vote'" class='mr-1'>좋아요 {{ net_votes }}명</router-link>
추가 수정사항
다음은 VoteHistory 컴포넌트를 구현하면서 추가로 수정한 내용이다.
뒤로가기 버튼이 있는 상단바 구현하기
메인 컴포넌트 외에는 상단바에 뒤로가기 버튼만 보이도록 수정하였다.

다음과 같이 Main 라우터에 메타(meta) 데이터를 추가한다. meta.main의 값으로 메인 컴포넌트인지 아닌지를 판단할 것이다.
export default new Router({
  routes: [
    {
      path: '/',
      name: 'Main',
      component: Main,
      meta: { main: true }
    },
    // ...
  ]
})
그 다음에 App.vue 파일을 수정한다. computed에 메인 컴포넌트를 판단하는 isMainComponent를 추가하였다.
export default {
  // ...
  computed: {
    // ...
    isMainComponent () {
      return !!this.$route.meta.main
    }
  }
  // ...
}
그리고 아래와 같이 뒤로가기 버튼만 있는 상단바 <v-toolbar>를 추가한다. 해당 상단바는 isMainComponent가 false인 경우에만 보여진다.
<v-toolbar fixed app v-show='!isMainComponent'>
  <v-toolbar-side-icon @click.stop="$router.go(-1)">
    <v-icon>arrow_back_ios</v-icon>
  </v-toolbar-side-icon>
  <v-toolbar-title class="ml-0">뒤로가기</v-toolbar-title>
</v-toolbar>
피드, 최신글, 인기글, 대세글 메뉴 추가
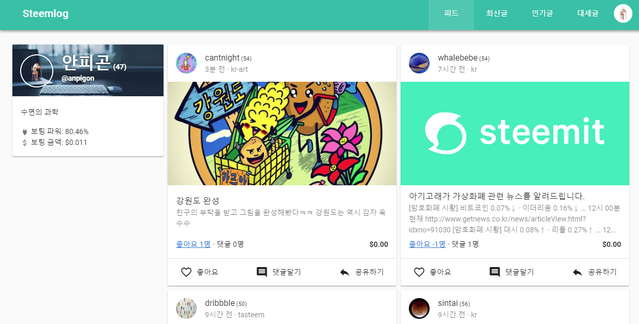
아래 화면과 같이 피드, 최근글, 인기글, 대세글 메뉴를 상단바에 추가하였다.

각 메뉴를 선택했을 때 보여줄 컴포넌트를 구현하자. 우선 Main.vue 에서 글목록을 보여주는 코드를 분리하여 Discussions.vue 파일을 만들자. 피드(FeedPanel), 최신글(CreatedPanel), 인기글(HotPanel), 대세글(TrendingPanel) 컴포넌트는 Discussions.vue를 상속받아서 구현할 것이다.
생성할 컴포넌트 파일 구조는 다음과 같다.
src
└── components
    ├── panels
    │   ├── Discussions.vue # 상속받을 구현체
    │   ├── FeedPanel.vue # 피드
    │   ├── CreatedPanel.vue # 최신글
    │   ├── HotPanel.vue # 인기글
    │   └── TrendingPanel.vue # 대세글
    └── ...

Main.vue에서 글목록을 담당하는 코드를 분리하여 Discussions.vue 파일에 저장한다. Main.vue에서 분리되어 필요없는 코드를 지우고 아래와 같이 <router-view>로 대체한다. <router-view> 영역에는 피드, 최신글, 인기글, 대세글 컴포넌트를 렌더링하여 보여줄 것이다.
<v-flex xs12 md9>
  <keep-alive>
    <router-view></router-view>
  </keep-alive>
</v-flex>
그 다음에 FeedPanel.vue, CreatedPanel.vue, HotPanel.vue, TrendingPanel.vue 파일을 생성한다. 각각 컴포넌트들은 Discussions.vue를 상속받아서 구현한다.
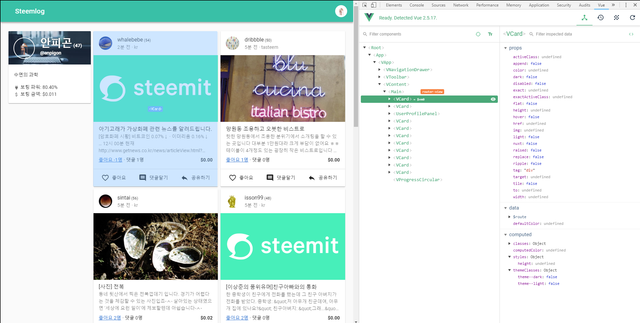
컴포넌트 상속을 구현하기 위해서 Vue에서 제공하는 기능인 믹스인(mixin)을 사용하였다. 그리고 Discussions.vue를 상속받아 구현된 FeedPanel.vue의 전체 코드는 아래와 같다.
<script>
import steem from 'steem'
import Discussions from './Discussions'

export default {
  name: 'Feed',
  mixins: [ Discussions ],
  methods: {
    getDiscussions () {
      const query = {
        tag: this.$route.params.username,
        limit: 11,
        start_permlink: this.next.permlink,
        start_author: this.next.author
      }
      return steem.api.getDiscussionsByFeedAsync(query)
    }
  }
}
</script>
FeedPanel.vue는 Discussions.vue를 상속받았으므로 Discussions.vue의 기능을 그대로 사용할 수 있다. 그래서 글을 가져오는 로직이 달라져야 하는 getDiscussions() 함수만 재정의 하였다.
CreatedPanel.vue, HotPanel.vue, TrendingPanel.vue도 Discussions.vue를 상속받아 구현한다.
마지막으로 Main 라우터를 수정한다. 각 컴포넌트들은 Main.vue 하위에 있어야 한다. 그래서 아래와 같이 Main 라우터 children에 Feed, Created, Hot, Trending 라우터를 등록하였다.
export default new Router({
  routes: [
    {
      path: '/',
      name: 'Main',
      component: Main,
      children: [
        { path: 'default', redirect: { name: 'Created' }, alias: '' },
        { name: 'Feed', path: '@:username/feed', component: () => import('@/components/panels/FeedPanel'), meta: { main: true }, props: true },
        { name: 'Created', path: 'created', component: () => import('@/components/panels/CreatedPanel'), meta: { main: true } },
        { name: 'Hot', path: 'hot', component: () => import('@/components/panels/HotPanel'), meta: { main: true } },
        { name: 'Trending', path: 'trending', component: () => import('@/components/panels/TrendingPanel'), meta: { main: true } }
      ]
    },
    // ...
  ]
})
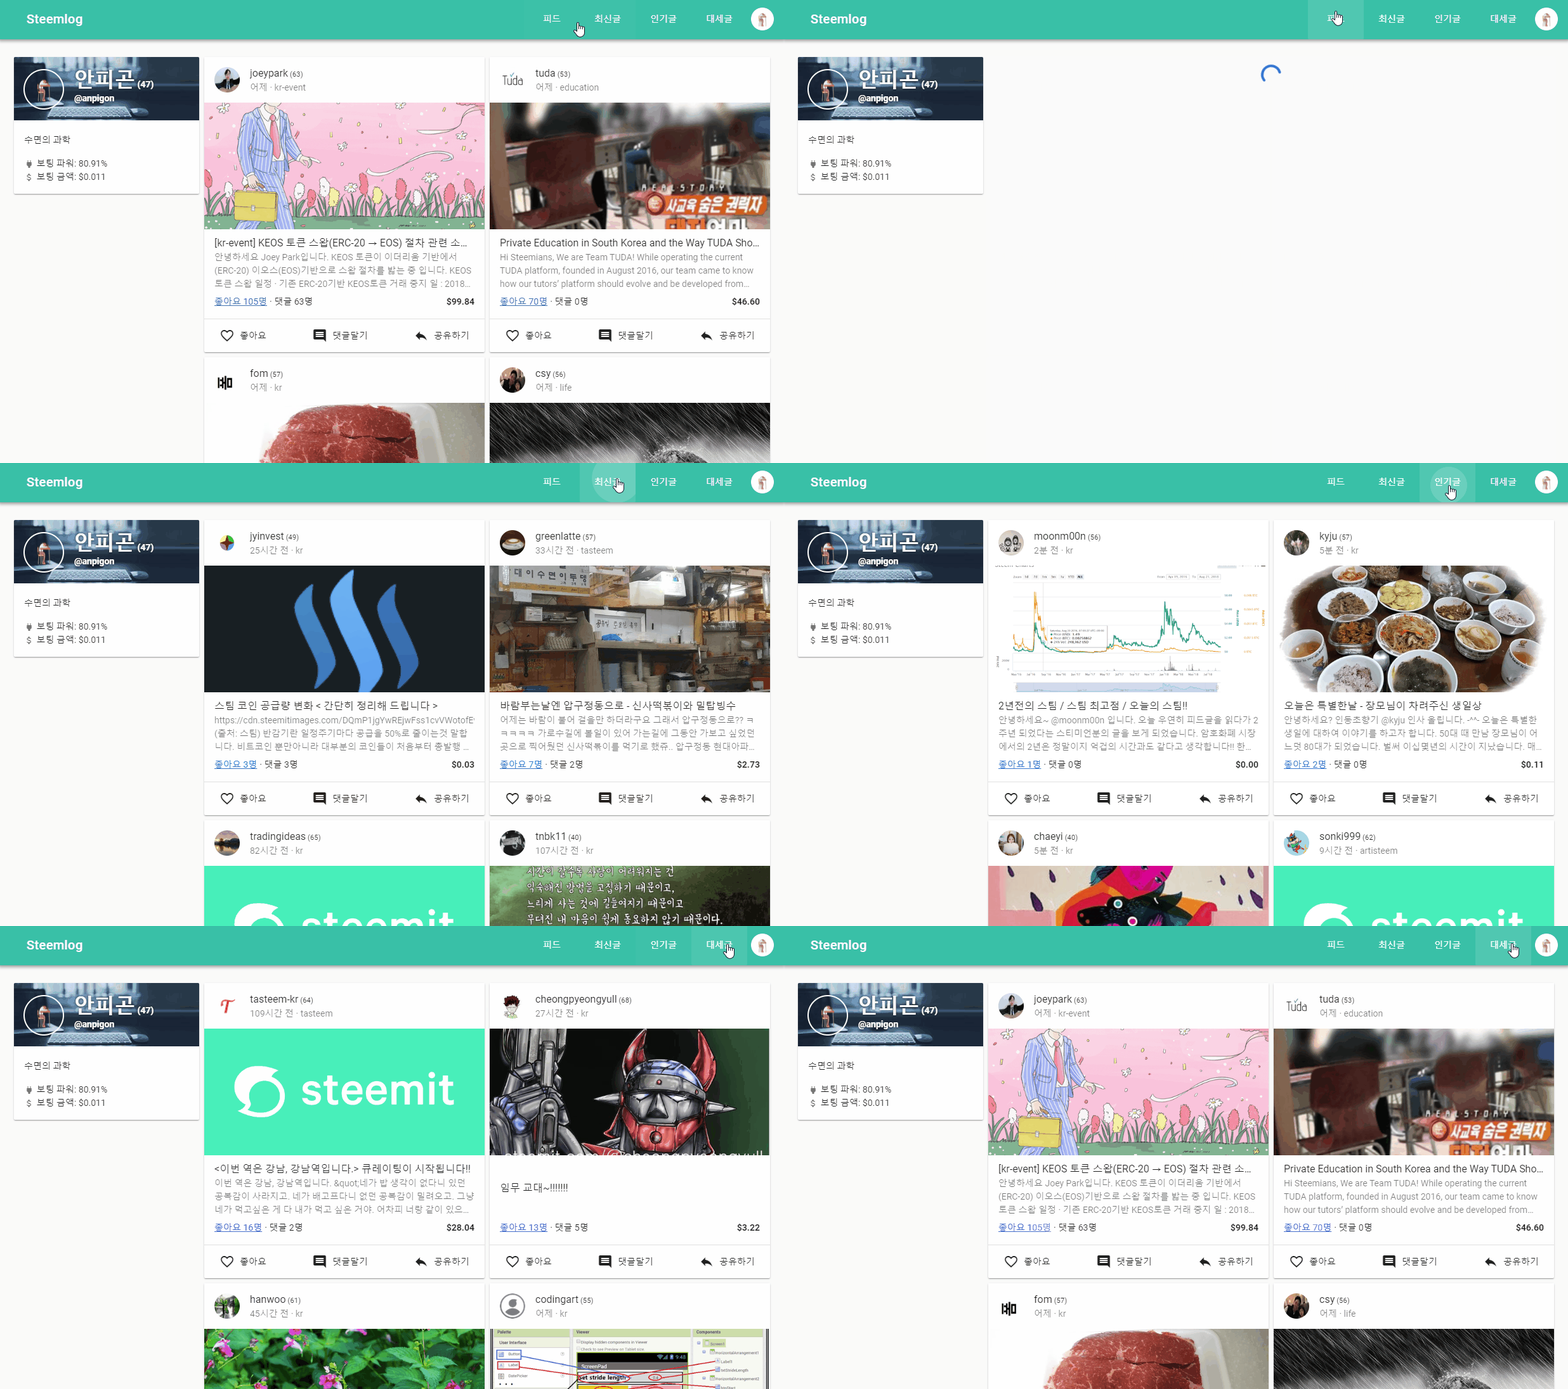
다음은 완성된 화면입니다.
아래 화면과 같이 메뉴를 클릭하면 피드, 최신글, 인기글, 대세글을 가져옵니다.

전체 소스 내용은 github에서 볼 수 있습니다. 그리고 구현된 앱은 steemlog.github.io에서 확인 할 수 있습니다.
여기까지 읽어주셔서 감사합니다.
Hi @anpigon, I'm @checky ! While checking the mentions made in this post I noticed that @click.stop doesn't exist on Steem. Maybe you made a typo ?
If you found this comment useful, consider upvoting it to help keep this bot running. You can see a list of all available commands by replying with
!help.!help
Here are all the available commands:
Any idea on how to improve this bot ? Please contact @ragepeanut on any of his posts or send him a direct message on Discord (RagePeanut#8078).
If you found this comment useful, consider upvoting it to help keep this bot running. You can see a list of all available commands by replying with
!help.!off
Your account has been set to off. None of your mentions will now be checked whatsoever.
If you found this comment useful, consider upvoting it to help keep this bot running. You can see a list of all available commands by replying with
!help.제가 다 이해하긴 어렵지만 앱을 만드신다니 멋짐니다 ㅎㅎ
베이글 제이님 감사합니다😁
멋지네용!! ㅎ 개발자 화이팅입니다 ㅎ
응원 감사합니다.😀
개발자 화이팅입니다!! 다음에 쭉 읽고 저도 만들어봐야겠어요!
Congratulations @anpigon! You have completed the following achievement on Steemit and have been rewarded with new badge(s) :
Click on the badge to view your Board of Honor.
If you no longer want to receive notifications, reply to this comment with the word
STOPTo support your work, I also upvoted your post!
Do not miss the last post from @steemitboard:
SteemitBoard and the Veterans on Steemit - The First Community Badge.
잘만드셨네요.
코딩맨님 칭찬 감사합니다.😁