Mk.1 Male - Part 10 (ITA/ENG)
We continue the realization of the fantastic model of the MK.1. Today we create the rear exhaust of the tank and the first part of the first cart.
The other parts can be found here:
- PREFACE + VIDEO
- PART 1
- PART 2
- PART 3
- PART 4
- PART 5
- PART 6
- PART 7
- PART 8 + VIDEO Battlefield 1 In Game Footage - Mark 1
- PART 9
Photos, images and videos taken by myself during the construction of the model.
Continuiamo la realizzazione del fantastico modellino dell'Mk.1. Oggi creiamo lo scarico posteriore del tank e la prima parte del primo carrello.
Le altre parti è possibile trovarle qui:
- PREFAZIONE + VIDEO
- PARTE 1
- PARTE 2
- PARTE 3
- PARTE 4
- PARTE 5
- PARTE 6
- PARTE 7
- PARTE 8 + VIDEO Battlefield 1 In Game Footage - Mark 1
- PARTE 9
Foto, immagini e video scattate dal sottoscritto durante la realizzazione del modellino.

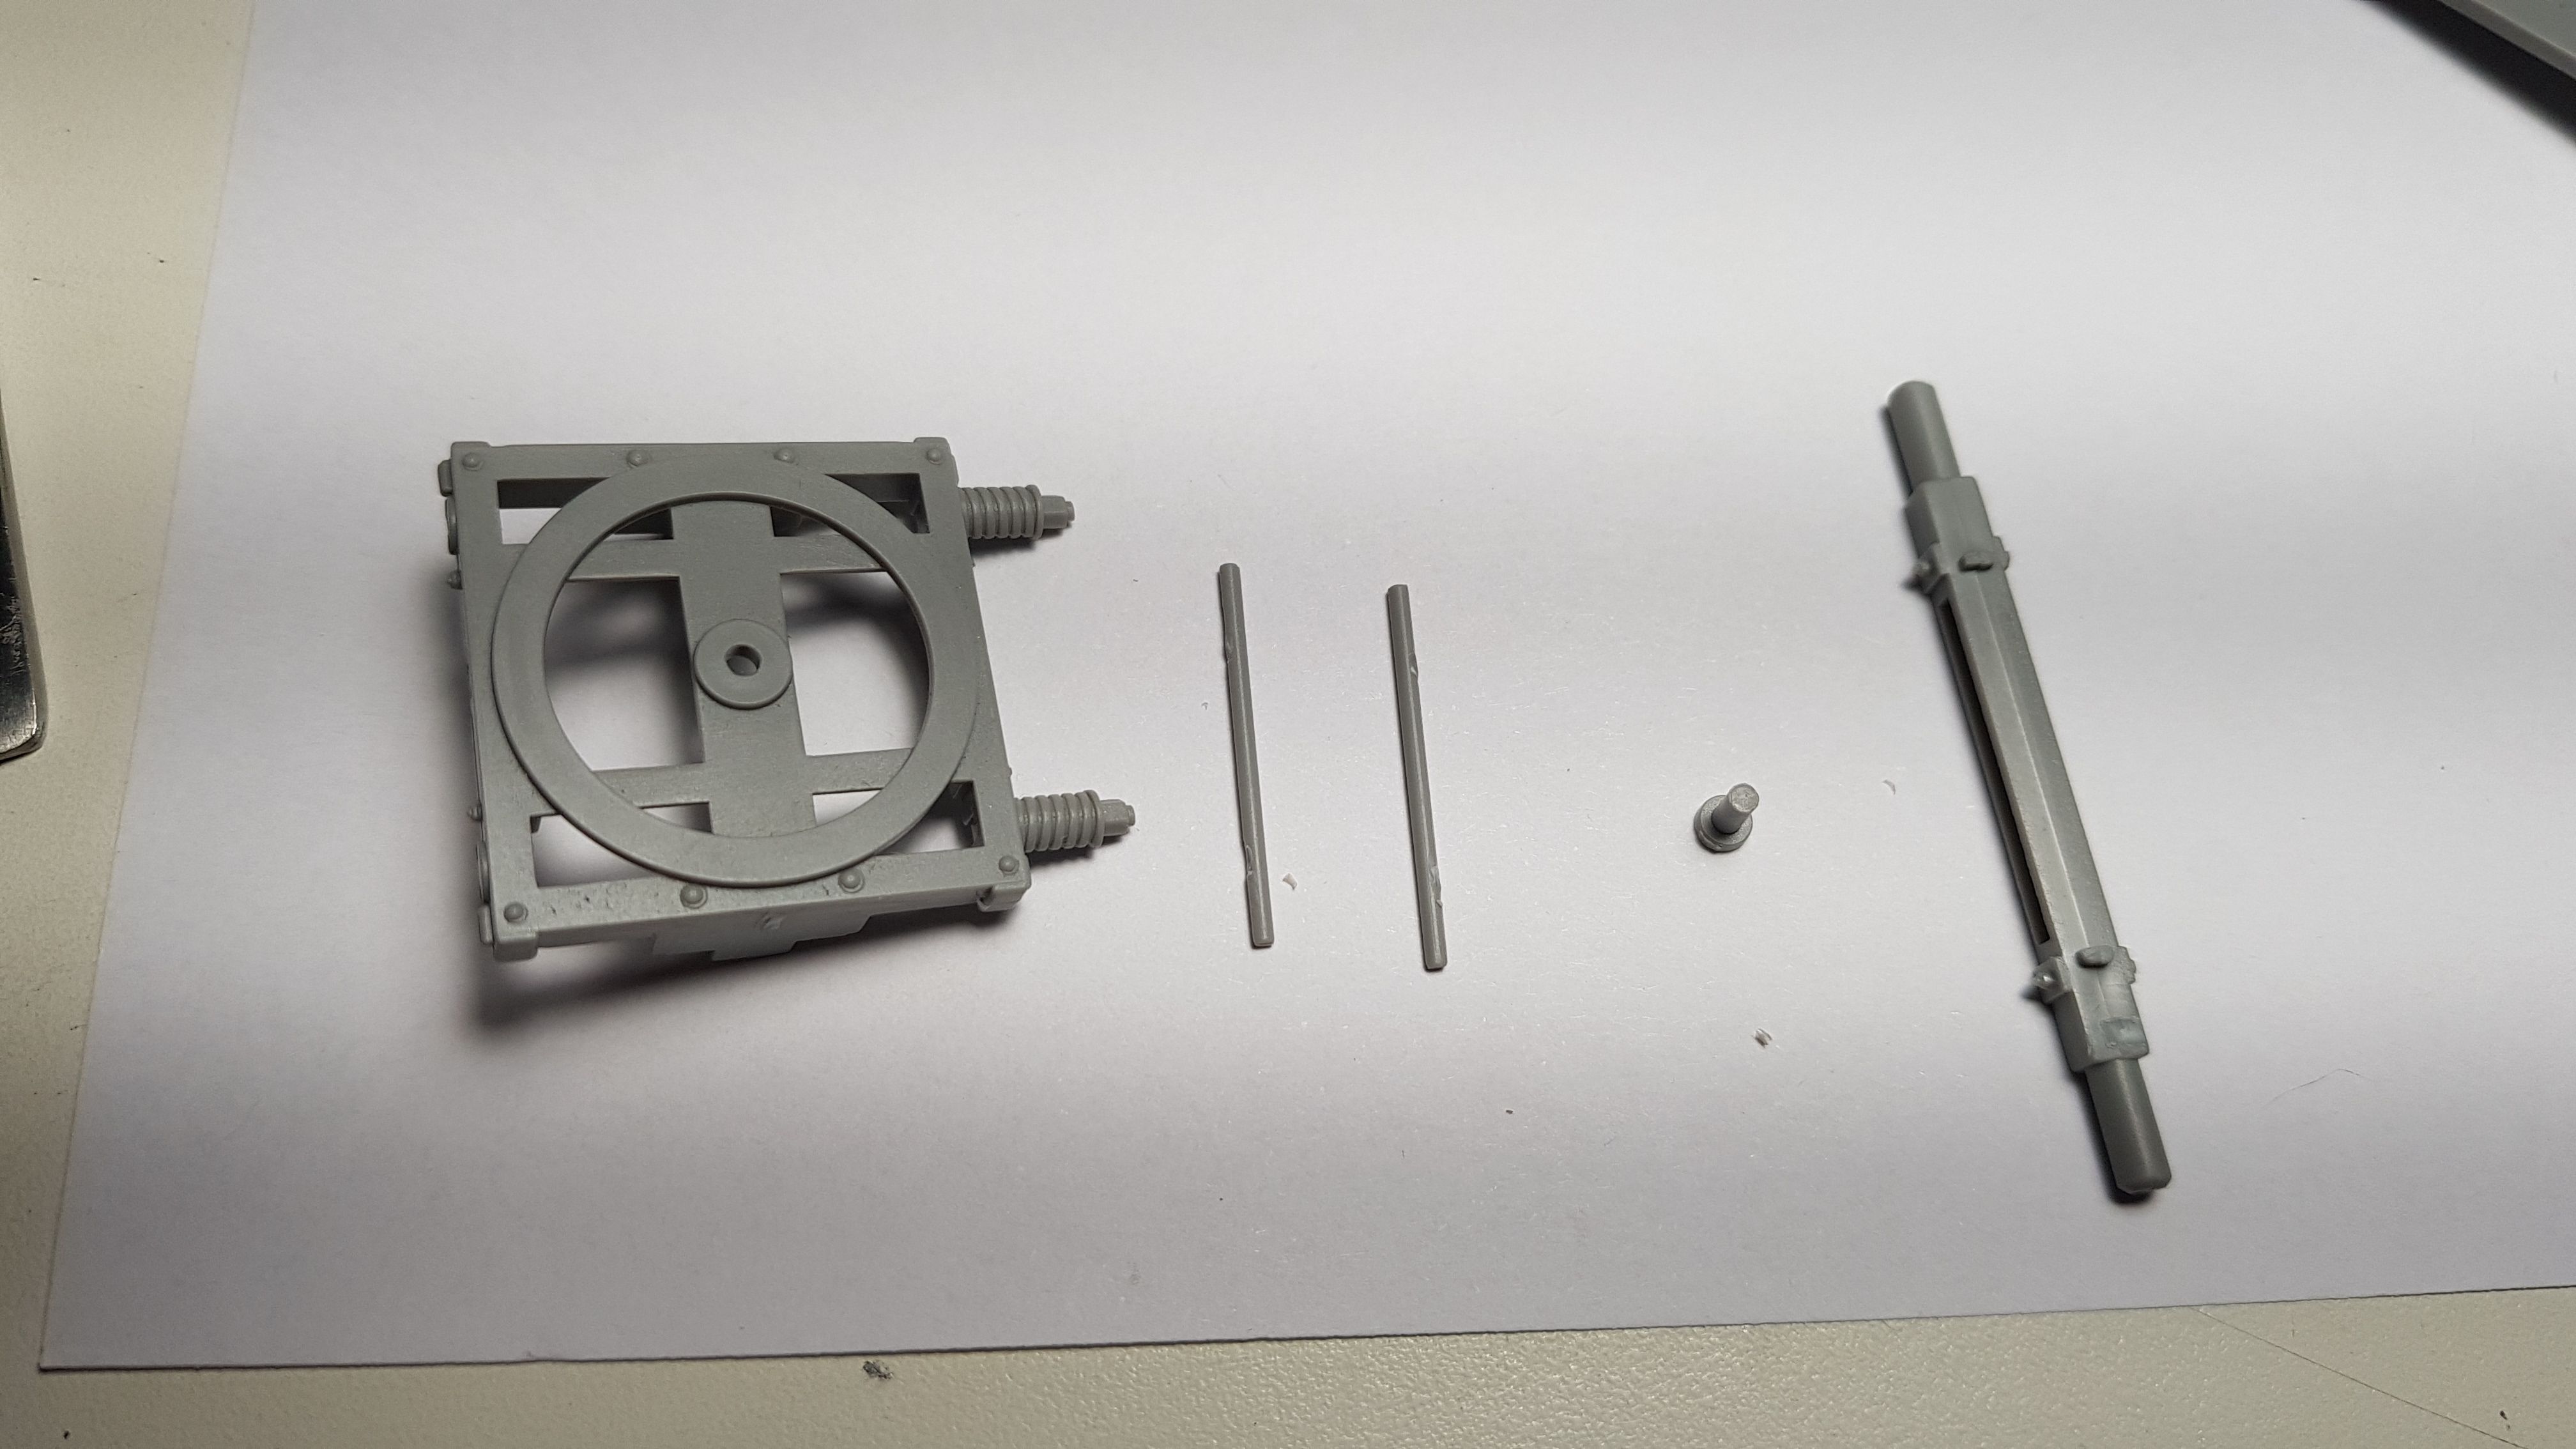
| Let's start with the cart of the front wheels that will give direction to the cart itself. From left to right: Trolley with shock absorbers; Two central closures; Pin; Axle for the front wheels. | Cominciamo col carrello delle ruopte anteriori che darà la direzione al carrello stesso. Da inistra a destra: Carrello con ammortizzatori; Due chiusure centrali; Perno; Asse per le ruote anteriori. |
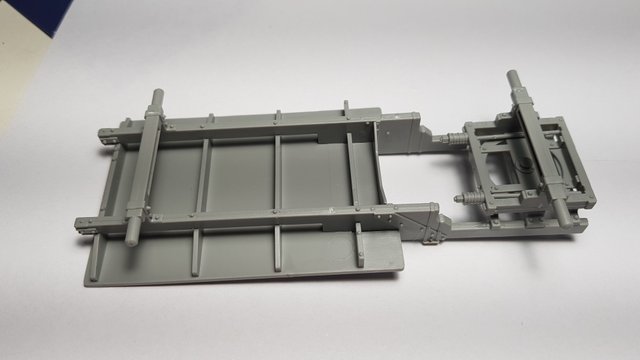
| Mounted the whole here is also inserted the directional trolley under the cart itself. Let the glue dry | Montato il tutto ecco inserito anche il carrello direzionale sotto al carrello vero e proprio. Lasciamo asciugare la colla |
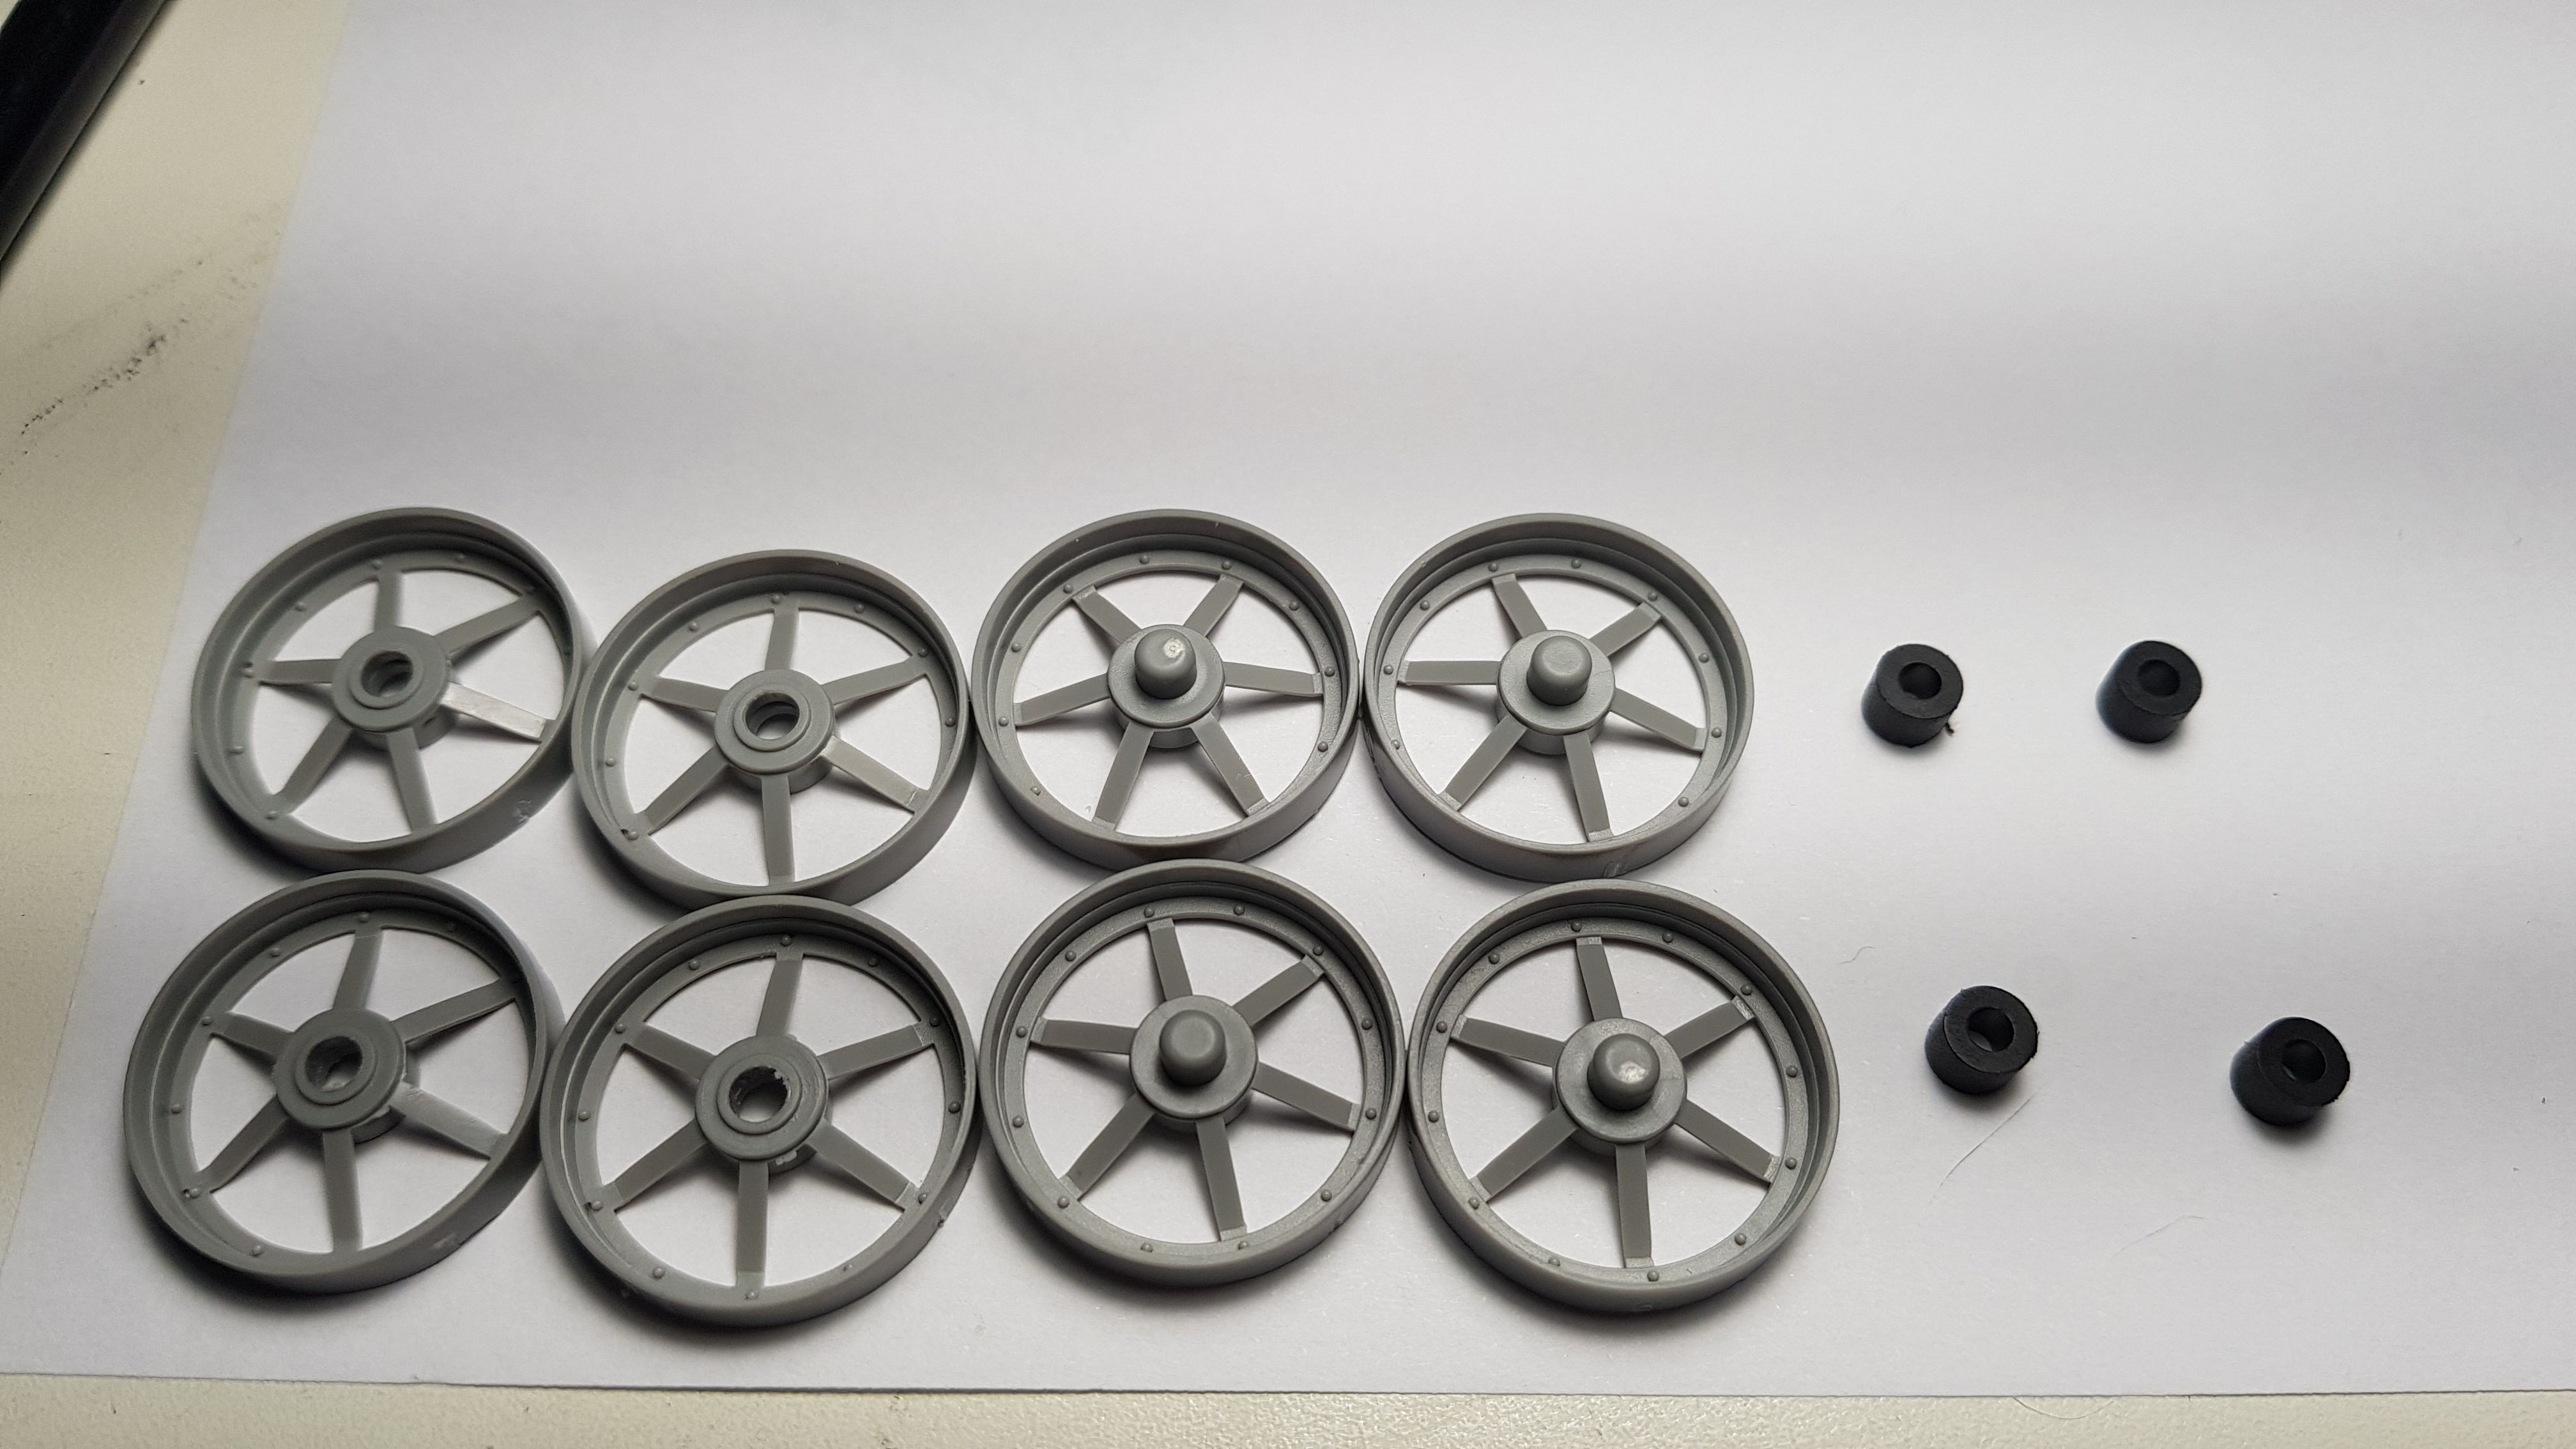
| The wheels. Four wheels obviously divided by pair, for a total of eight semi-wheels. In addition the four pieces of silicone that will create friction with the wheel axles making the wheels move independently | Le ruote. Quattro ruote ovviamente divise per coppia, per un totale di otto semiruote. In più i quattro pezzi di silicone che andranno a creare attrito con gli assi delle ruote facendo muovere le ruote in modo autonomo |
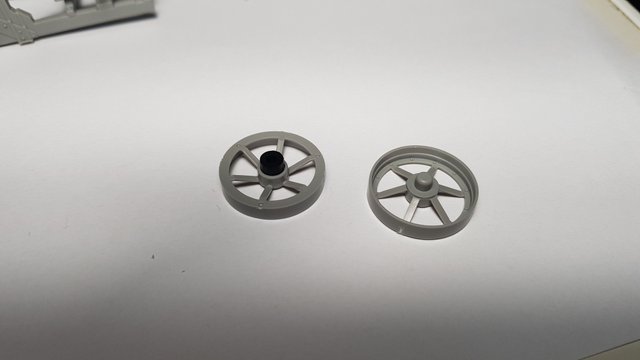
| Here we can see how the wheels will be closed: The lower part will house the silicone cylinder, then the upper part of the wheel will cover everything. | Qui possiamo notare come verranno chiuse le ruote: La parte inferiore alloggerà il cilindro in silicone, poi la parte superiore della ruota andrà a coprire il tutto. |
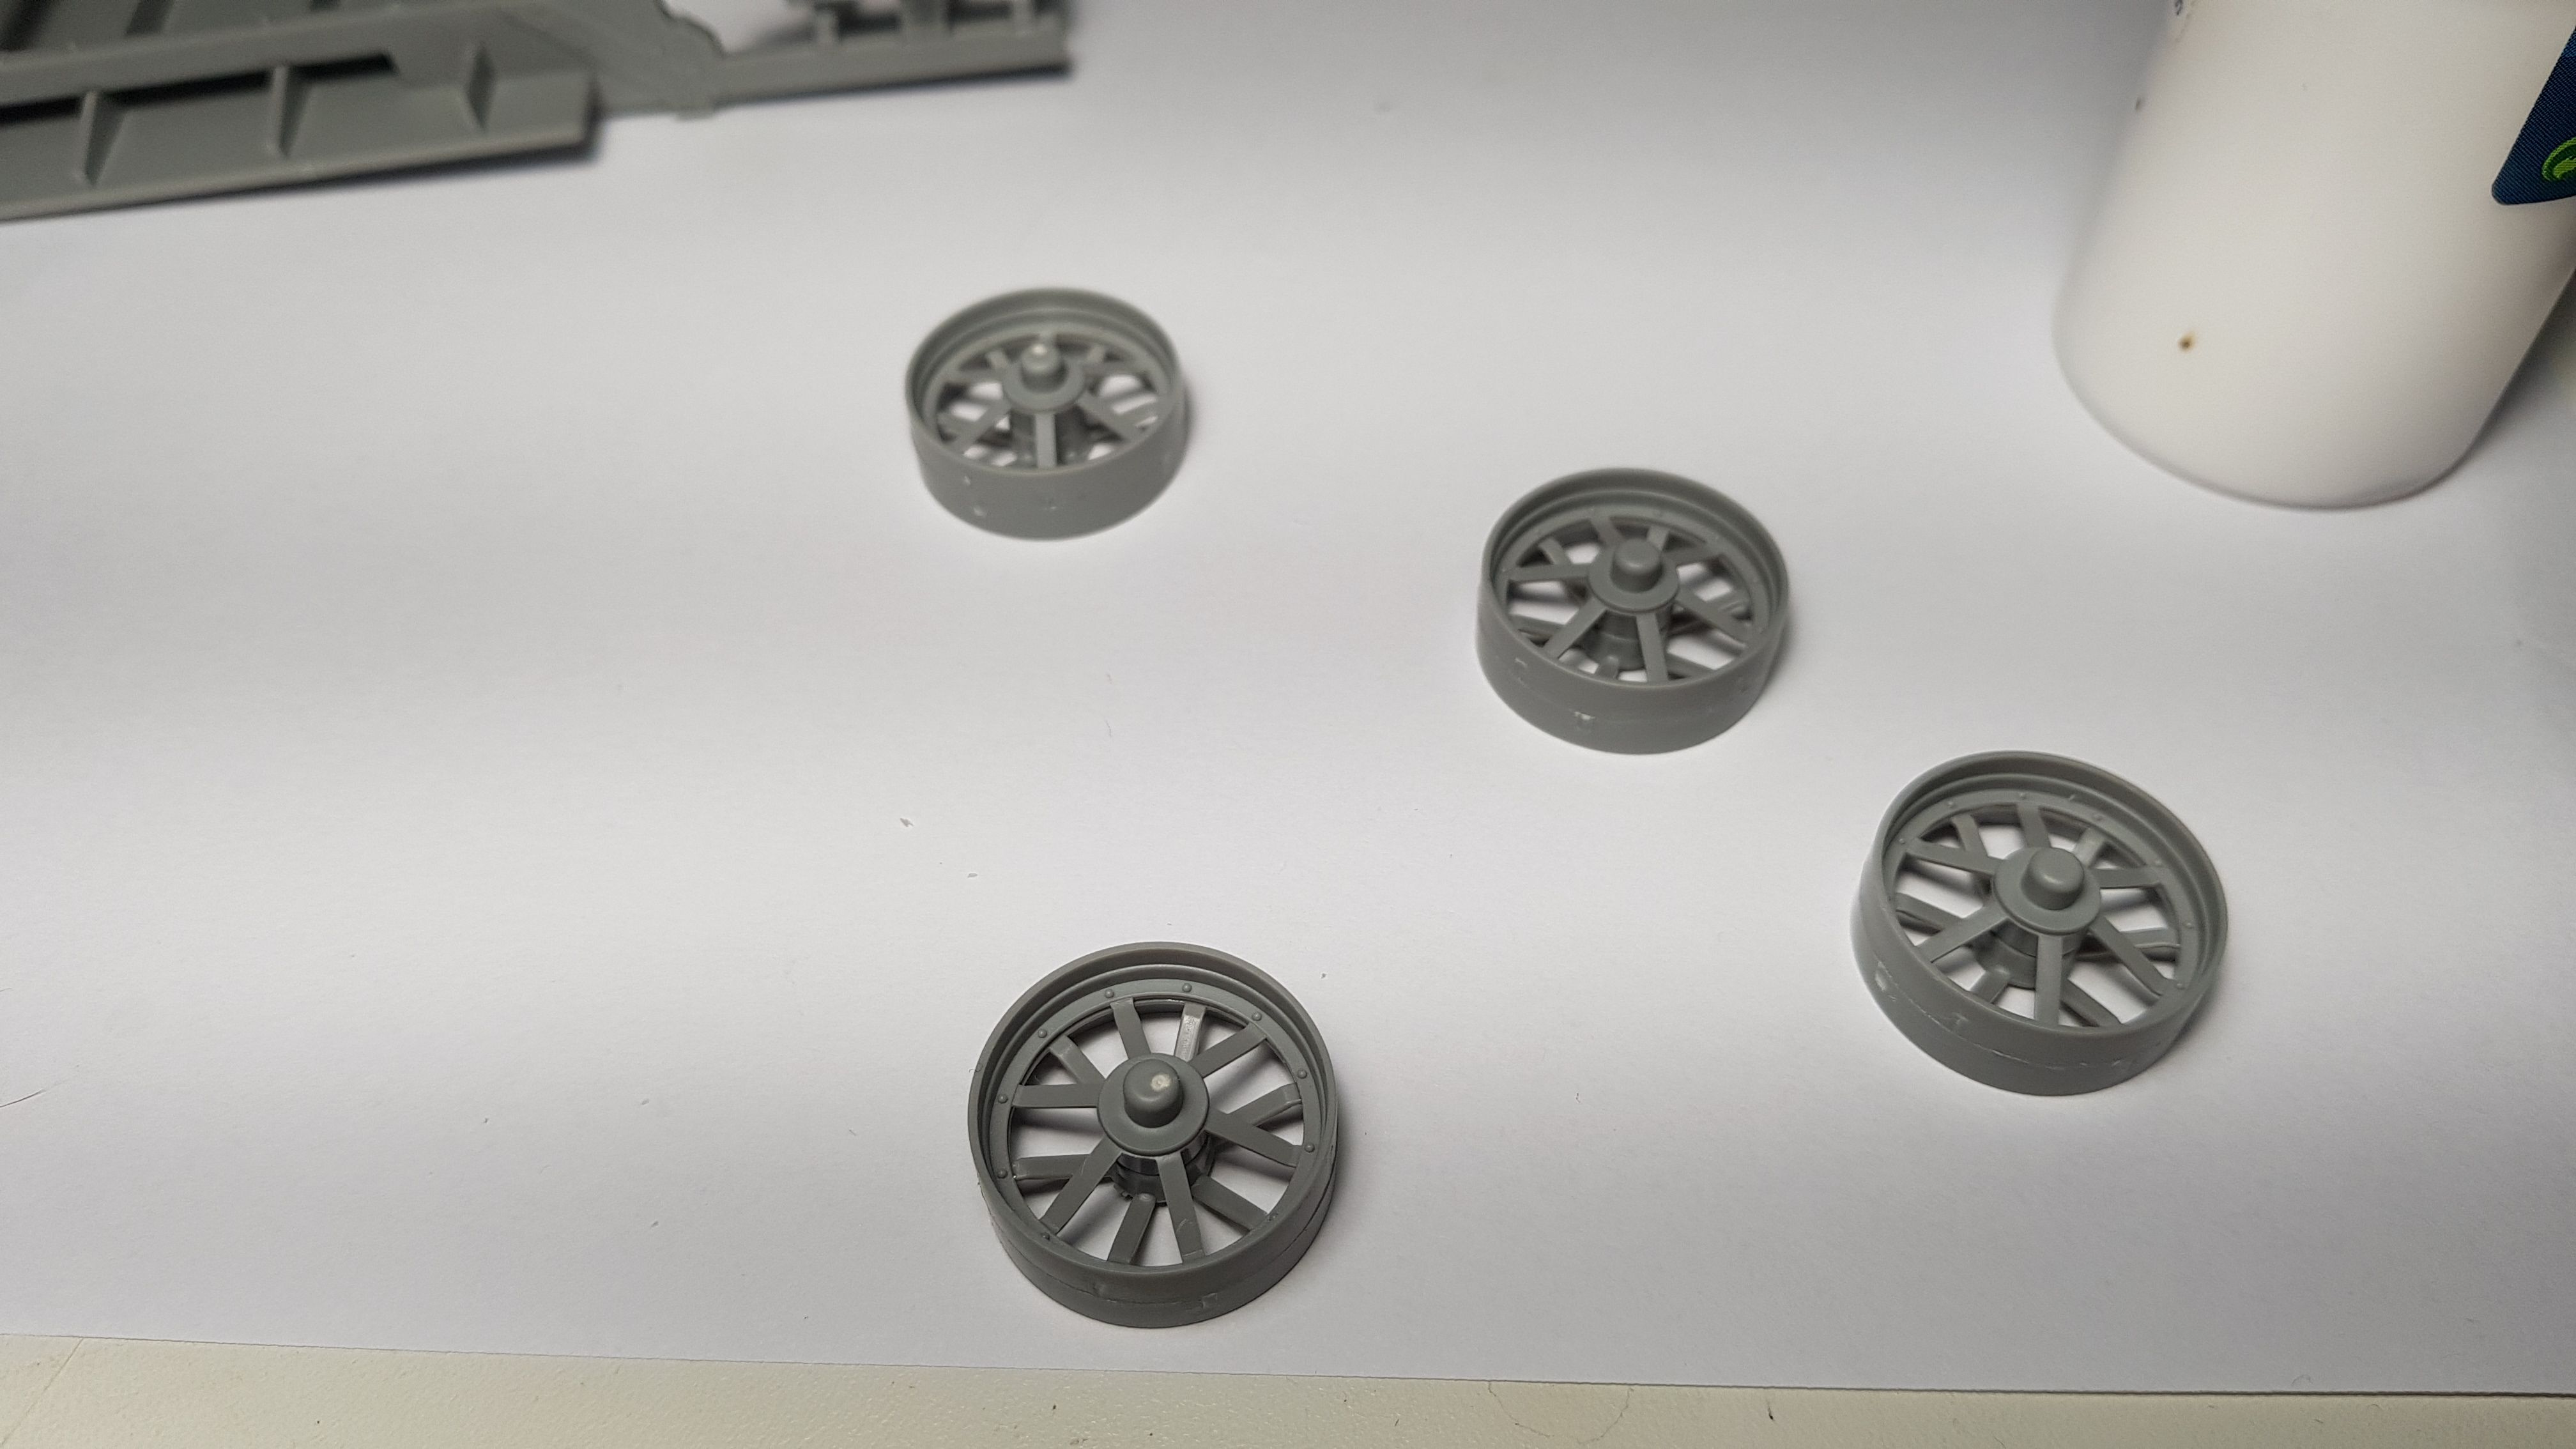
| Create all four wheels here as they appear; closed with the glue will have the beams available in reverse so as to have more support and support of the loads of the trolley | Create tutte e quattro le ruote ecco come appaiono; chiuse con la colla avranno dei raggi a disposizione inversa così da avere maggior appoggio e sostegno dei carichi del carrello |
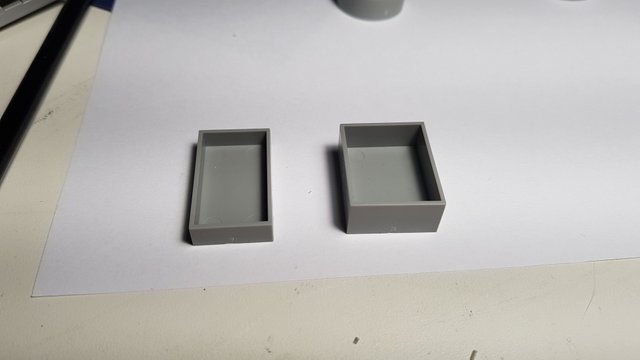
| Now it's up to two containers that will be housed in the front of the cart | Ora tocca a due recipienti che andranno alloggiati nella parte anteriore del carrello |
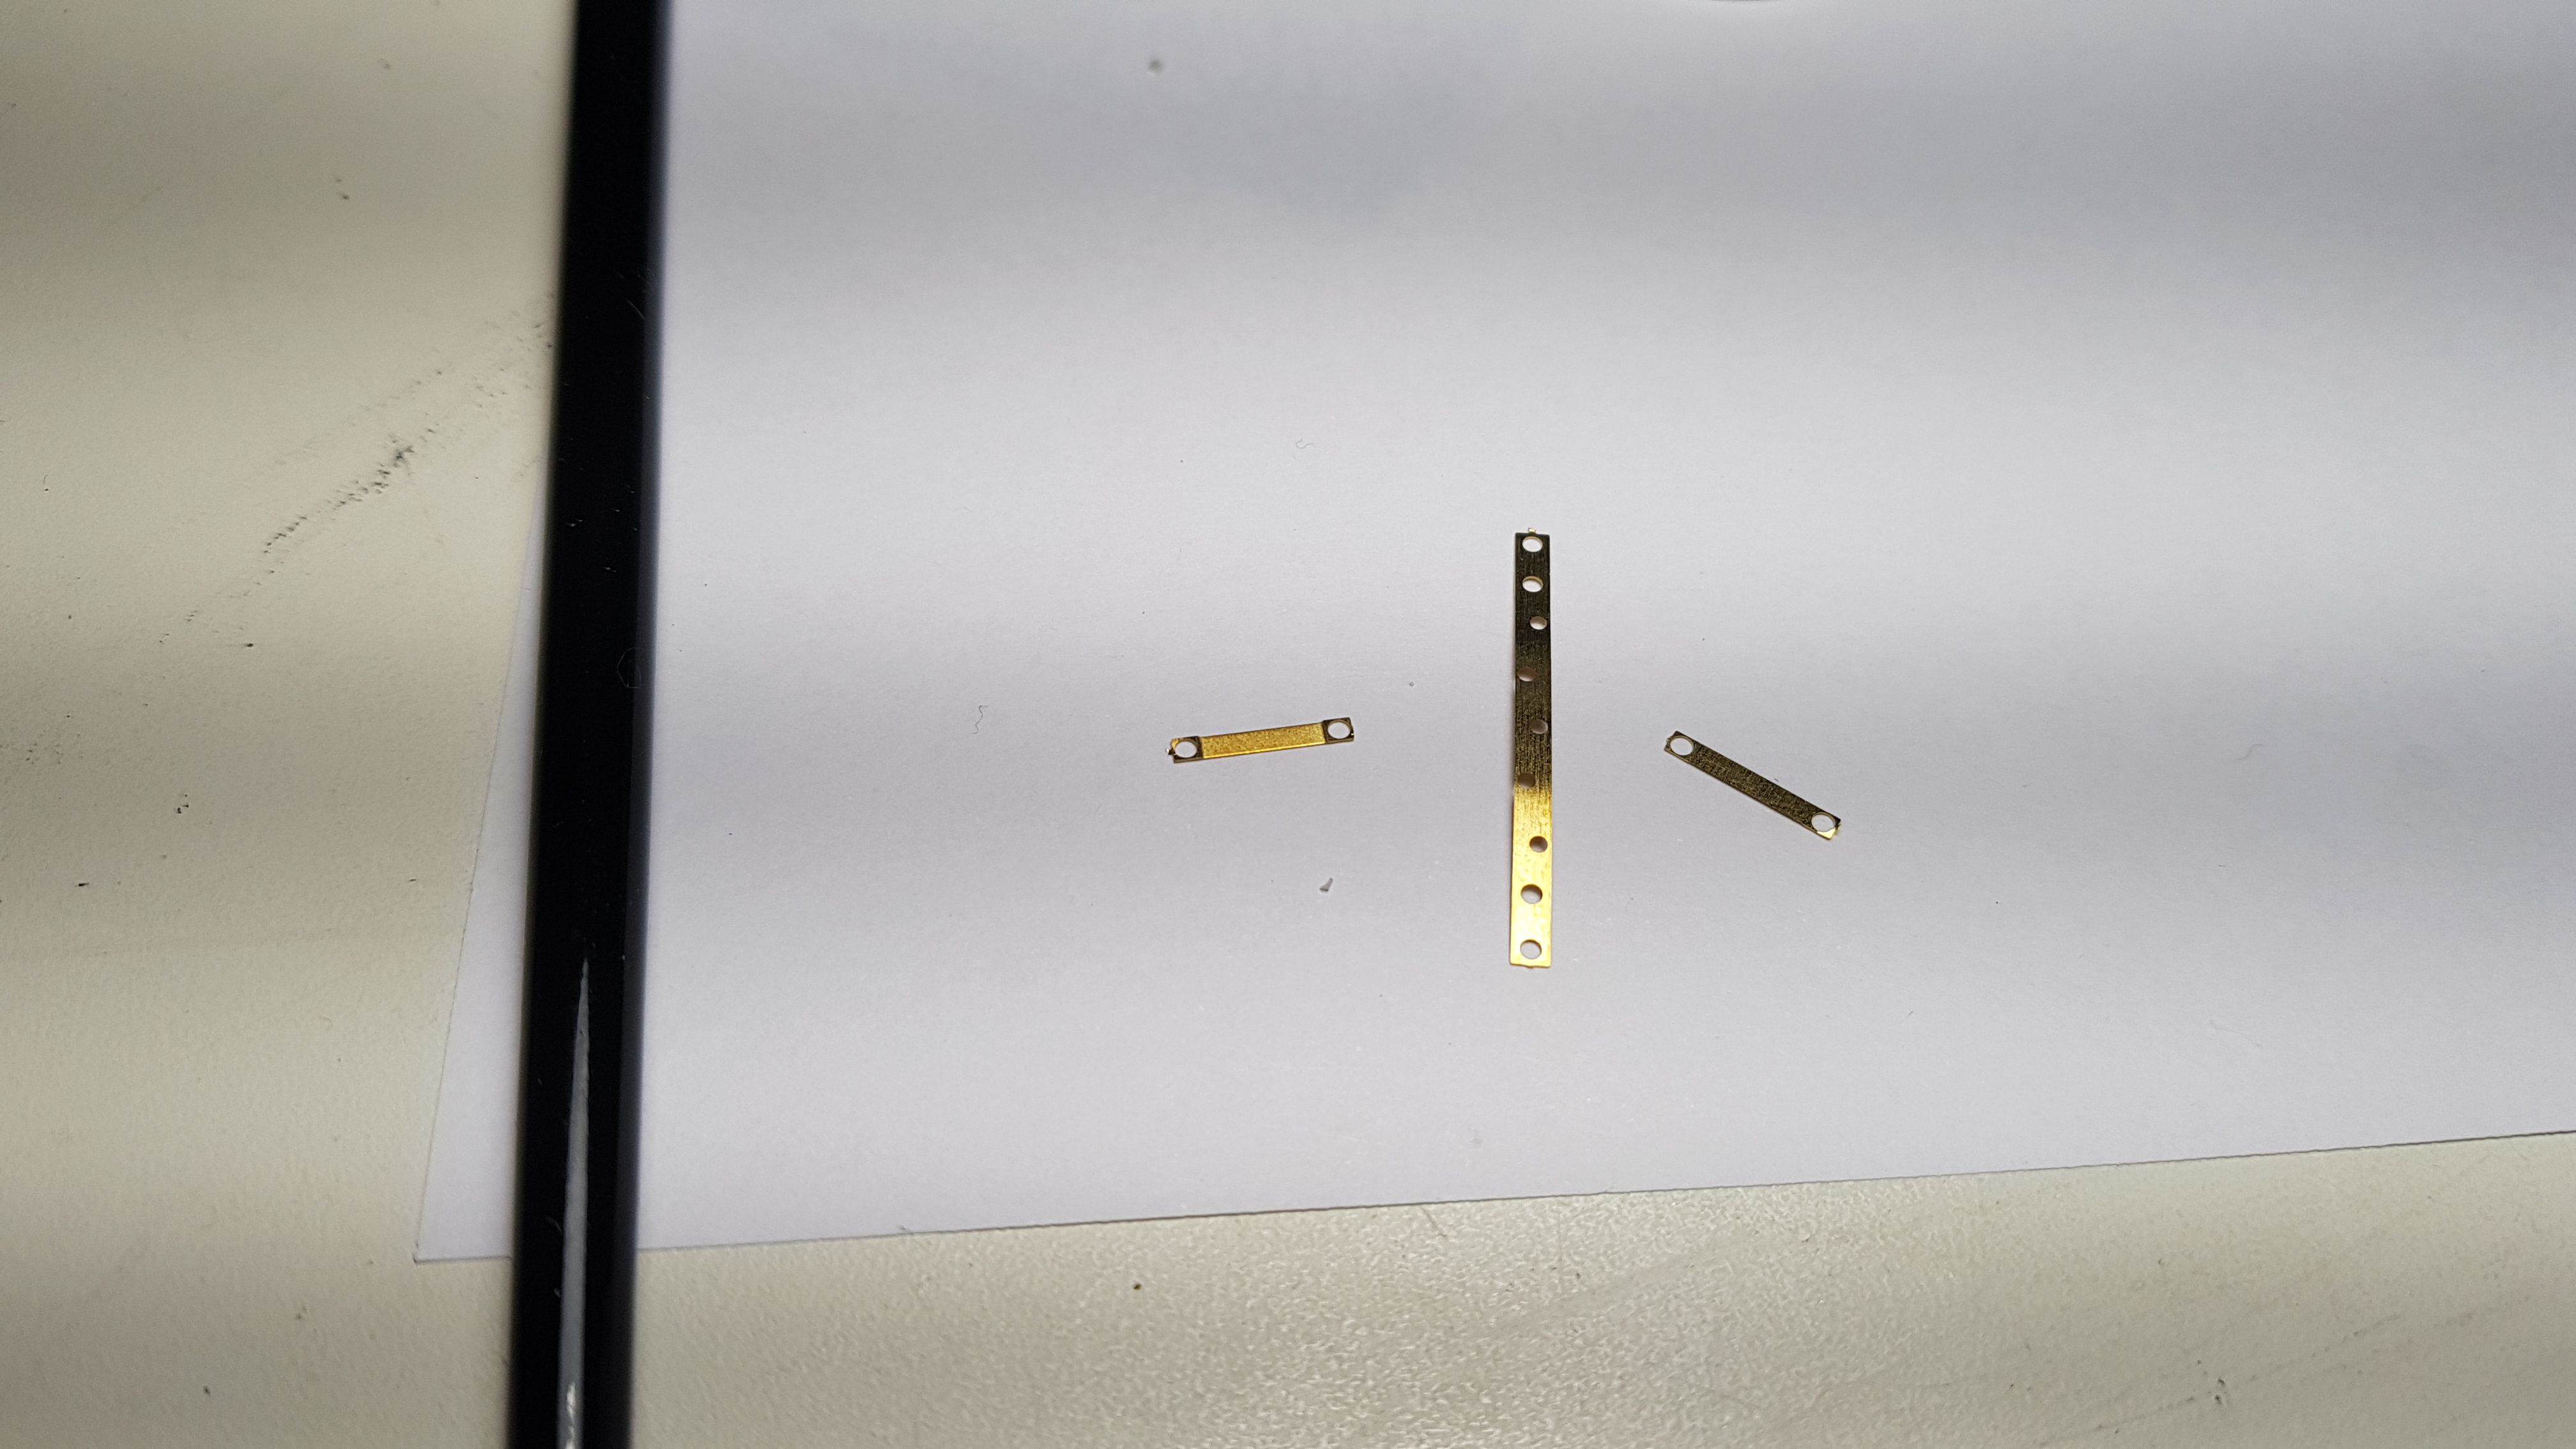
| These small brass pieces will create anchoring semicircles to be placed on top of the trolley platform. You have to bend them with MANY calm by using a pencil and placing them in their bonding bases | Questi piccoli pezzi in ottone creeranno dei semicerchi di ancoraggio da posizionare sopra la pedana del carrello. Bisogna piegarli con MOLTA calma aiutandosi con una matita e alloggiarli nelle loro basi di incollaggio |
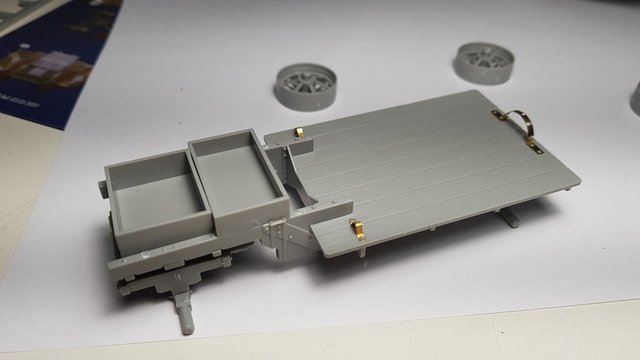
| Here are mounted both the front containers and the three brass pieces already folded and glued. Now the most beautiful part is missing: THE COLOR | Ecco qui montati sia i recipienti anteriori che i tre pezzi in ottone già piegati e incollati. Ora manca la parte più bella: COLORARE |

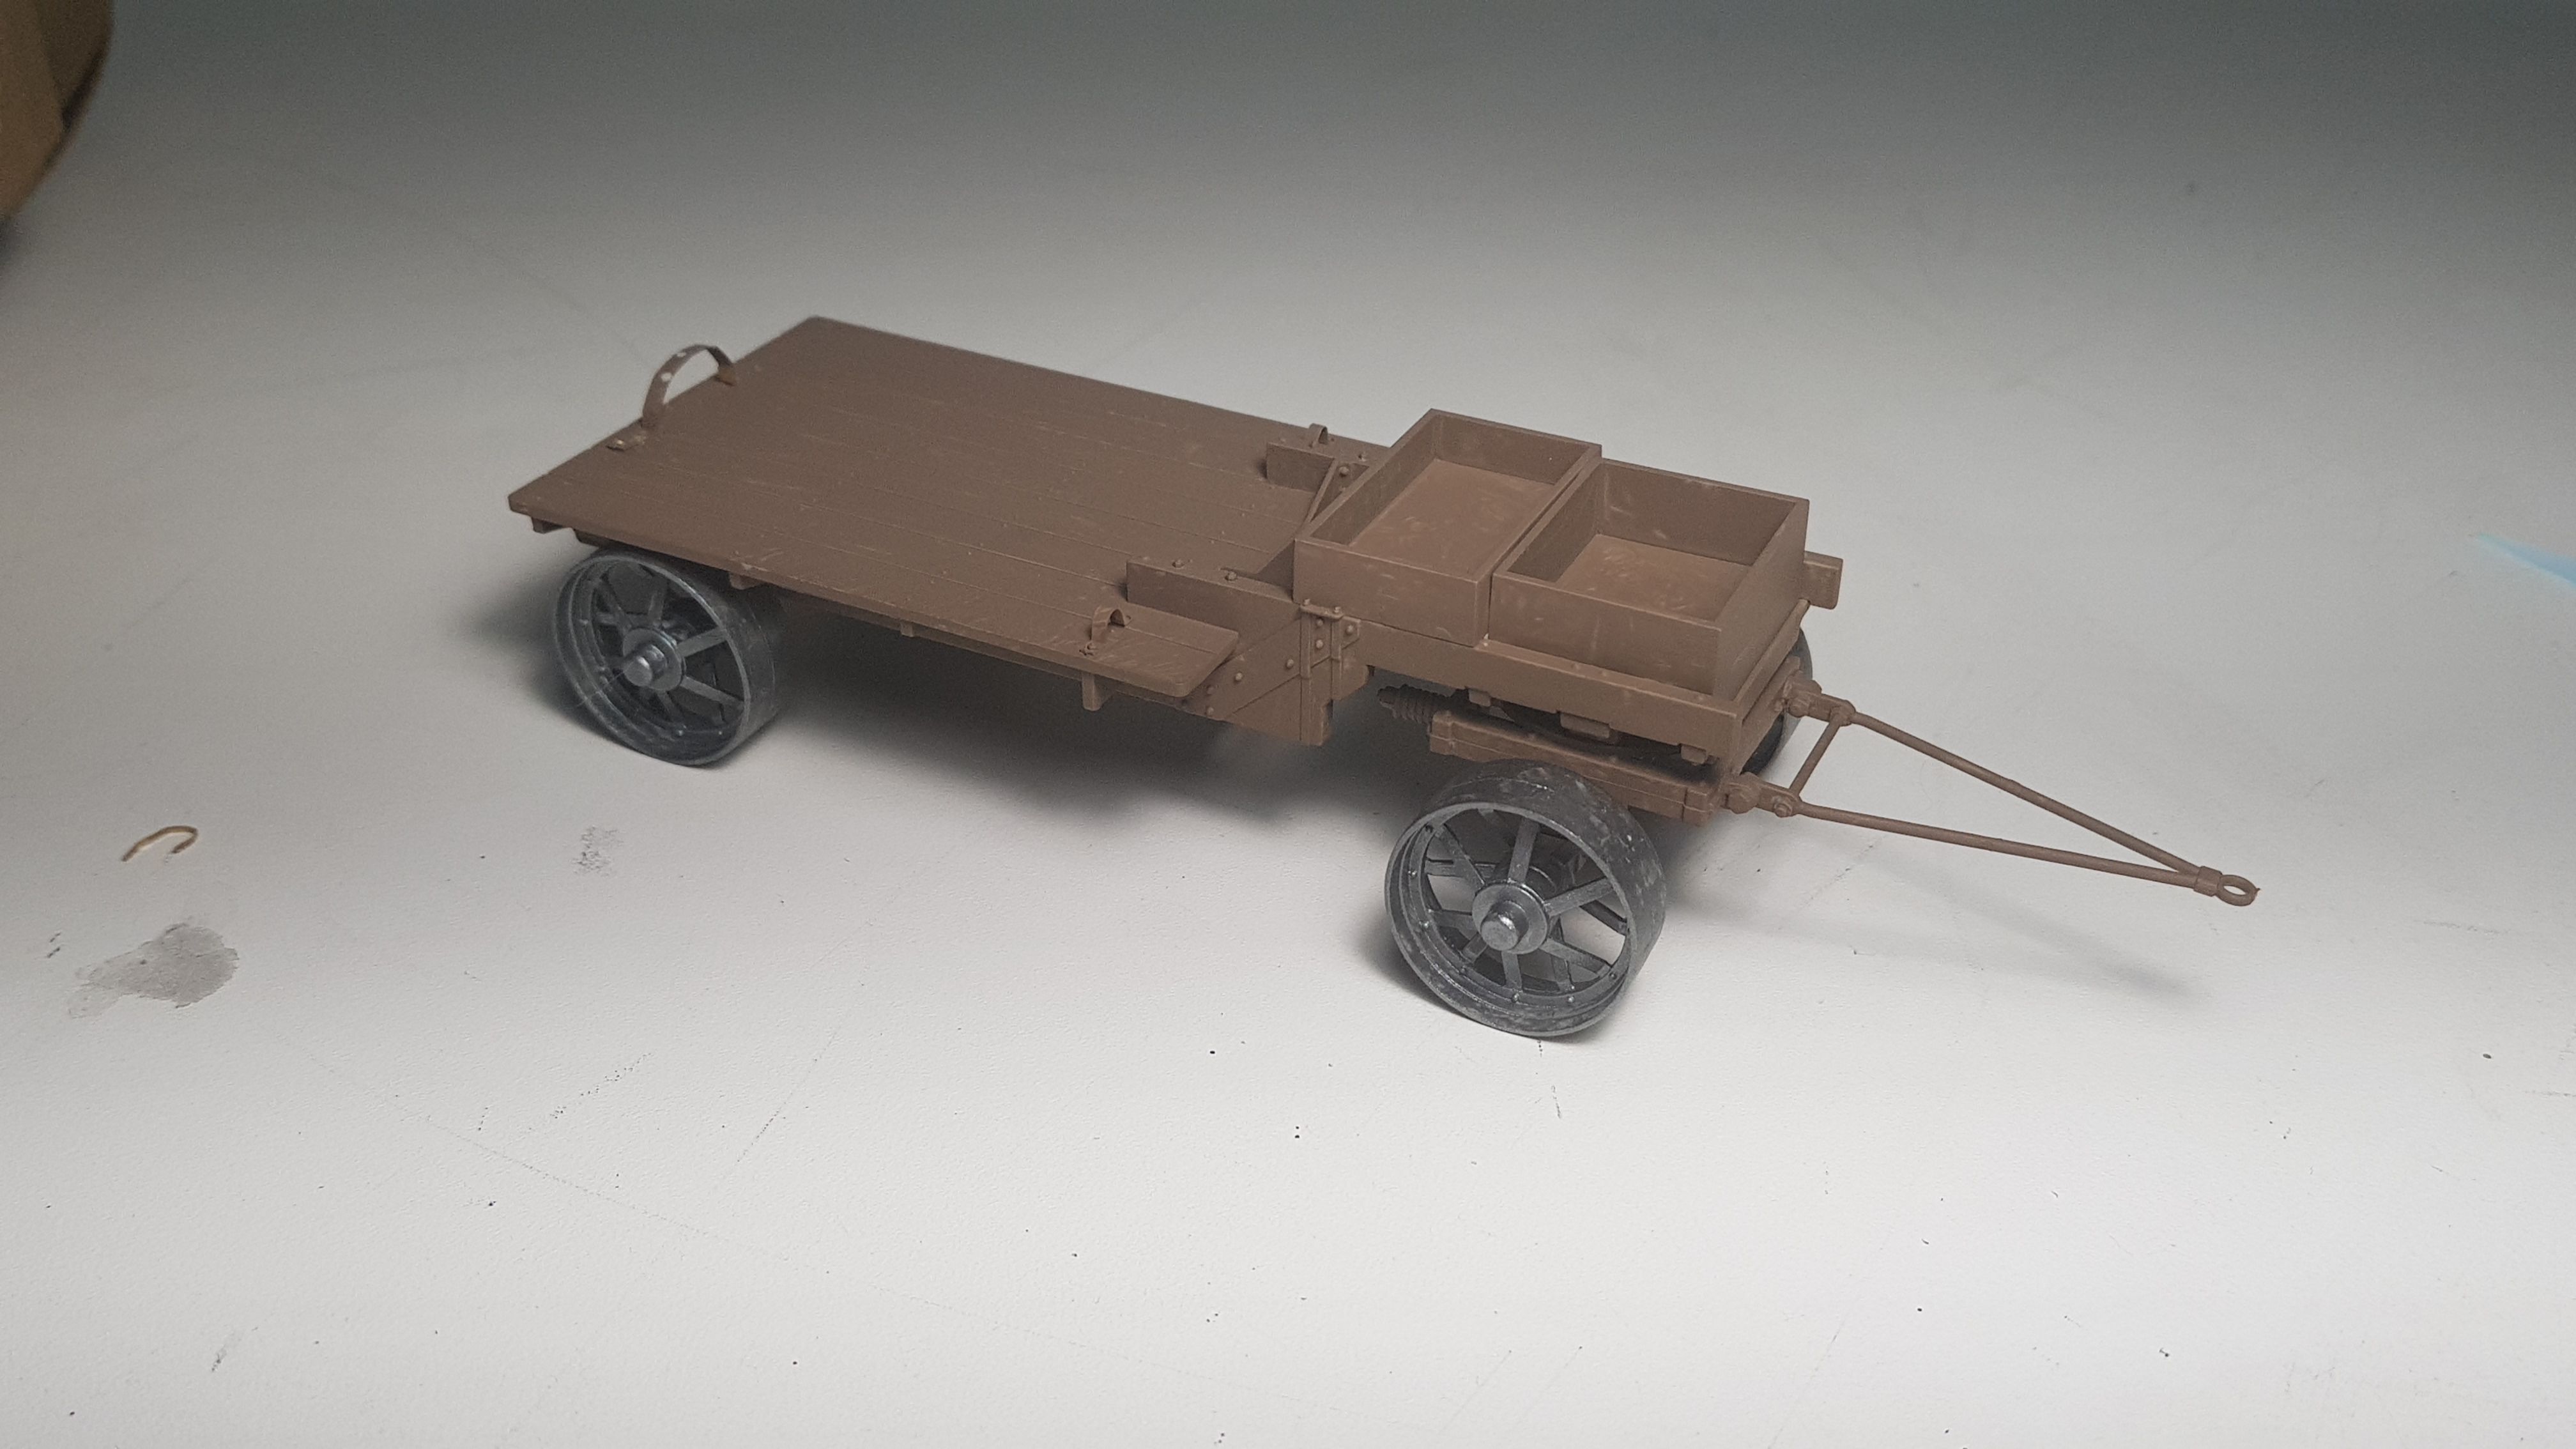
| Colored the cart and insert the wheels I forgot to add the front conical part, or the cart towing. Everything was colored in dark brown and pinch of black, Wrought iron wheels | Colorato il carrello e inserite le ruote mi sono dimenticati di azggiungere la parte frontale conica, ovvero il traino del carrello. Tutto è stato colorato in marrone scuro e pizzico di nero, Ruote in ferro battuto |
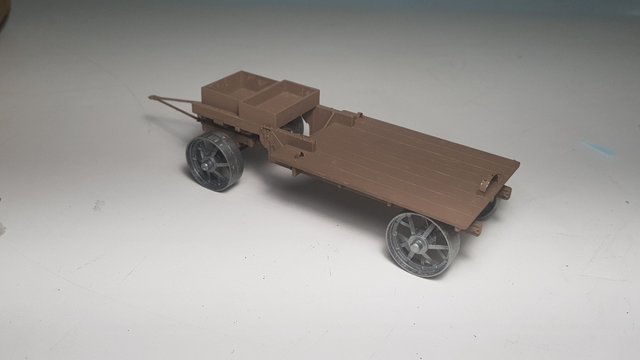
| Rear view of the finished cart. The detail that I will then see in the final video is that the wheels move smoothly frictioned by the silicone cylinder inside the wheels (as we saw above). Tomorrow it's up to the second cart | Vista posteriore del carrello finito. Il particolare che poi farò vedere in video finale è che le ruote si muovono tranquillamente frizionate dal cilindro in silicone presente dentro le ruote (come abbiamo visto sopra). Domani tocca al secondo carrello |


Grazie dei voti!