Mk.1 Male - Part 9 (ITA/ENG)
We continue the realization of the fantastic model of the MK.1. Today we create the rear exhaust of the tank and the first part of the first cart.
The other parts can be found here:
- PREFACE + VIDEO
- PART 1
- PART 2
- PART 3
- PART 4
- PART 5
- PART 6
- PART 7
- PART 8 + VIDEO Battlefield 1 In Game Footage - Mark 1
Photos, images and videos taken by myself during the construction of the model.
Continuiamo la realizzazione del fantastico modellino dell'Mk.1. Oggi creiamo lo scarico posteriore del tank e la prima parte del primo carrello.
Le altre parti è possibile trovarle qui:
- PREFAZIONE + VIDEO
- PARTE 1
- PARTE 2
- PARTE 3
- PARTE 4
- PARTE 5
- PARTE 6
- PARTE 7
- PARTE 8 + VIDEO Battlefield 1 In Game Footage - Mark 1
Foto, immagini e video scattate dal sottoscritto durante la realizzazione del modellino.
| Let's start by creating the rear exhaust divided into 5 pieces: an upper part, two parts to be joined and the two support bases | Cominciamo col creare lo scarico posteriore diviso in 5 pezzi: una parte superiore, due parti da congiungere e le due basi di appoggio |
| United all the pieces the exhaust looks like this. The side covers must be added | Uniti tutti i pezzi lo scarico appare così. Bisogna aggiungere le coperture laterali |
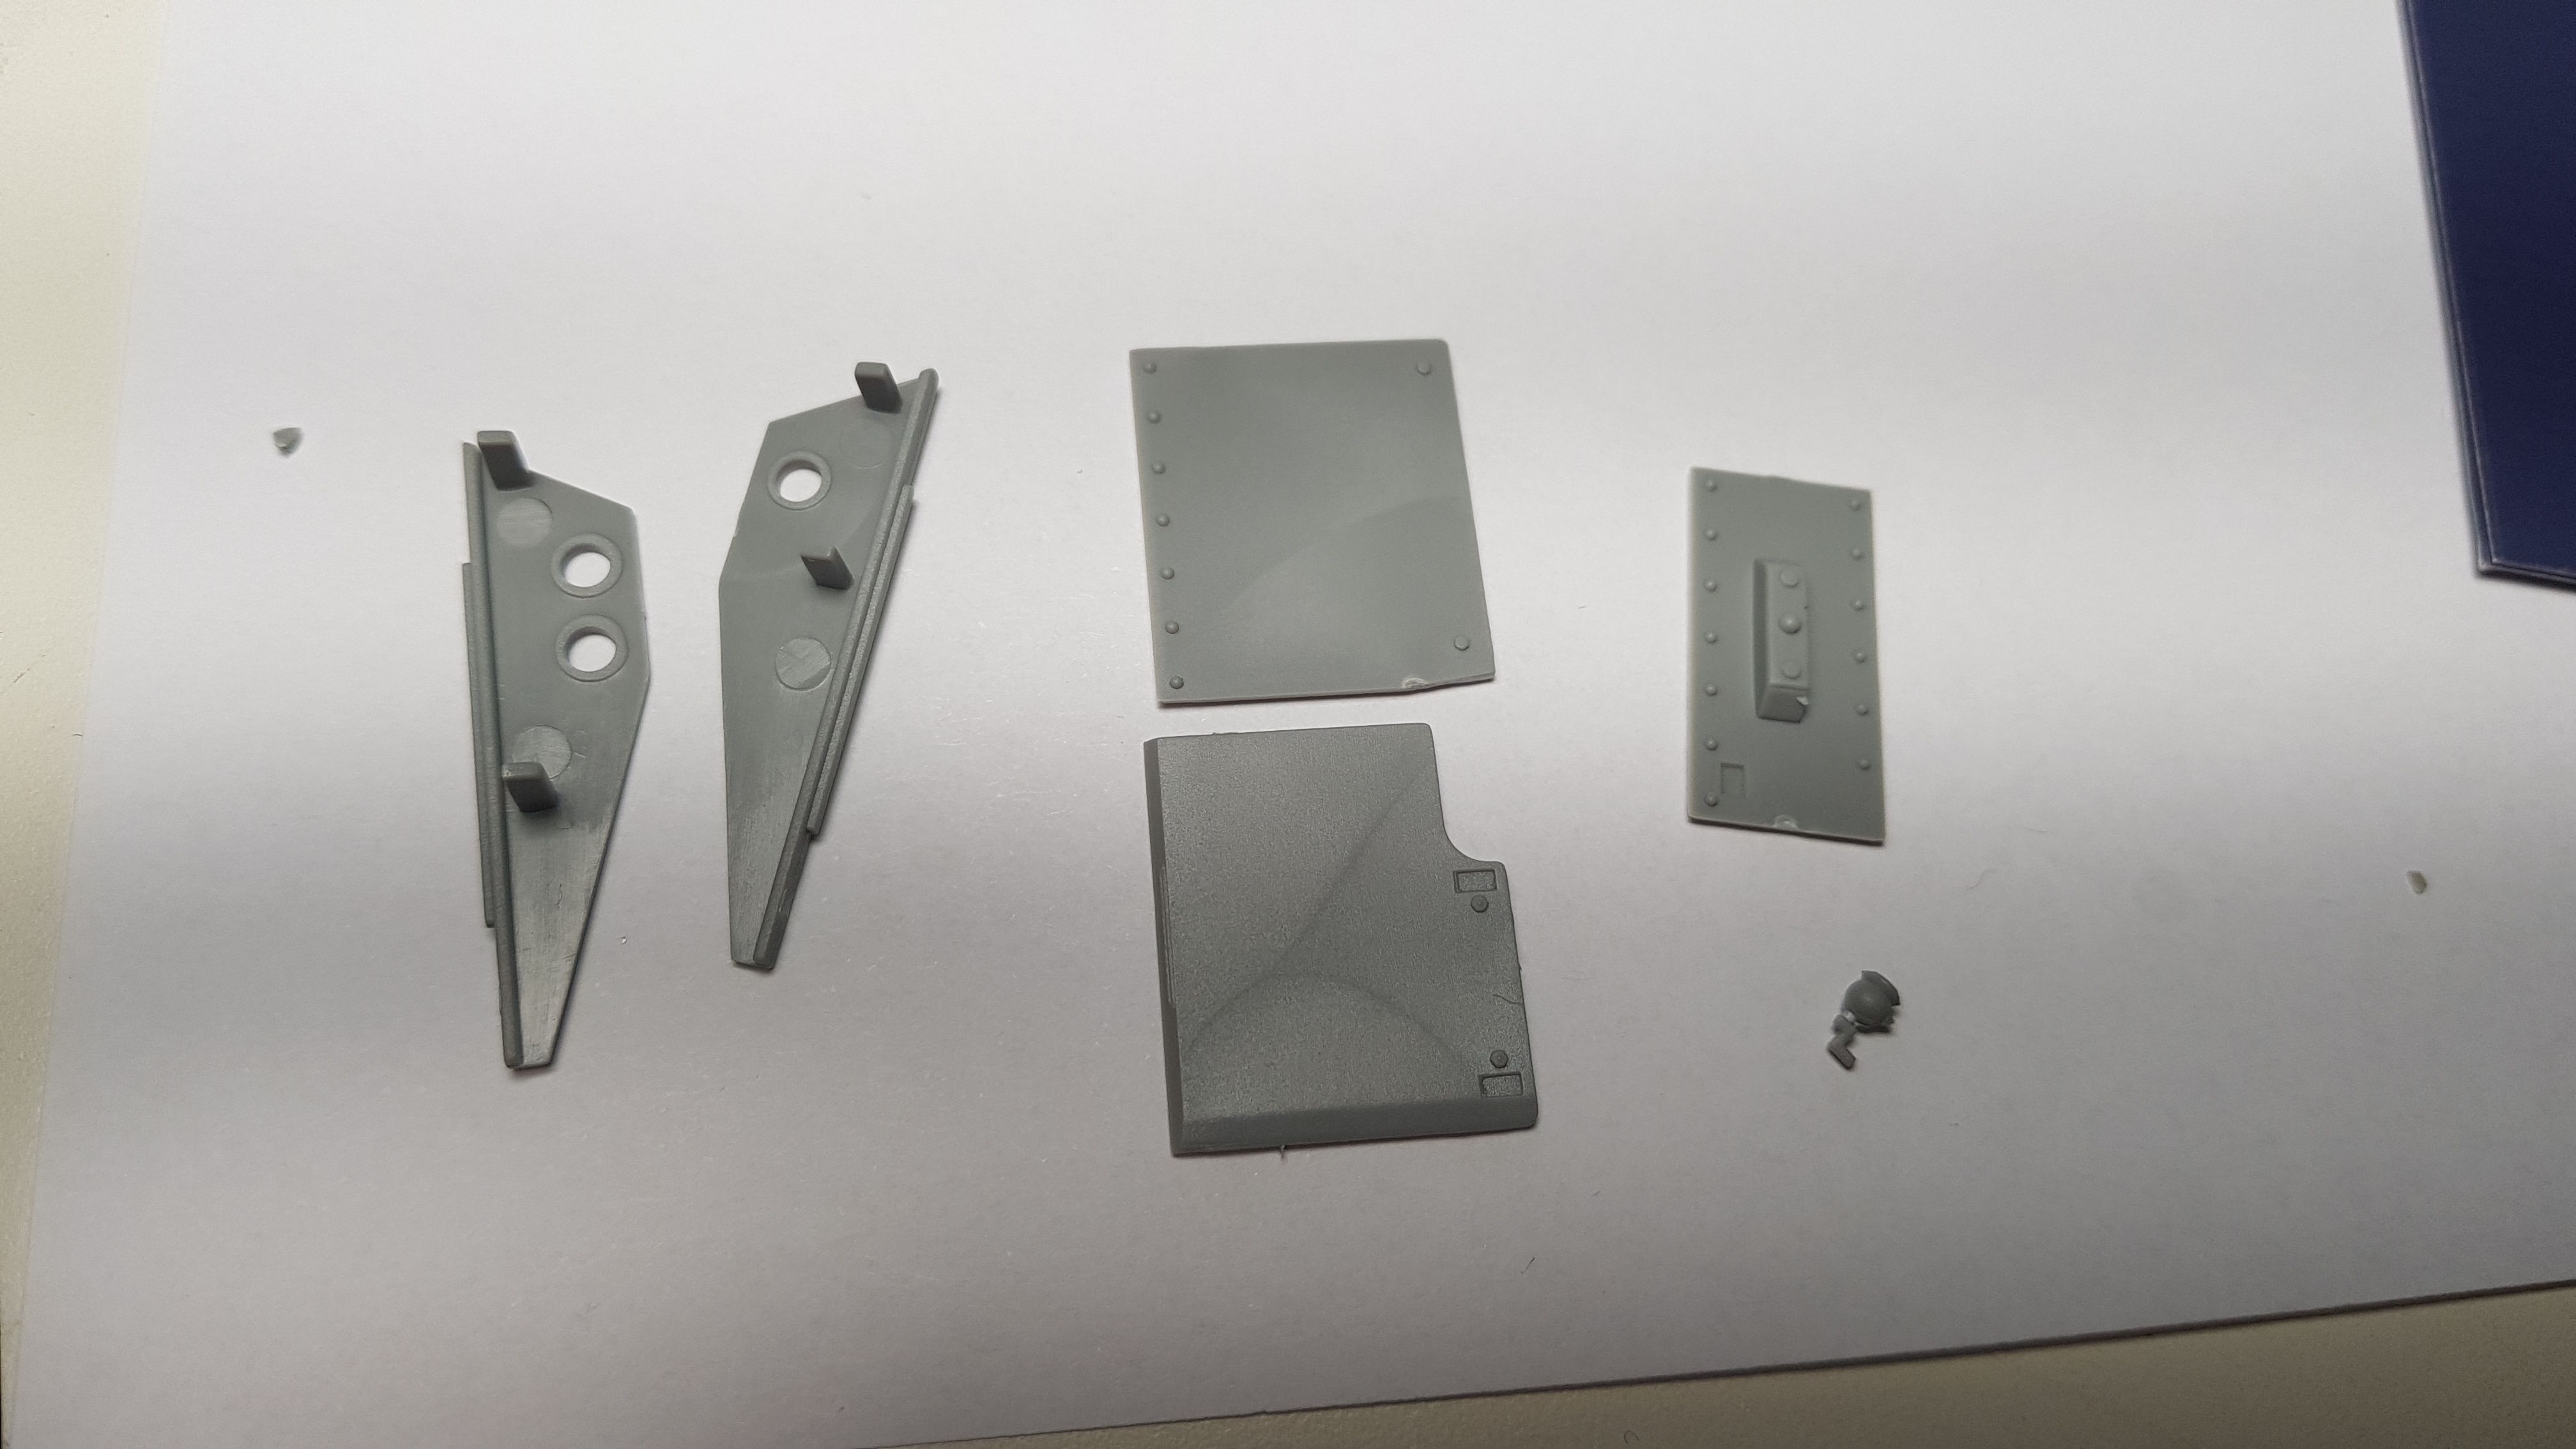
| Here they are. From left to right: Two anchorage parts to the drain; Two side guards; Frontal protection; Handle. | Eccole qua. Da sinistra a destra: Due parti di ancoraggio allo scarico; Due protezioni laterali; Protezione frontale; Maniglia. |
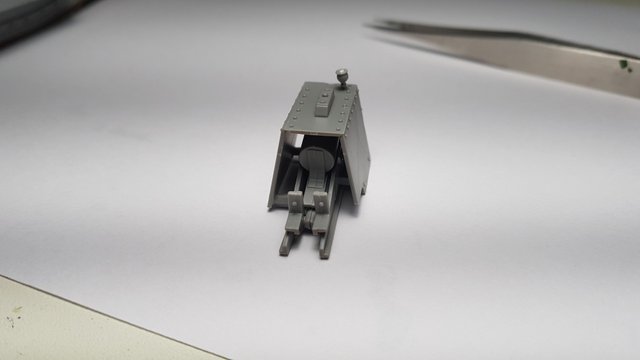
| Here's how it looks with a view from below. Let the glue dry. | Ecco come appare con vista da sotto. Lasciamo asciugare la colla. |
| Here's how it looks with a view from below. Let the glue dry. | Ecco come appare con vista da sotto. Lasciamo asciugare la colla. |
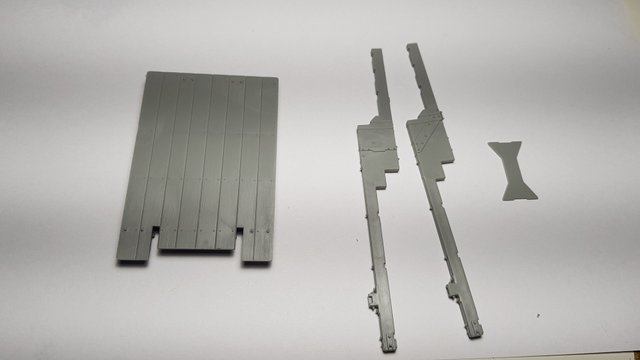
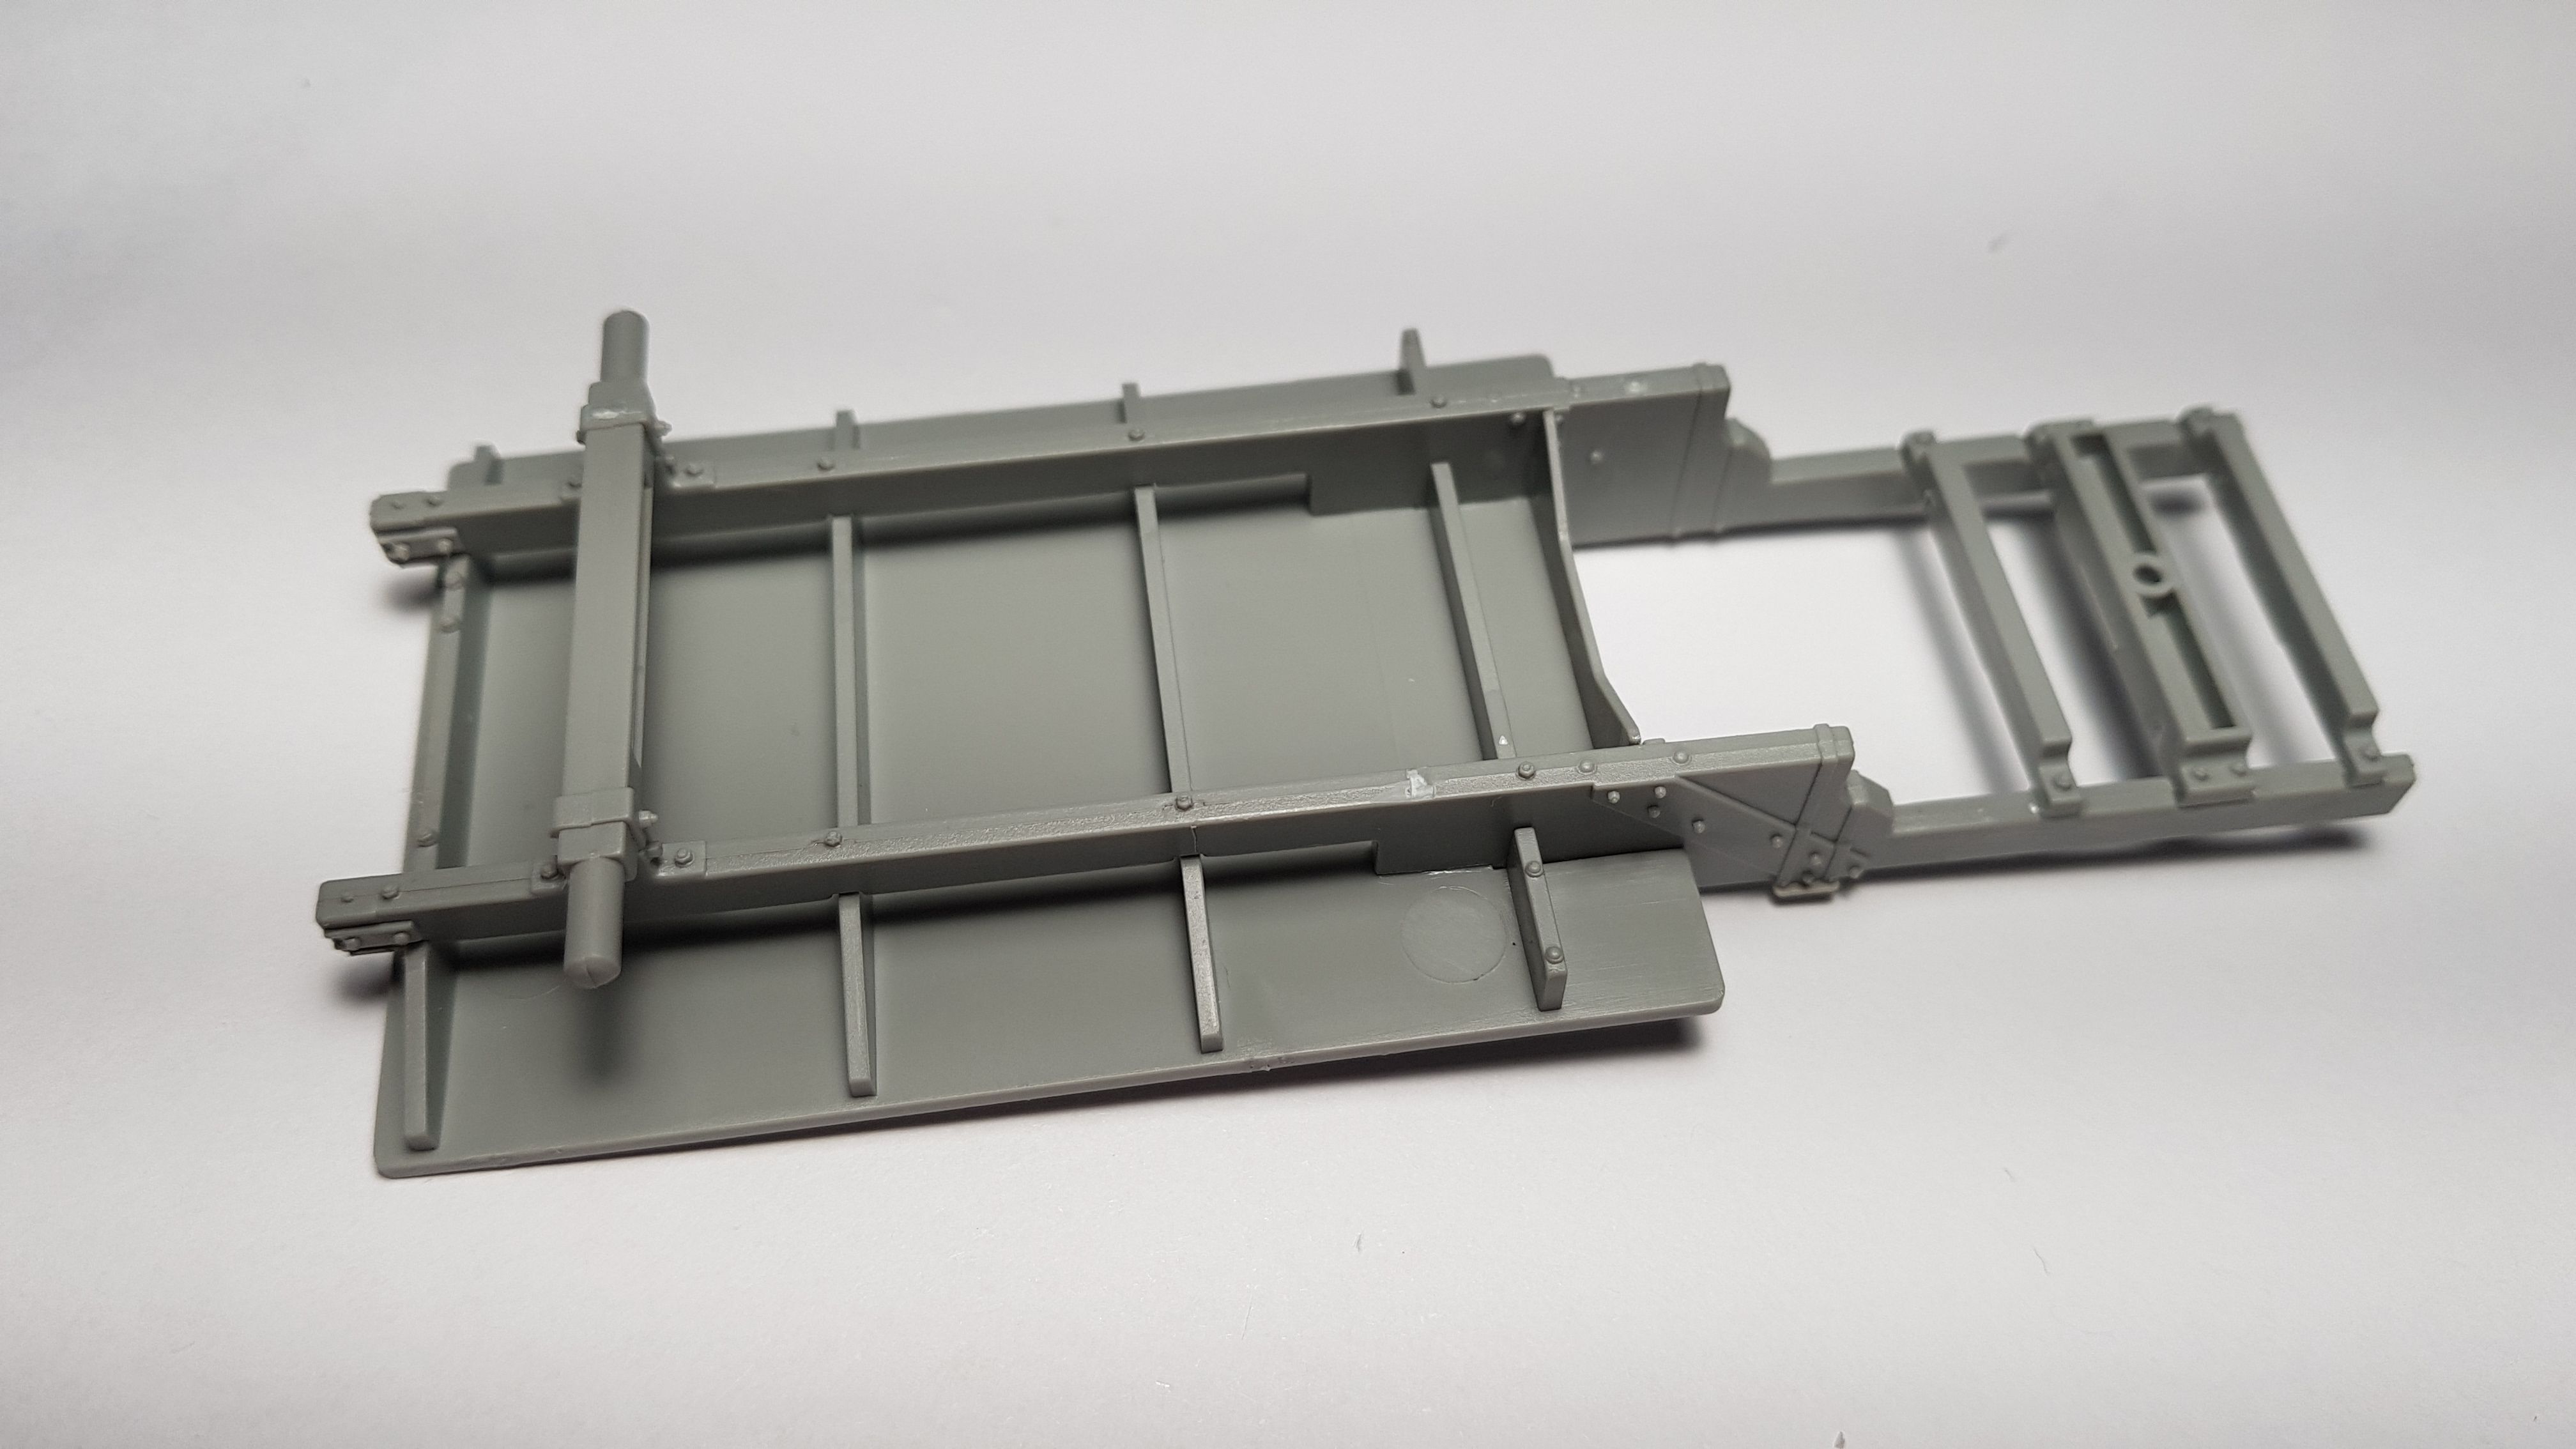
| Let's move on to the bigger cart. So we have the base, the two support rods and a central blocking | Passiamo al carrello più grande. Quindi abbiamo la base, le due aste di appoggio e un centrale bloccante |

| United the first pieces here is how it looks with view from below. Let the glue dry and move on | Uniti i primi pezzi ecco come appare con vista da sotto. Lasciamo asciugare la colla e andiamo avanti |
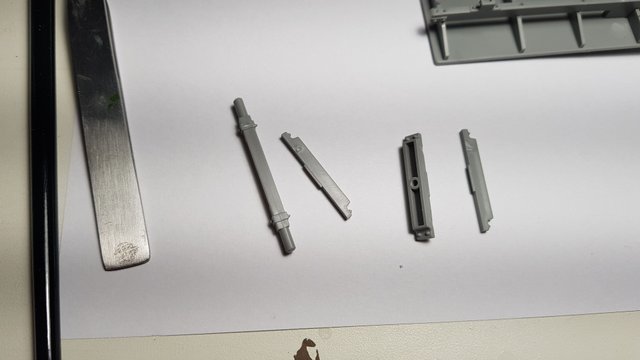
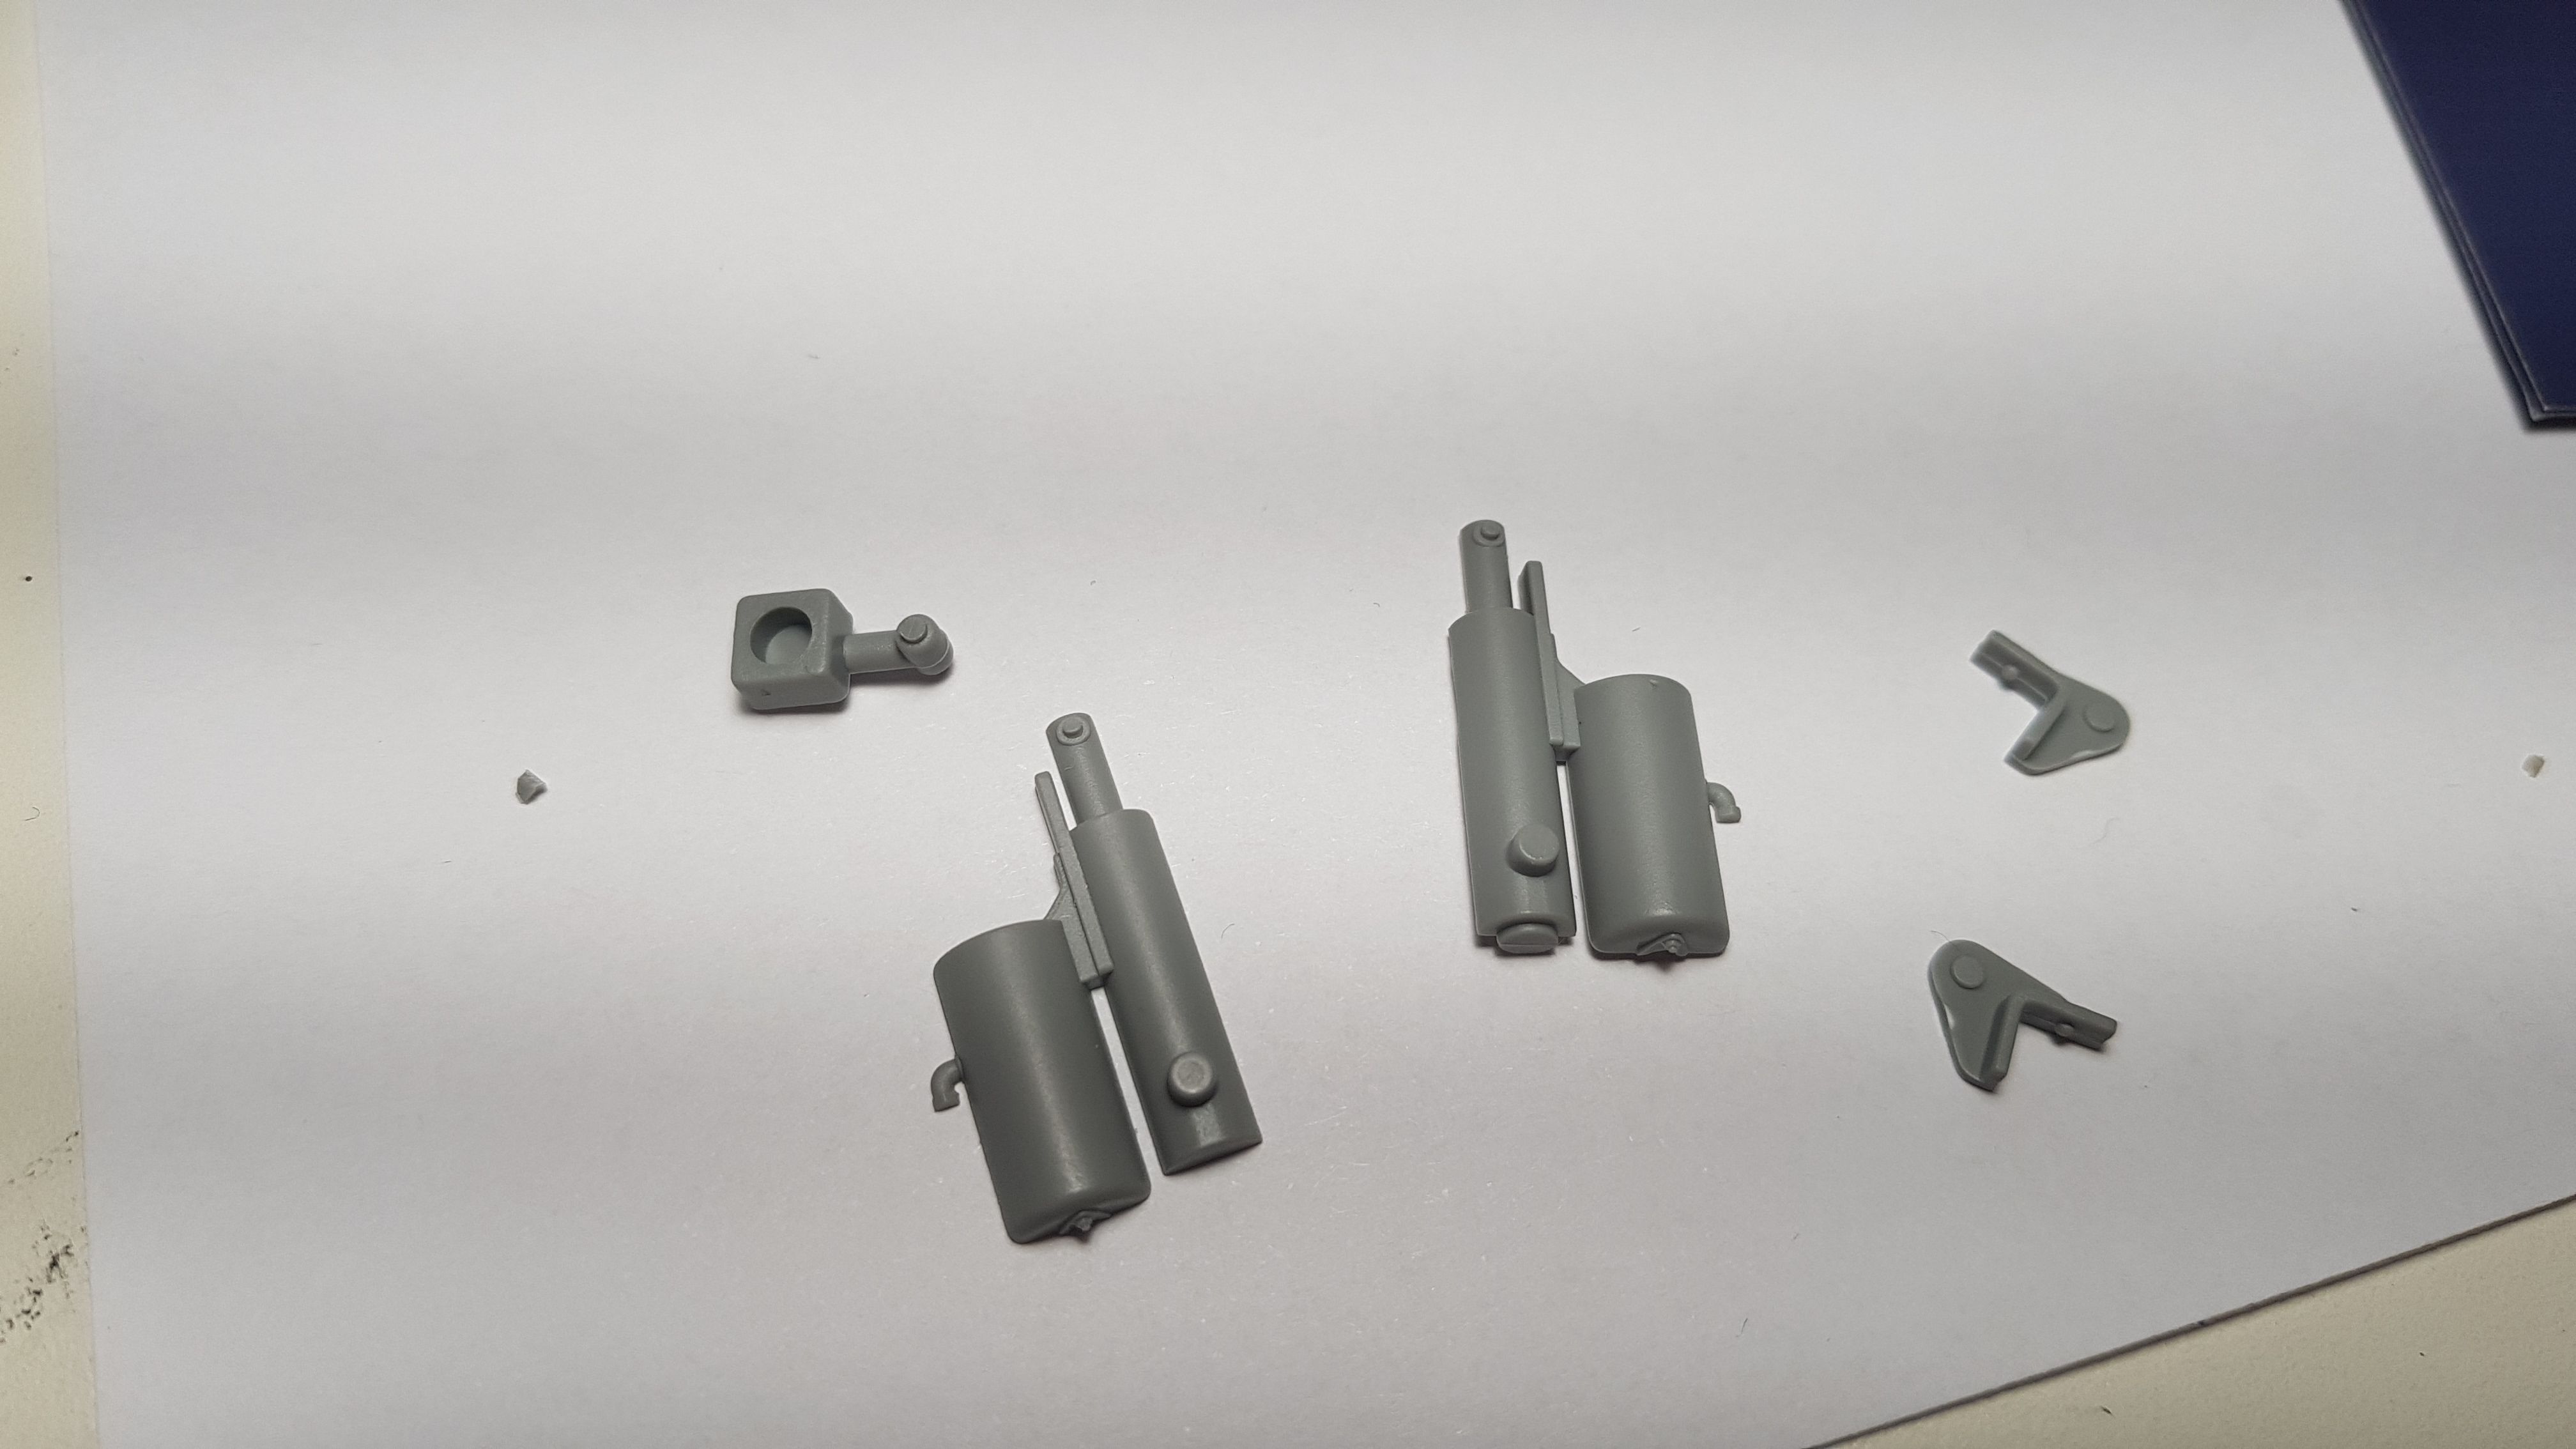
| It touches some settling pieces. From left to right: Upright for wheels and 3 pieces that will go to the front of the towing handle | Tocca a dei pezzi di assestamento. Da sinistra a destra: Montante per le ruote e 3 pezzi che andranno nella parte anteriore della maniglia di aggancio del traino |
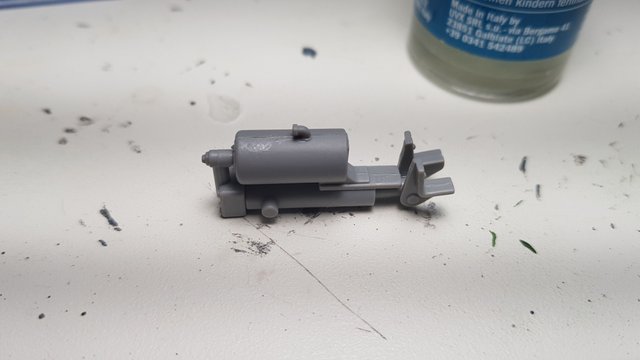
| Here, the front will serve to accommodate the two rear wheels, at the end on the right side we find another accommodation with a hole in the middle. that will host another mini cart that rotating on its axis will turn the front wheels of the cart, like any trailer cart. Now the glue must dry well, we will end this cart tomorrow | Ecco qui, La parte anteriore servirà ad alloggiare le due ruote posteriori, alla fine nella parte destra troviamo un altro alloggio con un buco al centro,. quello ospiterà un altro mini carrello che ruotando sul proprio asse farà girare le ruote anteriori del carrello, come un qualsiasi carrello da rimorchio. Ora la colla deve asciugare bene, domani concludiamo questo carrello |

Grazie dei voti!