Outdoor Kitchen Build - Part 4 - Purlins 📝+🎥
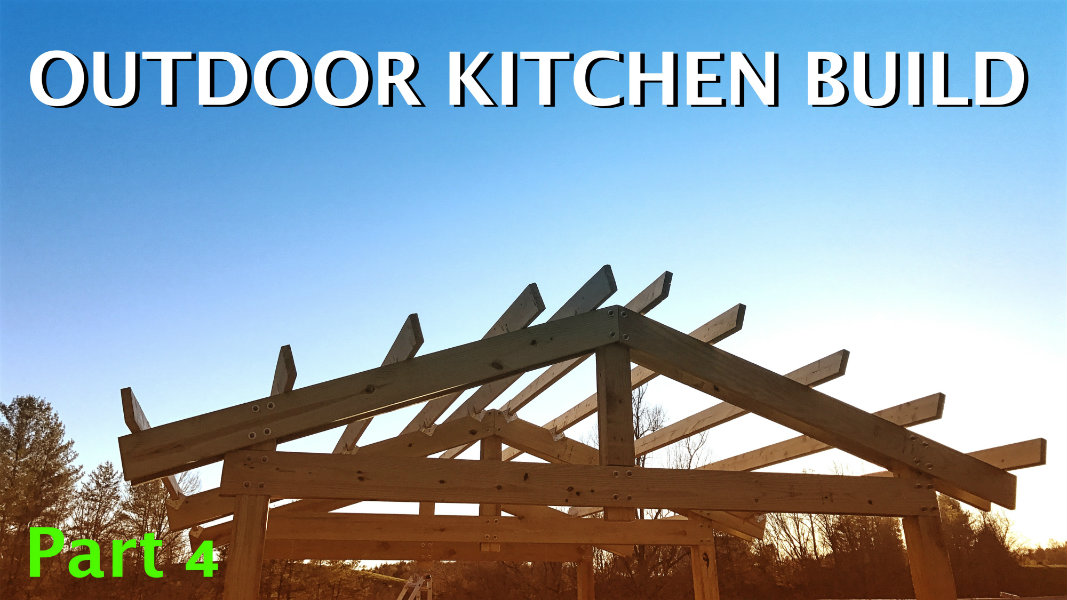
Welcome back to Part 4 of our Outdoor Kitchen Build! In case you missed them, Part 1, Part 2 and Part 3 are here for you to catch up.

✂️ Trimming the Posts ✂️
The first thing was to cut off the tops of the posts to the angle of the rafters.
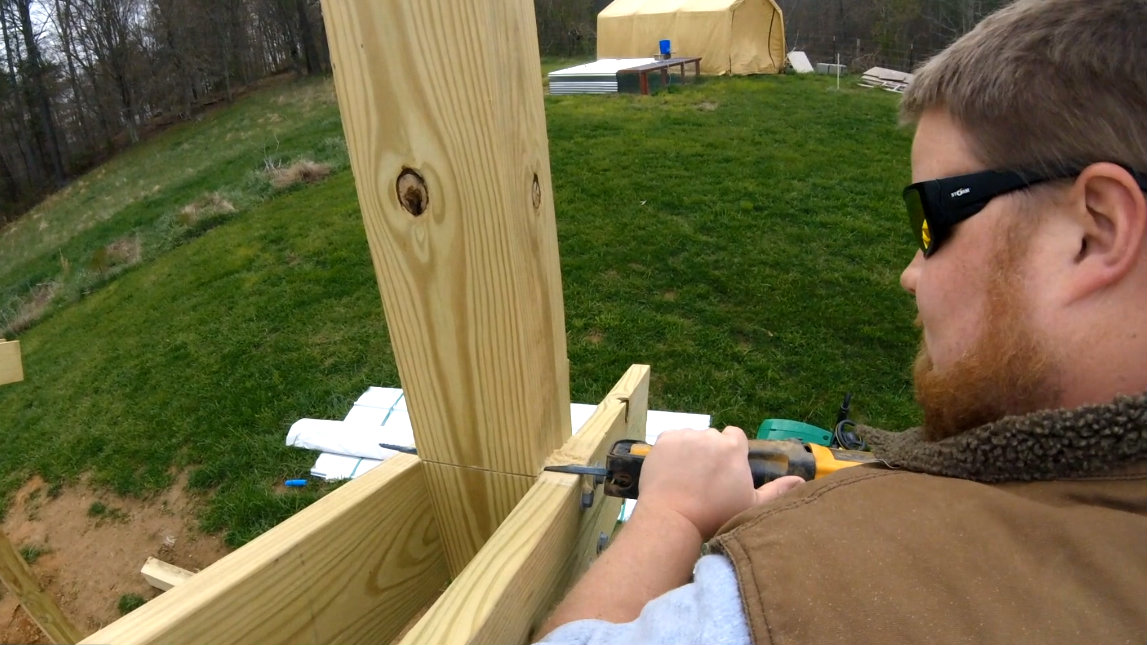
Even though the blades were new, it took at least 3 minutes per post to cut off. I used the 2x8 rafters as my cutting guide, being careful to not let the blade dip into cutting the rafter. I used a 12" reciprocating saw blade and a few tanks of elbow grease to get the job done.

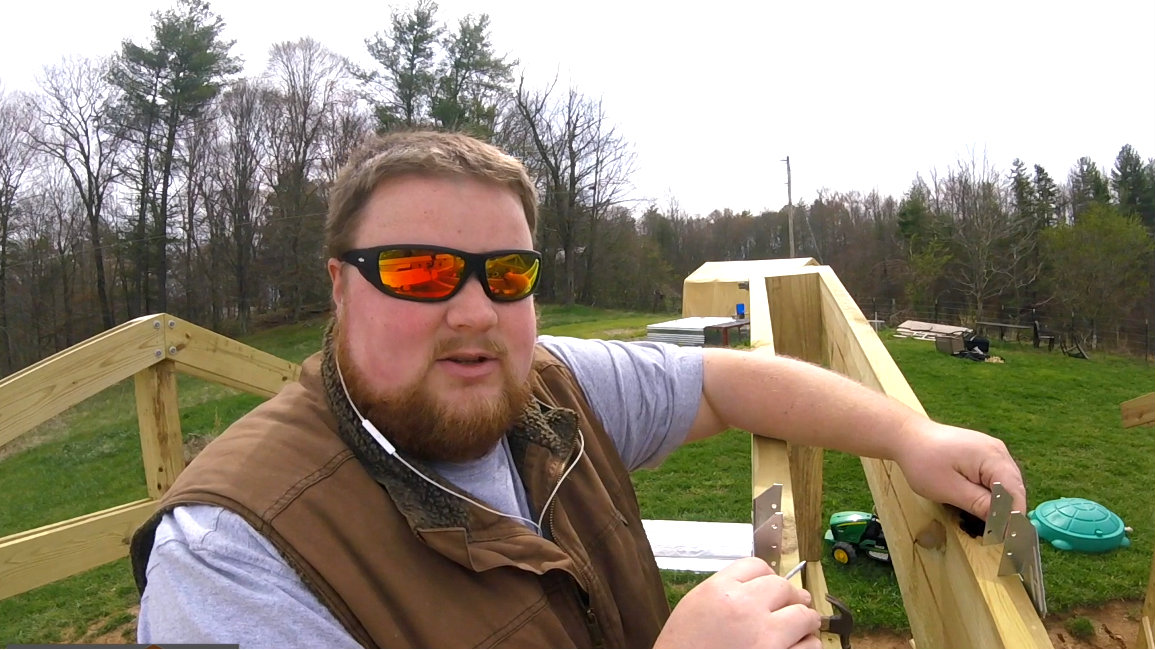
🔩 Simpson Brackets 🔩
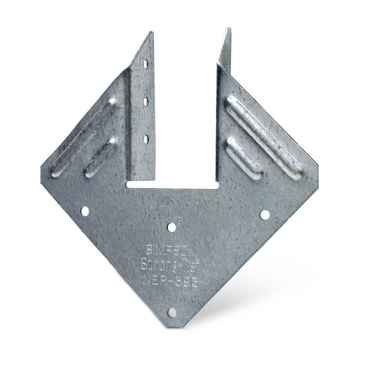
🔨 Nailing the Brackets On 🔨
Each of the Simpson brackets uses eight 1.5" galvanized hanger nails. These are nails specifically made for use with Simpson brackets. The brackets ultimately go on each side of the rafters for maximum strength, but I only put them on one side for now to save from messing up somehow. Once all the purlins are in place, I will go back and fill-in the needed brackets. Careful measurement was key to keeping everything lined up, so I measured from the ends of the rafters.
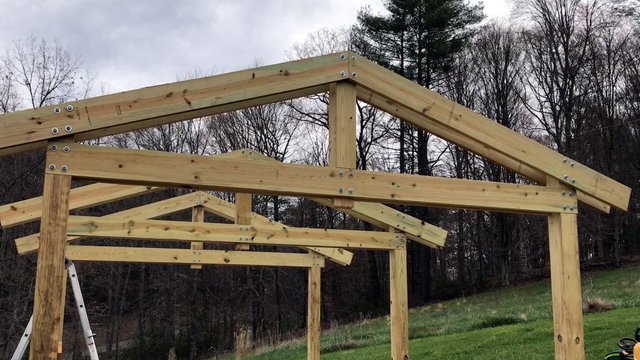
🙌 Put Your Purlins Up 🙌
With the brackets in place, It was a matter of sliding the 2x6 purlins into the brackets and nailing them with the bracket nails. This was one of the easier jobs with the project... easy to drop in, and just nail away!
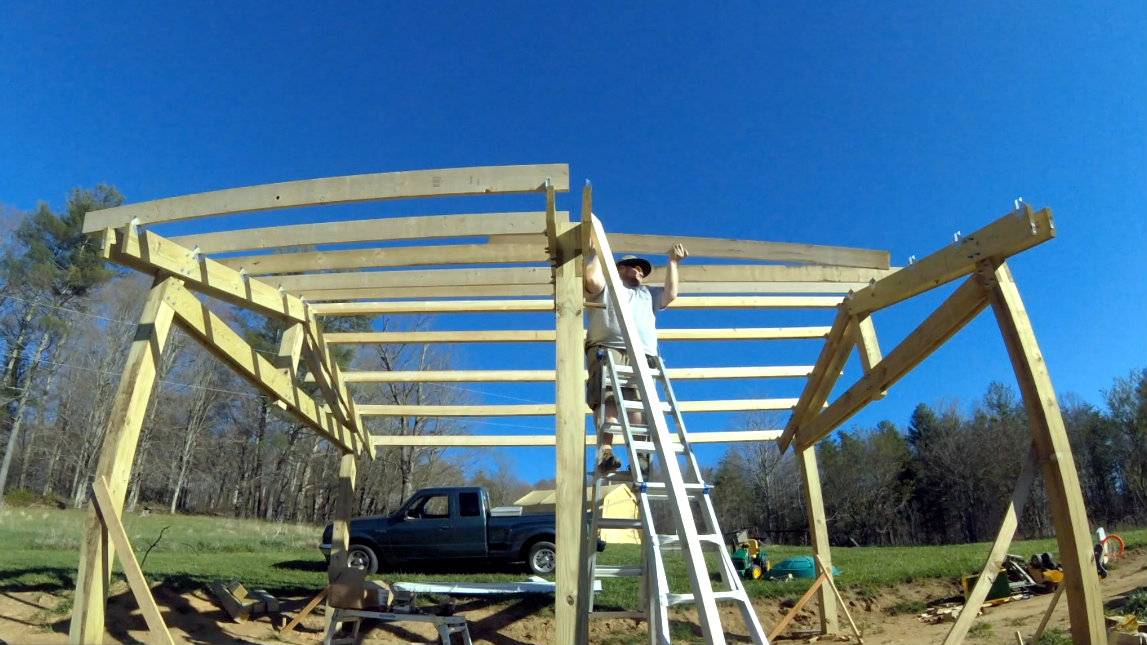
With the purlins up, I then went back and filled in with the rest of the brackets.
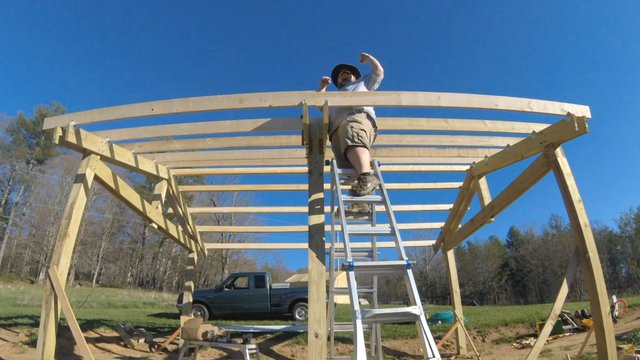
🏁 Done! 🏁
It is amazing how the purlins made the Outdoor Kitchen take shape! It gives us a great idea of how it will look in the end.

🎥 The Video 🎥
Video covering the purlin installation.
Coming up next...
Metal Roofing!!!
Stay tuned for that update shortly. Until next time, be sure to upvote and resteem this post if you liked it. It helps greatly and is apprecated!
Until then,
@greenacrehome

will it be done once the roof is on ? it's coming together thanks for sharing
The rough structure will be, but we have some things inside planned.
probably a silly question, but do you nail the purlins on only one side of the simpson bracket? and do you use 3 nails for each purlin?
Not a silly question at all! The brackets have 5 holes for nails to go into the purlins. I only used 4--2 on each side. I was concerned the 5th could crack the wood as the holes were close together. The brackets have 2 holes on one side, and 3 on the other.
Great looking blog, looking forward to digging back through your content, followed you so I can find you again. Lol I'm new here it's hard to find stuff or is it just me? Always wanted an outdoor kitchen!
I'm sorry, I though I wrote this reply when you posted it, but I didn't. Sorry!!!
Awesome, thanks! Yes, it is very hard to find things on Steemit right now. Hopefully that will get better in the near future though! Following people is great, though if they are heavy resteemers, the feed will "junk up" quickly. No worries, I'm not a heavy resteemer. :) I put more work into writing my own posts and content.
Thanks for reading and commenting!