Outdoor Kitchen Build - Part 3 - Rafters 📝+🎥
Welcome back to Part 3 of our Outdoor Kitchen Build! In case you missed them, Part 1 & Part 2 are here for you to catch up.

Batching it Out
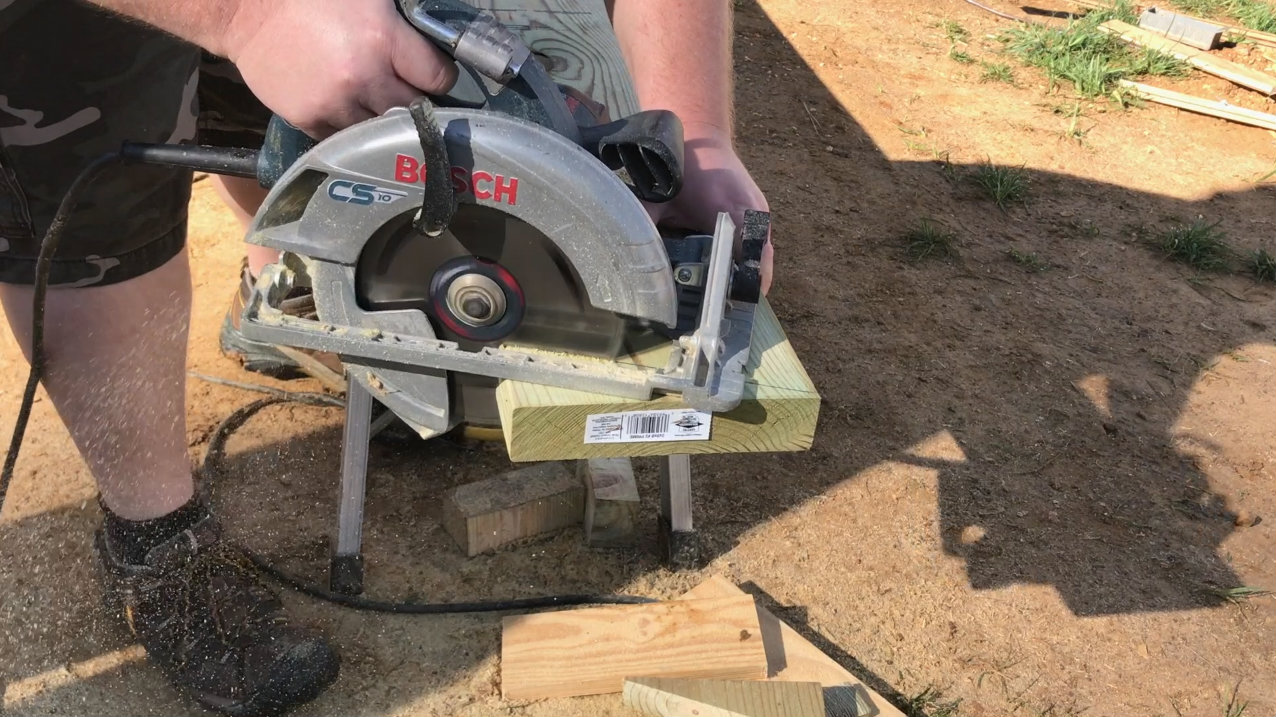
I used the plans for the Outdoor Kitchen, found the angle to cut the rafters to, and cut the first board.
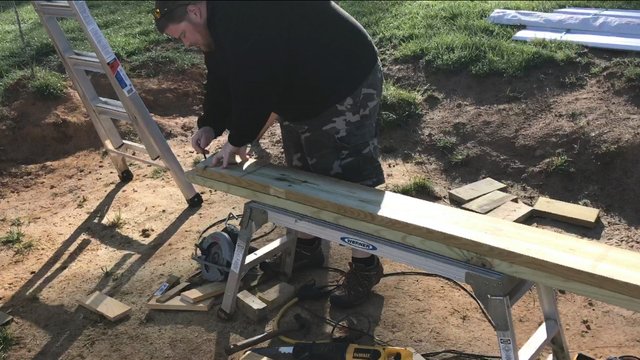
I then laid this cut board on top of each other one, and traced the angle and cut them to match. I find that using a physical item to measure with is easier and keeps me from messing up on repeating cuts.

Can't Be Perfect
Try as hard as I did, I didn't get the six posts lined up and spaced apart from each other perfectly. The variances were in the width and a total of 3" over all. The spacing went from 0", to 1.5", to 3" in difference from one end to another, so my string lines weren't exactly parallel. This created a problem when it came time to place the rafters.
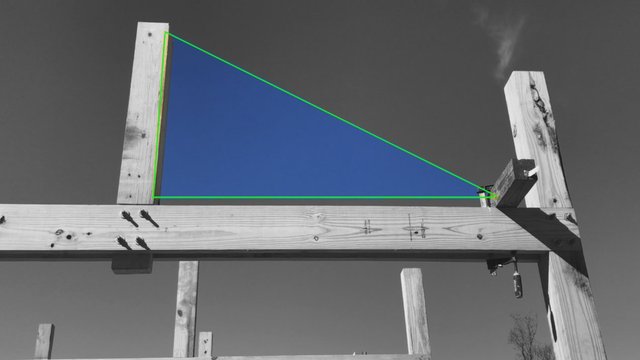
The Problem
Since the widths of the three truss assemblies (as I call them) were different, if I used the posts themselves to line up the rafters, I would end up with three different roof pitches!
The Solution
Knowing my kingposts to be dead-center between the posts of each truss assembly, I decided to create a reference point that I could replicate.
I did this by measuring out from the center post a set distance and clamping a board in place. This allowed me to replicate the measurements everywhere, and not rely on the posts to dictate the distances!
Attaching the Rafters
I marked a center line on all the kingposts and used this as the indicator for attaching the rafter to the kingposts. I raised or lowered the rafter until it lined up, then nailed it into place with a 3.5" Galvanized nail. I also nailed the rafter to the outside posts to hold it in place. This was temporary, until all rafters were in place on the truss.
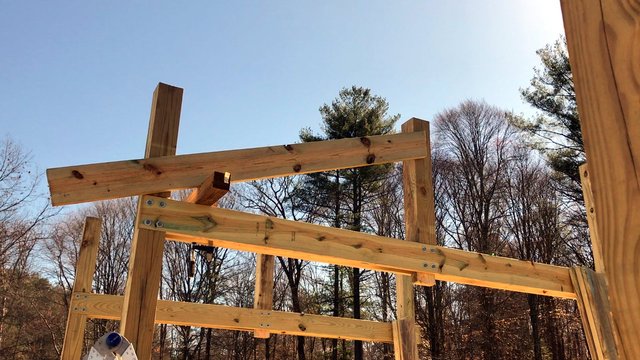
Bolted Together
Once all the rafters were nailed in place (or pinned, as I called it), I could go back and drill the 1/2" holes for the bolts to go through and hold everything together securely.

It's amazing how strong these made the truss assemblies! I also really liked the look of the wood and a "few" bolts as far as construction materials. It has a more simple look.
The Video
And as always (usually), here is the video covering this part of the Outdoor Kitchen build!
Well that's it for this part, be sure to hit those upvote and resteem buttons to help spread the word if you liked this post! We really, really appreciate it!
Until next time,
@greenacrehome
proof-of-veloci-rafters
Clear, informative and nicely presented. Another great article @greenacrehome ! Look forward to seeing how the rest of the build goes. What kind of goodies are you going to include once the structure is up? Cob benches, rocket stoves, solar ovens, dehydrators, solar hot water, massive custom BBQ? At this rate, you'll be enjoying great meals outside this summer. Ah! the good life! All the best, @ecoknowme
In the least, a sink with gray water recycling system--I'm thinking to irrigate a garden bed nearby, rain water catchment for on demand irrigation, built in propane grill & burner (that we use for canning our vegetables). We'd love a cob oven in the future and a smokehouse, too. Thanks for the comment, don't forget to upvote!
not being very good with tools and this type of work I can't tell if there are any mistakes to be seen :) I figure so long as it does what you want it to and it don't fall down ever ya done good :D thanks for sharing
Hehehe thanks!
Right on! Building is one of our big learning curbs.
Thank you for sharing, and I love those page breaks ! Super cool look to the whole article
Aw, thanks! Steemit has pushed me to dabble in graphics more. Great to hear you like them too!
You did that ?! Heck yeah dude, keep it up.
When I'm able to earn some more Steem on here I would love to get some of those made.
Thanks! Do you have a logo or brand image? I'd be willing to help you out and make something similar if you do.
I wish I did! I Don't have anything yet! :(
I would love to have your help!!
You're awesome!