Building the back of the new greenhouse, part 3
So, this is part 3 of the ongoing series that's following our greenhouse build.
Where I left off last time, the roof was on and I had done some gravel work to the floor of the back area of the greenhouse. In this post, I'll show you some of the work we did to put up walls on the back part.
When I took these pictures, the side was on and one of the two panels for one side of the back was on.
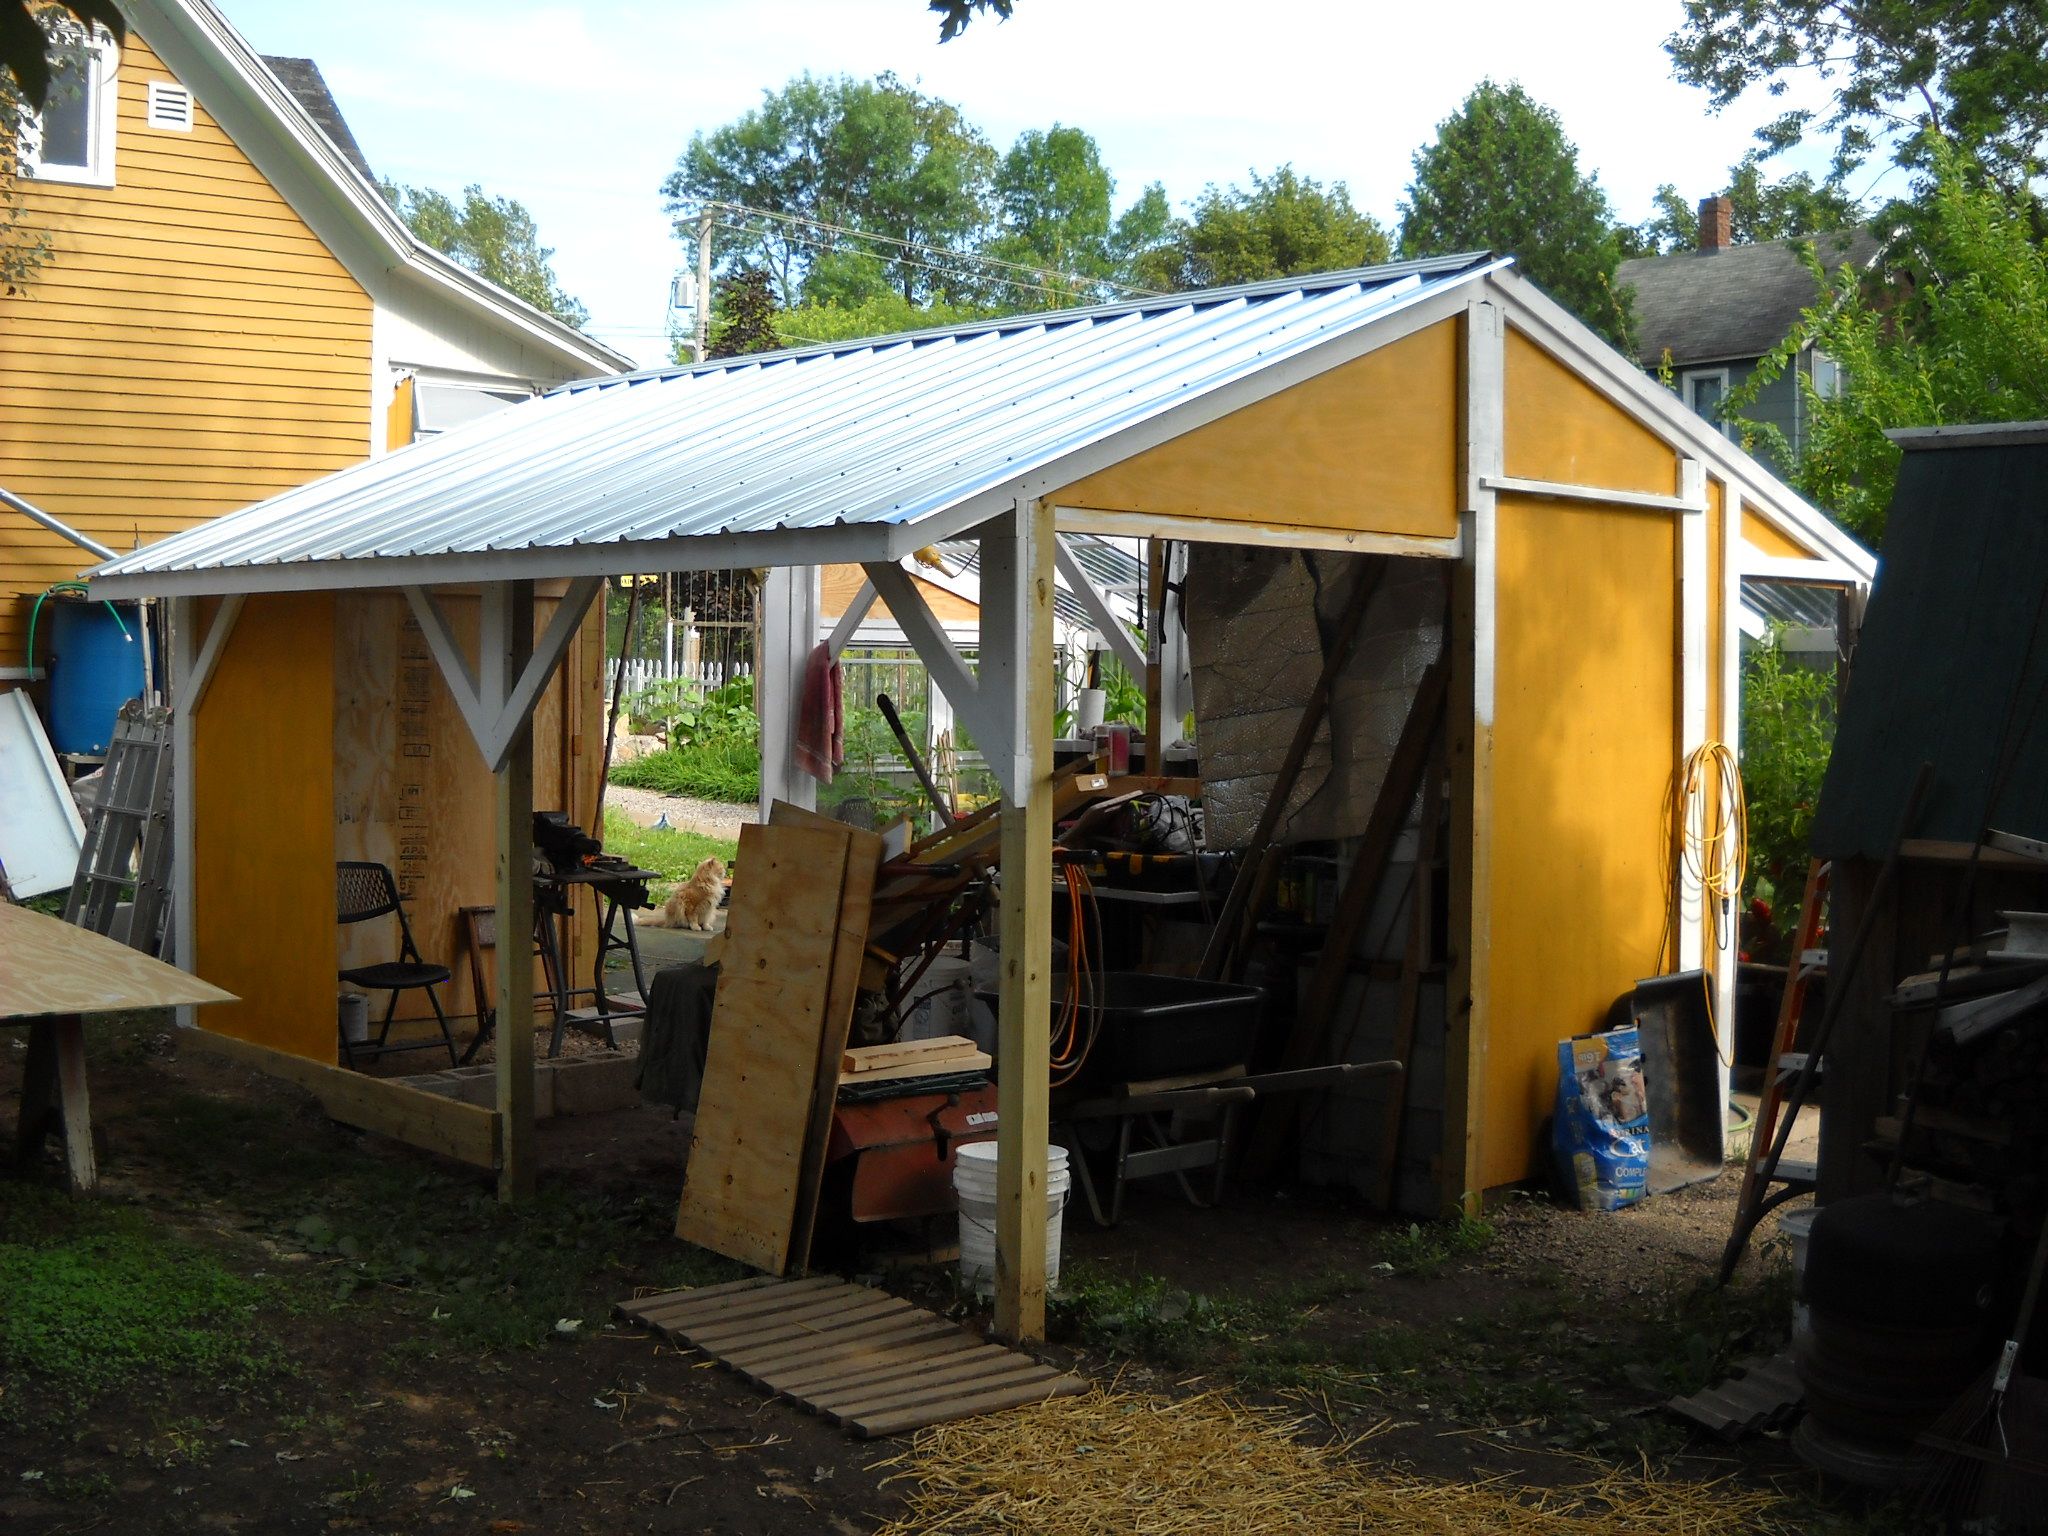
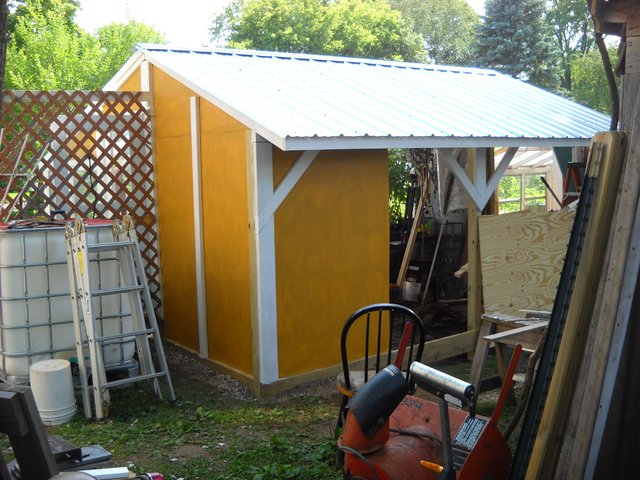
The panels are mounted between the posts with boards to hold them on. In the second picture, you can see the 2X6 on the corner post that the back panel is mounted behind The panel is screwed on to that 2X6 from the inside, and also screwed onto the angle brace. The end panels are mounted to boards behind them.
This is the view from the inside.
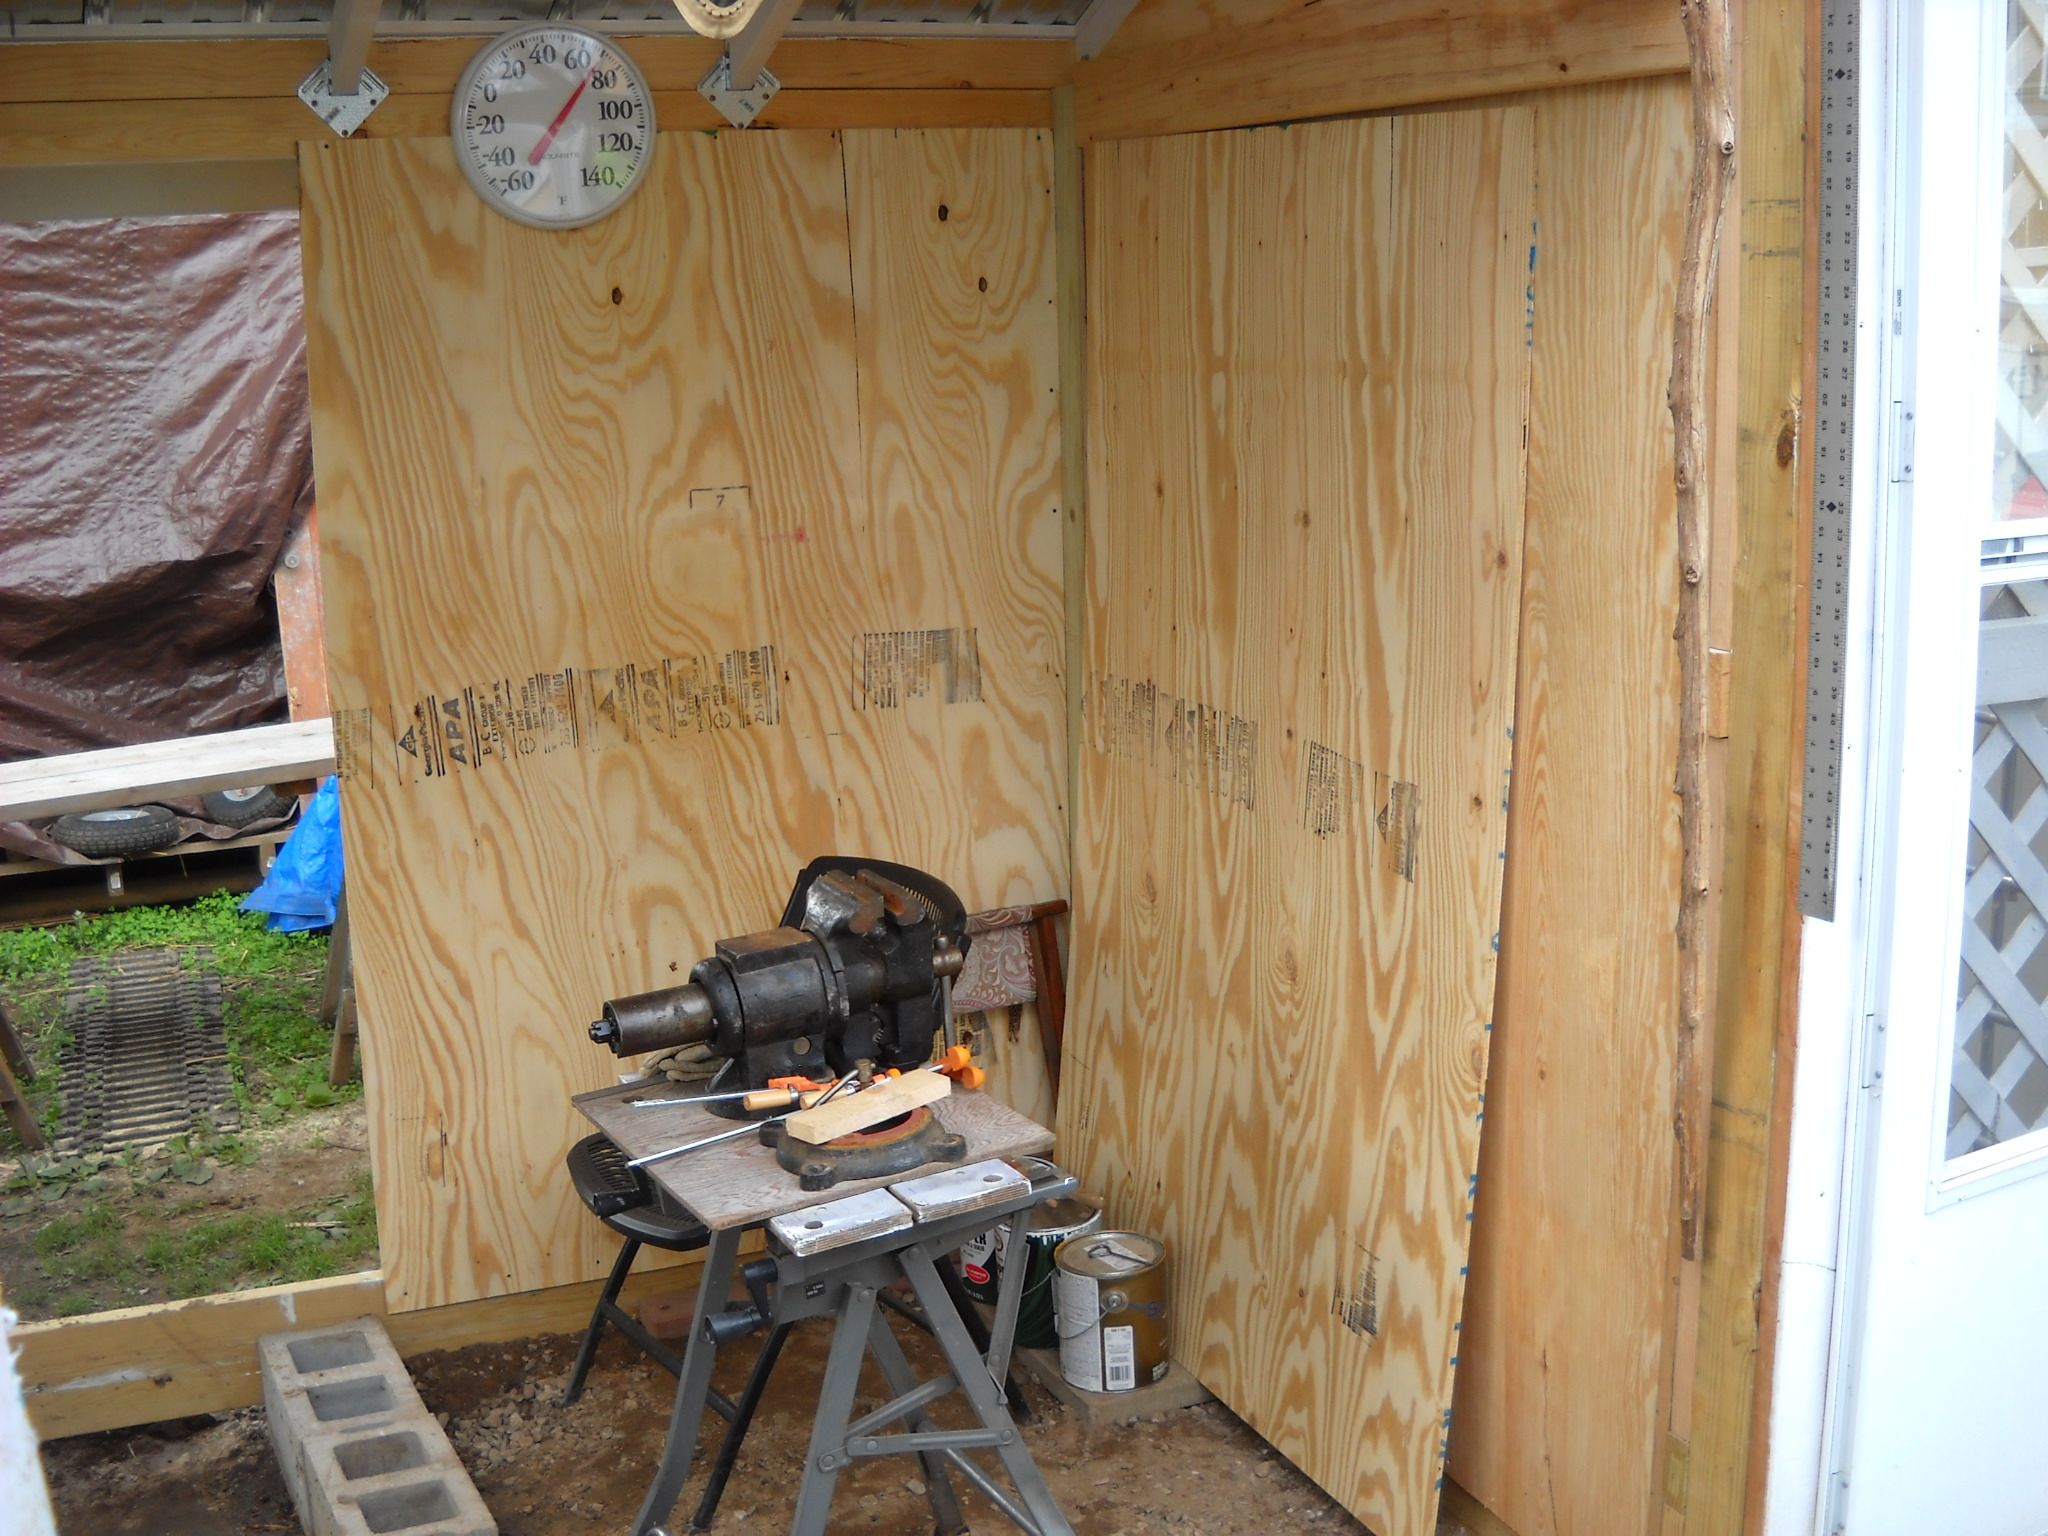
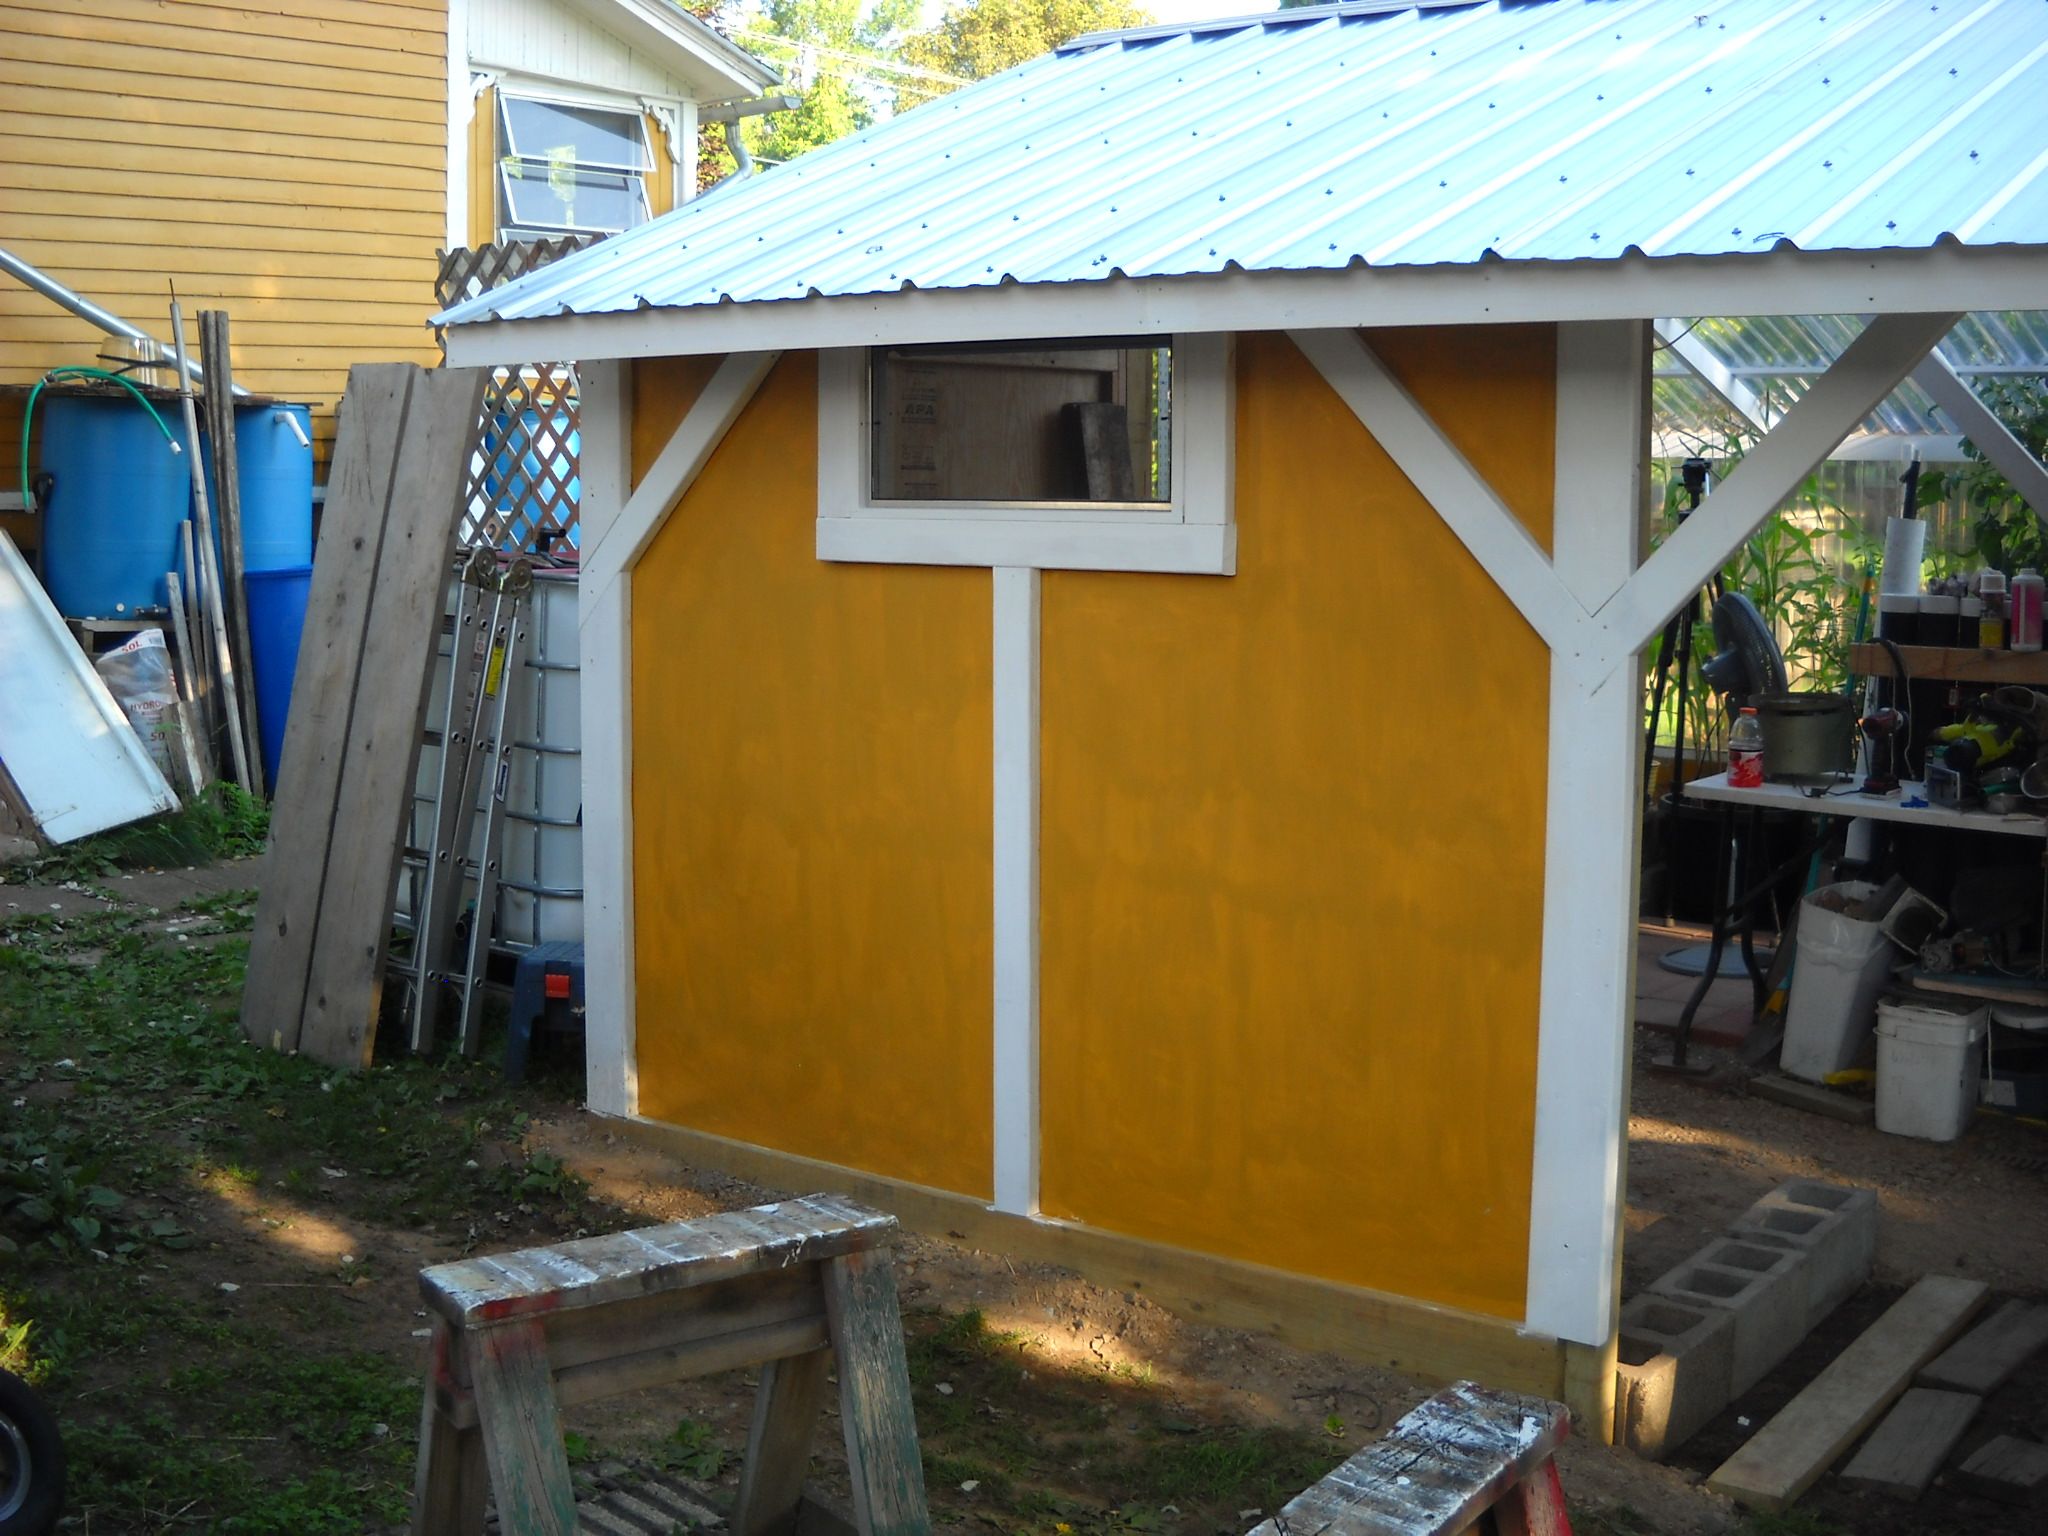
Then the other plywood panel was mounted to close in half of the back wall. You can see part of the cut for the little window that would be mounted in the wall.

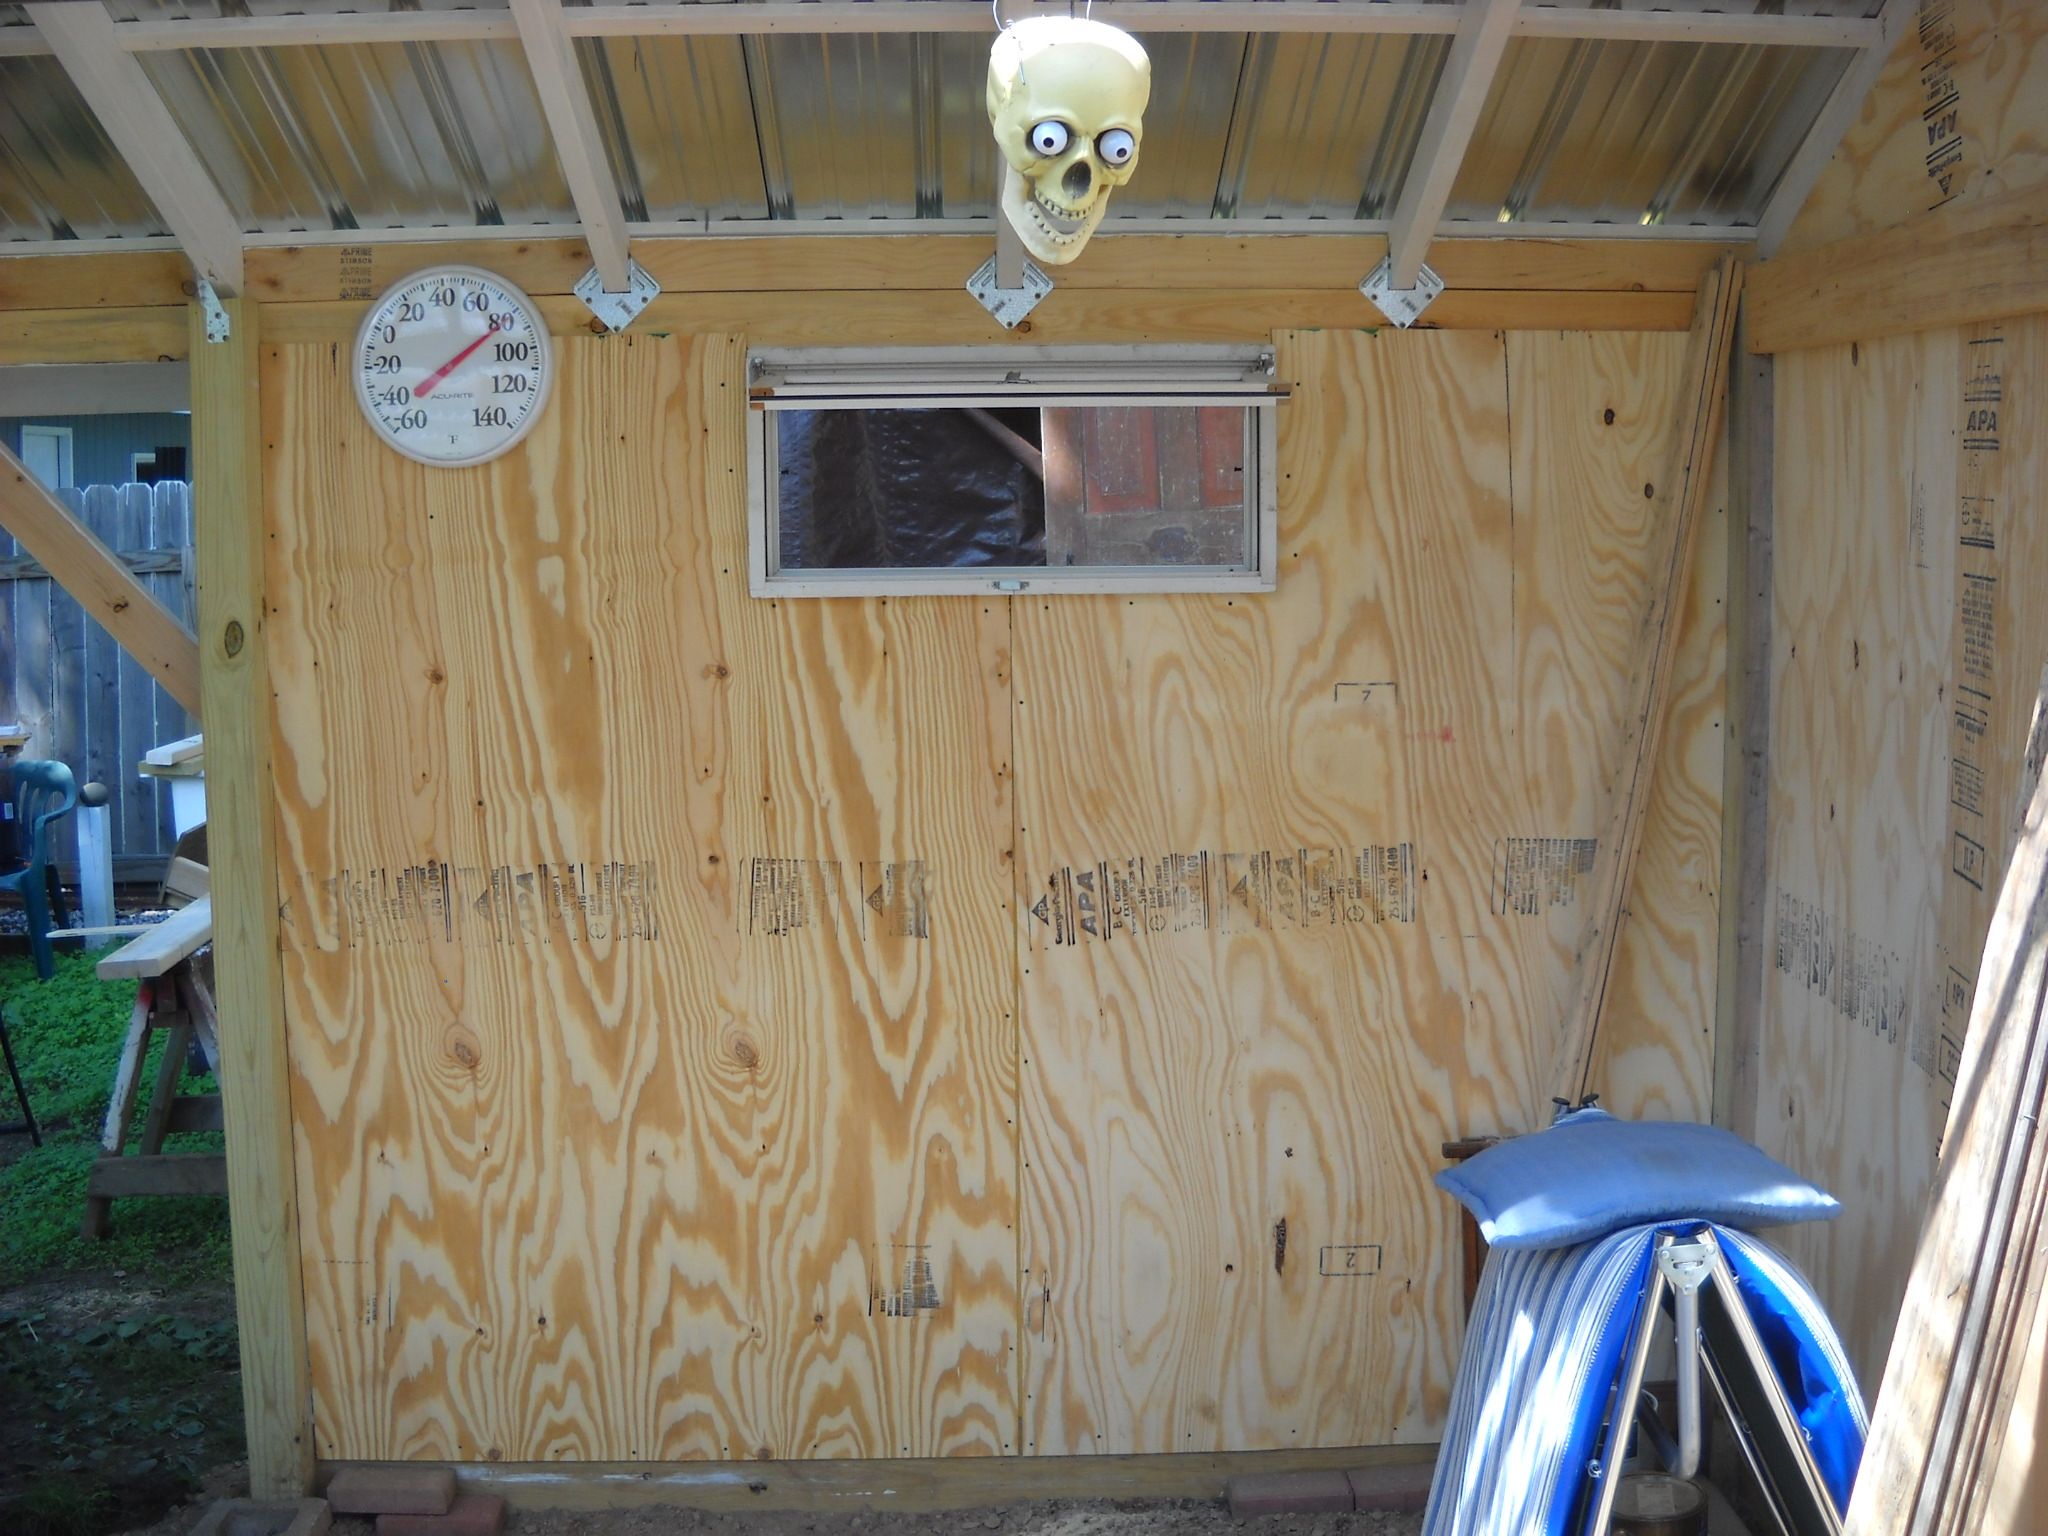
Then the window was installed. We got this window from the local Habitat for Humanity store.
From the outside.

Then the rest of the wall was painted and the panel center brace and window trim were installed.
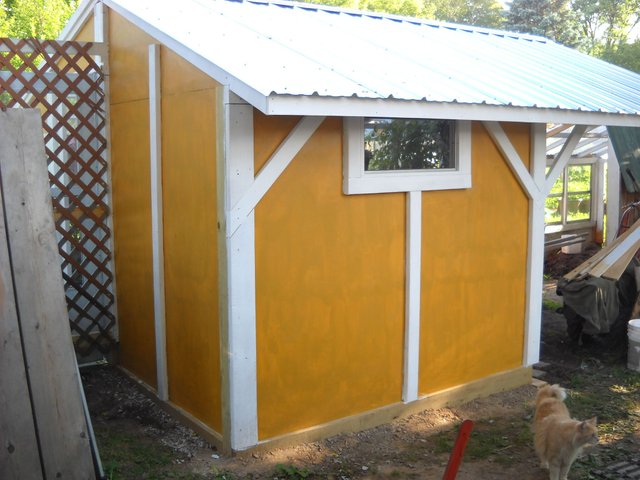
Another look from the corner.
That's the progress so far on the back of the greenhouse. I don't know how soon the other half will get finished, we have to find a door for the other end first. I'll post part 4 once we've made some more progress.

Thanks for stopping by and checking out my post, eh!
Part one of this series.
https://steemit.com/homesteading/@amberyooper/building-the-back-of-the-new-greenhouse-part-1
Part two of this series.
https://steemit.com/homesteading/@amberyooper/building-the-back-of-the-new-greenhouse-part-2
As always, feel free to leave a comment or a question if the mood strikes you.
And don't forget,
Wow @amberyooper, this looks really great. I don´t even want to imagine how many hours you´ve put in there already :)
Thanks!
It sometimes seems like the on-going never-ending project, but we keep making progress, so that's good.
Welcome to Whalepower Tag Usage.
Please Read the Whale Power Guidelines First - click here if you haven't please do so.
This Post have been Manually Curated / Upvoted.
Thanks for using #whalepower Tag ,
Please share #whalepower Tag with the community . Upvote , Follow, Reblog Us , when ever you can.
This message comes-up when #whalepower Tag Applied
#whalepower is Community Project.
Curated By @paul-gillbanks
Founder @bullionstackers
Latest Blog – Please Click to Read
Looks amazing, nothing better than building your own projects!
Thanks!
No rushing a good thing. You're doing a fine job. Already you have extra storage and if you can't put winter crop in at least it's going to be ready for next year.
Have you thought of using a few small space heaters for the coldest nights in the winter? Can usually pick them up for a few bucks at yard sales and flea markets. I picked up six, all with fans and thermostats for auto shut-off for $40.00 when I was getting together everything I needed for my greenhouse. Sadly it's not to be.
Looking forward to further progress posts.
The problem in this part of the country is that you can't hold enough heat in the greenhouse at night. It can get 20 degrees below zero here at night in the winter. It would simply cost too much to heat the greenhouse through the winter. There are ways to solve some of the problems with heat retention, but they're all expensive.
It's coming along nicely. Nothing beats good storage and it looks like you will have a nice amount of space in there.
Until I clog it up with stuff...
:-)