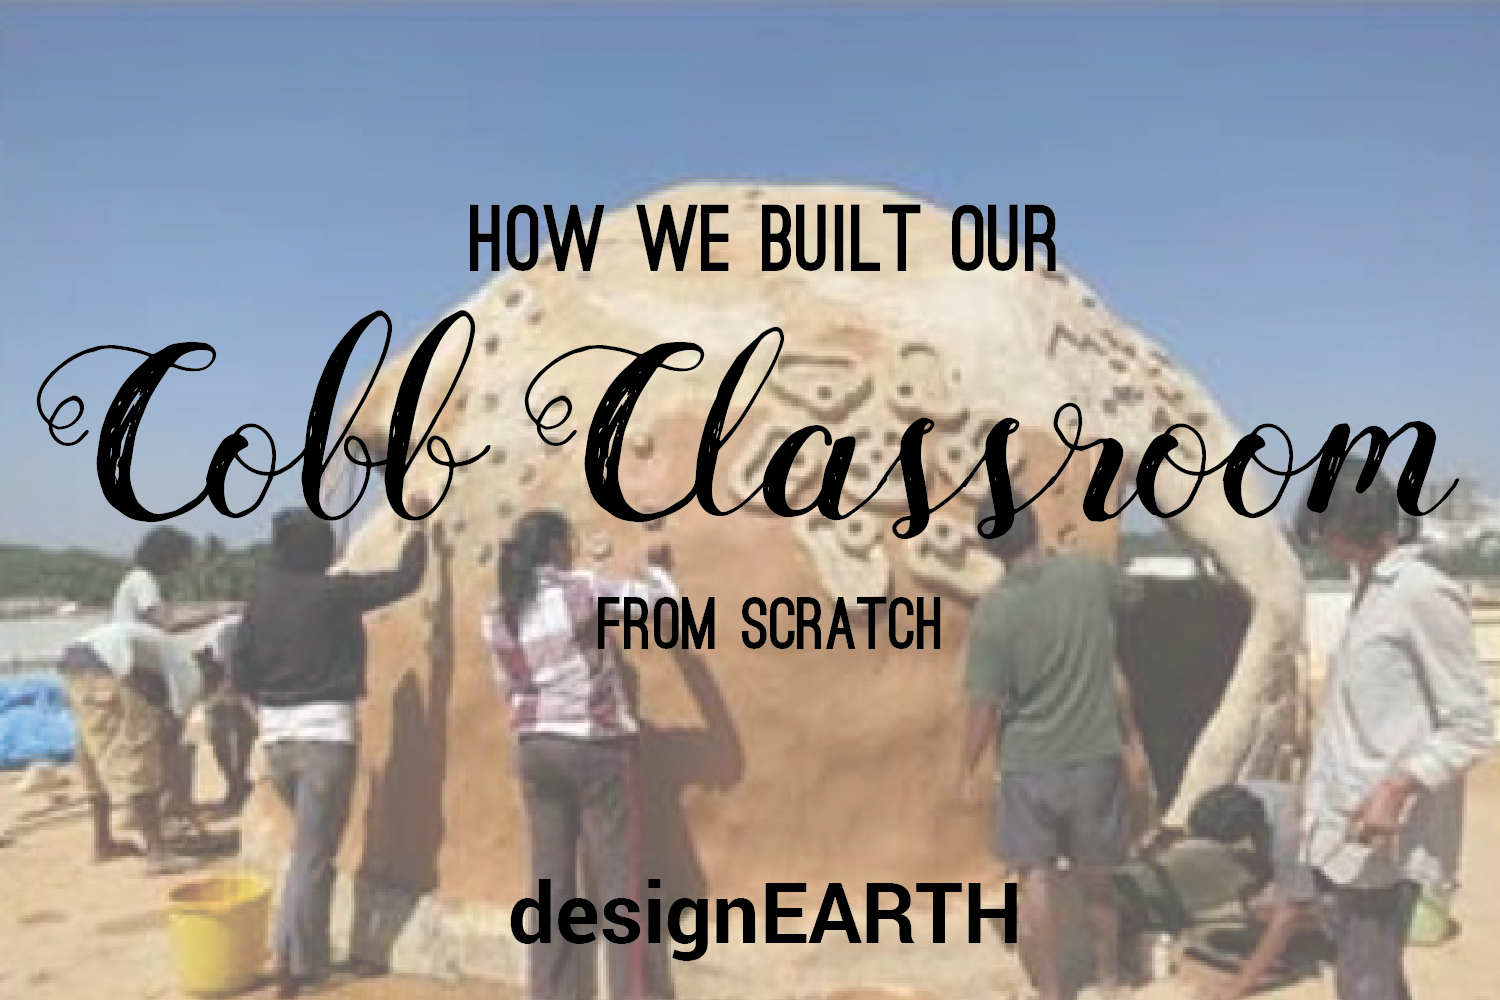
This post covers the entire process we went through to build a cobb classroom using natural materials like mud, sand and lime. In many ways, this was the foundation to my homesteading journey, as it inspired me to work with alternative materials and gave me the confidence to use this knowledge in a professional context.
Hope you enjoy this exploration of natural building.
 While I was in design school, we didn't have a fixed syllabus. We could choose between core courses, general studies, and courses that involved working on actual real life projects. One such project was called designEARTH, which I knew as soon as I read the name, that I had to be in. The aim of the project was to develop ecological design skills by working hands on with natural materials. There have been several different batches of students who were part of the project. The batch that I was a part of consisted of around twenty people who worked on finishing the construction of a cobb dome on the terrace of our college campus in Bangalore.
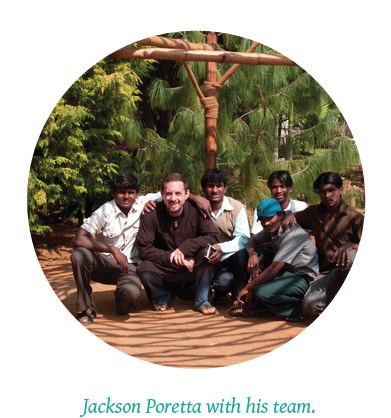
We were mentored by a master builder, teacher and friend called Jackson Poretta, an expert in natural building. With him as our guide, the designEARTH team were able to make beautiful creations, combining artistry with practical experience.
While I was in design school, we didn't have a fixed syllabus. We could choose between core courses, general studies, and courses that involved working on actual real life projects. One such project was called designEARTH, which I knew as soon as I read the name, that I had to be in. The aim of the project was to develop ecological design skills by working hands on with natural materials. There have been several different batches of students who were part of the project. The batch that I was a part of consisted of around twenty people who worked on finishing the construction of a cobb dome on the terrace of our college campus in Bangalore.
We were mentored by a master builder, teacher and friend called Jackson Poretta, an expert in natural building. With him as our guide, the designEARTH team were able to make beautiful creations, combining artistry with practical experience.
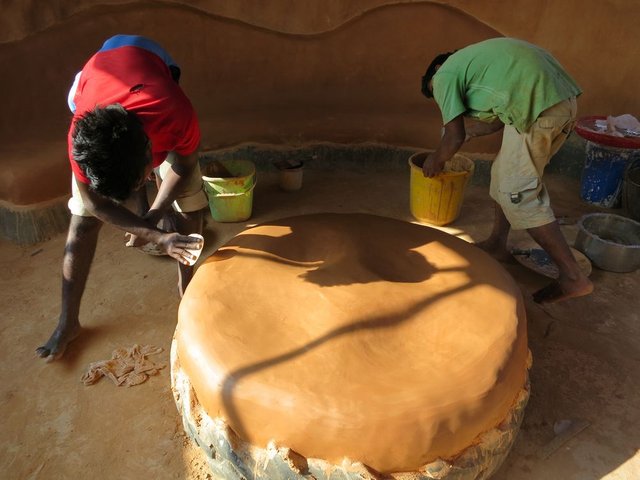
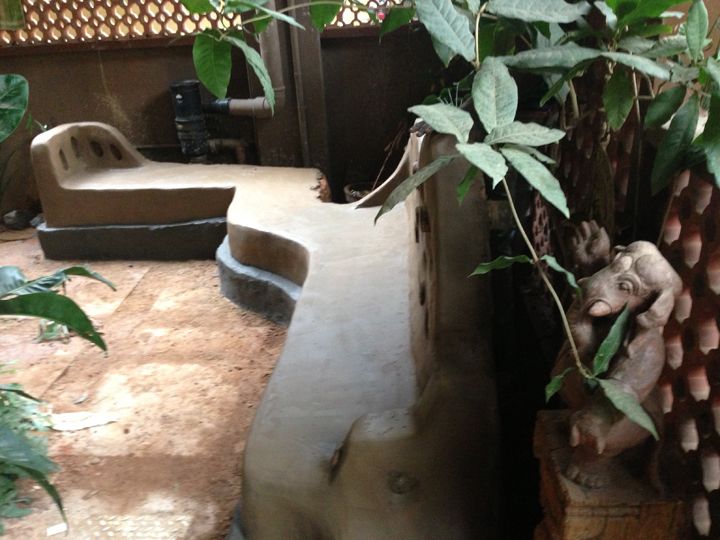 An example of a mud bench we co-created as an introduction to cobb at Jackson's own home.
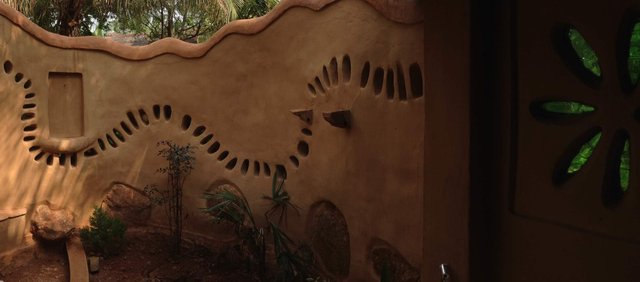 An example of the professional work done by Jackson and his team.
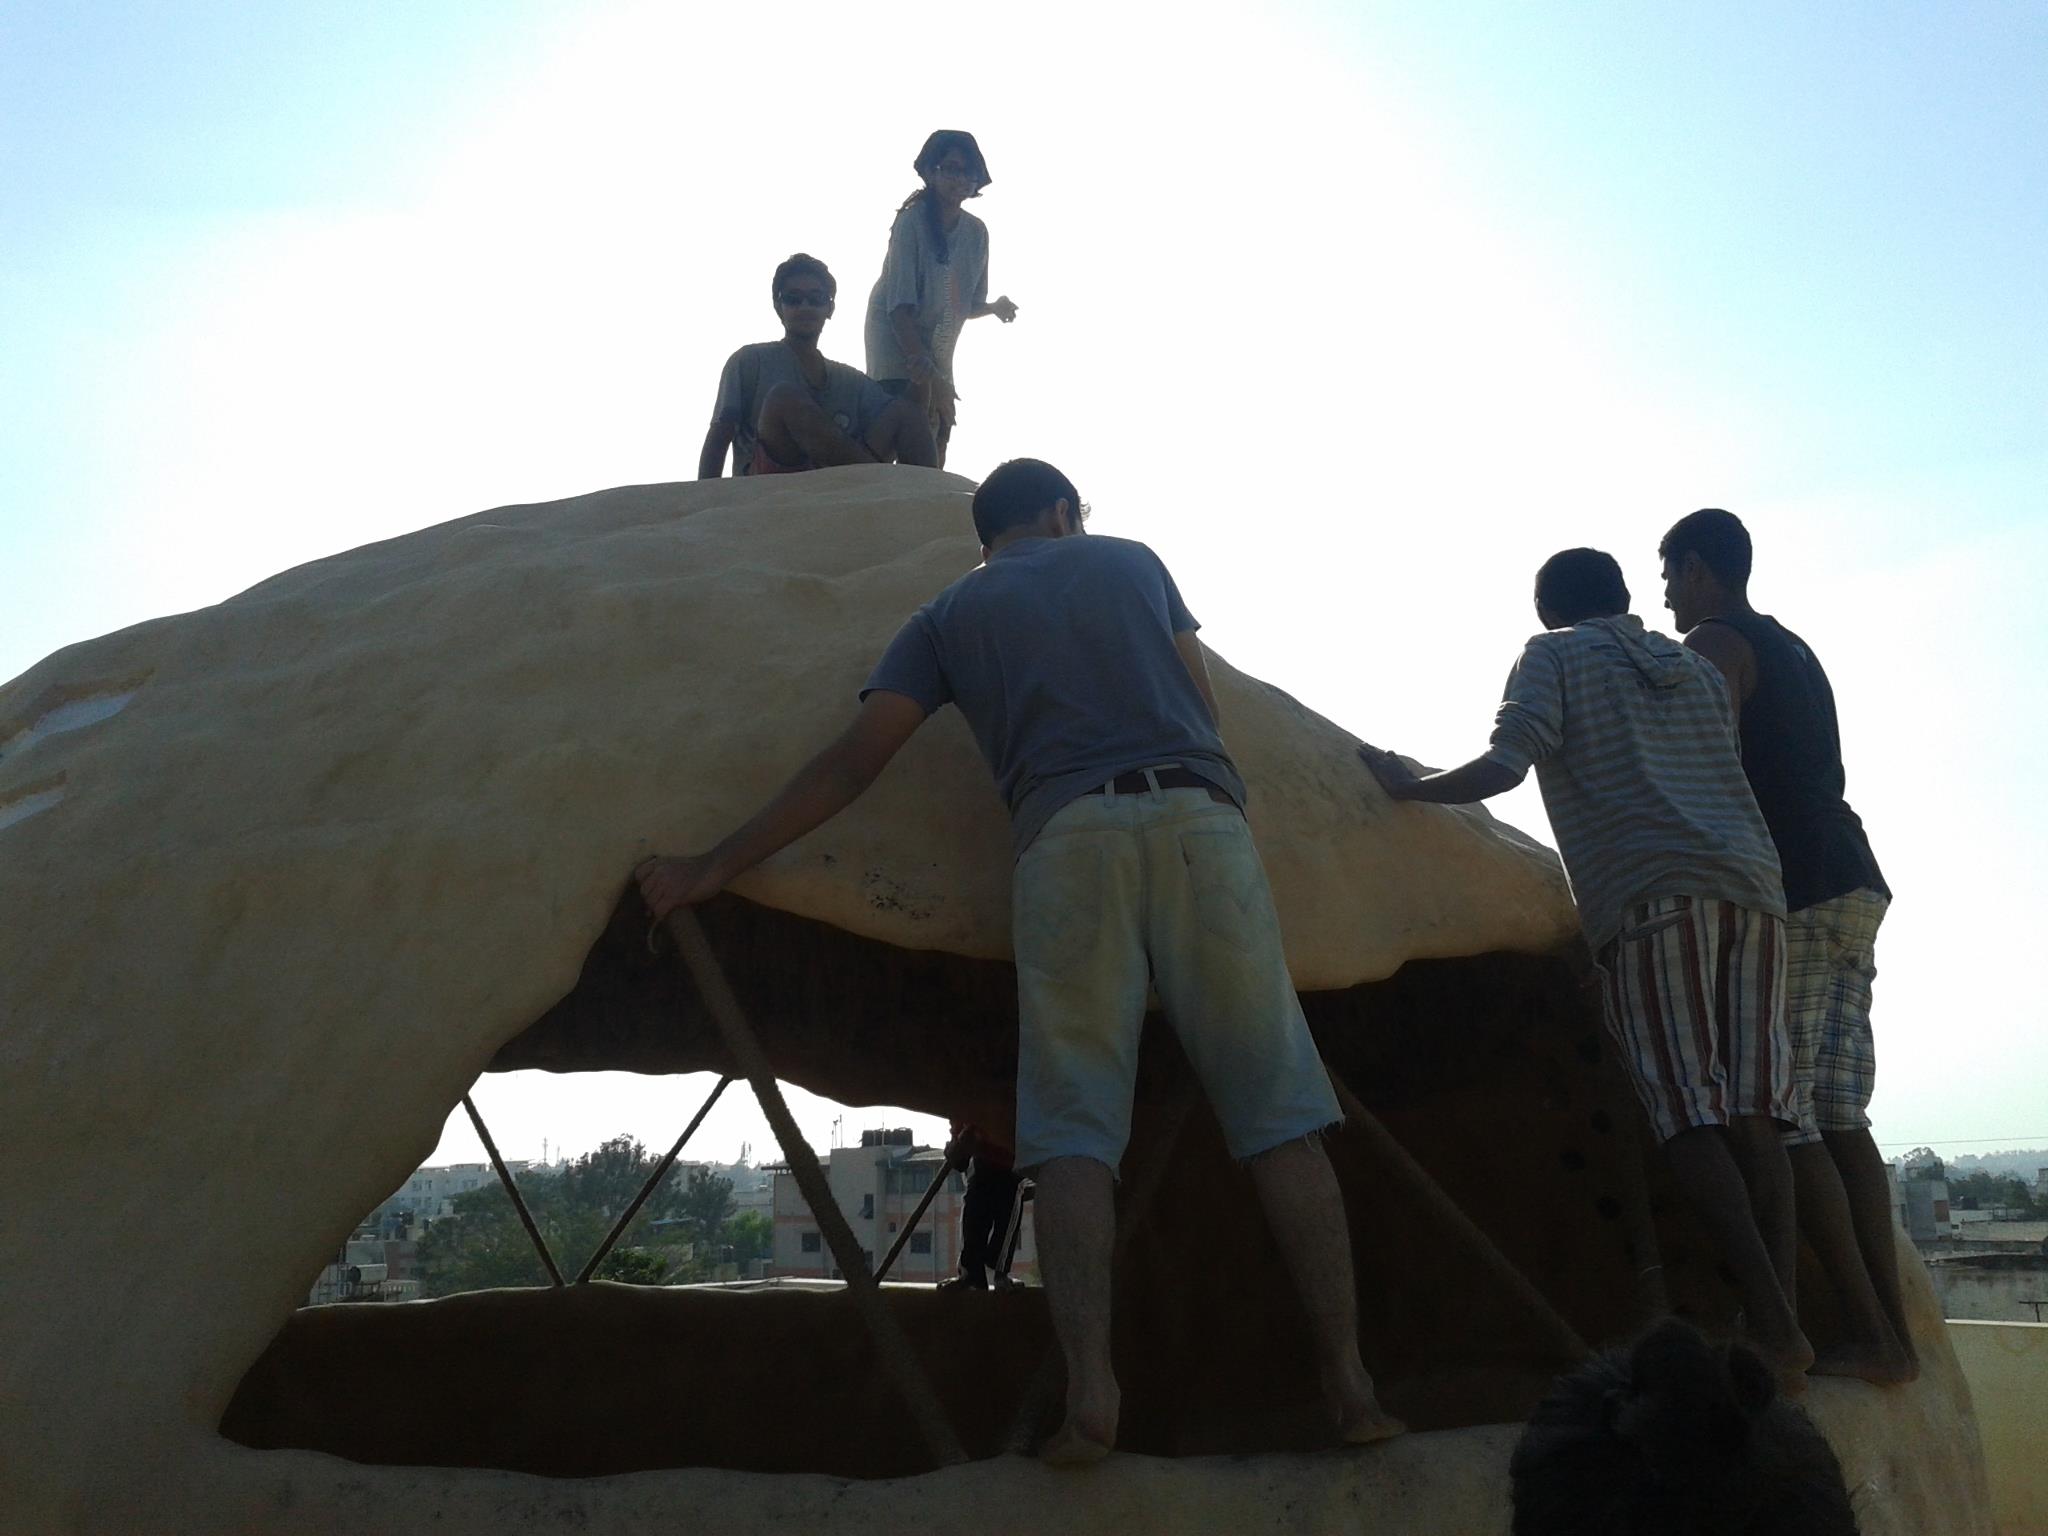
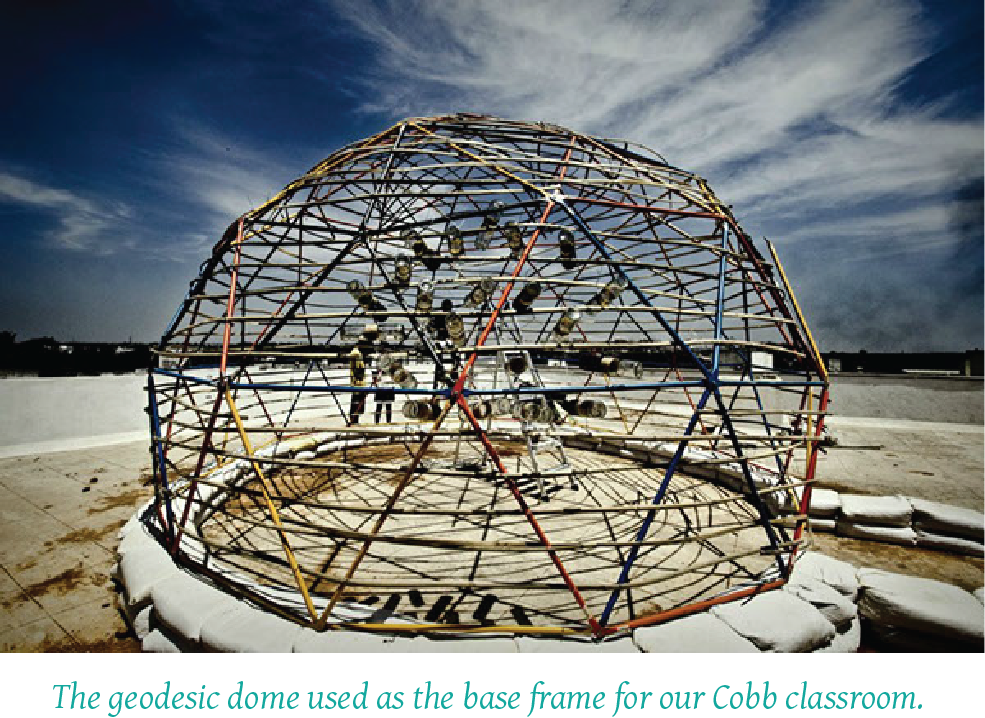
 The base for our construction is a geodesic dome, made by bolting mild steel pipes together, that had been flattened on either side. Strips of bamboo are then woven through the steel frame for additional support, creating the wattle for our daub. Glass bottles are attached to the frame with metal wire to create ambient lighting. The foundation is created by stacking earth bags that would later be wrapped with chicken mesh and plastered over with cement to hold the frame in place.


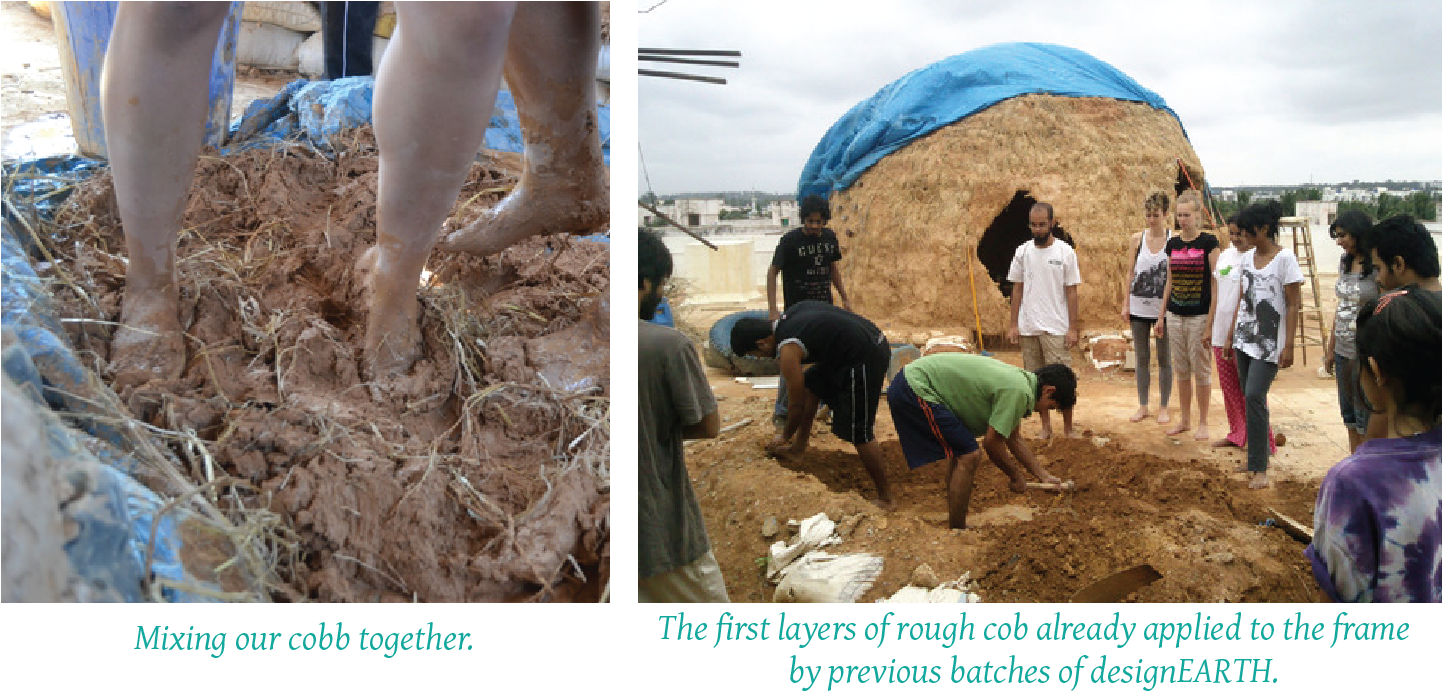
After the frame is complete, the spaces in between are filled with a mixture of mud, clay and straw that we used as our cobb, which is mixed together with our feet. The longer and better the mixture is kneaded, the less susceptible it will be to cracking. At this point however, we're not worried so much about finish and neatness, but about filling in space. Of course, we left spaces in our frame for our entrance and windows.
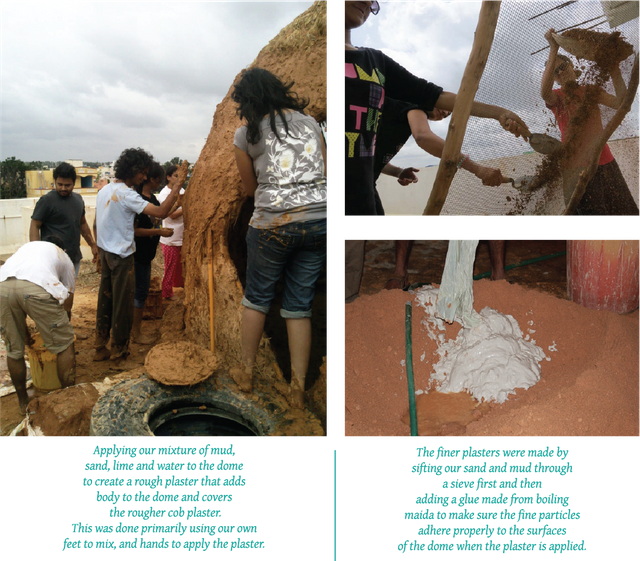
 After our rough layer is applied, we refine our cobb by adding several layers of plaster by introducing sand and lime to our mix. Lime is a borderline sustainable material that is useful in making mortars. Gloves are useful when working with lime, as it can be caustic, causing tiny holes in your hands if you leave them unprotected. Sand is used primarily for its texture that is finer and very different from mud. The first few plasters are made from mud, sand and lime mixed in different proportions to get the right consistency. Once those layers are applied, they are further refined by sieving the mud and sand first before applying subsequent layers. We also started using trowels to bring that extra smoothness while applying our plaster.
 Fun fact : That's me in the bluish shirt in the picture on the left. The length of my hair now is a testament to how much time has passed, haha.
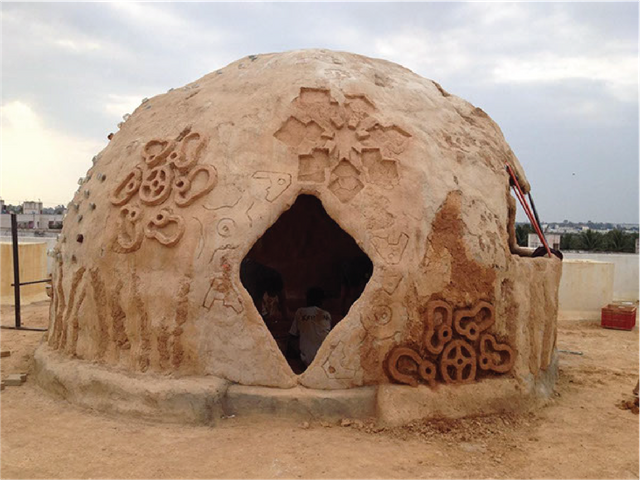
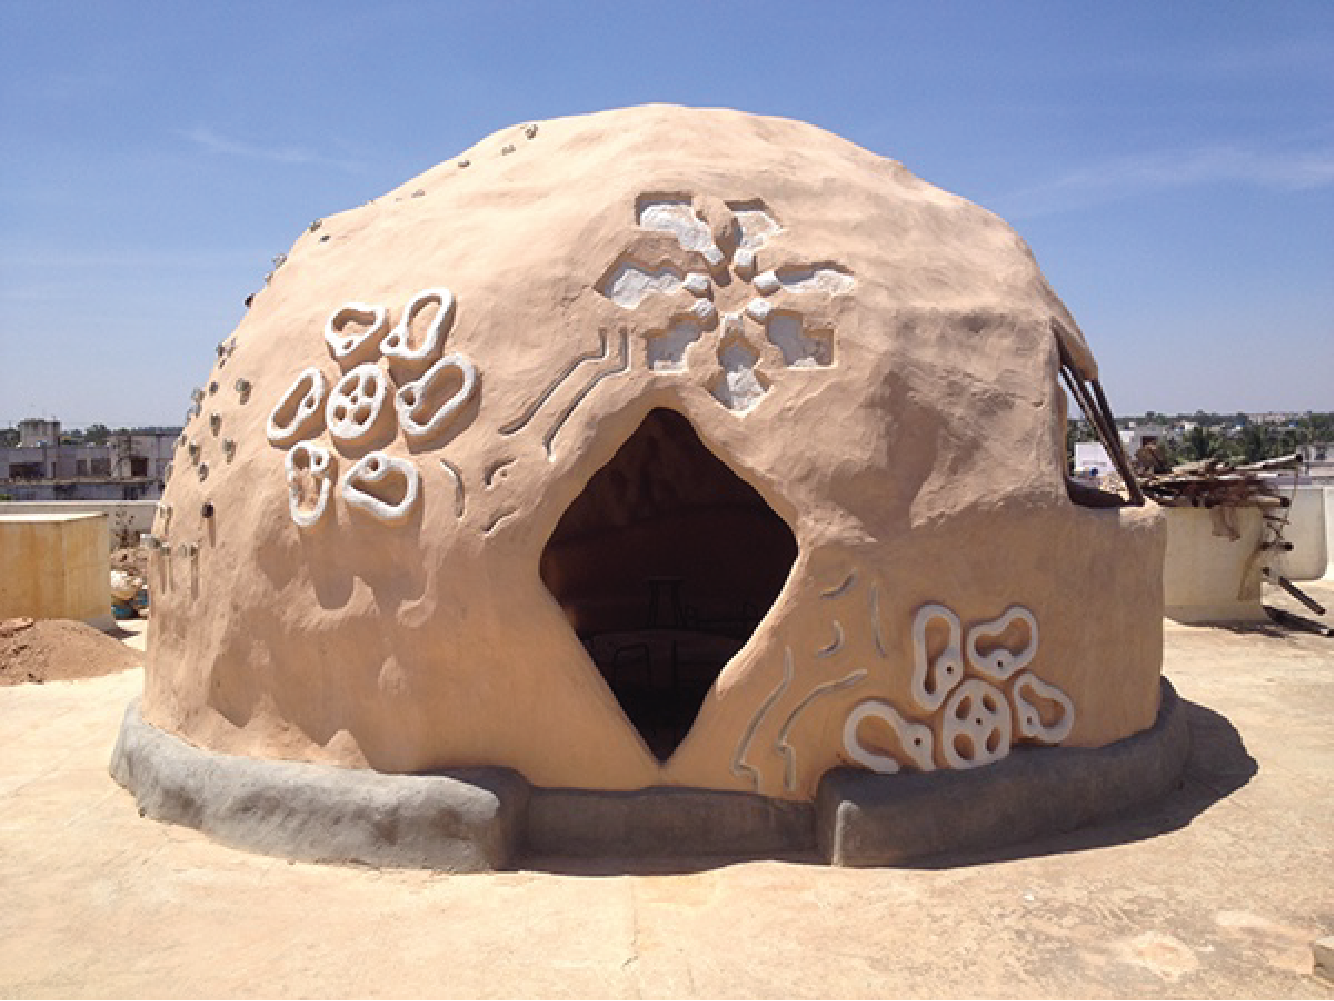

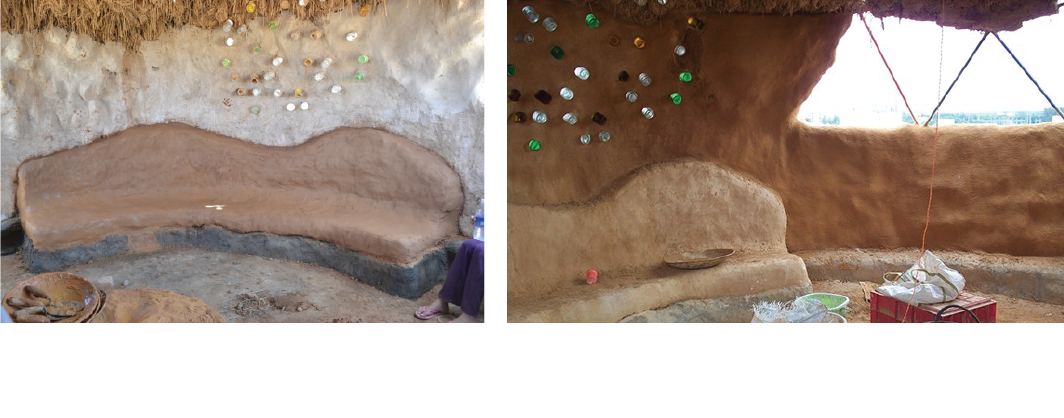
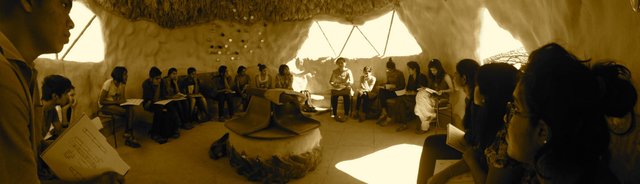
The interior of the dome was created to fit around 25 people comfortably. It features two mud benches opposite each other and a central seating area made from a large truck tire as the base. The windows and entrance are created naturally, by leaving gaps in the steel frame. The windows were strategically placed to increase ventilation and air circulation. The glass bottles we put in our frame earlier create some interesting patterns and lighting as well.
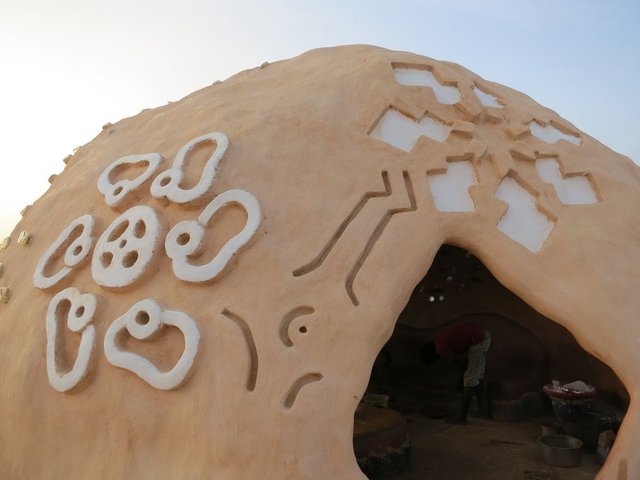
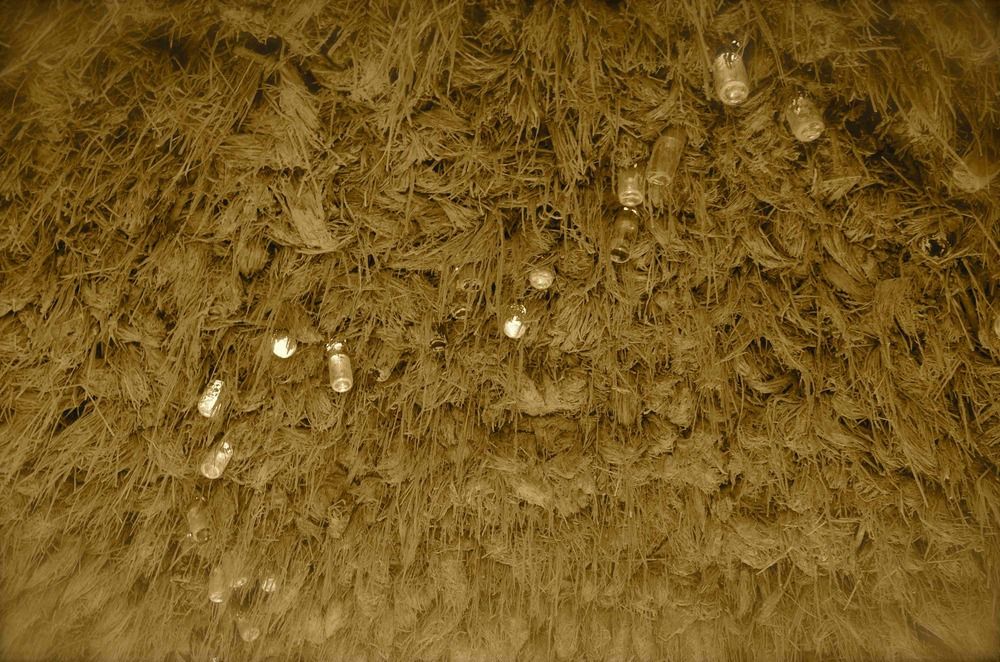
 We left the roof of our dome un-plastered, as the texture created from the straw in our cobb along with the glass bottles, was unique and pleasing to the eye.

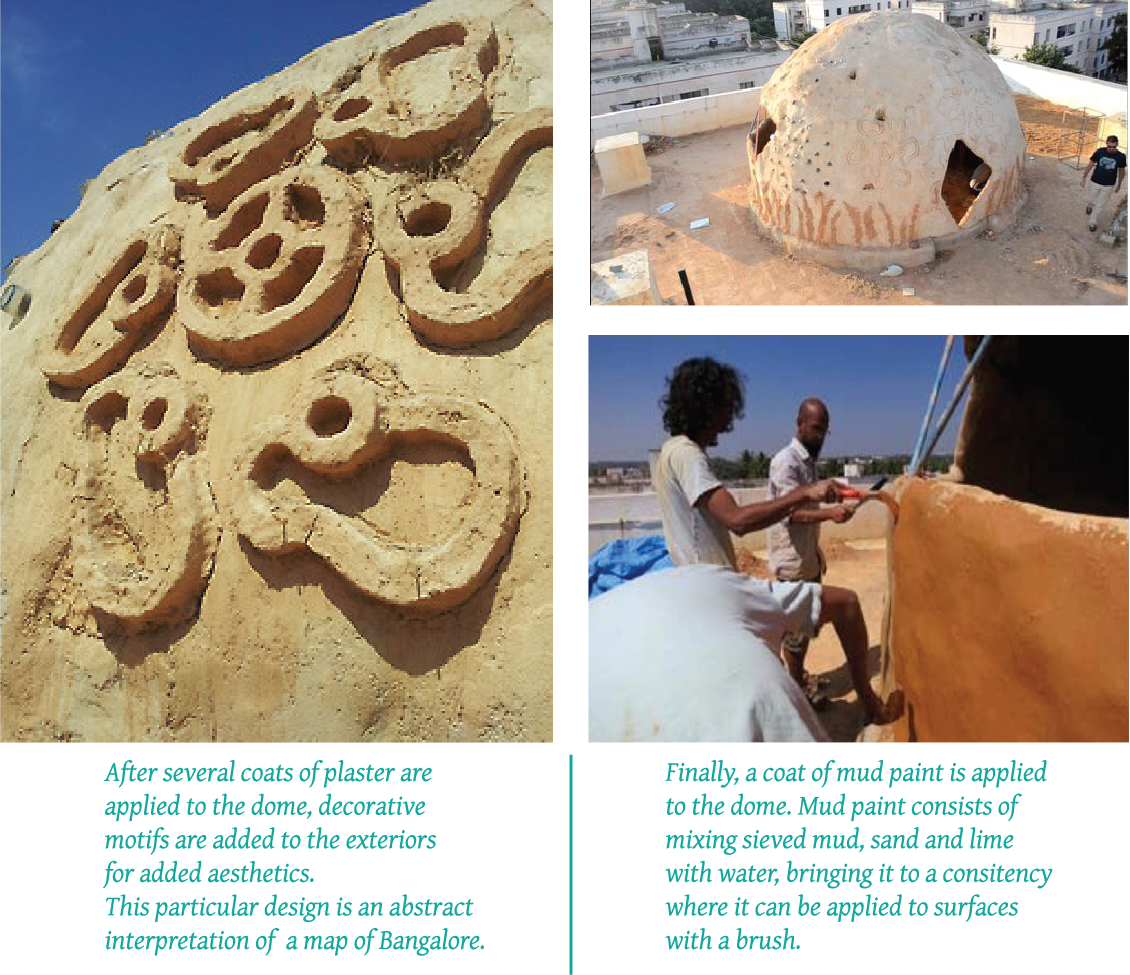
As I mentioned in my introduction post, this project was the best thing I did during my college years. We had so much fun building it! From the very beginning with the inception of the metal frame to the very last application of mud paint, the project took four batches of designEARTH and around two years to finish. We worked on the project, three days a week as part of our allotted project time amidst all the other work we had to do. It was the one class everyone actually looked forward to each week and participated in with great zeal. I was lucky to be part of the team that finished the project and saw the final result of all that work.
While the project was an amazing learning experience, it was also hard and challenging at times. There were a few times the stormy weather washed away months of work because our protective tarp was blown off. The dome is a
beautiful form but perhaps not the most practical as there was no protective roof. Sometimes we misjudged the drying times between plasters, causing the plasters to look terrible. Nevertheless, we determinedly pushed on, armed with trowels and plaster in defiance of the forces of nature. Everyone involved with the project also had a learning curve. It isn't easy to get a good looking plaster on the first try. It's often applied unevenly or cracks if spread too thin. There was A LOT of surface area to work with though, and my finish got better and better the longer I kept at it. There is no special secret to a good finish. It comes from understanding the material and the practice needed for it. I've often thought that talent is at times an illusion concealed with hard work + determination and fueled by passion. The same is true of natural building. Don't give up if a plaster isn't looking good. Keep at it, and through trial and error it will eventually start looking amazing!
The images used in this post were taken by all of us and shared with each other. It was a collaborative project and is part of the portfolios of everyone who took part in it. As such you may find these images on sites like behance, facebook and the designEARTH website. You can download and use them too, but please reference designEARTH, Jackson Poretta or Srishti School of Art Design and Technology if you do.
Have you ever worked with natural materials? What has your experience been like?
Let me know below!
To see more of designEARTH's stunning work
 The Mundane As Art Contest | Theme: Stones
Understanding Permaculture Ethics And Prinicples
Cycle Rickshaw Project


Congratulations, your post received one of the top 10 most powerful upvotes in the last 12 hours. You received an upvote from @hendrikdegrote valued at 72.15 SBD, based on the pending payout at the time the data was extracted.
If you do not wish to receive these messages in future, reply with the word "stop".
Oh wow, that's amazing! Thank you so much @hendrikdegrote. I know there's a lot of valuable content out here on steemit and I'm honoured you chose this post to upvote!
Wow!!!! This is freakin' awesome! Great job to all of you guys. I'll resteem this for ya! I really enjoyed this post, new follower as well. Steem on!
Thanks for dropping by! Appreciate the resteem. You've got some great art as well. Followed you right back. May our tribe grow.
Thank you!! I hope your team and self grow here as well on steemit! Stay peaceful and humble my friend :)
Wonderful post man! Thanks for sharing xD
Thank you for reading it! Glad you liked it.
Very interested to read about this build.
Have you built any similar cobb structures since this one?
Thank you for your comment. I have worked on natural building projects since this, but I wouldn't say they're similar. I think every natural building construction reflects their builder's personality to some extent. We had an amazing mentor who was able to correct our mistakes as well as an enthusiastic peer group that contributed to the success of this project. It's hard to replicate that outside that environment. Every build I've done since was unique to the environment and people associated with it. I'll eventually catch up to the present and post about other projects I've done and what I'm currently working on.
I will be interested to read about your other natural building projects. I will look out for your posts.
That is so stinking awesome!!!
Aw, thanks a bunch! It was an awesome experience for sure. I also made a lot of amazing friends through it!
That's soooo cool. I'm so glad this post did well, so glad for you! Whoop Whoop!
This is so unique. So incredibly brilliant for you to quit your job and do something like this. Best part? It looks so beautiful ! Resteemed !
Thank you so much! This was my first venture into natural building, done in college. It took me awhile after this to get in and then out of mainstream design, but yes a lot of reaffirmation of my choices came from this project.
This post has received a 0.39 % upvote from @drotto thanks to: @banjo.
Congratulations @soulturtle, this post is the most rewarded post (based on pending payouts) in the last 12 hours written by a Dust account holder (accounts that hold between 0 and 0.01 Mega Vests). The total number of posts by Dust account holders during this period was 4837 and the total pending payments to posts in this category was $733.13. To see the full list of highest paid posts across all accounts categories, click here.
If you do not wish to receive these messages in future, please reply stop to this comment.
That is really cool. I had never thought of using a geodesic dome as the framework for cobb, what a great idea!
I'm just wondering what to do against big rains? Maybe a [Tadelakt Plaster}(https://en.wikipedia.org/wiki/Tadelakt) could do the trick?
Following you, I want to read more!
Thanks for sharing @soulturtle
Hey, that's super interesting about the Tadelakt plaster, haven't come across it before. Thank you for sharing it. I'll keep this in mind on future builds. The best weather protection however is probably a solid roof, haha.
You're welcome, it's a very intriguing technique.
A big hat over your structure is a good idea yes.
This is not an easy job! Not at all.
Without a teamwork... hmmm... what would happen 😒
And that is what I like about this post - team spirit!