Online store on Steemit blockchain| Step four | Super user and admin panel, as well as template and git
Hello, friends!
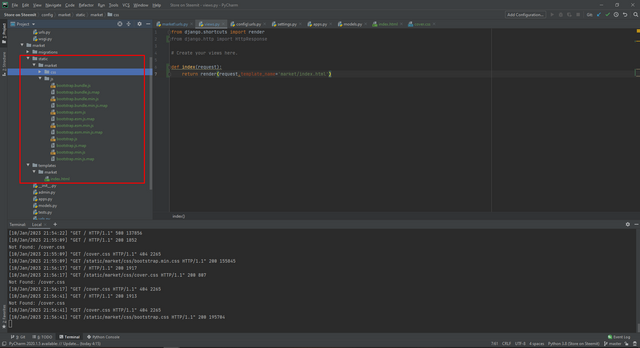
Today we will start by creating two directories. The first directory will be called template. And the second will be for static data.
Let's create a market folder in the statics directory. This name is the same as the name of our application. This is done on purpose so that the Django library does not get confused in applications and files in the future.
We will send all html files to the folder with the name templates, and send js and css to the static folder.
As we can see all the files are loaded, as well as the start page of our site.
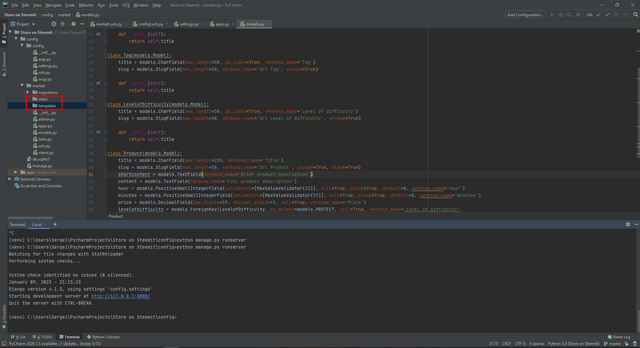
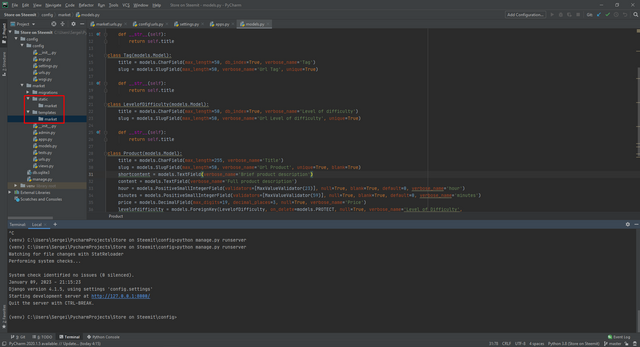
Now we need to write a small view in the views file so that the Django library understands what needs to be displayed first.
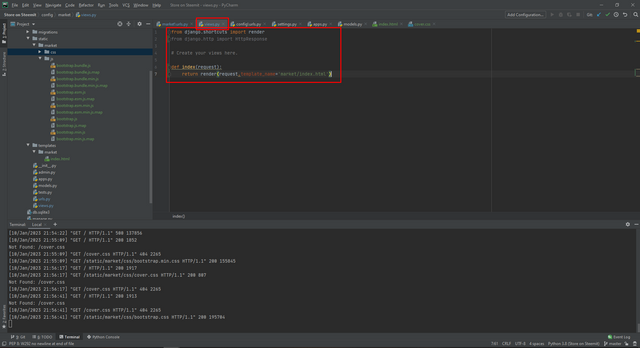
I will not post the code because there is quite a lot of information. It will be at the link at the very bottom of git.
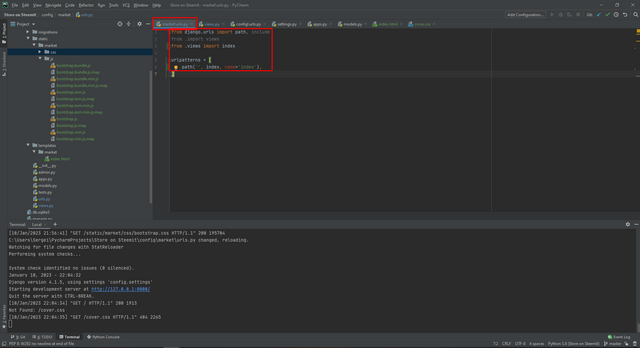
Now in the urls file we will write our path to the file, as well as import the desired function.
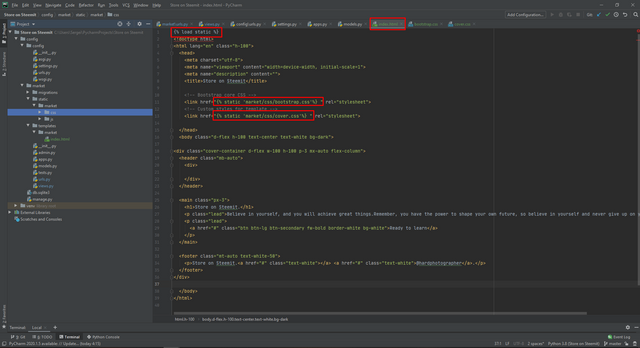
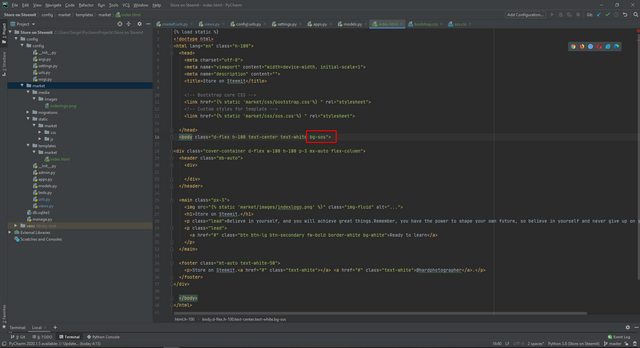
Now we write our html code in the index.html file.
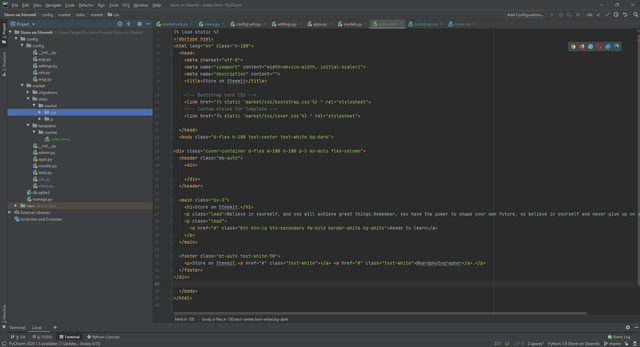
I don't think much work needs to be done on the code. And to start with, it needs to be adapted to Django. And also not much to change the styles. Styles will change to our preferences.
This is a required adaptation. Without this adaptation, your application will not work. We will do the same a little later with js files.
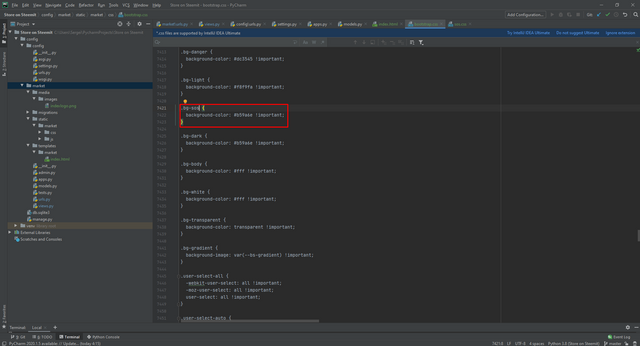
Now let's get into the css bootstrap a little and change the color to the one that we prefer.
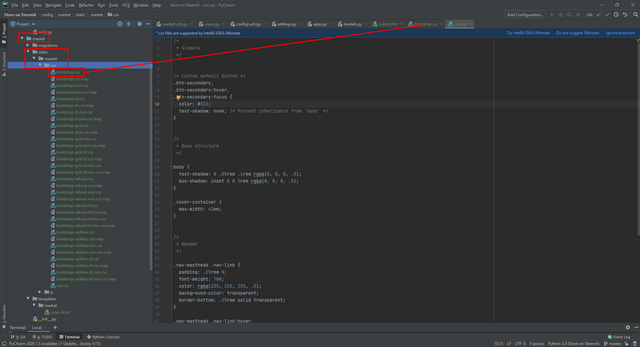
In our case, we need to replace the black background. Most likely banana. By creating a new style.
And don't forget to change our style in the index.html file.
Now let's add the logo. And for this we need the command:
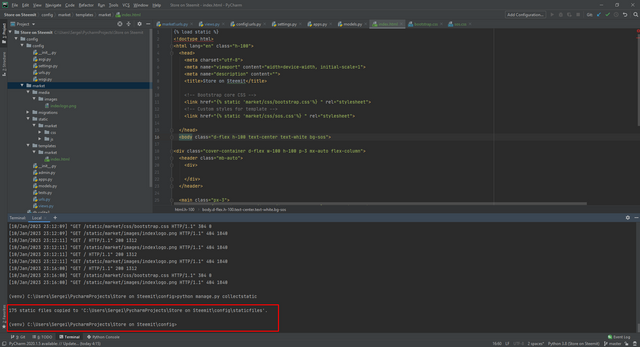
python manage.py collectstatic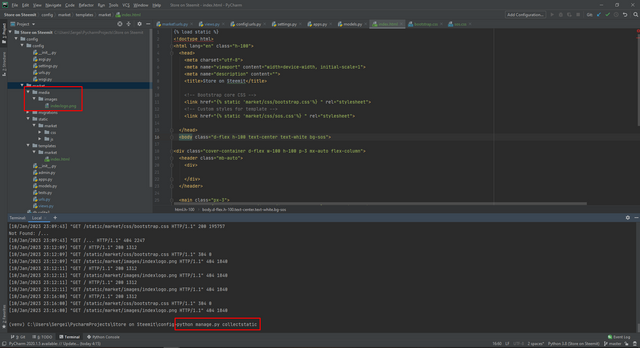
We can see that our static files were created in a separate folder from where Django will take all the media.
Now we can add our image to the main page.
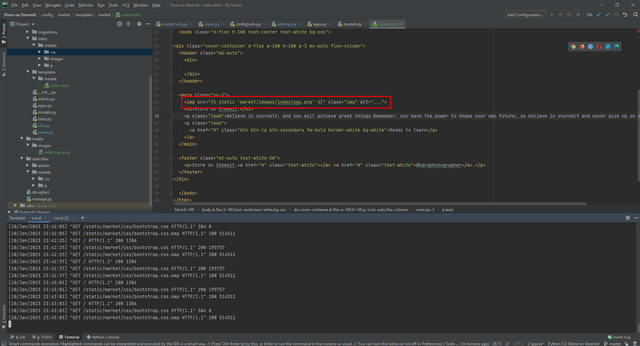
And we get such a beautiful result.
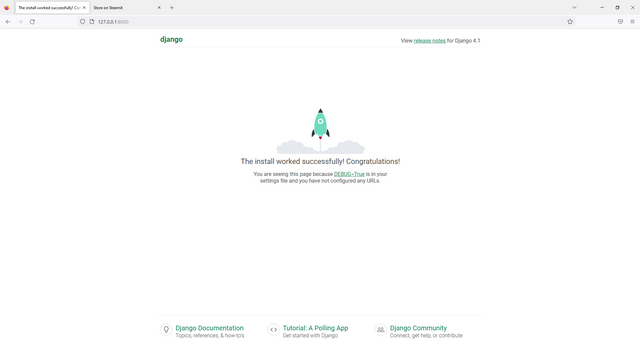
Was
Became
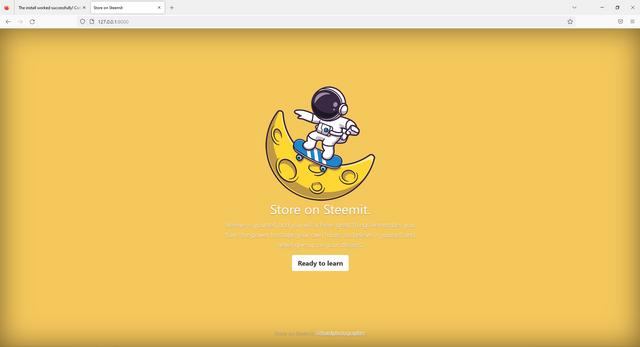
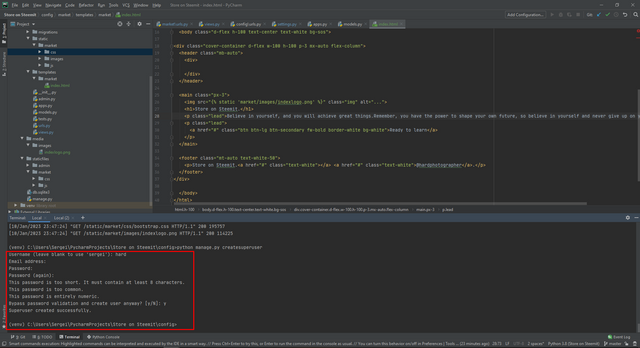
Now our template is displayed and the paths are set. It remains to create a super user so that Django will create a default admin panel for us.
In order to create a super user, you need to register the following command in the terminal:
python manage.py createsuperuser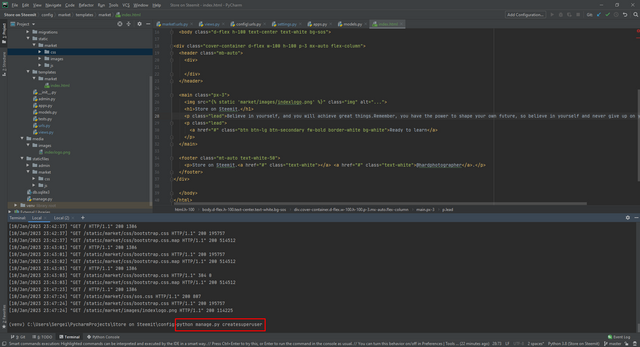
And fill in the fields that appear.
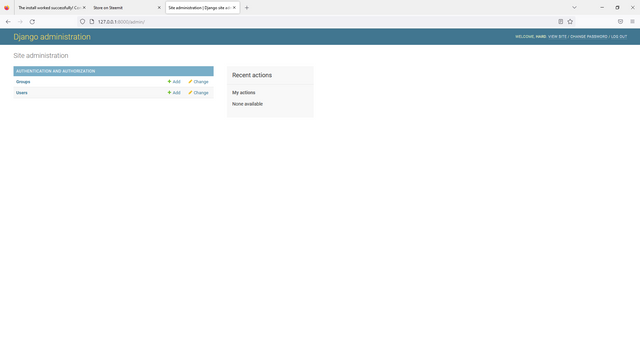
Now we can test our admin panel. By following the link:
http://127.0.0.1:8000/admin
And enter our username and password.

After passing the authorization, we will see such a panel. And at the moment there is really nothing in it. But soon we will add our model there and much more.
Above may be wrong. Since I wrote the code from memory and then corrected it. But git will have no errors.
Link to the git.
You can get acquainted with the project here.
This is the first part: Step one
This is the second part: Step two
This is the third part: Step three
To be continued...
Sincerely, your @HardPhotographer
Thank you, friend!


I'm @steem.history, who is steem witness.
Thank you for witnessvoting for me.
please click it!
(Go to https://steemit.com/~witnesses and type fbslo at the bottom of the page)
The weight is reduced because of the lack of Voting Power. If you vote for me as a witness, you can get my little vote.
Upvoted! Thank you for supporting witness @jswit.